Learn how to make an industrial style DIY bulletin board from an old window!
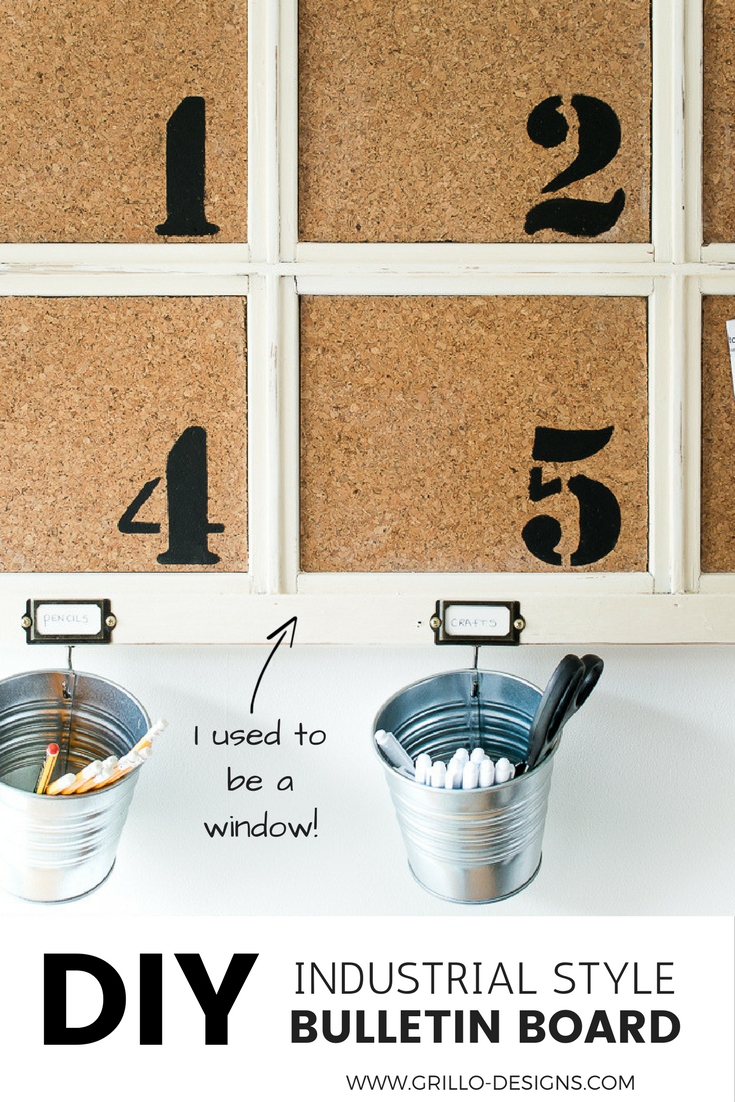
Seriously, do you know how hard it is to source windows in the UK? And I don’t mean those modern looking double glazing ones, because there is no beautiful function to them other than keeping a house nicely warmed in the winter (although it is important to add here that in the UK, a warm house is everything!)
I’m talking the vintage, weathered, single panel, chipped windows that you can re-purpose into fun Pinterest worthy ideas….? Like a headboard, or a shelf perhaps…
C’mon, dont leave me hanging.
I know you know what I’m talking about. I know I’m not the only gal whose daily fix is Pinterest with coffee or coffee with Pinterest (however way you like it). I just know.
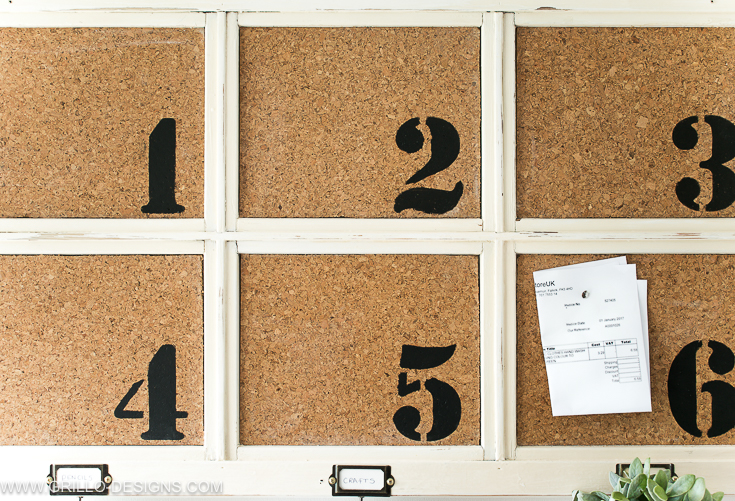
Does this picture ring a bell… or two?
It’s the same window pictured above – just reversed. I bought it off Gumtree (the UK’s equivalent to the US Craigslist) and hung it over my fireplace mantle in the living room of House no.1*. Of course this purchase happened way before Pinterest was a recognised ‘thing’ and your every day junk was just …’junk’.
Anyways fast forward 5 years and two house moves later, I pulled it out of the garage.
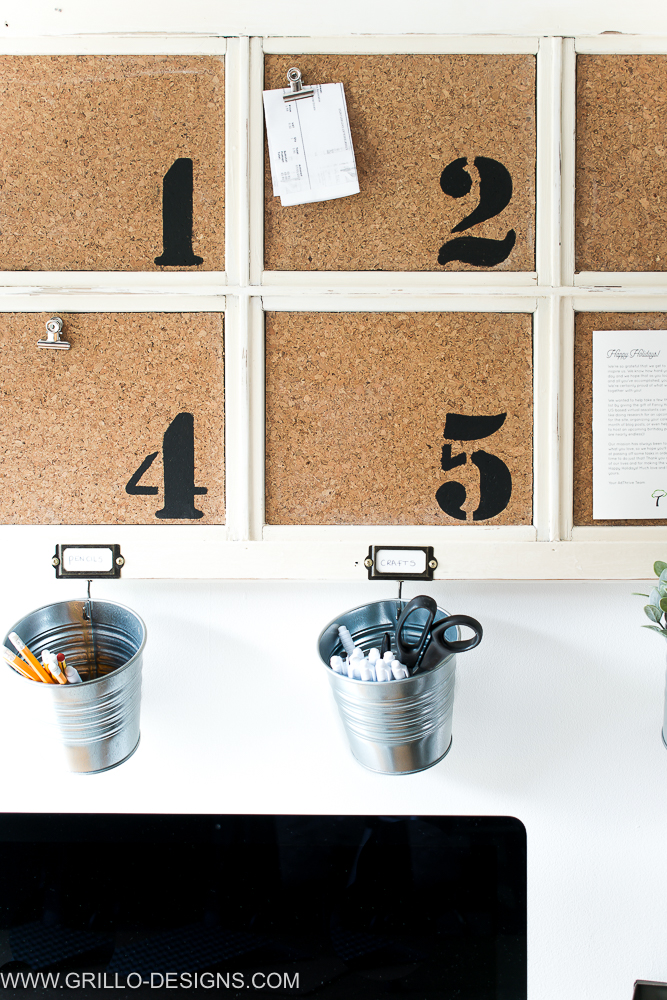
And thought .. hey this would look great covered in cork.
Hanging over my desk, looking all cool. You know, as DIY bulletin boards do.
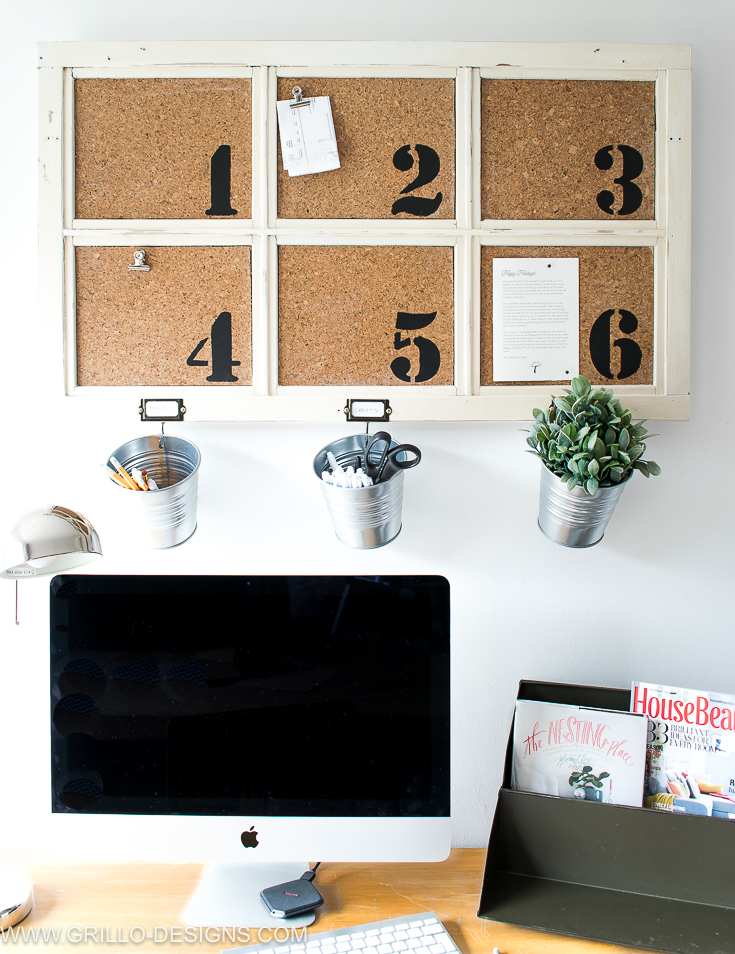
The idea to use this window as a bulletin board was an unusually good brainwave on my part and I’m pretty much heart emoji-ing all over it right now. So is my husband, but he’s emoji usage is a little more subtle than mine.
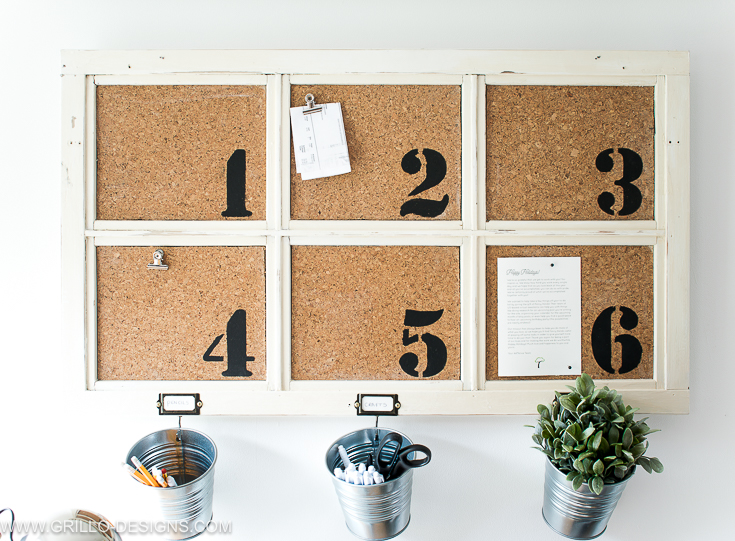
HOW THIS WINDOW BECAME A DIY BULLETIN BOARD
Recycling baby that’s how’s how!
Everything I used to make this board was from left over materials saved from previous DIY projects . Nothing new whatsoever was bought for this project . Nada. Zilch. Zero… seriously.
Say what?
Do you really want me to repeat myself?
I thought not. Let’s just take a trip down memory lane, shall we.
First off, here is a list of all the products I used (‘shopped’ from this horrific spare room in house number 2*). This post contains affiliate links for your convenience – please see full disclosure here
- CORK BOARD SELF ADHESIVE TILES 1/4″ THICK
- NUMBER STENCILS – you can find similar here
- METAL LABEL HOLDERS
- CHALKBOARD PAINT
- CUP HOOKS
- IKEA SOCKER POTS
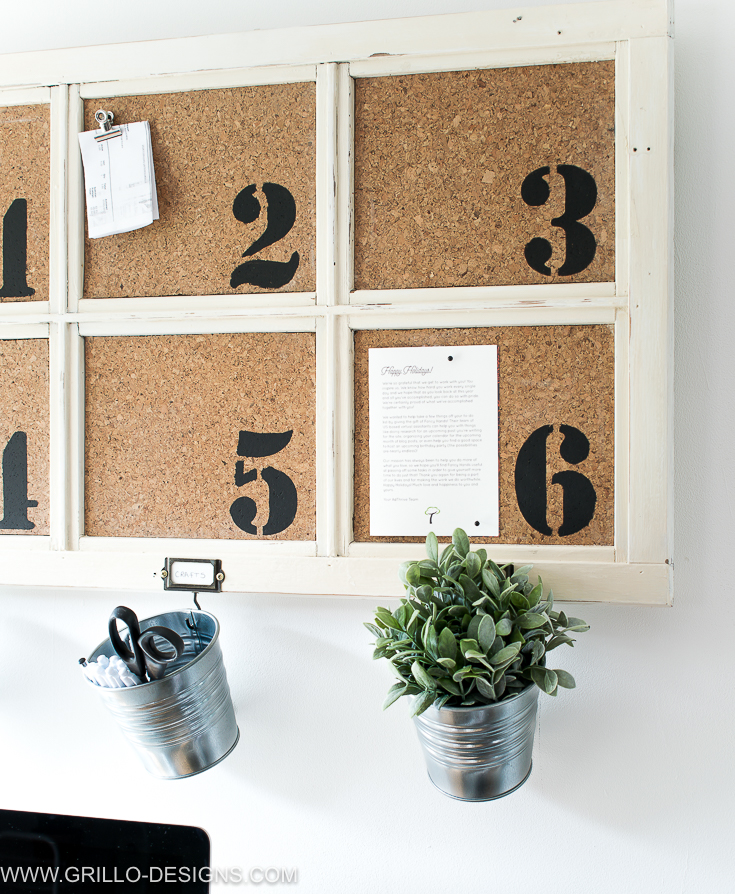
1 I used 6 of the cork sheets, cut them to fit the glass panels and stuck them on . The tiles are quite thick, ensuring push pins don’t hit the glass when pushed in. These were the very same cork tiles I used in House no.1’s retro kitchen makeover.
You know in the curved alcove – remember that ?
2. I then stencilled over the cork tiles using chalkboard paint – to add that industrial style touch (FYI, you don’t always have to buy your stencils. You can make your own too. Here’s a great tutorial from my friend Maria over at Pastels and Macarons on how to do that).
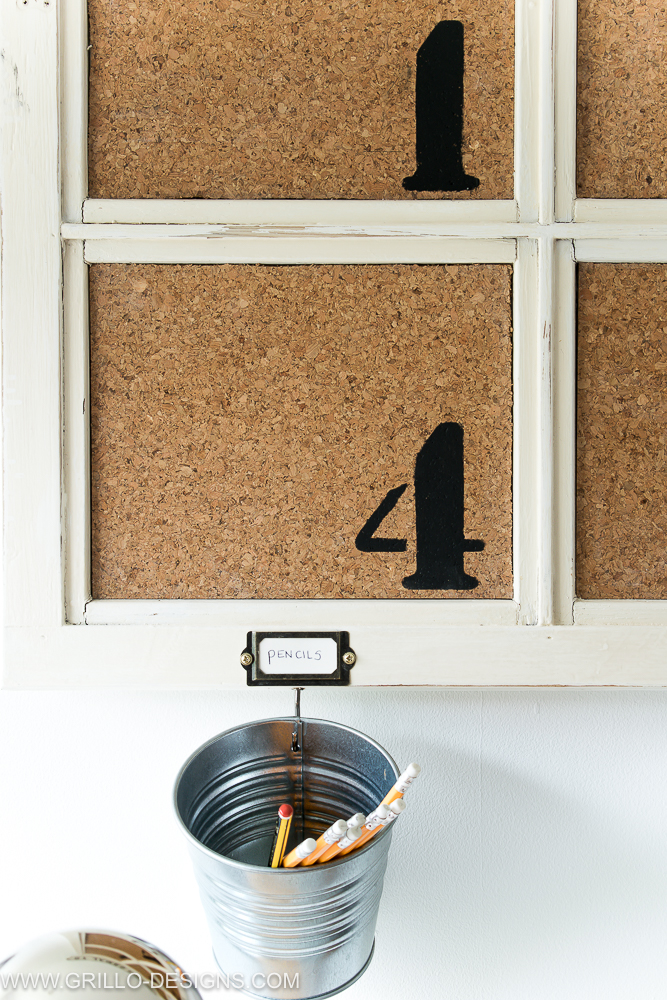
These number stencils made their first cameo in my sons under bed DIY toy box project and then in this BILLY bookcase hack in House no.2. He likes numbers on furniture …. a lot. I wonder where he gets that from.
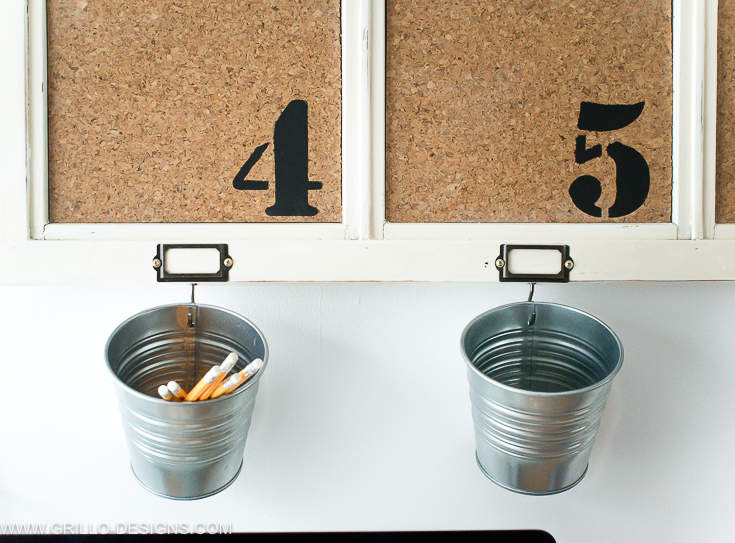
3. I screwed in vintage labels to the bottom of the window.
These were the remaining labels from those metal behind the door shelves I made for my sons bedroom (also in House no.2)
4. Next, the cup hooks. Ok these are from that ladder coat rack I made for my entryway in house no.1.
I don’t think I’ve ever shared a picture of the rack on this blog before but let me see if I can find one…
Here it is... in all its prehistoric glory.
So yeah, I literally just unscrewed the hooks from the ladder, and screwed them in to this diy bulletin board. I also drilled holes into the IKEA SOCKER pots and hung them from those hooks.
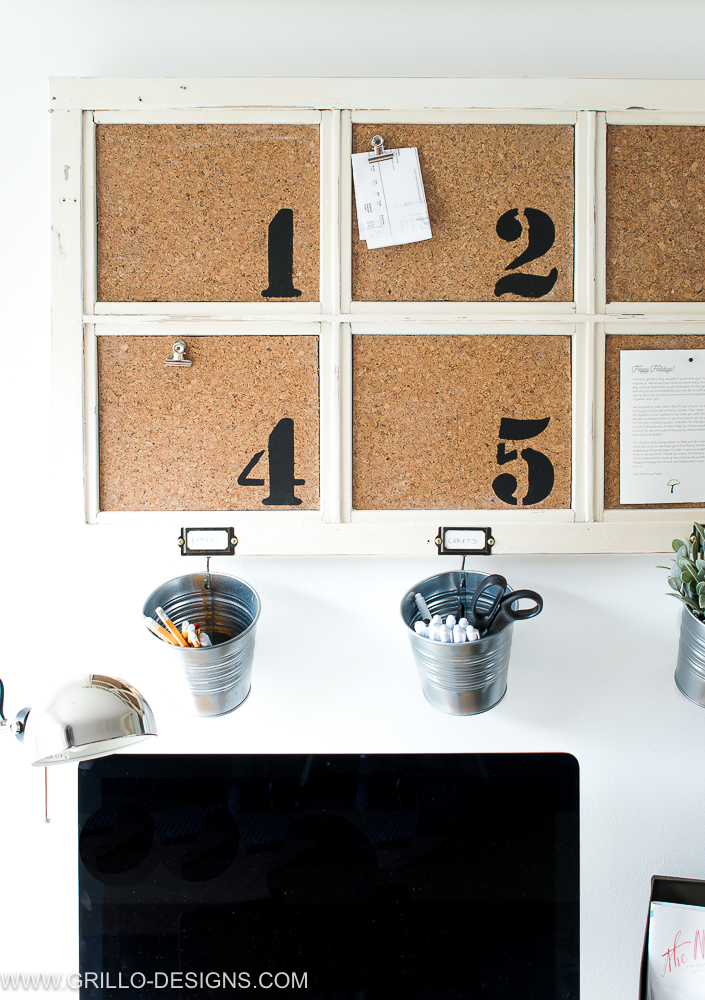
Now tell me….. am I not the most resourceful person ever?! And…

***OUR HOUSES EXPLAINED
House no.1: Pre blogging days – think the house with the Dr Seuss playroom and the popular kids tire seat project!
House no.2: Just a short year here. Blogging commenced. Think Ball mason jar fridge and my sons industrial bedroom that never got finished..oops!
House no 3: Our current home (hopefully). Think dining room makeover and ‘I’m never moving again!!’

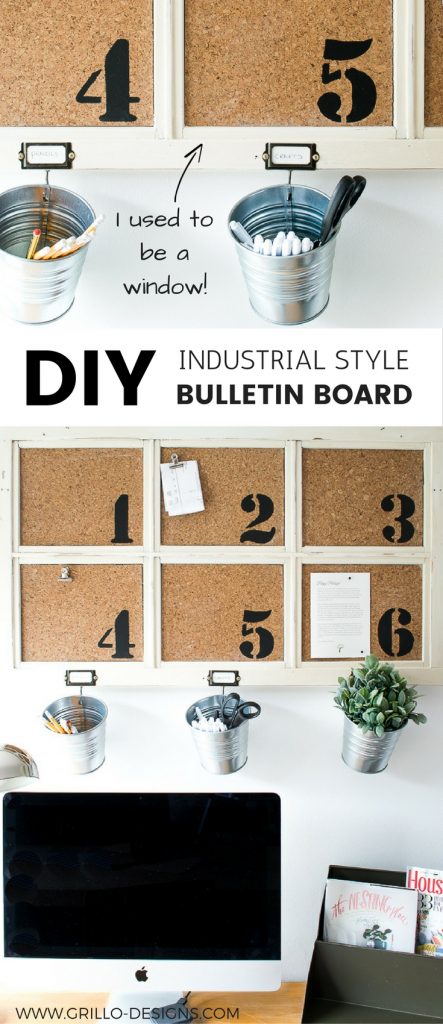
I sure hope you found my ramblings beneficial. If so I would really appreciate a share! Don’t forget to follow me on my social media below. And if you’ve got a diy project you want to share, POST IT IN THE DIY FORUM HERE
INSTAGRAM / FACEBOOK / PINTEREST / GOOGLE + / TWITTER
IF YOU LIKED THIS POST YOU MIGHT ALSO LIKE SOME OF OUR OTHER POST WHERE WE’VE REPURPOSED SOMETHING:
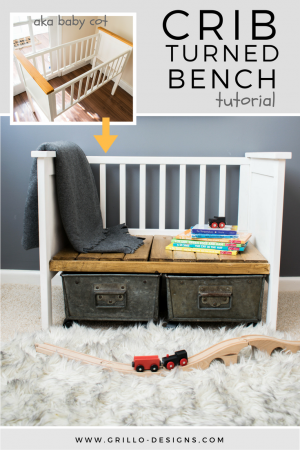
TURING A COT (CRIB) INTO A CUTE KIDS BENCH
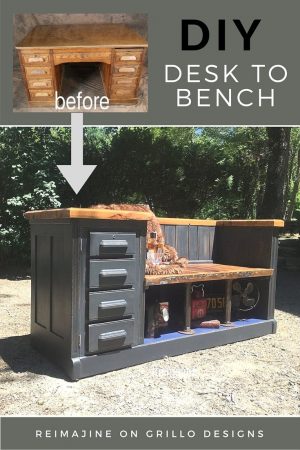
A DESK BECOMES A MANLY LOOKING BENCH
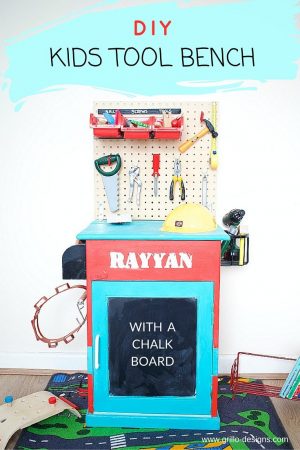
TOOL BENCH MADE FROM AN OLD CABINET

Yet another project that makes me wish that I were more handy! I love how this turned out.
I am preparing a round up of 15 DIY Bulletin boards and featured your project in my blog post: http://hngideas.com/diy/home-projects/15-diy-bulletin-boards-quick-and-easy-project/
This is fabulous! I’d love to make one for my command center.
Thank you Donella 🙂
Great repurpose Medina!!! I have a shed full of old windows, they are pretty easy to come by here in the states much to my hubby’s displeasure, lol!! I may have to do up one or two with cork 🙂
Thanks so much susanne 🙂
I think this looks awesome, I love the stenciling and the little buckets. I want one for my home office.
Thanks Claire!