Hi there. Join Grillo Designs on Instagram and Pinterest to keep up with our latest posts and ideas. If you’re on Facebook, why not join our Home decorating, Upcycling, and DIY group too – inspiration is guaranteed!
The kitchen is probably the smallest room in our house. I think this fact alone, had deterred many other tenants from renting it. Not me, I fell in love with it immediately. Yes, it needed work, and I mean a lot of work, but it still had so much potential!
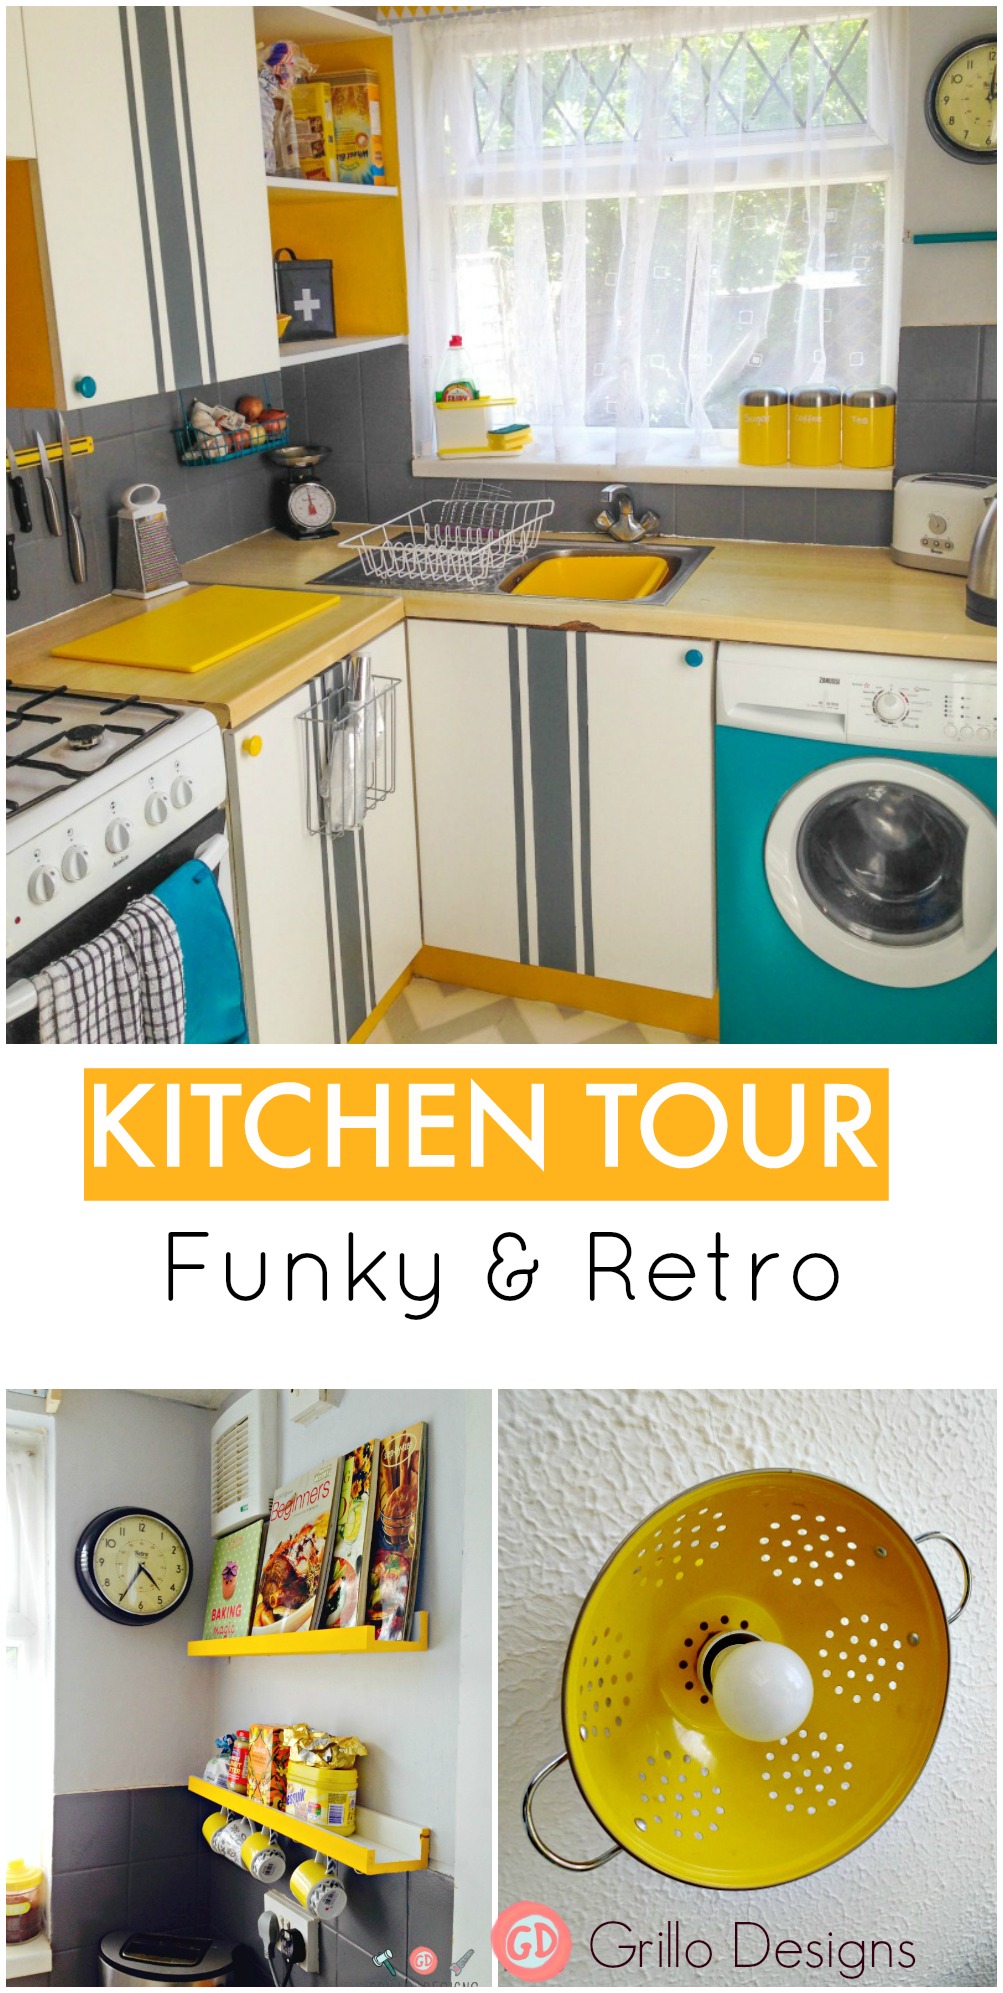
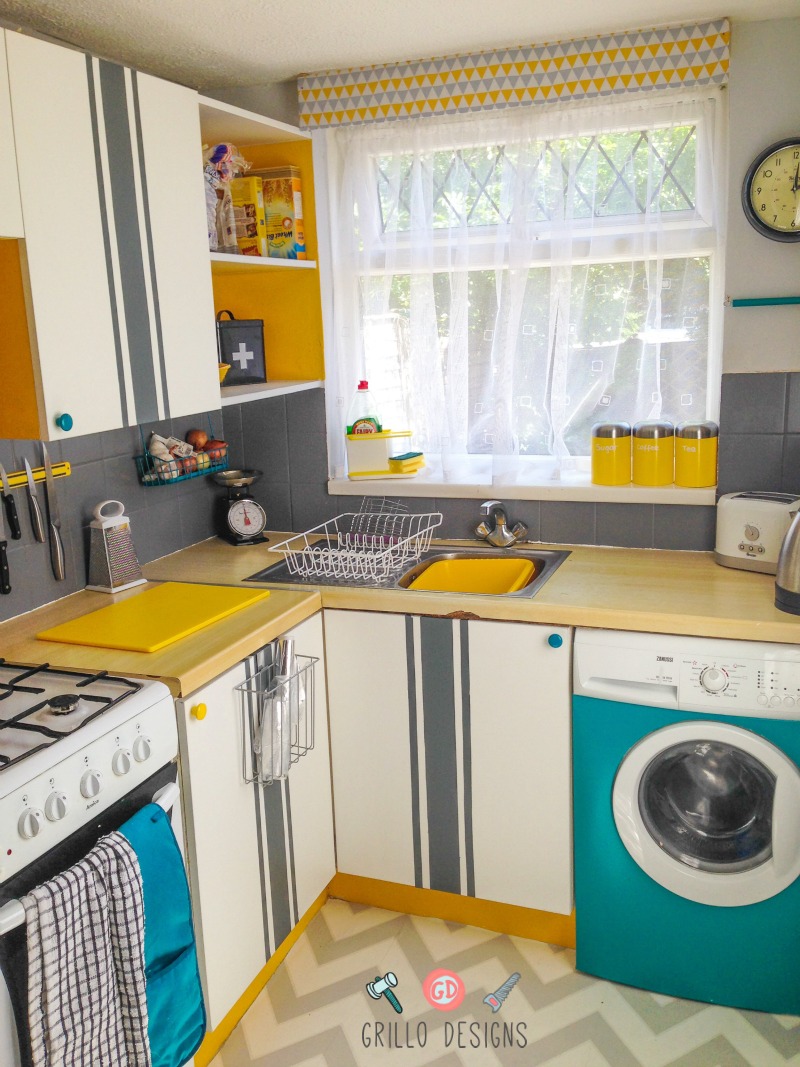
Well, the above picture is how it looked AFTER the makeover. I hope you’ll keep reading and follow me on my kitchen tour!

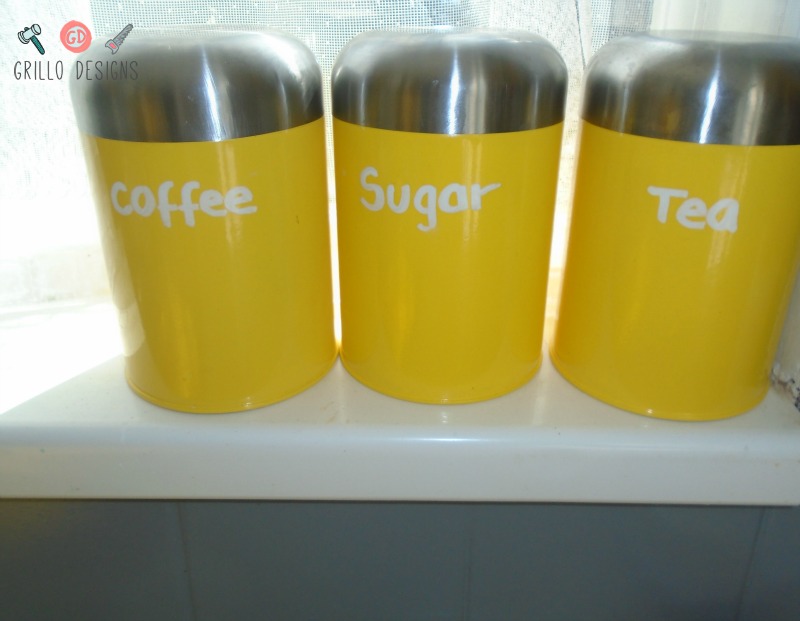
Be prepared to be spammed with loads of bright pictures. If you hadn’t already guessed, this was one very colourful makeover!
Follow Grillo Designs’ board Grillo-designs.com on Pinterest.
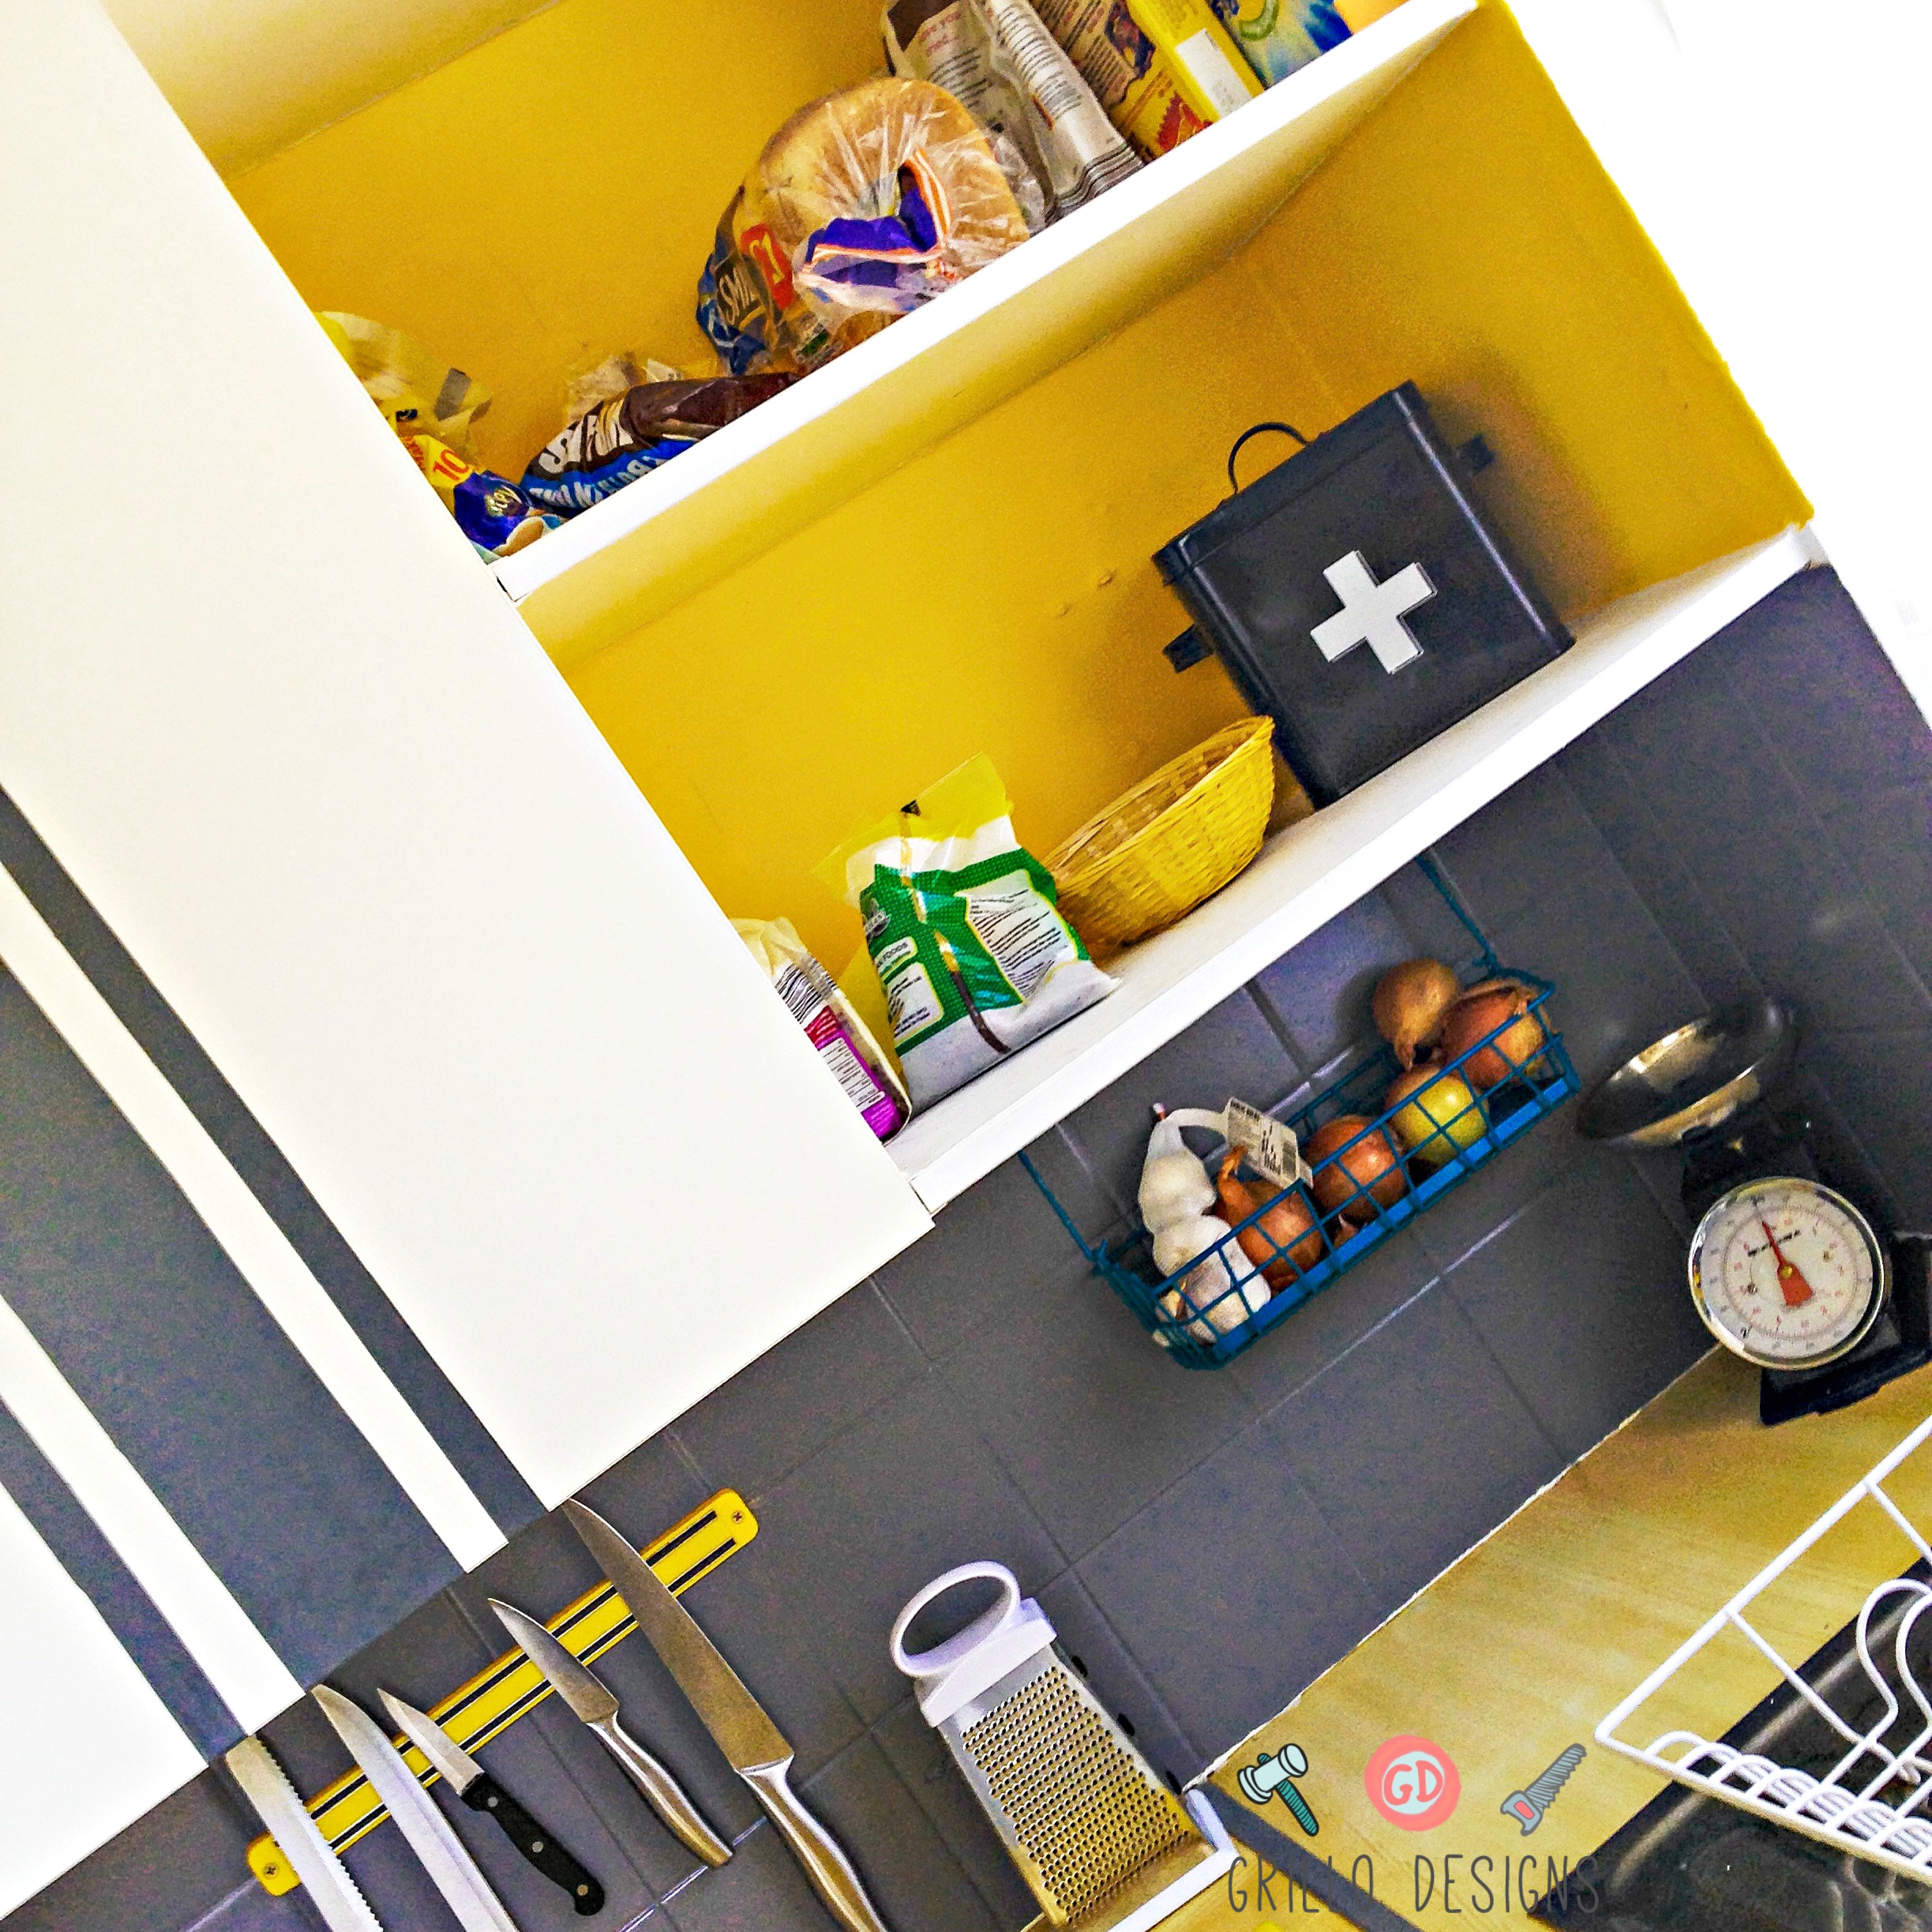
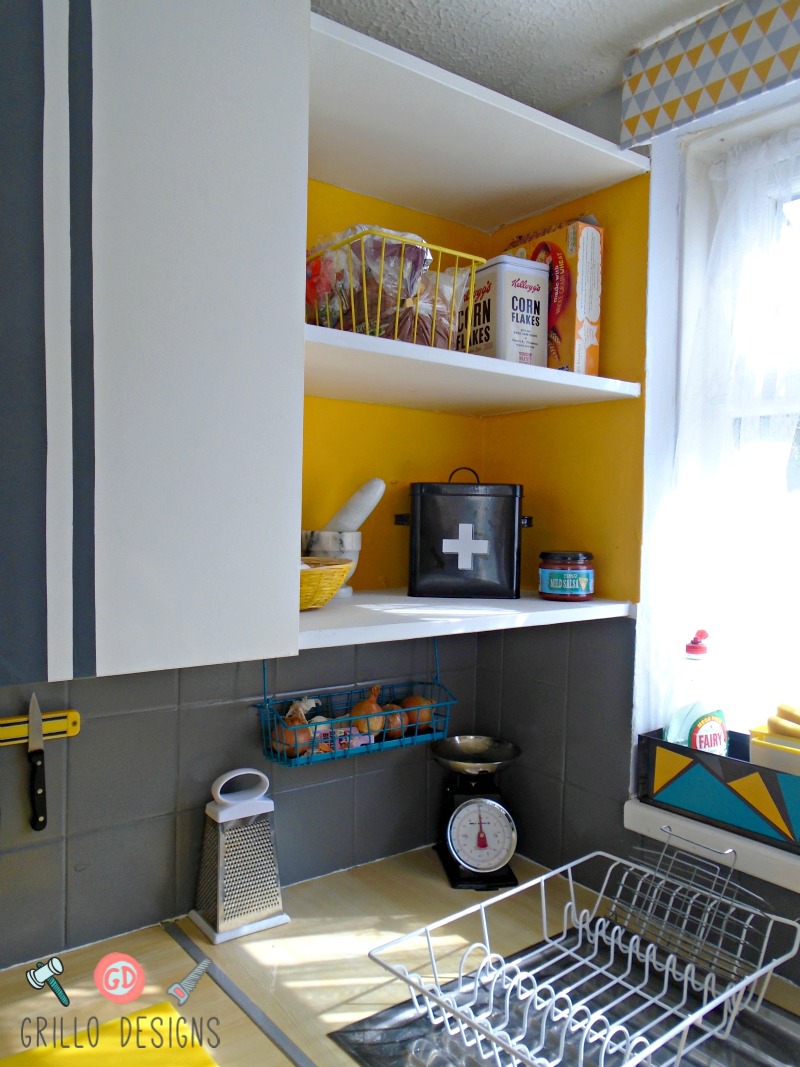
I decided to paint the inside of the open cupboard yellow. I used the WICKES brand ‘Sapphire’.
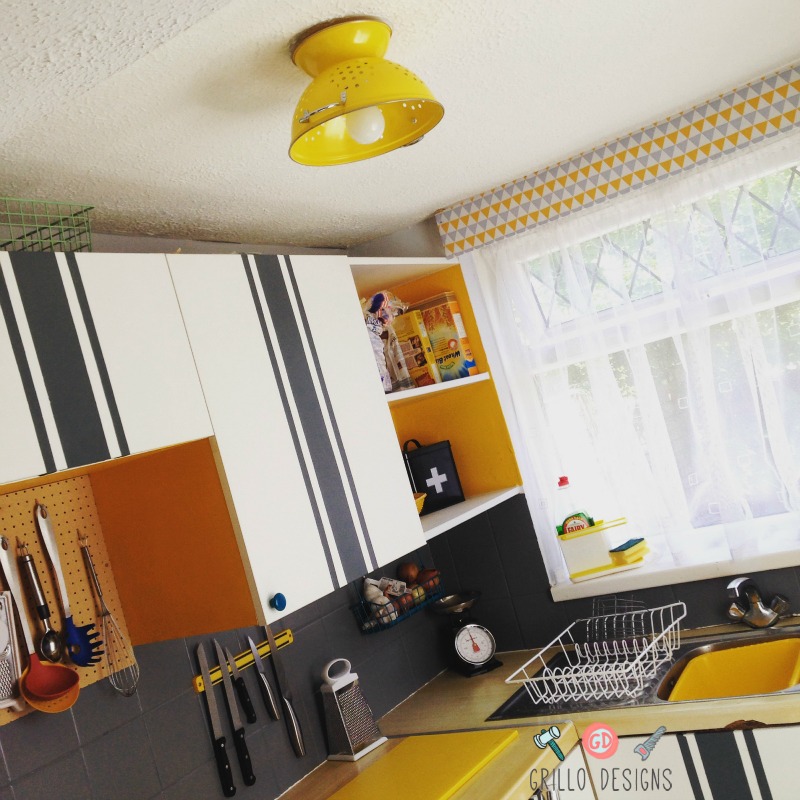
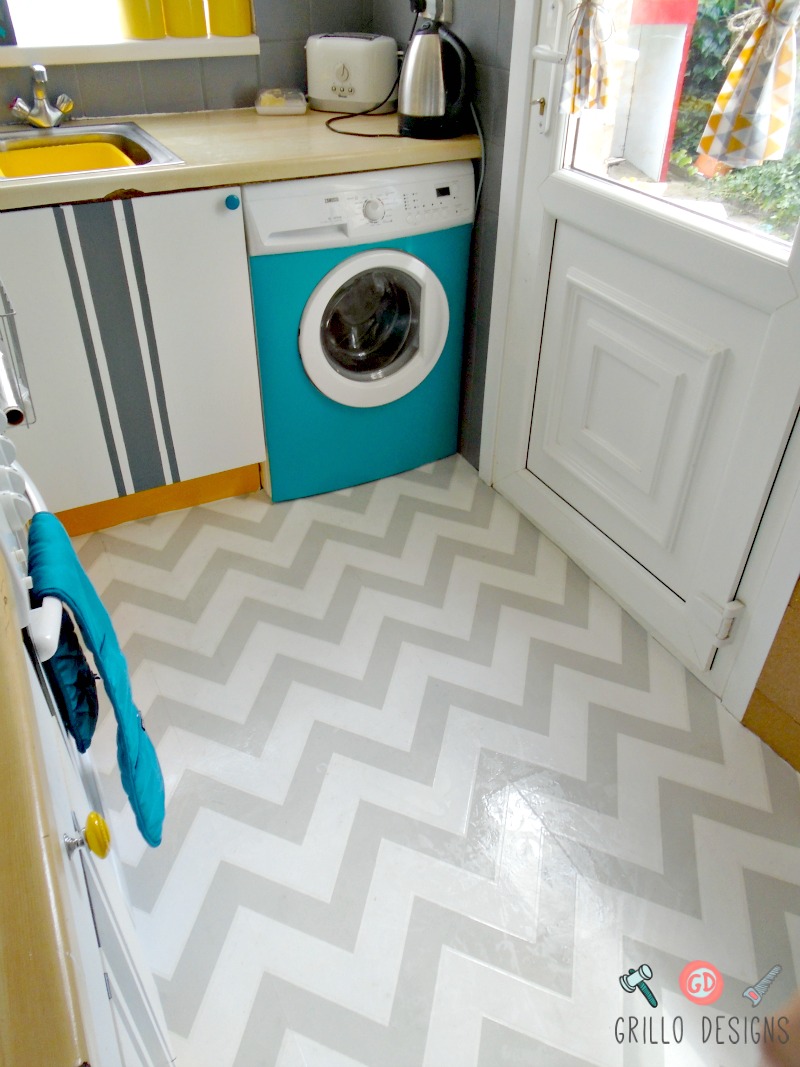
I added racing stripes to each cupboard using contact paper.
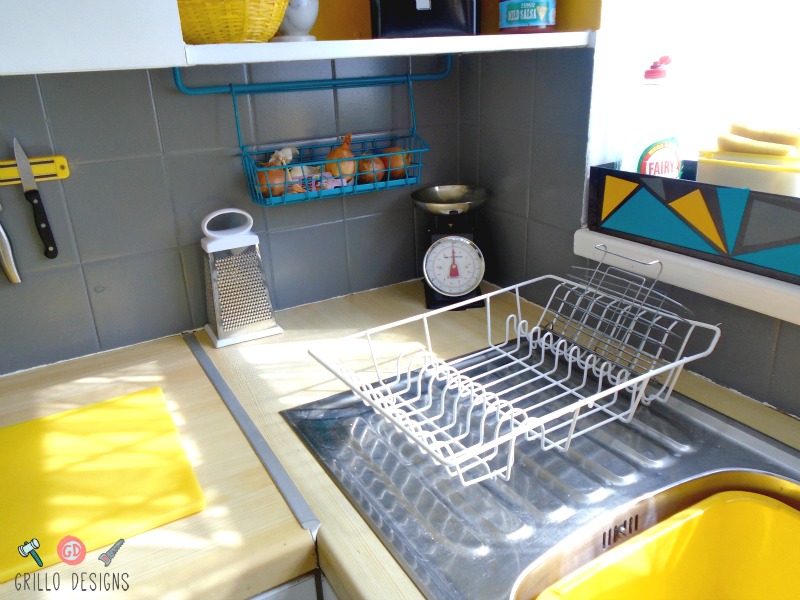
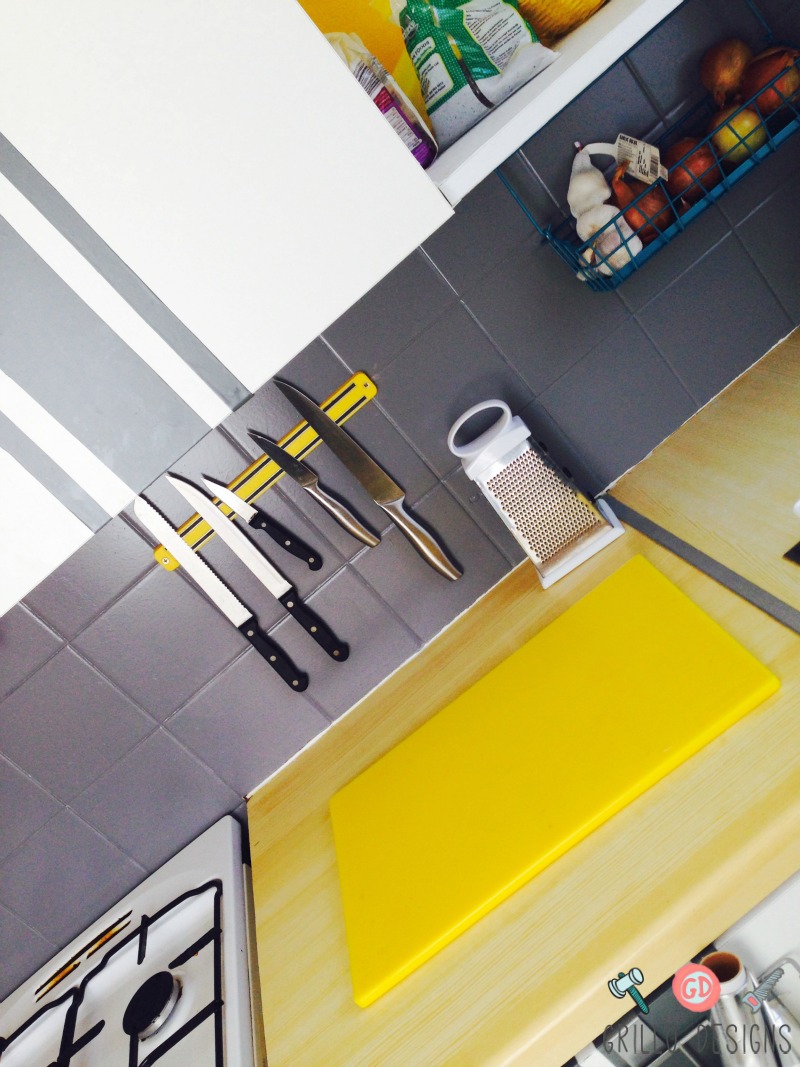
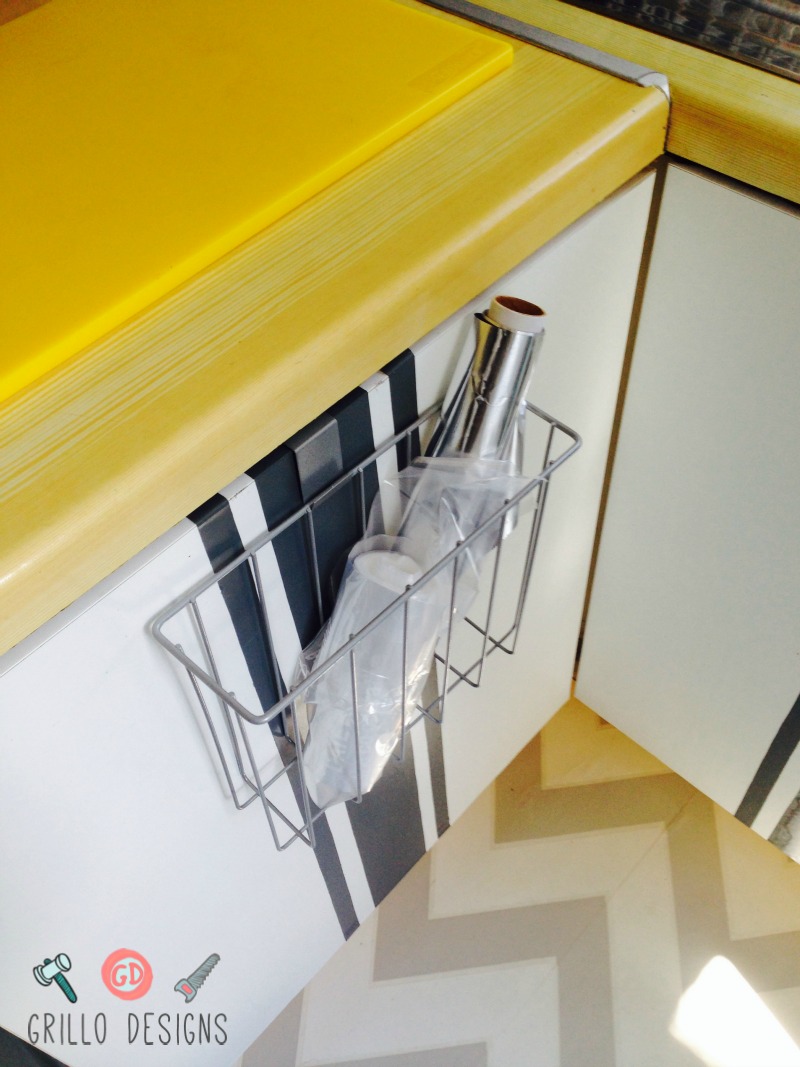
The little hanging basket for the vegetables is from IKEA- the GRUNDTAL range. It was originally silver and I spray painted it a teal colour.
[wp_ad_camp_1]
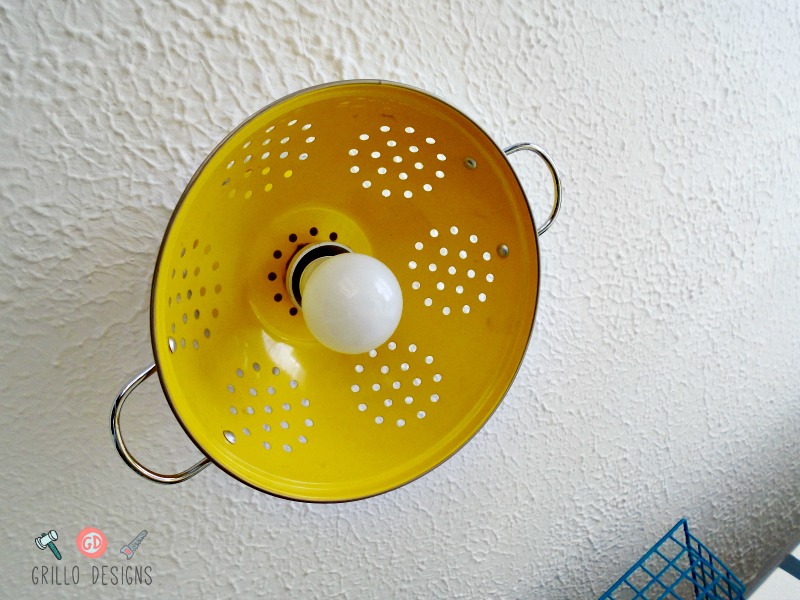
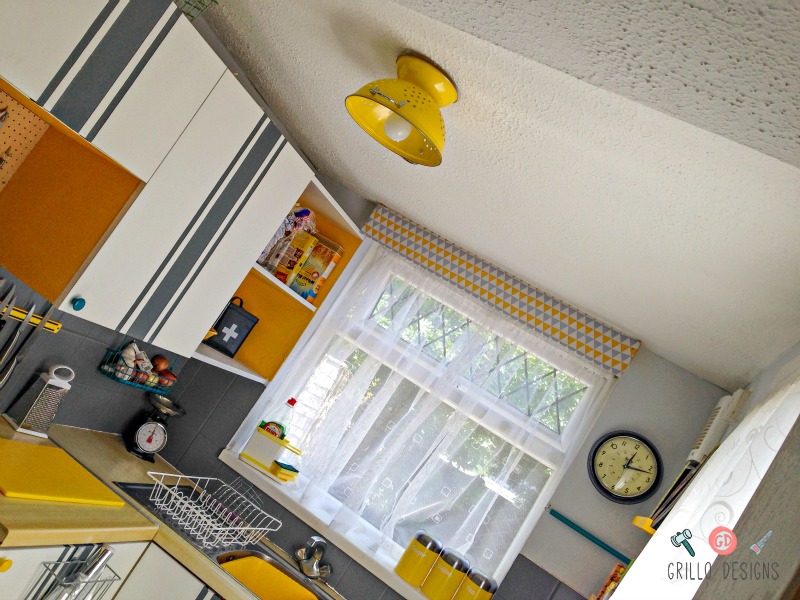
See that lampshade there? It’s actually a colander that I upcycled. I hope to have a tutorial for that soon!
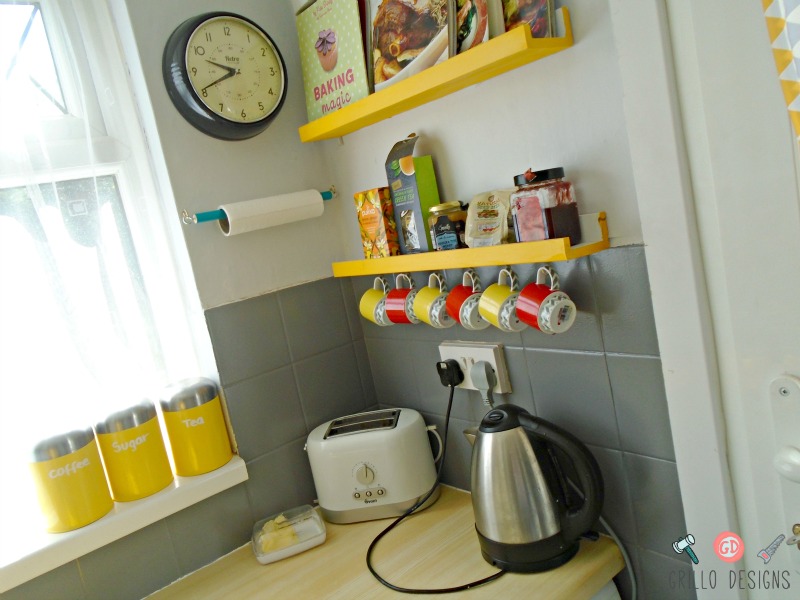
I painted the IKEA RIBBA ledges just to add more bursts of colour to the room. I attached little hooks to the underside of the shelves for the teacups.
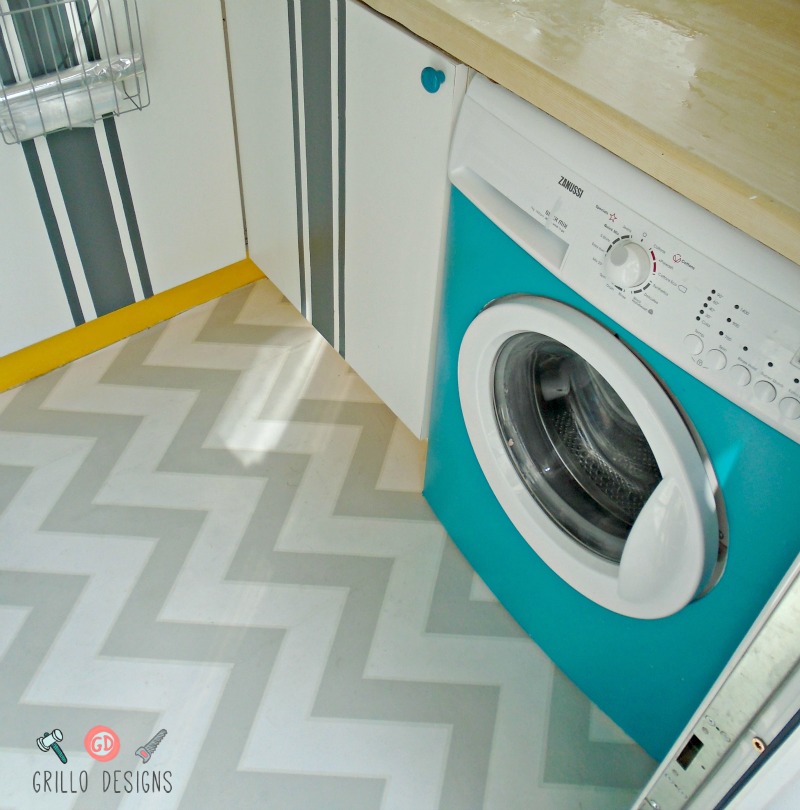
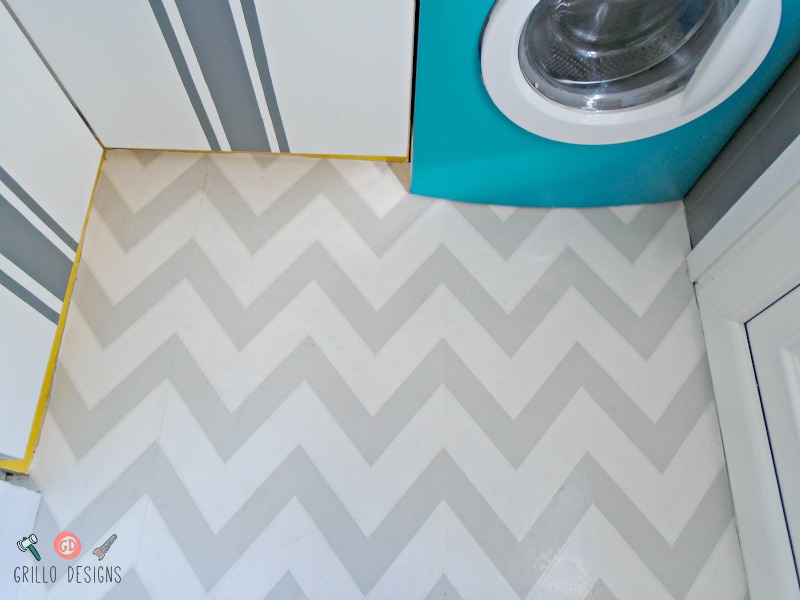
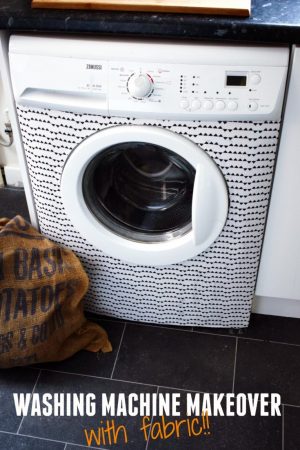
I also covered my washing machine with contact paper (vinyl plastic) to give it a new look. To see my tutorial for this, please see the washing machine makeover post.
These retro curtains were made by a lovely seamstress from Just Sewn For you. I hung them over the door leading to the garden to maintain some privacy.
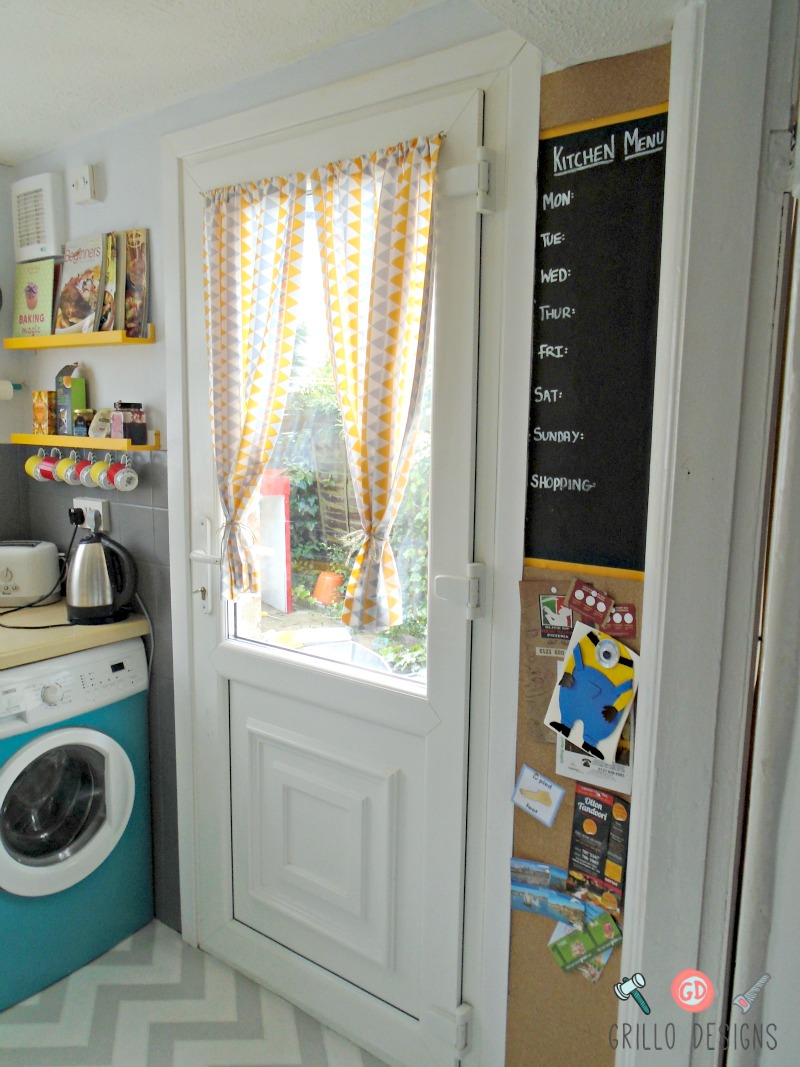
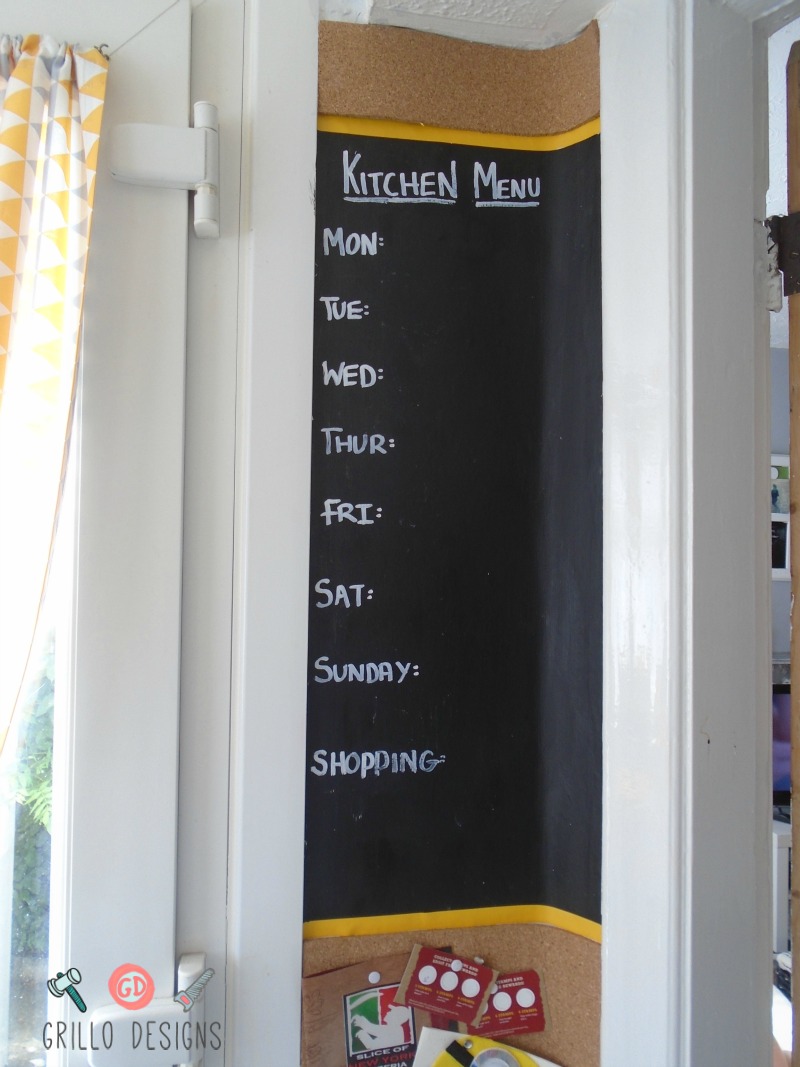
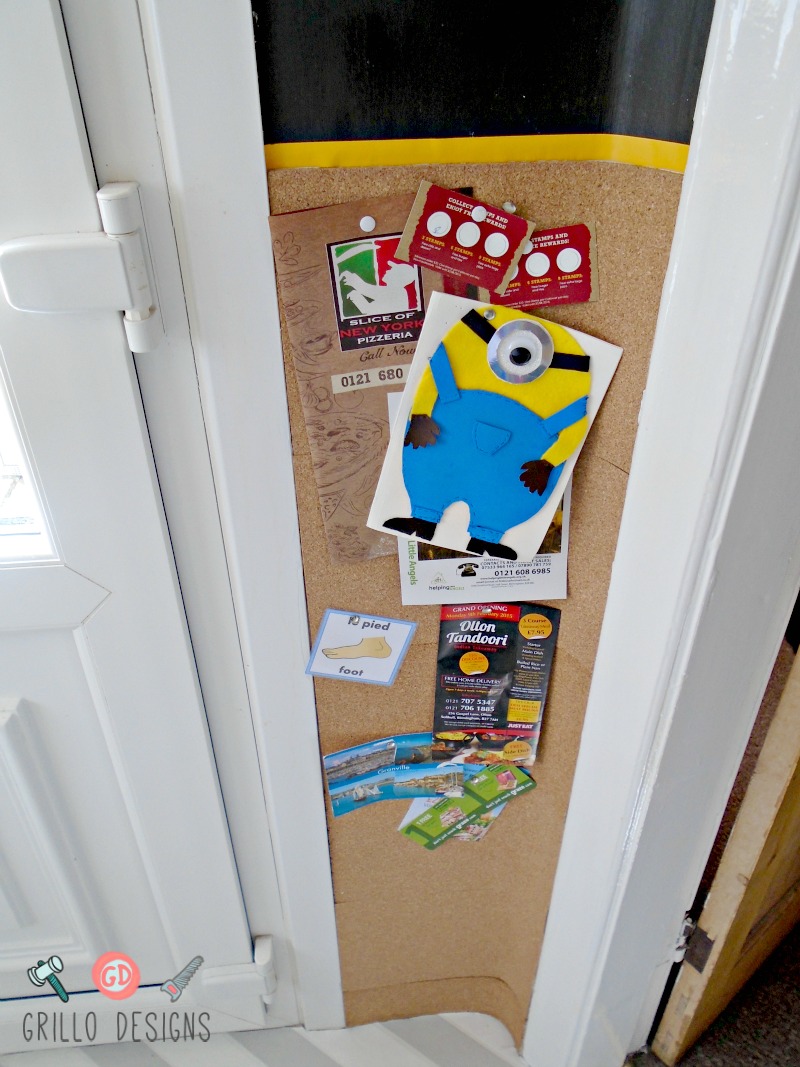
On one of the smaller walls between the back door and living room entrance, I created a chalkboard and cork board wall. This was quite handy for jotting down the week’s menu or pinning up food
I’m guessing you might have noticed the floor by now. A lot of people have asked if it is painted, but it isn’t. It’s actually just chevron wallpaper! I explain how I did it in my Wallpaper Your Floor post.
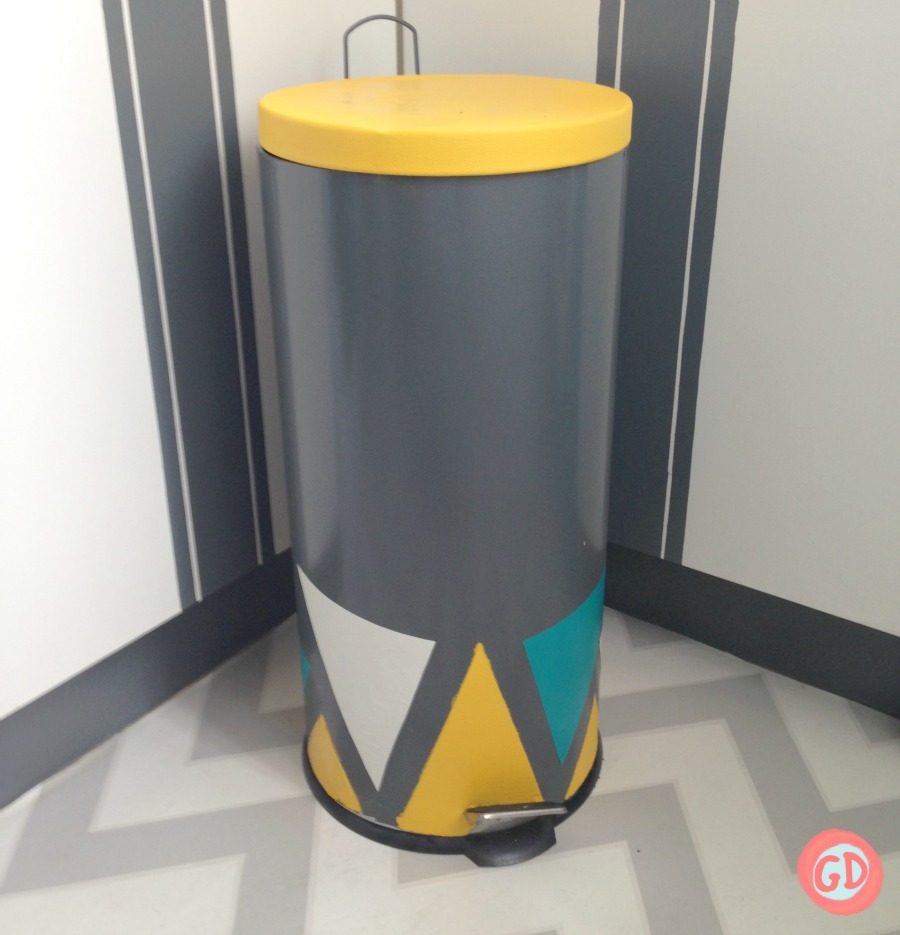
I even upcycled my silver rubbish bin/trash can to fit in with the decor. You can view the full tutorial here.
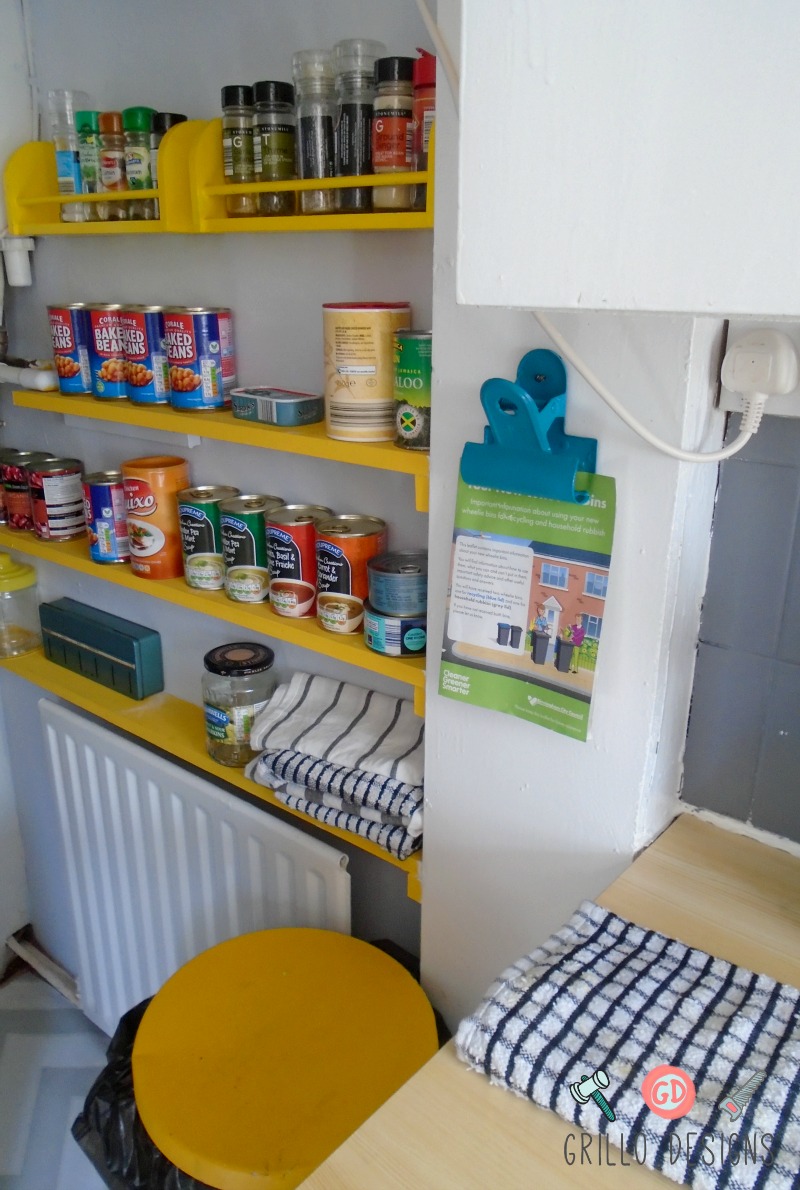
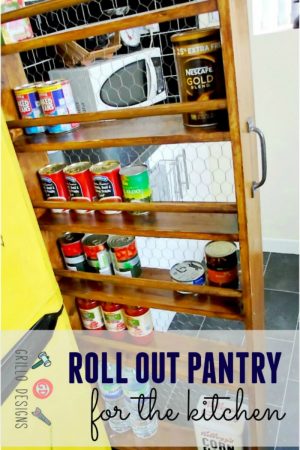
There was an area to the corner of the kitchen under the stairs that I used as a sort of pantry and also put my fridge there. We built in the small mini shelves and painted them yellow.
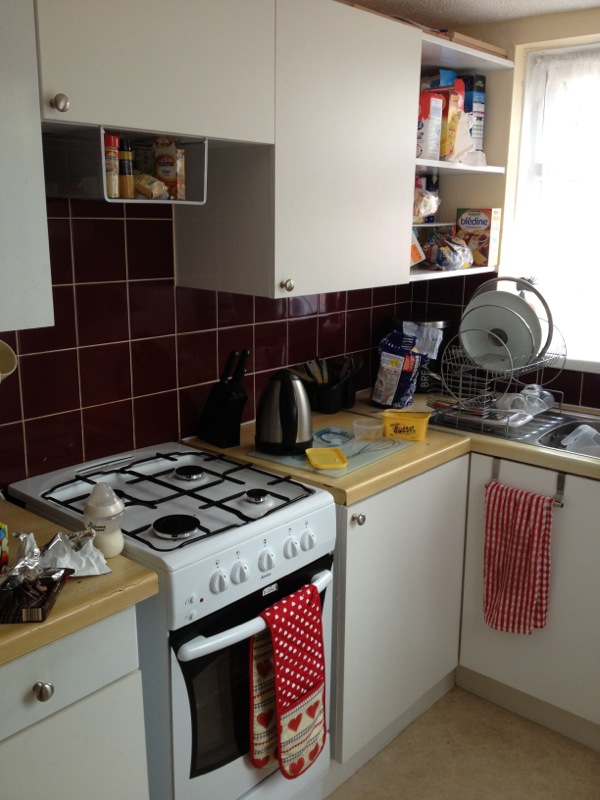
The kitchen really looks so different from what it looked like before. Here’s a before pic, but please don’t judge me. I’ll admit it prob wasn’t the best day to take a picture!
Painting the tiles grey was probably the biggest change of all!
[wp_ad_camp_2]
Adding in the finishing decor was fun too. As usual, I went to eBay to source it all.
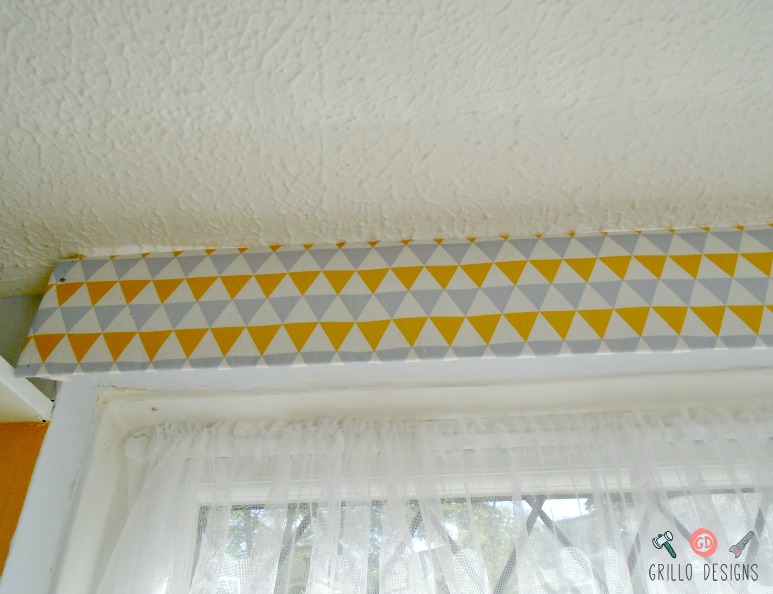
I used a similar fabric as the door curtains to make a very slimline window pelmet here.
Well, I hope you have enjoyed this kitchen tour. I would really appreciate a pin to Pinterest if you like what you see! Please feel free to leave a comment if you want to know anything in further detail.
UPDATE: My family and I have just moved from this property – into another rented accommodation. So new adventures and a new kitchen to decorate!


This retro kitchen makeover is too adorable for words!