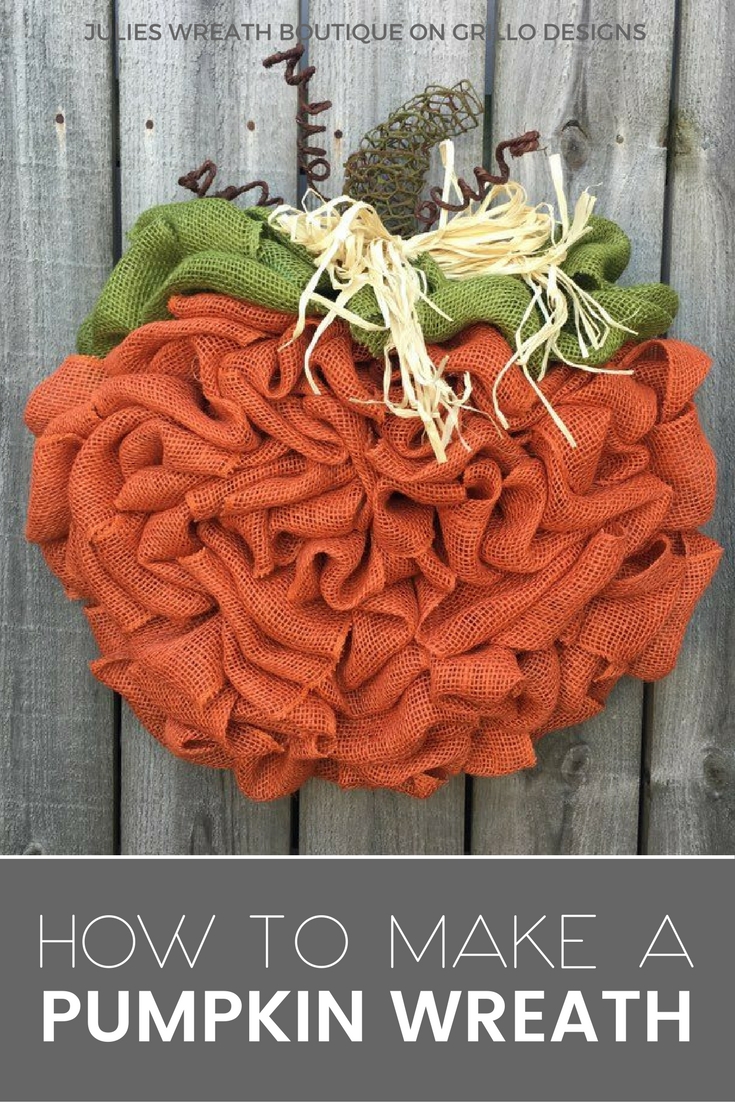
Autumn is the perfect time to try your hand at making a pumpkin wreath for your door. Julie from Julie’s wreaths Boutique is here today to show you how!
Hi all! Its Julie here!
You might remember me as the lady who shared the tutorial on the sunflower wreath early this year. Today I’m here to show you how to make the perfect DIY pumpkin wreath for Fall.
I also have a video tutorial at the end of this post – so don’t panic if you get a little lost in these steps!
SUPPLIES NEEDED TO MAKE A PUMPKIN WREATH:
This post contains affiliate links for your convenience, see full disclosure here

- 20-25 yards of 6″ Orange Burlap : can be bought here or here. Craft outlet is also a good place to buy.
- 5-10 yards of either 4″ or 6″ Green Burlap or Brown Burlap, your choice
- 1 – 12″ Wire Wreath Frame
- 1 – 8″ Wire Wreath Frame
- Orange and Green Chenille Stems
- 4 – 8″ Zip Ties
- Roll of Raffia Ribbon
- Brown Grapevine Wire
- Green Chicken Wire 4″ Ribbon: Hobby Lobby or here
- Wire Cutters
- Scissors
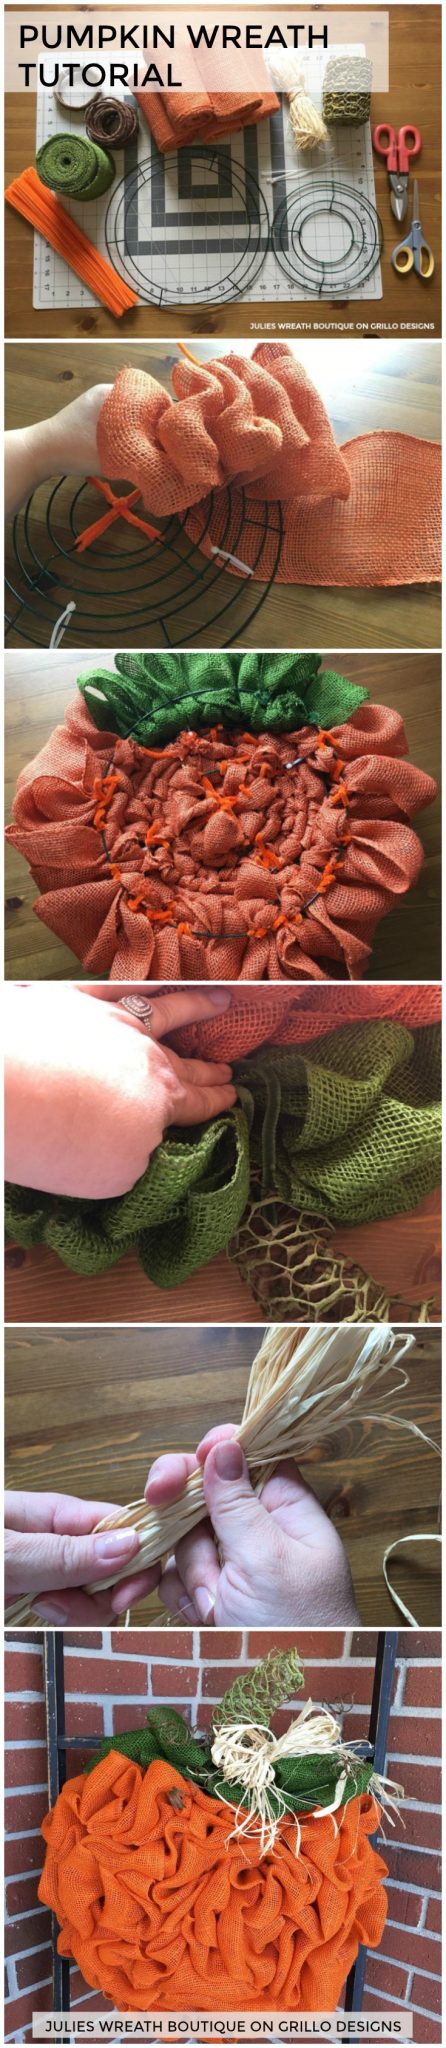
HOW TO MAKE A PUMPKIN WREATH:
STEP 1: Take your wreath forms and combine them using the 4 zip ties to make one solid wreath form. Then take 2 orange chenille stems and form a grid across the middle.

STEP 2: Weave a chenille stem through the edge of the orange burlap and attach. Next twist the chenille stem on the back of the wreath to make a strong secure twist.

Once your burlap is secured to the form you can pull through a loop underneath the wreath form.

Continue to do so till you reach the middle of the wreath.

Once you have made it to the middle you will secure that loop with a chenille stem, I cut mine in thirds for this this purpose.

At this point you will go back to the outer rim of the form using the same technique to pull up the loops from underneath of the frame.
Once you get to the outer rim you will need to secure the loop with another chenille stem.

Twist the burlap and make another loop for your outer rim and secure it with a chenille stem. It’s important to push over your work and make room to fill the frame with nice size loops to create a full effect.

STEP 3: Continue to make your loops ensuring you secure your center loops with a chenille stem. You will only have 4 center loops by the time you finish this wreath.

Depending on the brand of burlap used you may need to start a new roll, so just secure the end of the burlap to the wreath form using a chenille stem, twist it securely onto the form and repeat the same with a new roll of burlap. I used about 25 yards total of this brand of burlap.

STEP 4: Leave a top section of the wreath form bare for your green top to your pumpkin, if you would prefer a brown burlap that would be nice as well.

Secure your green burlap using a chenille stem of a similar color and attach it underneath the form.
Pull through your loop and twist your burlap and pull through a loop under the section underneath or on top of your previous loop, either direction will be fine. I do tend to twist my burlap between loops to give it more structure.
When you get to the end you will need to fill the outer rim with a few more loops because the outer rim area is longer and you will secure them like you did the outer rim of the orange burlap with more chenille stems.

STEP 5: I purchased this green covered chicken wire ribbon from Hobby Lobby to make my stem.

Start rolling from one end and securing it by turning the actual chicken wire inward to hold it in place. Start smaller until you have the desired length and width of your stem. At this point I molded it to look like a pumpkin stem.

I attached it to the back of the wreath frame using chenille stems and then took one more stem and ran that through the front of the stem underneath the green burlap.
I then attached it to the front of the wreath form to make a more stable stem.

STEP 6: Take Raffia ribbon ….

form a loop and then form another loop and secure it with a chenille stem.
At this point you can leave it but I took some brown wrapped wire and wrapped around to cover my chenille stem. Take your finished bow and attach it with your chenille stem to the base of your pumpkin stem.

STEP 7: I took about 12″ -15″ long pieces of grapevine wire and made loops around my finger to the desired look and then stretched them out and secured it onto the base of my pumpkin stem.

NOW HERE IS THE VIDEO TUTORIAL FOR THIS PUMPKIN WREATH
And thats it. If you have any questions about this pumpkin wreath, please leave me a comment below. You can also find me at the links below:
MY ETSY STORE – where you can buy this wreath!
THIS BLOG HAS RECENTLY BEEN VOTED FOR BEST HOME AND DIY BLOG – I would love if you could spare a moment to vote for me here! Thank you – Medina Grillo


LOOKING TO DECORATE FOR FALL? THESE DIY PUMPKINS FROM DRYER VENTS ARE PERFECT!


can you use floral wire instead of the pip cleaners?
Fabulous job! I simply put, love them all! Excellent job!!!
Another very cool DIY!!! What inspired u?
This was created by Julie 🙂
CAN YOU DO A VIDEO OF THIS TUTORIAL, I REALLY LIKE THIS ONE, I’VE BEEN TRYING TO FIND A WAY TO DO A PUNMKIN WREATH WHERE ITS REALLY FULL… ITS KINDA OF CONFUSING FROM THE PICS SO IF CAN MAKE ONE I WOULD REALLY APPRECIATE IT… THANK U…
I do not have a video on this method right now but hope to do one in the future.
The links to purchase the burlap don’t work in this tutorial and the sunflower tutorial. I did find it on a site that wanted more for shipping than a roll of burlap costs!!!! Hobby Lobby and Michaels don’t carry the burlap in 10″ rolls! Would love to make these two projects but can’t find the materials!!!
Hi Dayle
Sorry about the links, I have updated them all so they should be working now
You can also try an online store called Craft Outlet
Hope that helps!