
Sharing a simple tutorial on how to make a DIY candlestick holder that than can be used as a centrepiece for your table settings. Not kidding when I say this might be the easiest DIY project to try this season. **This post has been sponsored by Ronseal
. . . . . .
Tis the season for candles.
I love the feeling candles bring to a space. A cozy winter wouldn’t be cosy without candles. Not only do they give ambiance, but they also fill a room with your favourite smelling scents.
Recently I’ve become a little obsessed with buying and lighting candle sticks. I own a few candlestick holders, but nothing big enough to hold more than 10 candles at at time – like the one I’m going to share with you today.

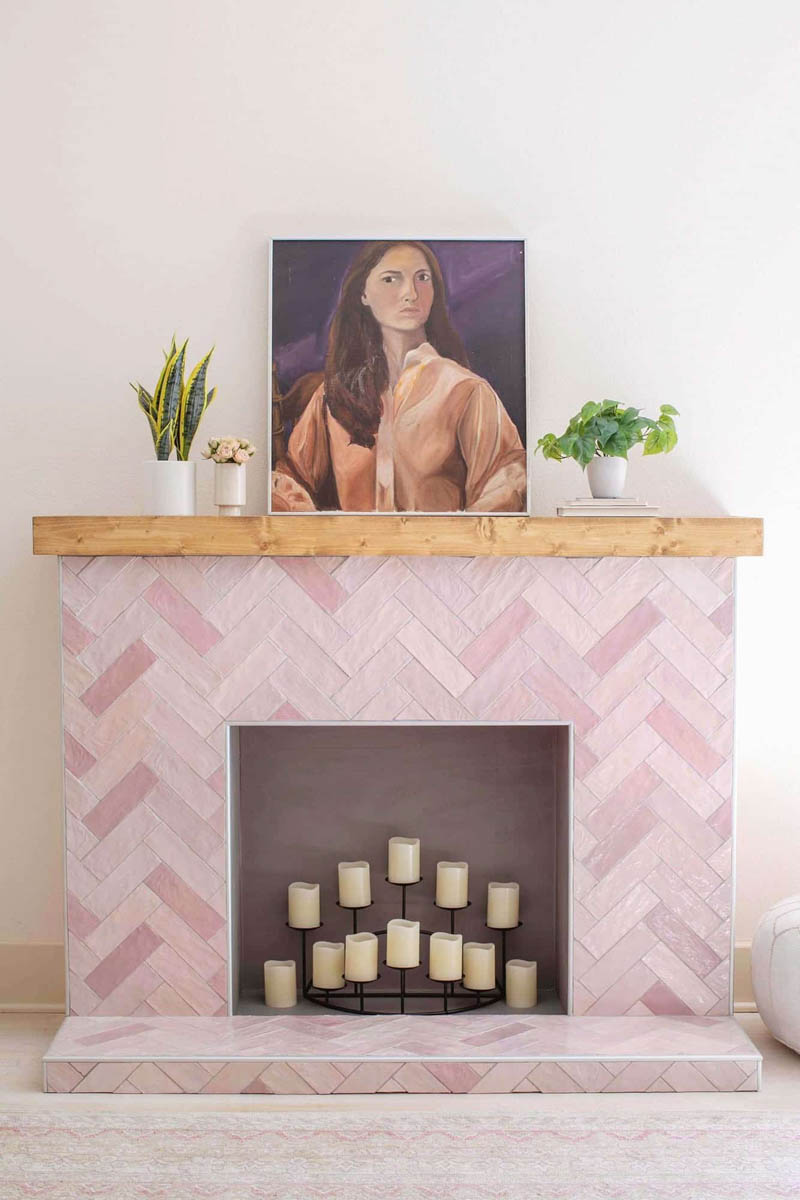
This DIY candlestick holder makes a huge statement when added to your mantel, dining or coffee table. I went for a timeless checkered finish using different Ronseal stains for a more vintage feel. The great thing about this candlestick holder is that it can be customized to suit your size and style. And did I already mention . . . that its really easy to make?
No kidding . . see tutorial below.


MATERIALS NEEDED:
This post may contain affiliate links. Please see my disclosure page here
- Ronseal walnut varnish
- Ronseal medium oak varnish
- Paint brush
- Cloth
- Drill with 18 ” and 20 “ speed drill spade
- Sanding machine . . . I love my orbital sander
- Sanding paper
- Kilm dried sawn softwood 4.7 cm x 4.7 cm
- Mitre saw or regular manual saw.
- Clear Wood glue
- 2 clamps
Optional:
- Vinyl for cutting diamond template.
HOW TO MAKE A DIY WOODEN CANDLESTICK HOLDER:
1. Cut the wood to size using your mitre saw (or manual saw . . whatever you have to hand!)

I cut my wood to 2 x 50cm lengths (see below image).

2. Sand the wood edges and corners for a smooth finish using the orbital sander

3. Connect the two pieces of wood together. Apply wood glue to one side of the wood, and place firmly together.


Use clamps to help the wood to stay together . Leave to dry for 3 hours.

4. Once dry, remove the clamps.
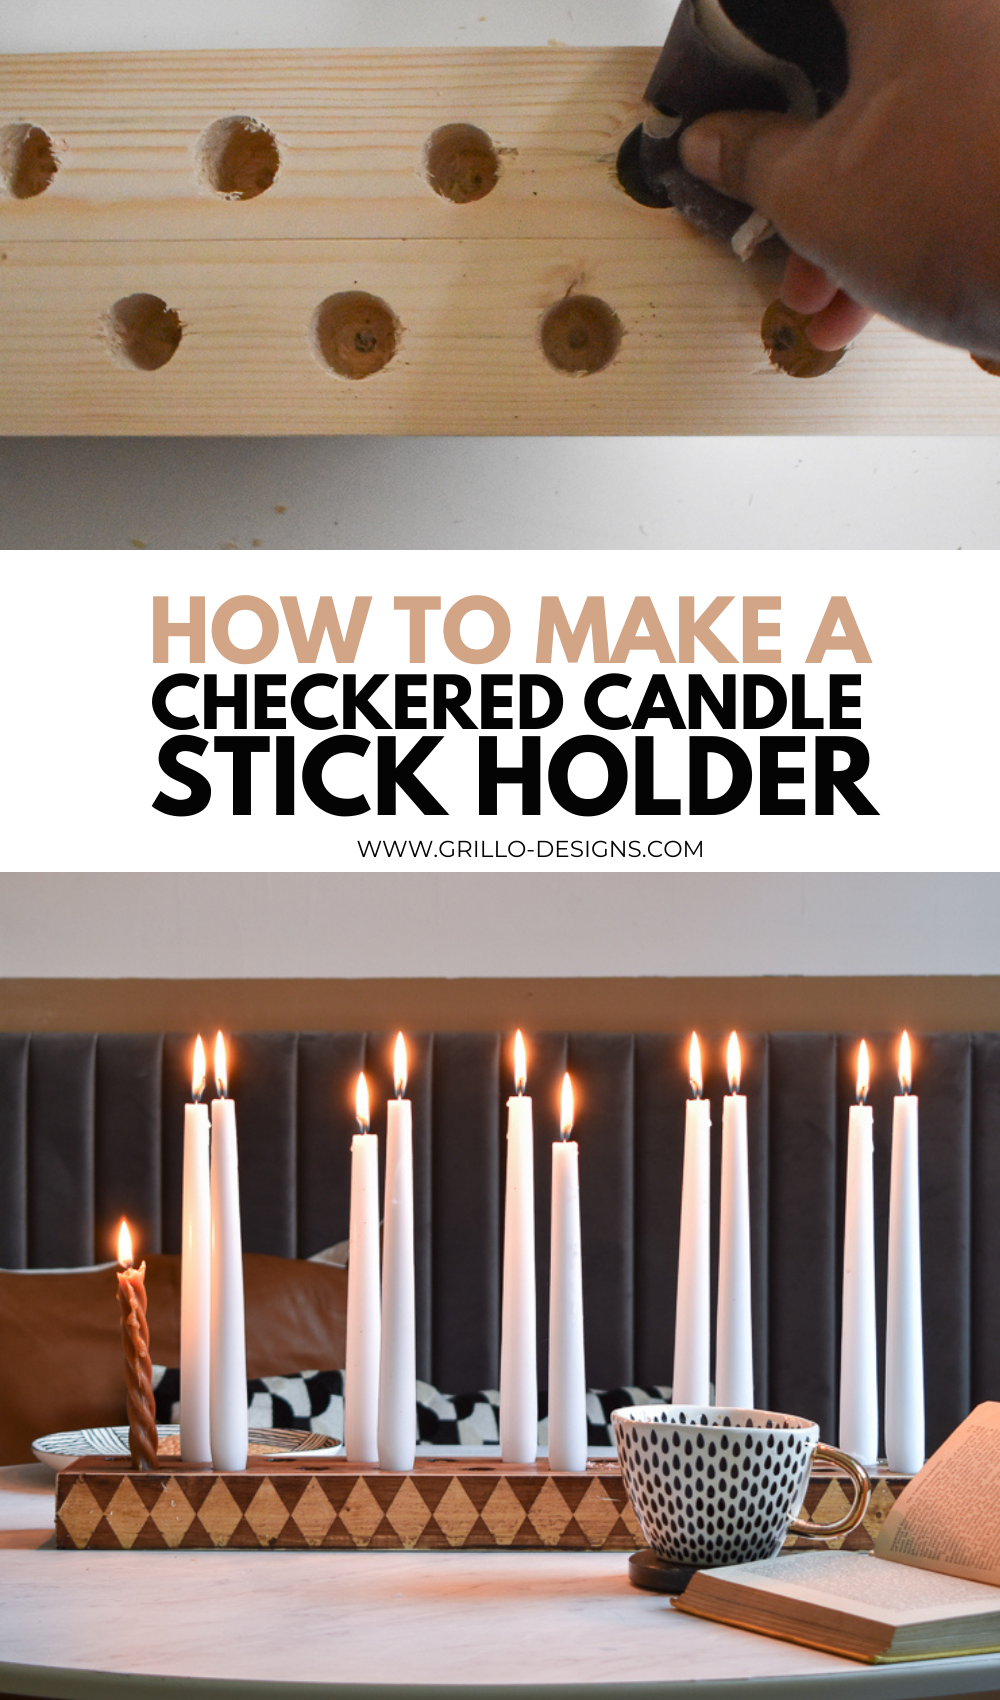
5. Measure and mark where you would like to make your holes with a tape measure.

I left 2 inches between each cross I made, and staggered the holes . 20 holes in total with 10 on each side.

6. Attach the spade drill and drill straight down into the wood (about an inch and a half depth). Make sure to hold your drill steady and apply a lot of downward force. I struggled with making the first hole (the drill got stuck in the wood- so to avoid this, ensure you reverse drill once you are happy with the depth of your hole) but it got easier the more times I did it.


7. Sand all the holes again. You might want to use sandpaper to get into the insides of the holes.

8. Next the fun part. . . staining with the Ronseal varnish. You probably already know how much I love to use Ronseal varnish from previous project . . . its definitely my go to brand for varnishes and stains
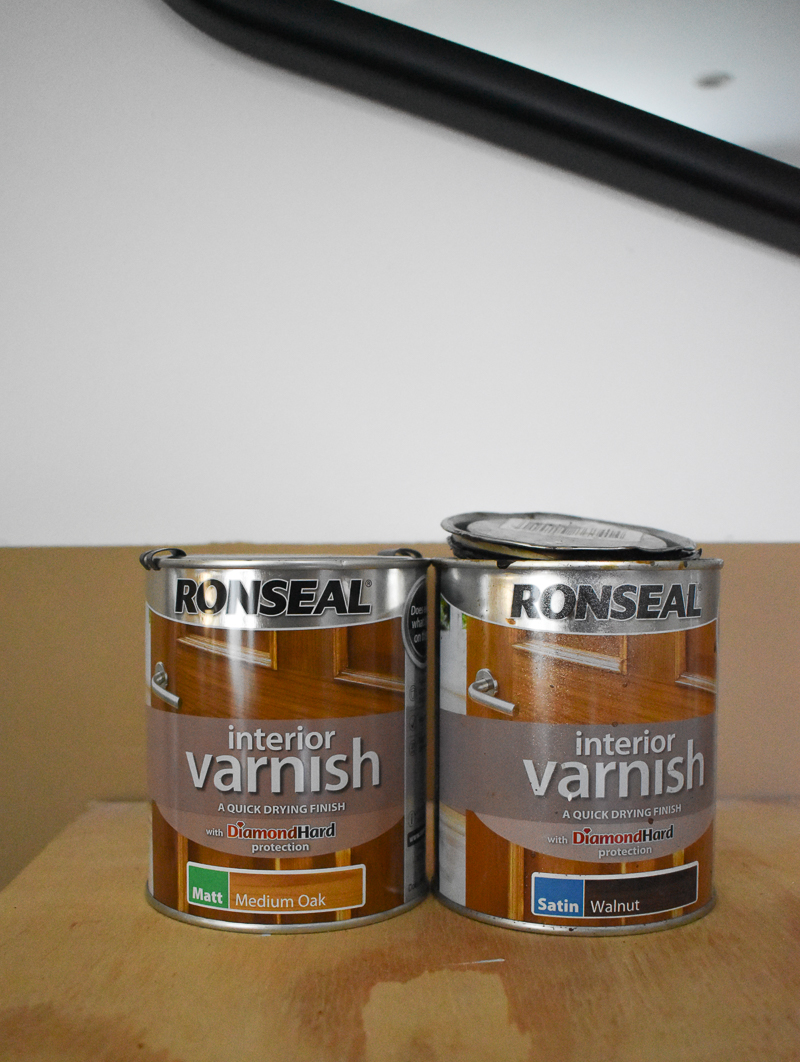
Start off with the lighter medium oak varnish and apply directly to the the entire surface of the candlestick holder. I used a paint brush for the first coat and a cloth to wipe away any excess.

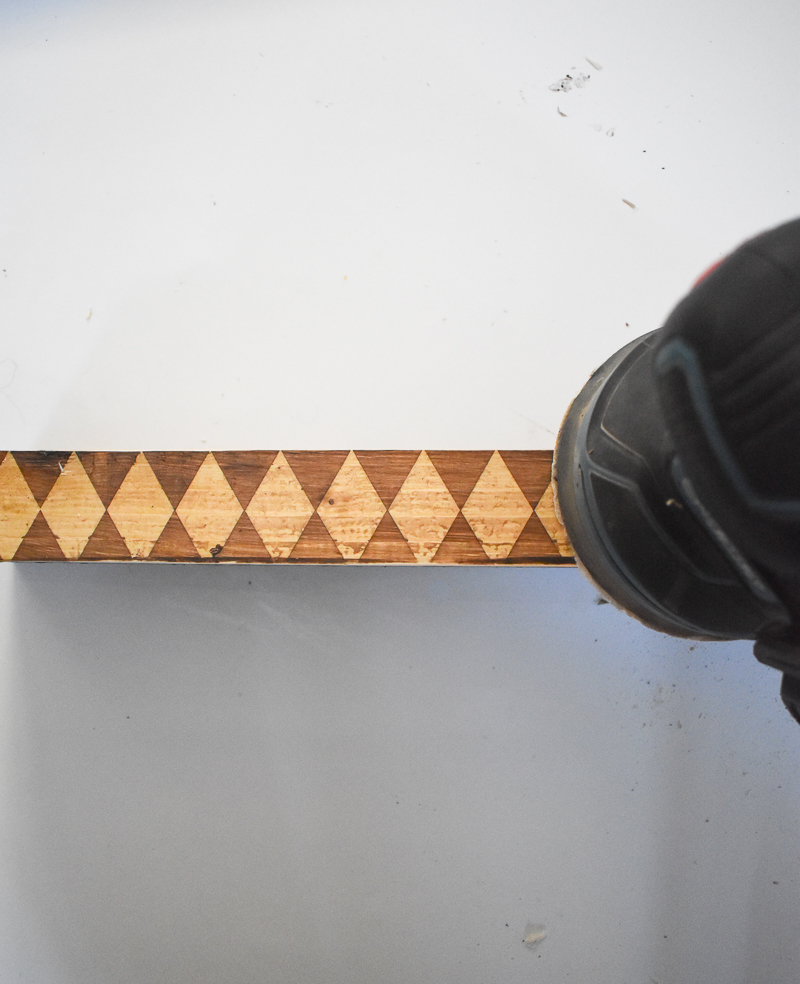
9. While the stain is drying, grab some vinyl paper and cut out diamond shapes. I used my Cricut Maker for this but you can also do this manually if you have a template. Here’s the direct link if you want to do this via Cricut . Vinyl is the best material to use, to endure the stains doesn’t leak through when applied.

10. Stick the vinyl diamonds to the sides of the candle stick holder.

11. Apply another coat of stain to the uncovered parts of the wood, this time with the darker walnut Stain. Apply at least 2 coats.
12. Once the stain is dry, remove the diamond shapes and you have yourself a two toned checkered rustic candle holder. The great thing about Ronseal is that you don’t need to seal after as it already has a varnish built in.
13. You can do a final sand for a more weathered vintage look!
Now add in your favourite candles!
You can see more details on this dining space with the custom seating here. Also that table top is faux marble . . check out my tutorial here!


***This post was sponsored by Ronseal. I received payment for my time creating this post. I only partner with brands I LOVE and think you will LOVE too! All ideas, photos and opinions are 100% my own.

If you liked this DIY CANDLE STICK HOLDER, click here to save this post to your pinterest board.

You might also like:


I adore all you do! Thanks for sharing with us. Please be safe; heard you’re on lock down in the UK. Try to have a Happy Christmas! From Idaho (summer) & Florida (winter), USA.
Wow wow wow!! I love the diamond pattern on the edges I never realized thats how it was done! So doable! Great project!!