This project was submitted by Lezani Meyer who is a member of our Home Decorating, Upcycling and DIY Facebook group. These Dryer Vent Pumpkins are super easy to make and are a great addition to the inside of your home or porch this Fall (or Autumn as we call it here in the UK)!

What you need to make a dryer vent pumpkin:
- Dryer vent
- Spray Paint – (Your choice)
- Old branches
- Dried moss
- Leather man multi tool
- hot glue gun (optional)
How to:
Take a piece of dryer vent and put the two ends together to make a circle..it should end up looking like the shape of a pumpkin. Large vents make bigger looking pumpkins and smaller vents make smaller ones

I made them quite tight, that way your stem/stick doesn’t need to be glued, you can just press it in firmly and it holds as the product is very light weight. Fold edges over each other and secure.
I just pushed the one into the other and bent the top wire over a bit with a leatherman too

Spray with desired colour – I used Rustoleum spray paint but you can also keep them silver and put silver glitter over them. Stems are branches from the garden and I used dried out moss around stems. You can also use a cinnamon stick for a stem if you like.

If you make them looser, you can use it as a wreath and you can also wrap them with fabric or stack them on top of each other.
And VOILA your project is done and ready to go – easy peazy DIY dryer vent pumpkins!

‘ABOUT LEZANI’
I live in New Zealand, have 3 boys and work full time. I am our b-fit coordinator at work and organise events and fundraisers and love making stuff to decorate the office on themed days or fundraisers.


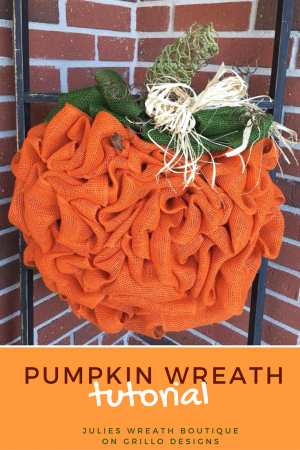
 IF YOU ARE LOOKING FOR OTHER EASY DIY DECOR IDEAS FOR FALL (AUTUMN), YOU MIGHT LIKE THESE PROJECTS BELOW!

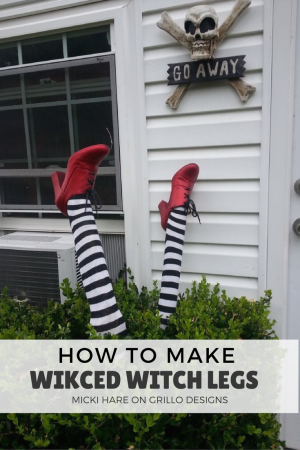
CLICK HERE TO FIND OUT HOW TO MAKE THESE DIY WICKED WITCH LEGS


Oh wow! Really innovative! I need to expand my upcycling DIYs beyond glass jars and chopsticks!!!