No Drill DIY Magnetic Knife Rack. This post has been sponsored by Sugru.com.
I can’t tell you how long I’ve wanted a magnetic knife rack for my kitchen wall.
OK that’s a lie. I can tell you.
5 years and a month if we’re being really specific
…. basically ever since I moved into this property and made it my mission to create an intentional, joyful home . I’ll admit, that’s a long time to wait for something you know you’ll love right?
But here’s what has always put me off from having one in the past – the thought of drilling into the kitchen tiles to attach it to the wall. I imagined cracked tiles and/or being left with gaping holes (that don’t look any less grotesque because they’re filled in with polyfiller) should I ever decide to remove it.
You know I was also going to mention something about my security deposit too , but at this point, I feel like I’m too far gone. Have you seen my house? (Insert emoji with sweat)
Anyway, my point is, is that all that waiting has paid off because I’ve finally found a safe (and also removable way – yes renters take note please ) to hang a magnetic knife rack without damaging the tiles.

Sugru is a new find I’ll have you know, and I’ve already thought about 1000 different ways I’ll be using it in my home!
Its a hand-mouldable glue that sticks to lots of different materials, like ceramic tiles, glass and metals. They’ve just launched three newly refreshed kits (pictured above) that includes four packs of glue, some tools, a tin and a Sugru project book, packed full of easy-to-follow how-to guides. Its perfect for people who are new to the glue and/or are just in need of some inspirational projects to try in the house. If you want to get 10% off your next Sugru order, sign up to their newsletter here
I’m going to talk you through how I used Sugru to attach this DIY magnetic rack to the wall… wait actually no, let me show you how to make the magnetic knife rack first (I mean why buy one when you can spend £12666 making one right right?)

That was sarcasm by the way … it doesn’t cost that much at all. In fact it’s a relatively easy and cheap DIY to do (with the added bonus of customisation that you can’t get in a store FYI) .The only item you might need to go out of your way to buy are the magnets.
Right, let’s declutter those countertops (or drawers) with this functional and very stylish (ahem) DIY magnetic knife rack
MATERIALS NEEDED TO MAKE A DIY MAGNETIC KNIFE RACK
- piece of wood – I used wood from an old cutting board
- Sugru – white
- 1/4″ forstner drill bit
- hand drill
- 15mm x 4mm neodymium (x 25)
- painters tape
- superglue
- Level

HOW TO MAKE A DIY MAGNETIC KNIFE RACK
1. If required, cut your wood to size with a hand saw or mitre saw (if you have one to hand). I actually ended up using scrap wood from an old chopping board.
You can literally use any wood for this project as long as its thick and straight (nothing wonky). Also make sure that if you are using raw wood and want to stain/seal it, use a product that is food safe as your knives will be resting directly on its surface.
2. Measure and mark where you would like to drill holes at the back of the wood using a tape measure. I planned on doing two rows of 5 holes (10 in total), so I divided the length of my wood by 5.

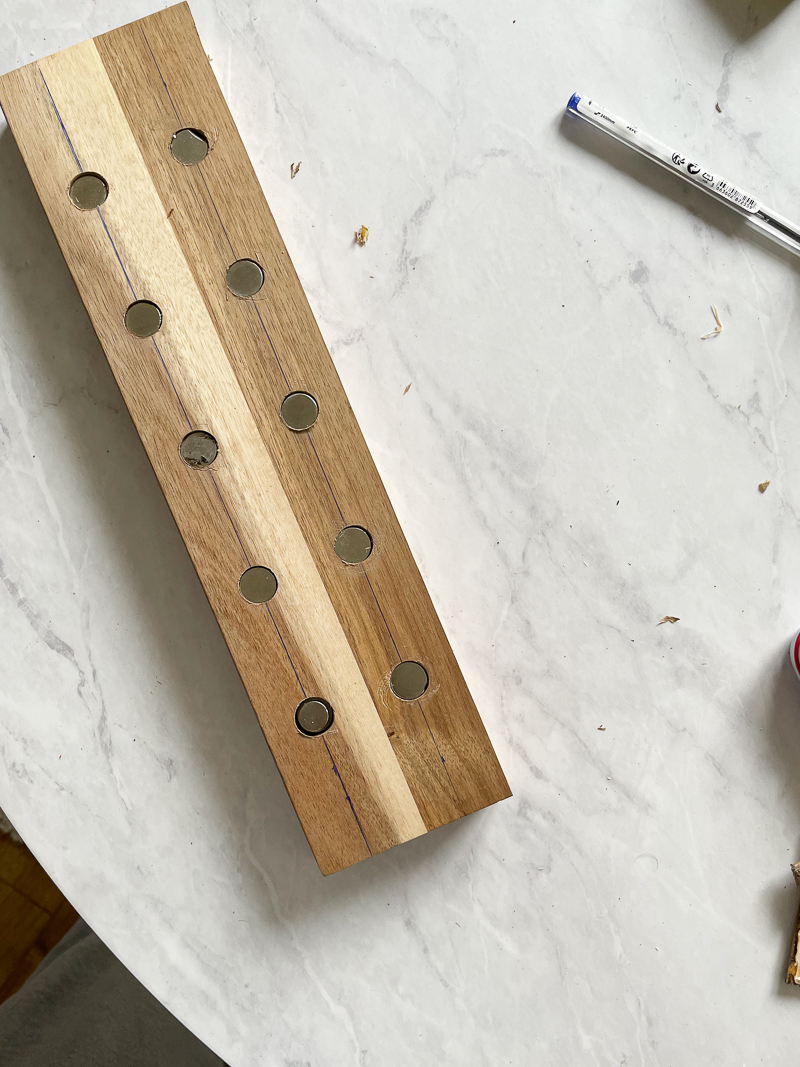
3. Drill 2 rows of holes on the back of the wood using the drill and the 1/4 inch forstner bit. Drill as deep as possible into the wood without penetrating through to the front so that the magnets will sit as close to the front surface of the wood as possible. You can use tape to mark the depth on your drill bit for consistency.


4. Next add a dot of super glue (or Sugru) to each of the holes and then place the magnets inside all going in the same direction (I used 5 magnets in each hole) to ensure the wood becomes magnetized and can hold the knives. You might find it easier to cover each end of the wood with your hand for this part to stop the magnets you’ve already placed in the holes from popping out.

5. Now the no drill hanging part.
This is where Sugru comes into play. I highly recommend using a coordinating color for your wall if you plan to eventually remove this rack, as it might leave some colored residue behind. I used white as my kitchen wall tiles are white.

6. Roll the glue into two balls in your hand, then apply to each end of the wooden magnetic rack in a cone shape. I actually drilled in two small holes to each end of the wood before applying the Sugru glue to give it more depth to grip onto.


7. Use a level to ensure everything is straight, before pressing the magnetic knife rack firmly into the wall tiles.

8. Use the masking tape as below to keep it in place. Leave this for at least 24 hours for the Sugru to set.

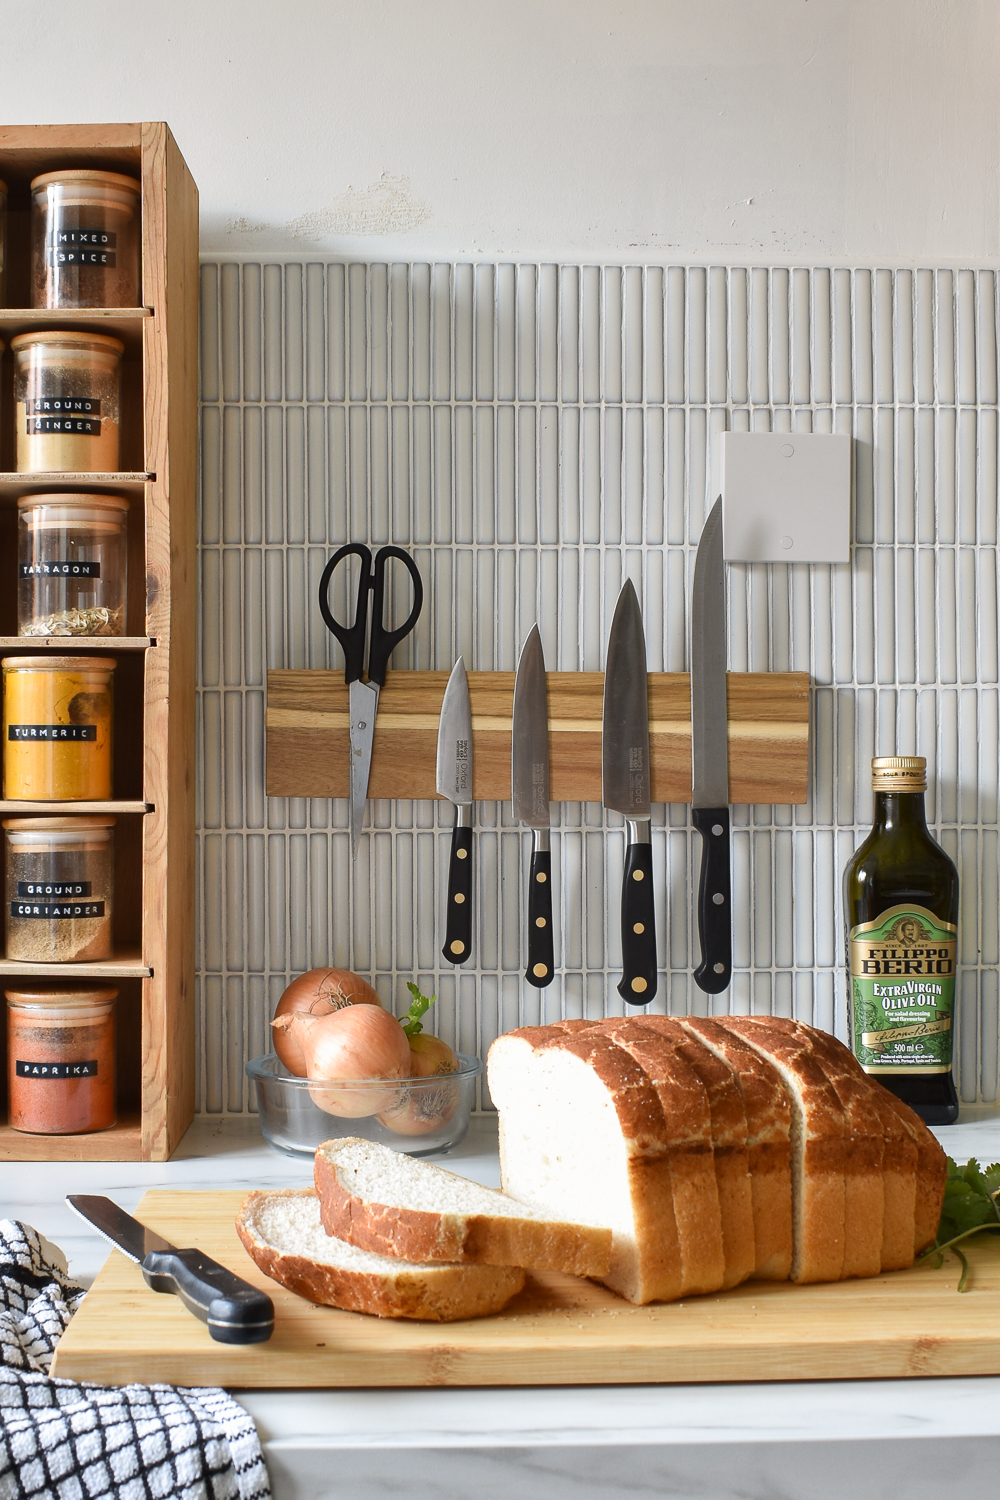
And you are done! Didn’t I say it would be easy?
Now its time to add your knives or other sharp objects and admire your handy work. Don’t mind my kitchen walls by the way, they are yet to be painted. The kitchen redecoration has been a slow process, but I’ll fill you in at another time.

What do you think of this project? Do you think you’ll give this project a try? Let me know in the comments if you’re tempted to try out Sugru if you haven’t before! Don’t forget, you get 10% off your next Sugru purchase if you sign up here!

***This post was sponsored by Sugru.com. I received products and payment for my time creating this post. I only partner with brands I LOVE and think you will LOVE too! All ideas, photos and opinions are 100% my own.

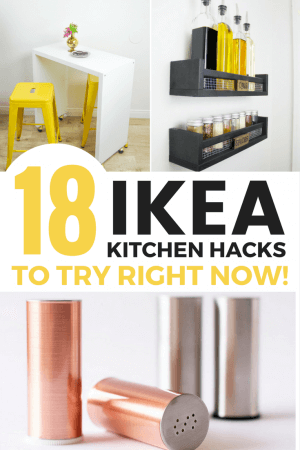
If you liked this DIY MAGNETIC KNIFE RACK, click here to save this post to your pinterest board.


This worked equally well with Command Strips but I’m not trying to sell Sugru.
That’s a treble clef, not a note.
Medina, this is perfect! I’m going to put it on my long long list of jobs to do. So simple!
Looks awesome. It’s something I will try, in’sha’Allah.
Oh this is so celver! I could do something similar in my sewing room to hold some of my cutting tools!
Thank you!
So simple and straight forward, thank you! I’m a bit skeptical about the holding strength of the sugru as it looks like white tack but will have a go at it. x
Wow, this is amazing… it seems too good to be true. Somehow I’m not convinced 😂 I need to try it myself to believe it. Definitely going to purchase a pack. The DIY knife holder looks fab x
So clever . It looks fab, Medina, and pretty easy to do too!