** AD | This DIY Window Plant Shelf tutorial has been sponsored by Gorilla Glue UK
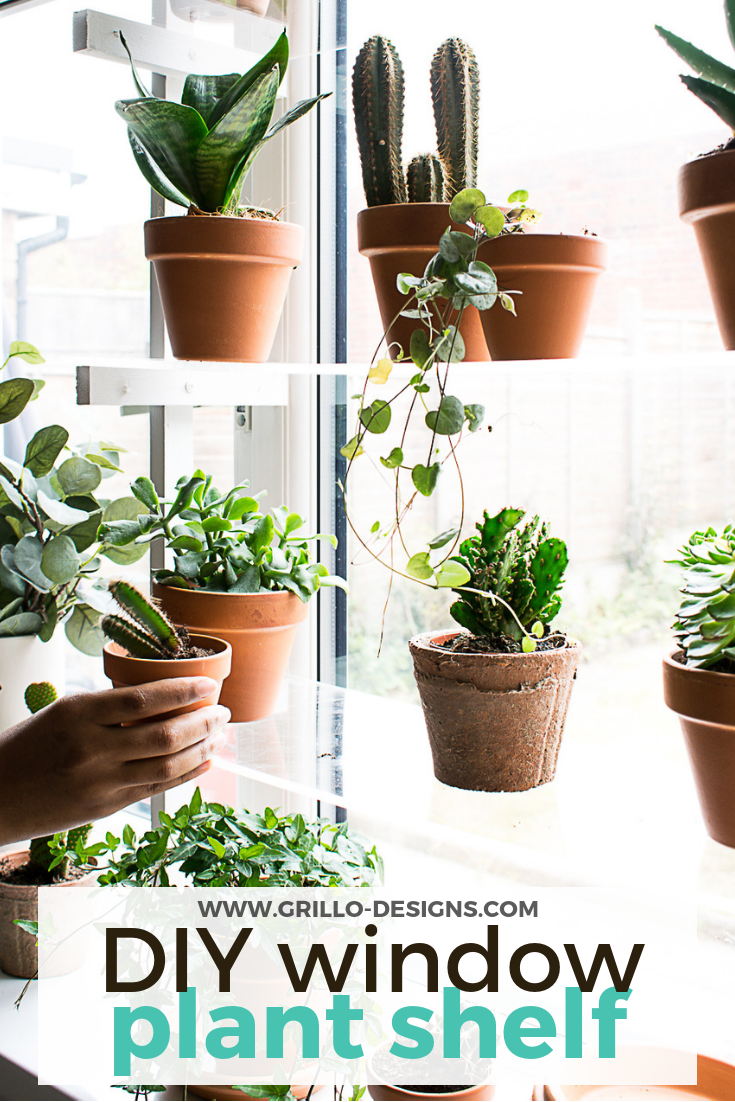
I keep doing this.
I keep making plant related DIY project as if I’m some sort of plant guru.
As if I can actually keep plants in my house alive longer than 3 weeks (it used to be a week so this is an obvious improvement)
As if.
Let me think back.
There was the baking tin herb planter, the IKEA hack shelf, and the ‘others’ . . . before you ask me where they’ve all ended up, I’ll just tell you. Dead. In the bin. God rest their souls.
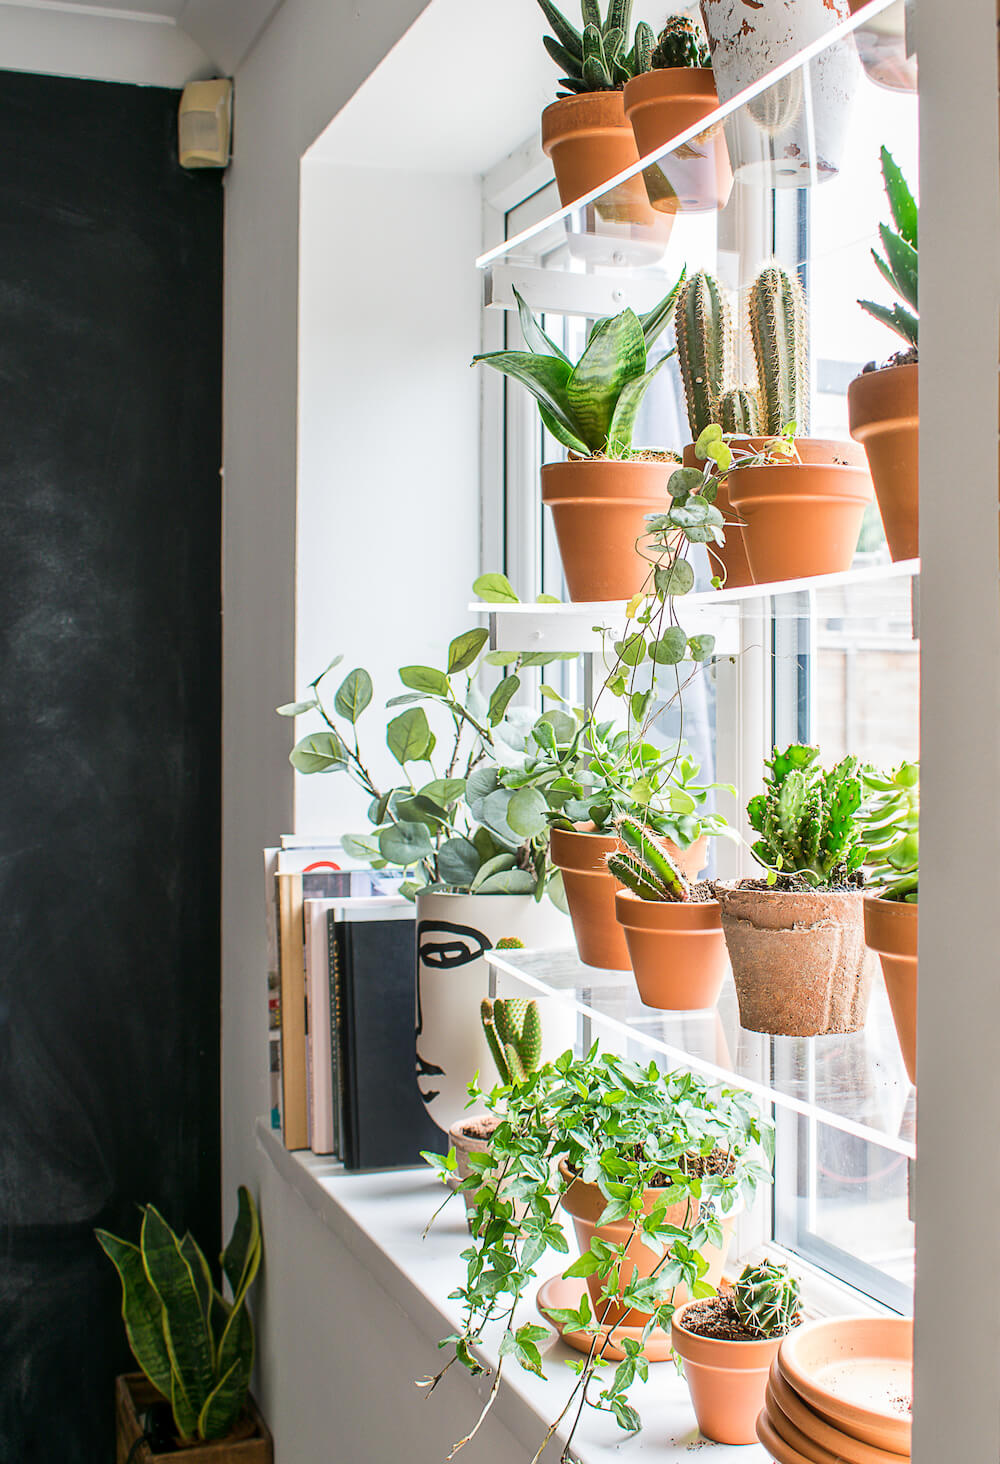
But this planter idea is different.
Why?
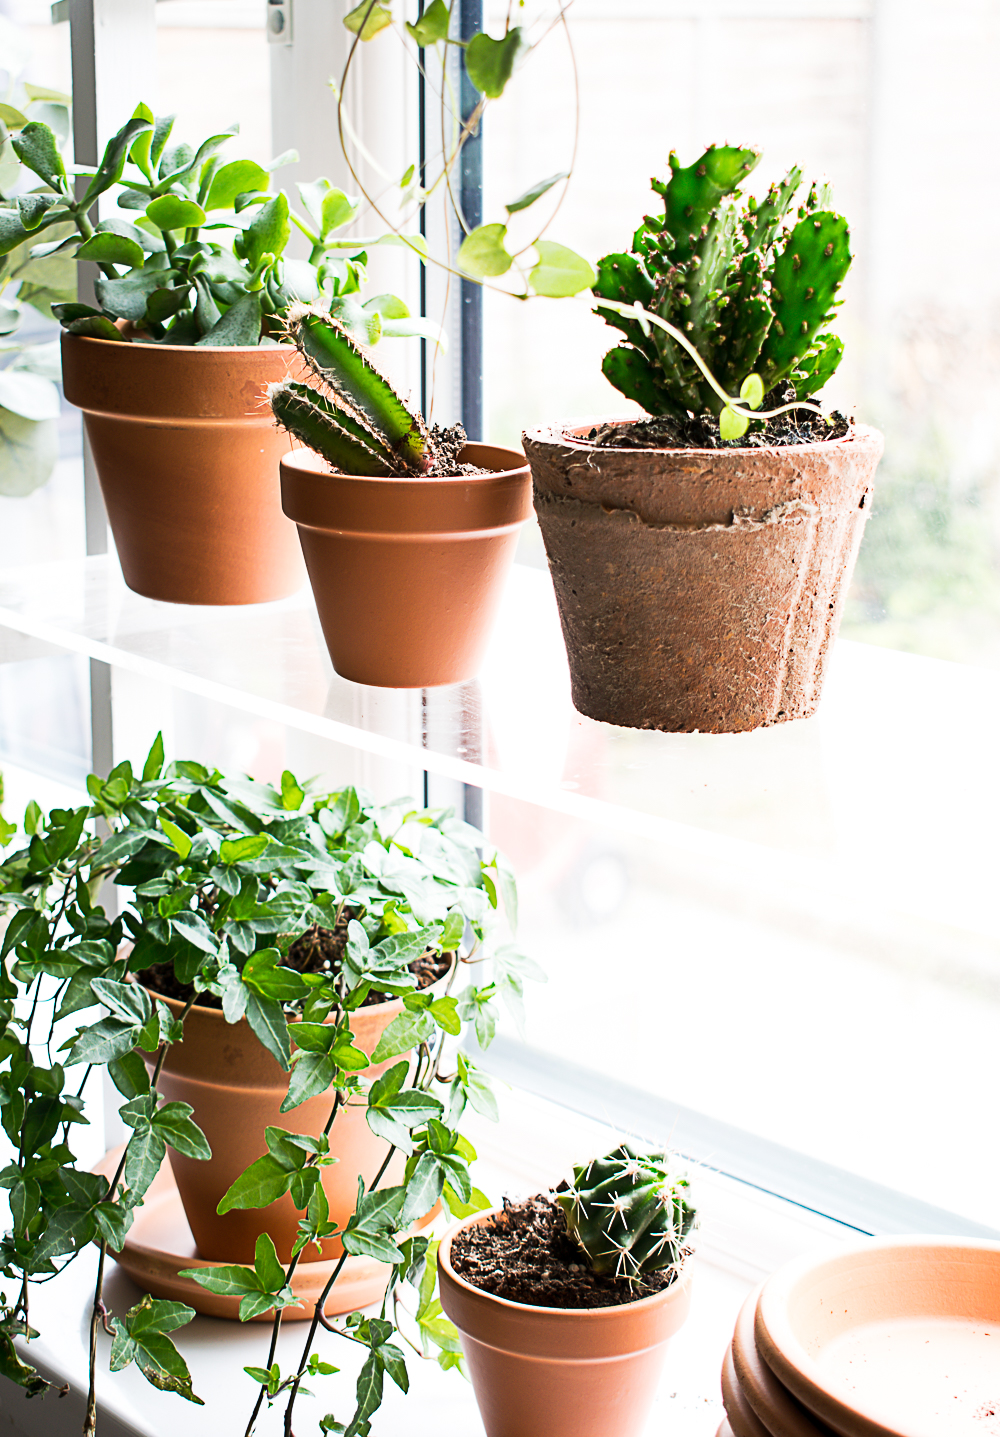
Well because this is literally shelves – in a window. A floating window plant shelf. Which basically means that these plants will get all the sunshine they will ever need. All I have to do, is remember to add water . . .
Note to self: ‘Siri set a weekly reminder for me to water my plants please.”
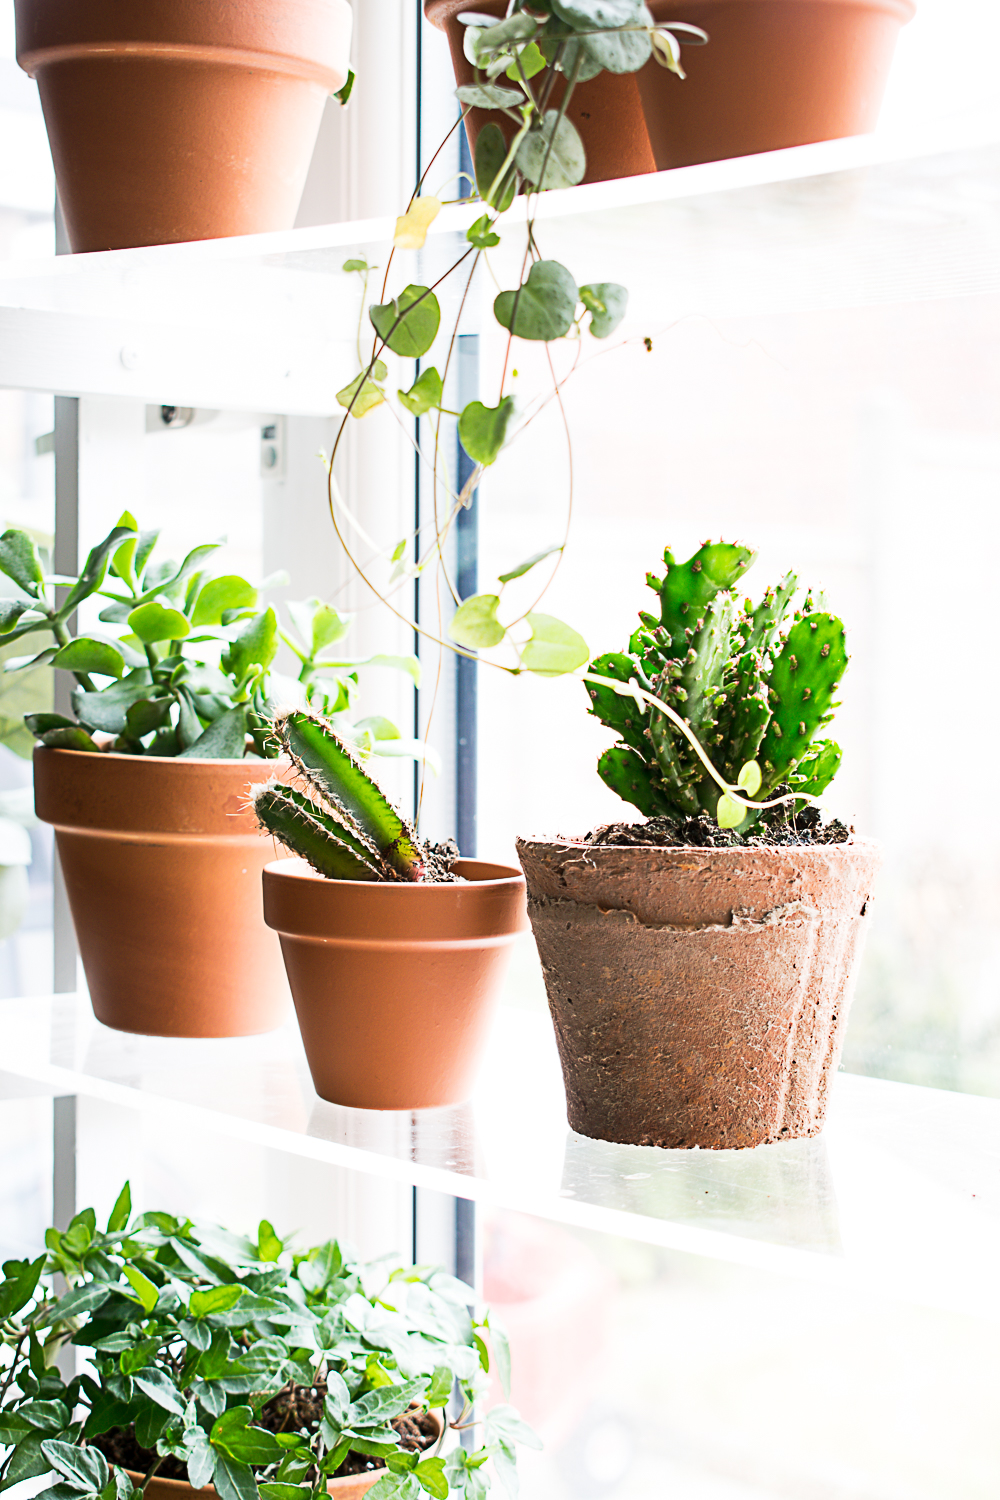
I chose to use acrylic for my shelves because it’s lightweight, easy to clean and safer than glass. Note: These acrylic shelves do bow a bit with the weight of the plants, but you can always buy thicker acrylic or can also double up on the thickness of each shelf by gluing two sheets together with Gorilla Glue Clear.
Materials needed to Make a Window plant shelf:
This post also contains affiliate links for your convenience, see full disclosure here
- Gorilla Glue Clear
- Palm sander
- Manual saw
- Drill – this one is my favourite brand to use
- Screws
- Paint (white) and paint brush
- Sawn Kiln Dried Timber 19mm x 32mmmX 1-8m (cut to size) – I buy my wood from Wickes
- Poly-acrylic sheet – cut to size (w: 200m x d: 6mm (1/4″)) which you can order online or buy from local hardware stores
I’m aware all windows will vary in size depending on where they are placed/where in the world you live in so feel free to adjust my material dimensions to size
HOW TO MAKE
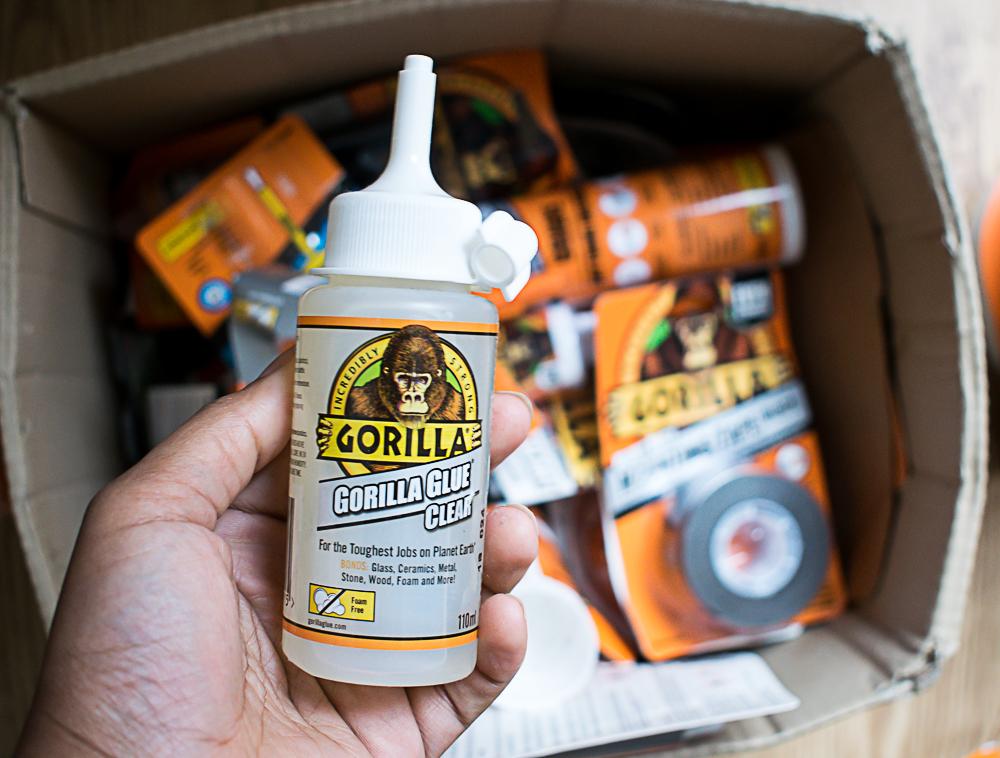
My glue of choice for this project was Gorilla Glue Clear. As it says, this glue dries clear making it ideal for this type of shelving that would be composed of acrylic sheets
To start, measure the width and height of the window alcove .
I decided I only wanted to use one side of the frame to create this plant shelf as the other half needed to have easy access so the window could be open and closed when required.
Next, create your own brackets for these shelves.
I cut the wood to size (200mm wide) using the manual saw to create 6 brackets (I planned to have 3 shelves , so two brackets per shelf)
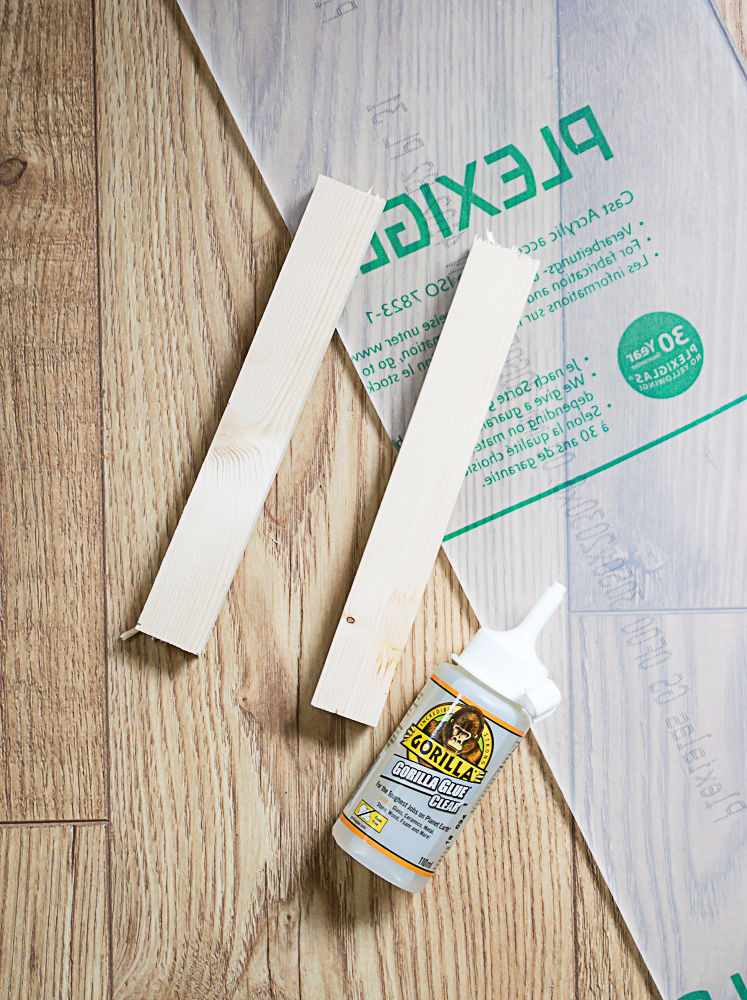
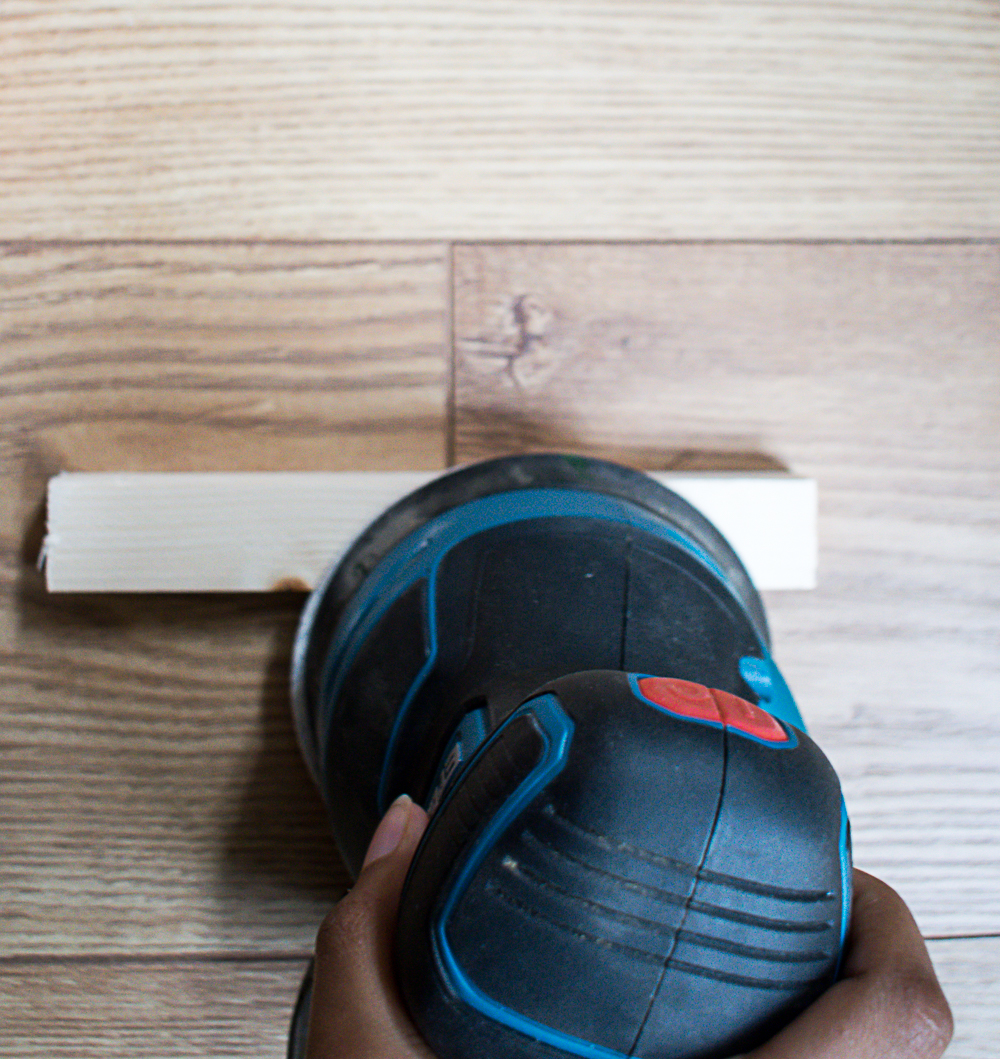
I also sanded the edges of the ‘brackets’ to get a smooth finish.
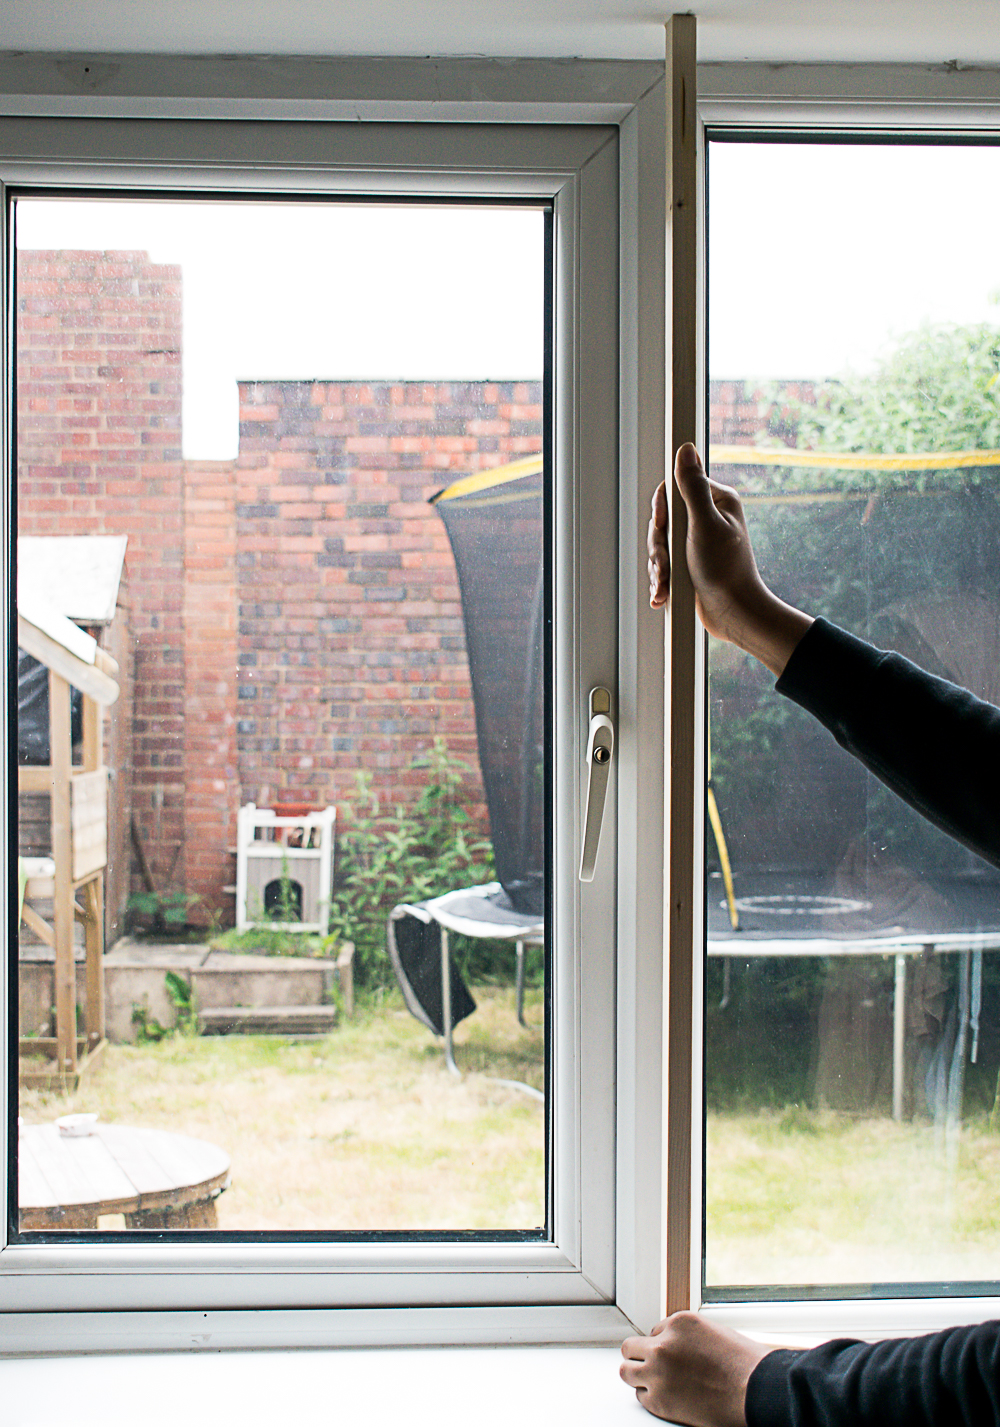
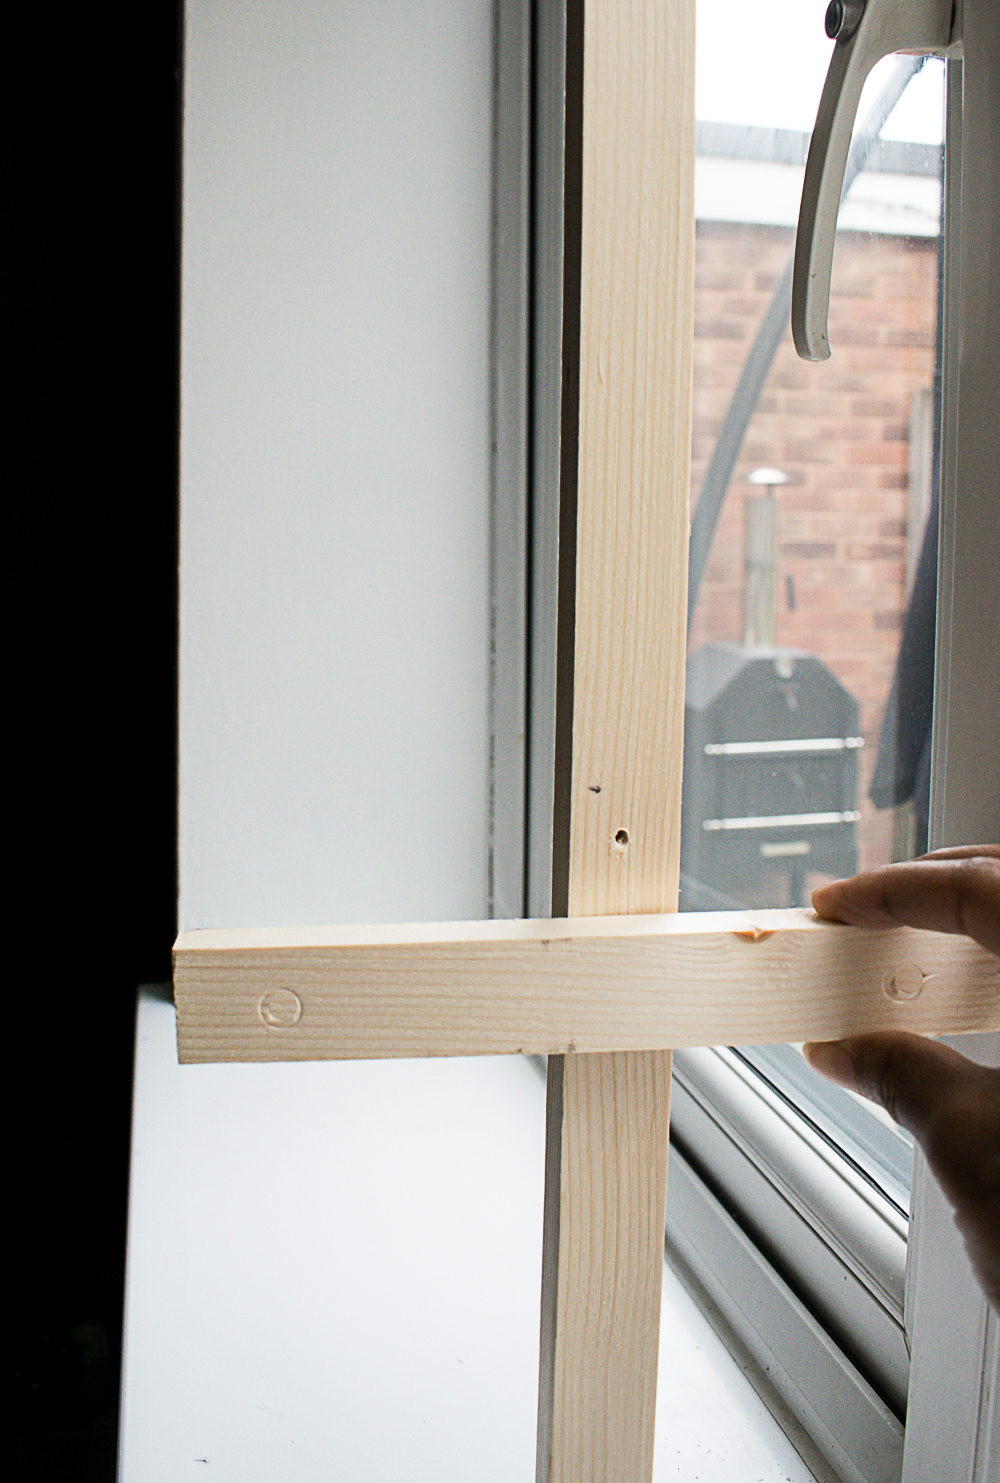
I used the remaining wood to create a vertical bracket/divide in the centre of the window alcove. This piece of wood was cut exactly to the height of the window frame so I was able to slide it in without the need for it to be secured due to the tension. (excuse the mess in my garden by the way . . . it’s not summer ready yet)
Secure 3 of your brackets to the vertical frame
To figure out where I needed to position each bracket, I measured the full length of the window (again) and divided by 4. Then I marked with a pencil and ruler – using a level to ensure everything was straight.
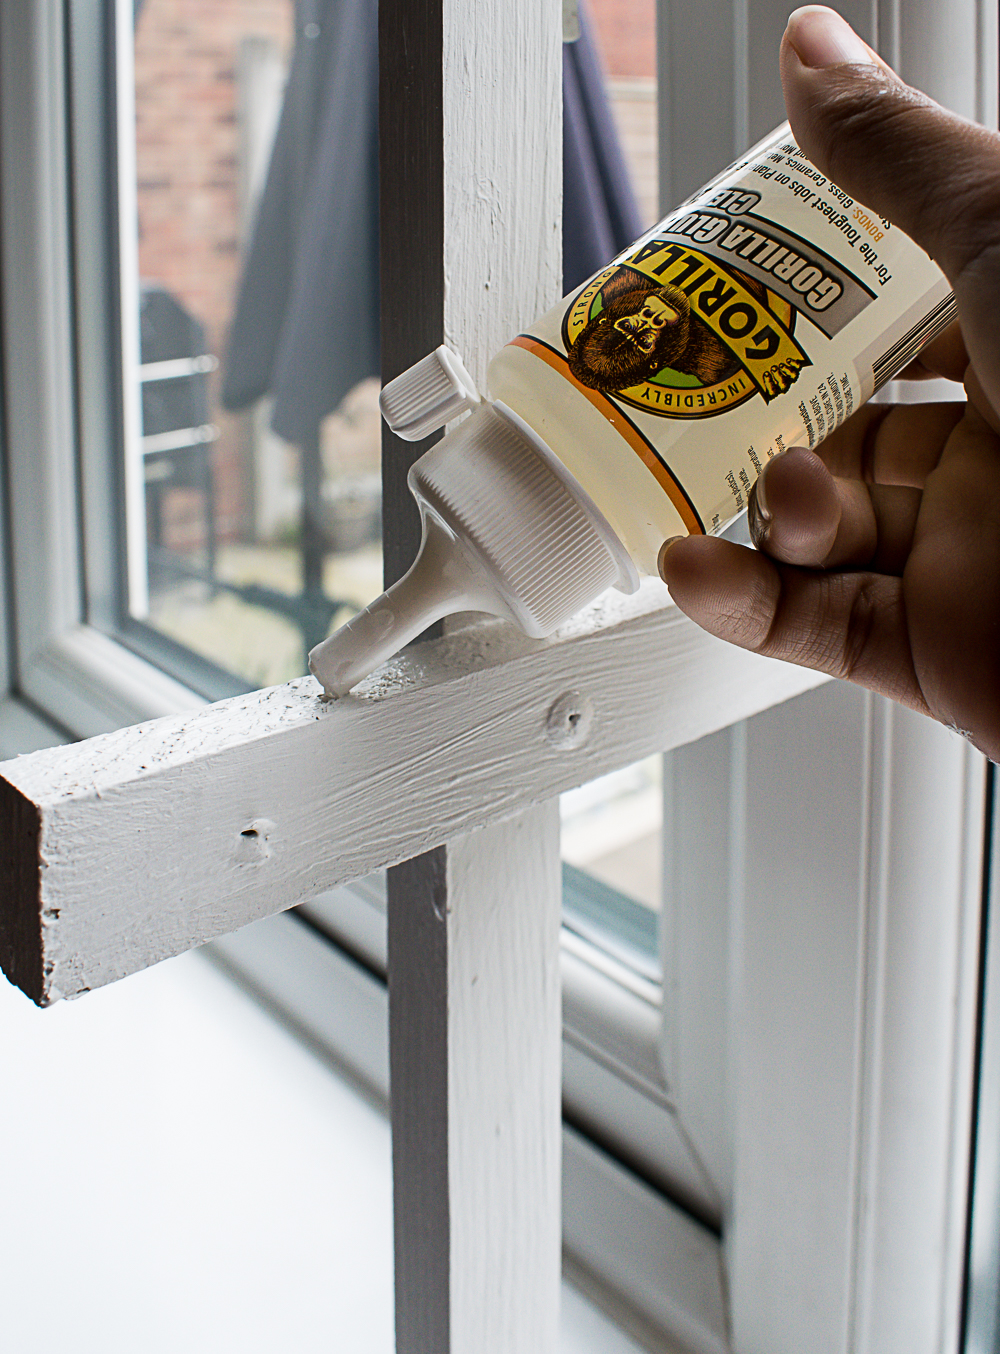
I attached brackets to the vertical frame first. I pre- drilled a hole to the center (to prevent cracking of the wood) of each bracket, and then applied Gorilla glue clear around the pre-made hole.
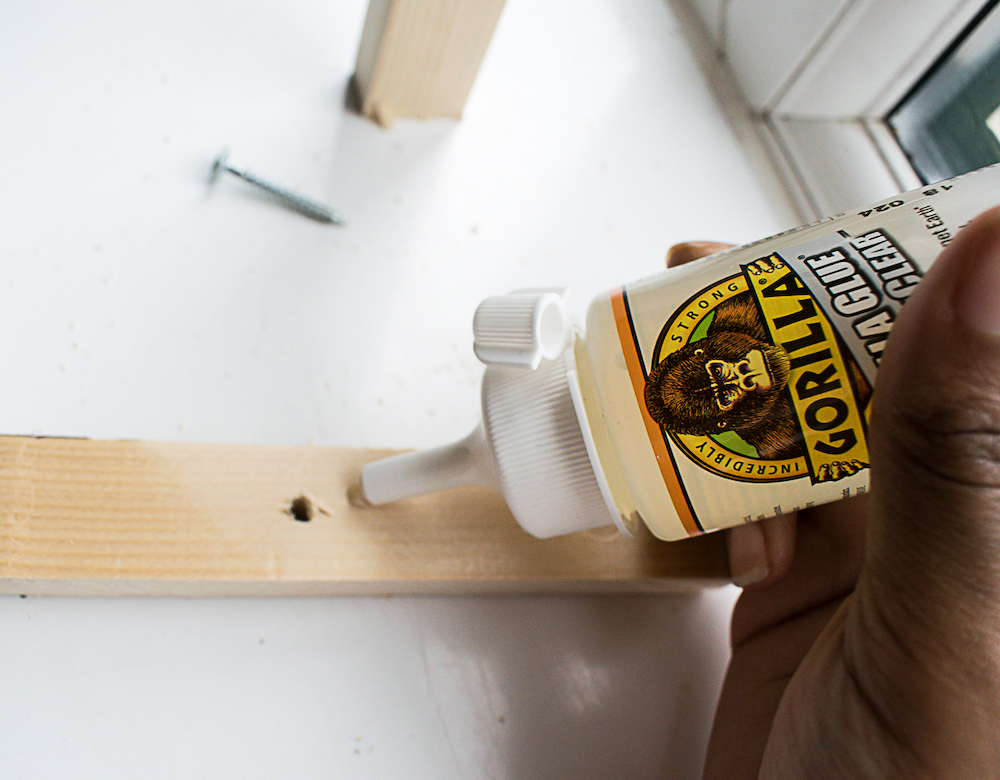
I secured the brackets in place horizontally with a screw through the middle. The screw helps to keep the bracket in place whilst the glue dries.
I repeated these steps for the other two brackets until I had a vertical frame that looked like this.
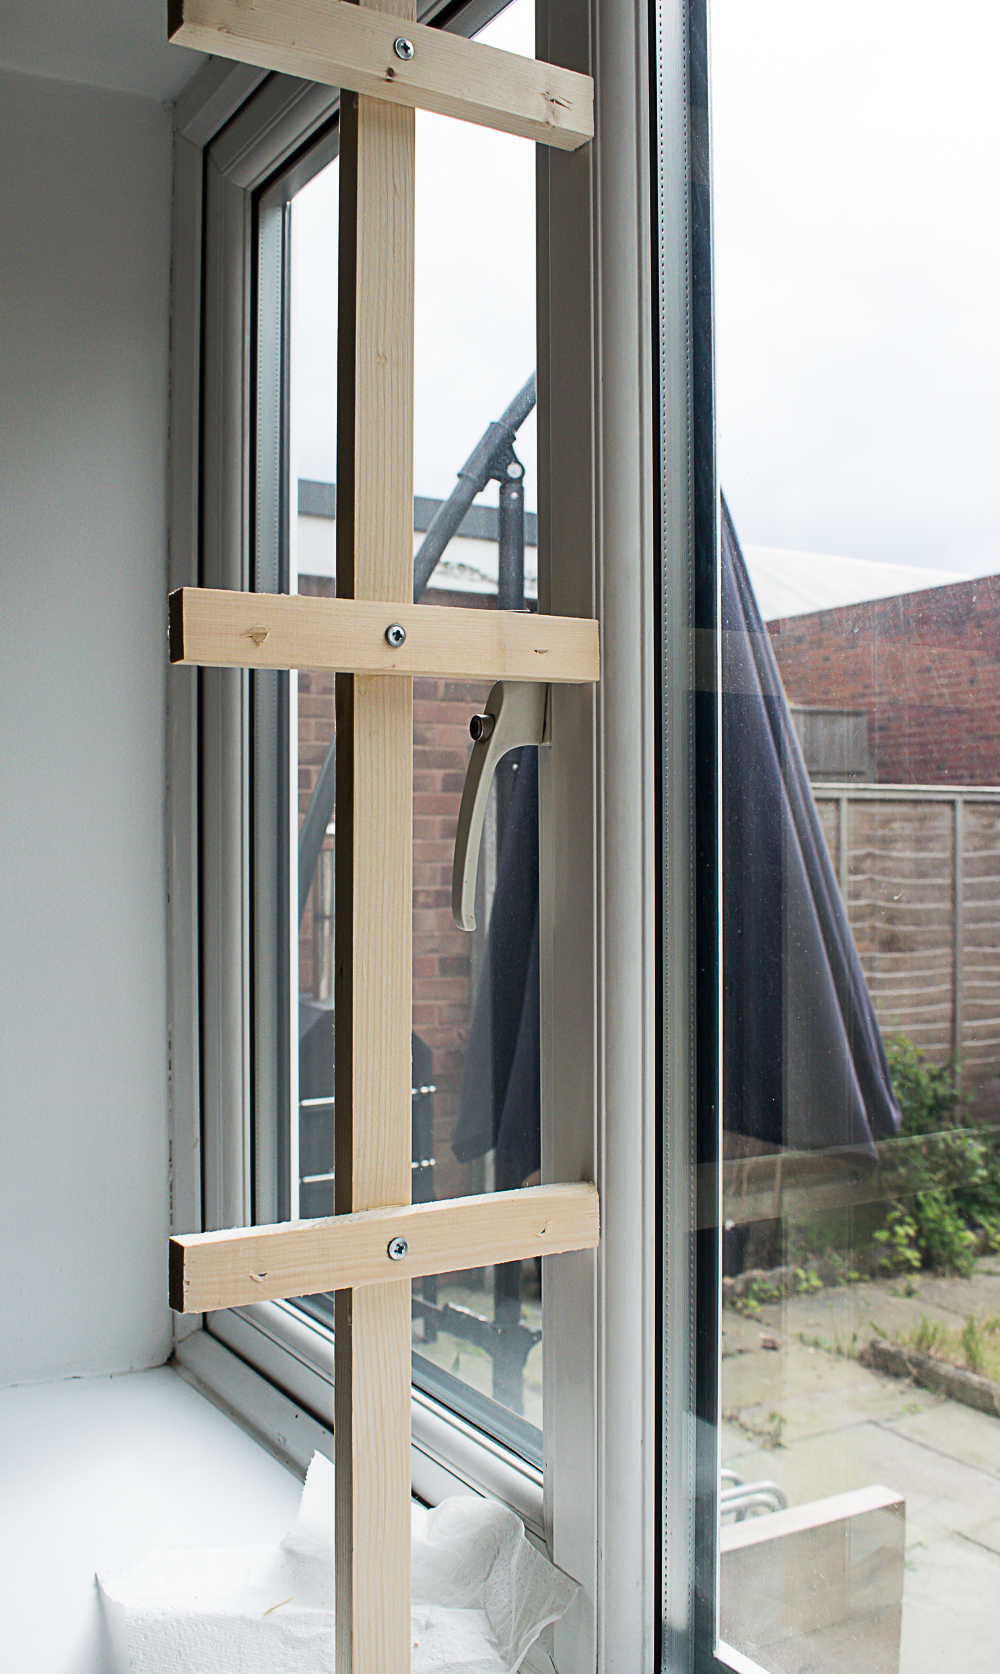
Secure 3 brackets to the inside of the window alcove.
On the opposite side of the window frame, I attached the other 3 brackets. I pre- drilled two holes to each end of these wooden brackets.
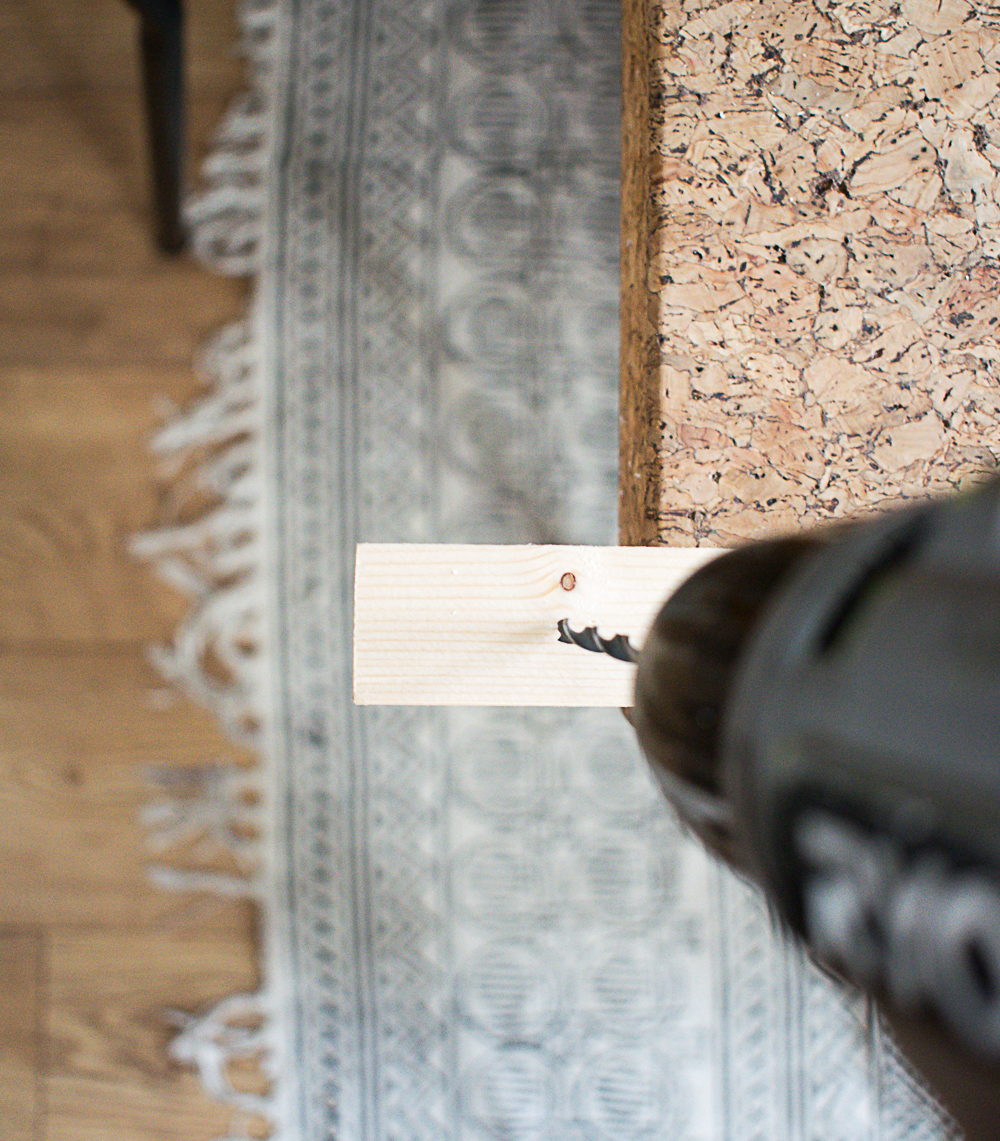
I screwed in place with wall plugs and screws at the marked positions (using a level to make sure everything was straight).
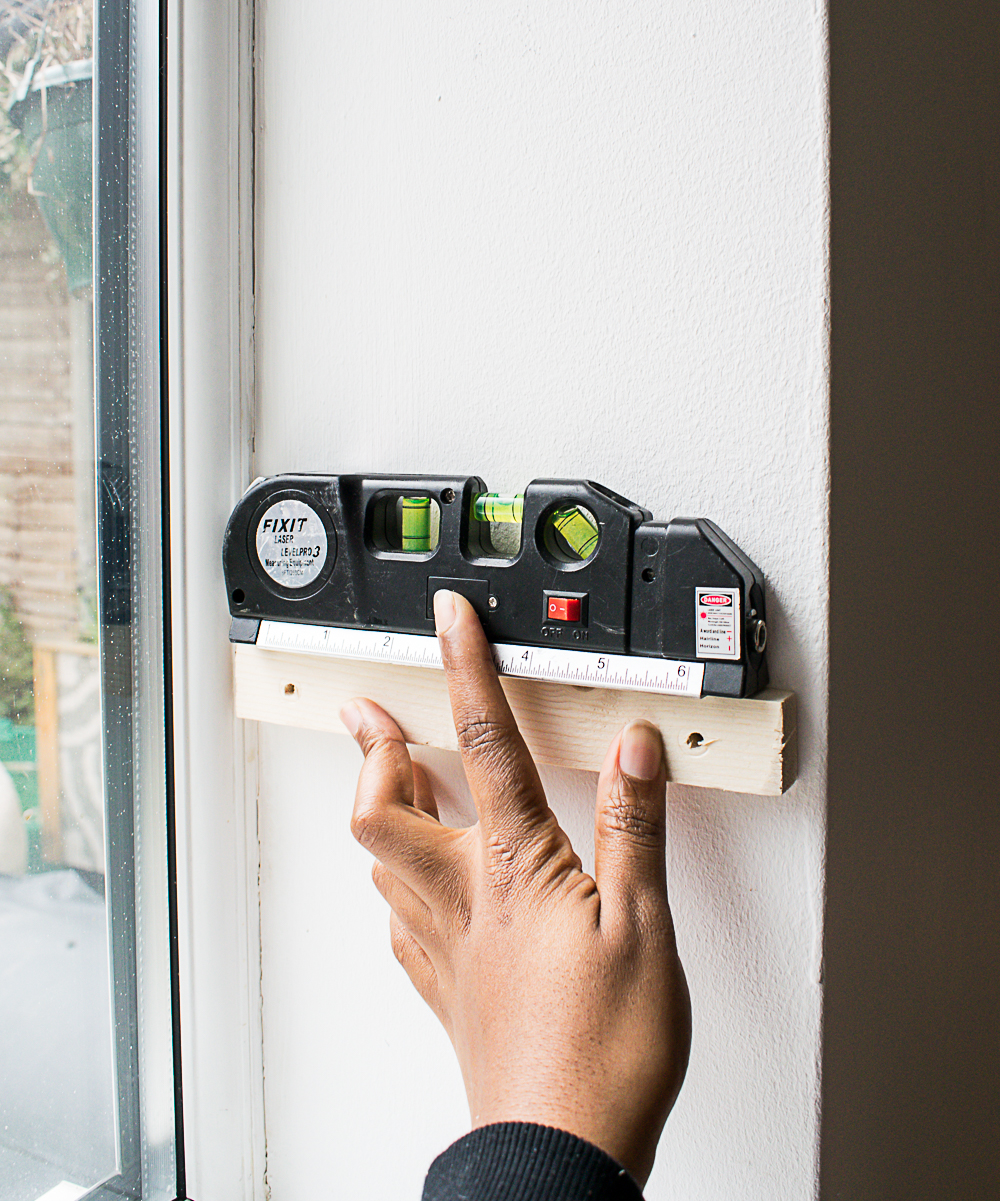
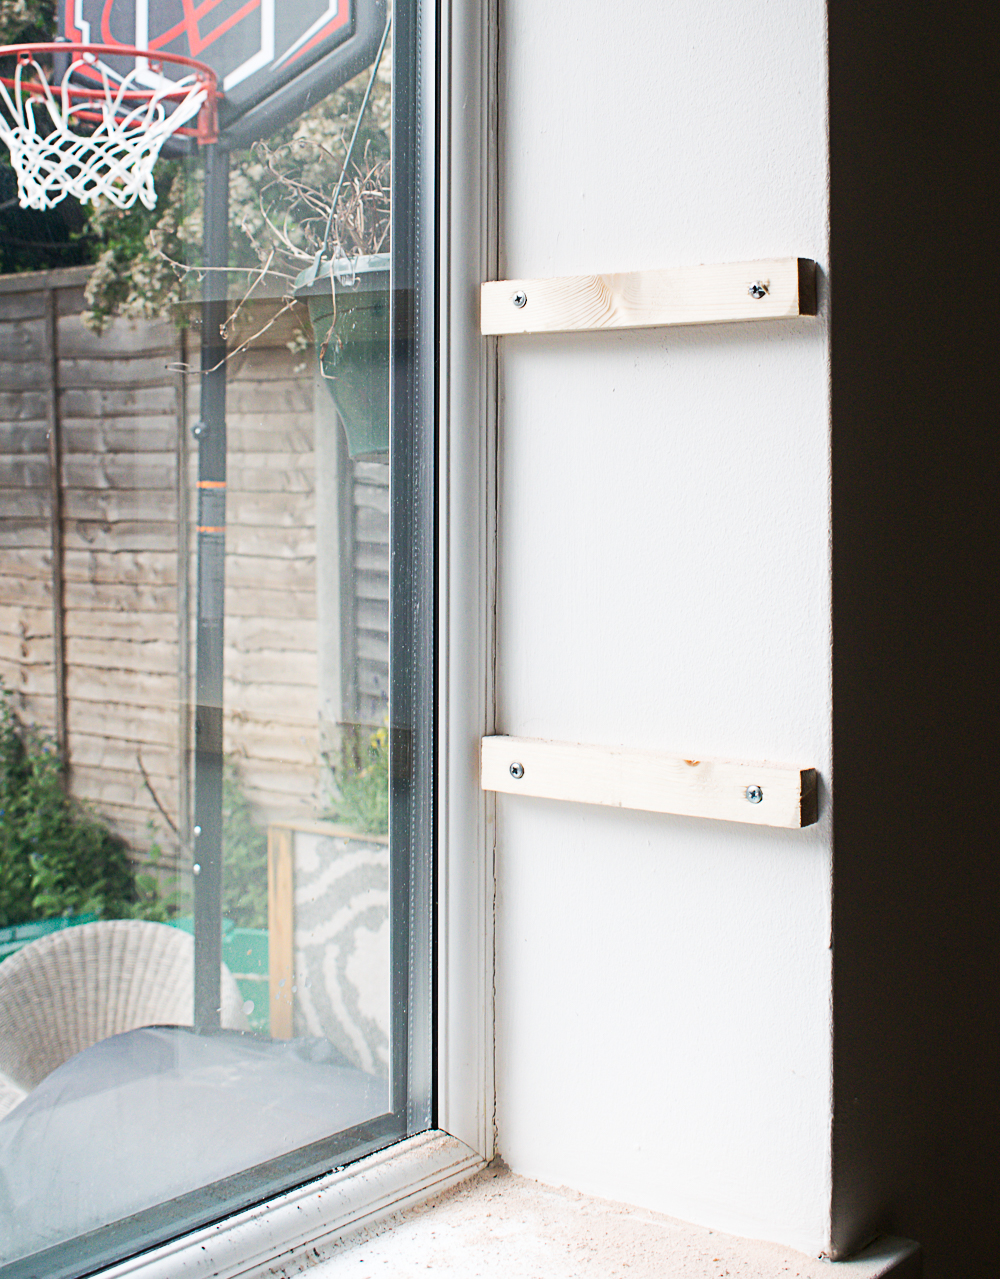
I then painted the brackets with white paint to help it blend in better to the window frame (this could be done before fitting to the window).
Apply the clear glue to brackets and slot in your shelves.
I applied Gorilla Clear Glue to the top of the brackets to secure the acrylic shelves . (I didn’t want to have to screw through the plastic so this seemed like the best option).
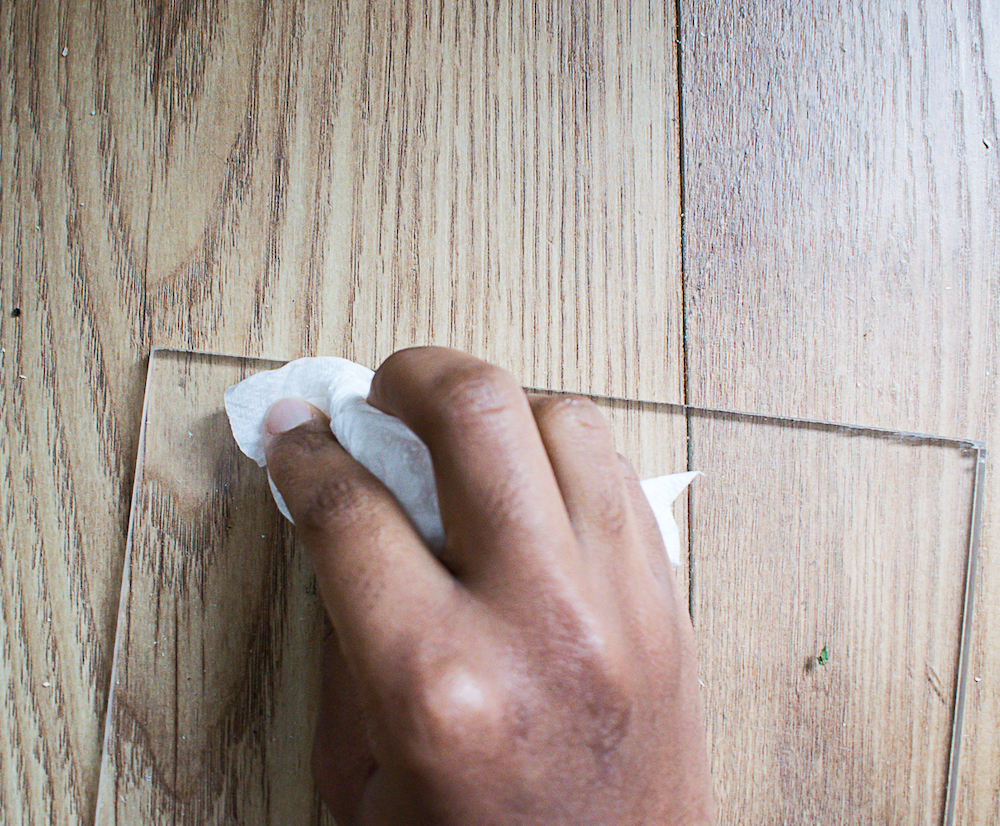
As the shelves I was using were acrylic (a non porous material ), I damped the edges of the plastic with water using kitchen towel before putting in place. This helped both the wood and plastic bond to each other.
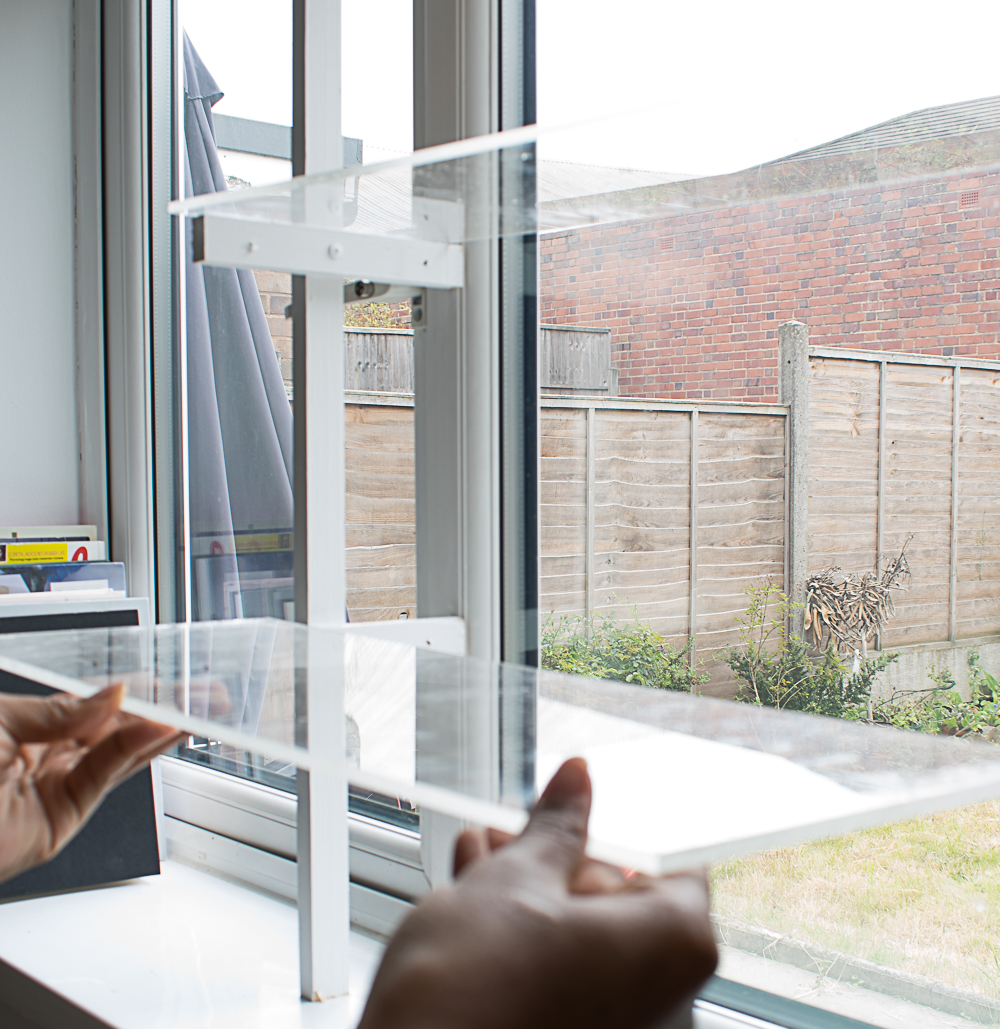
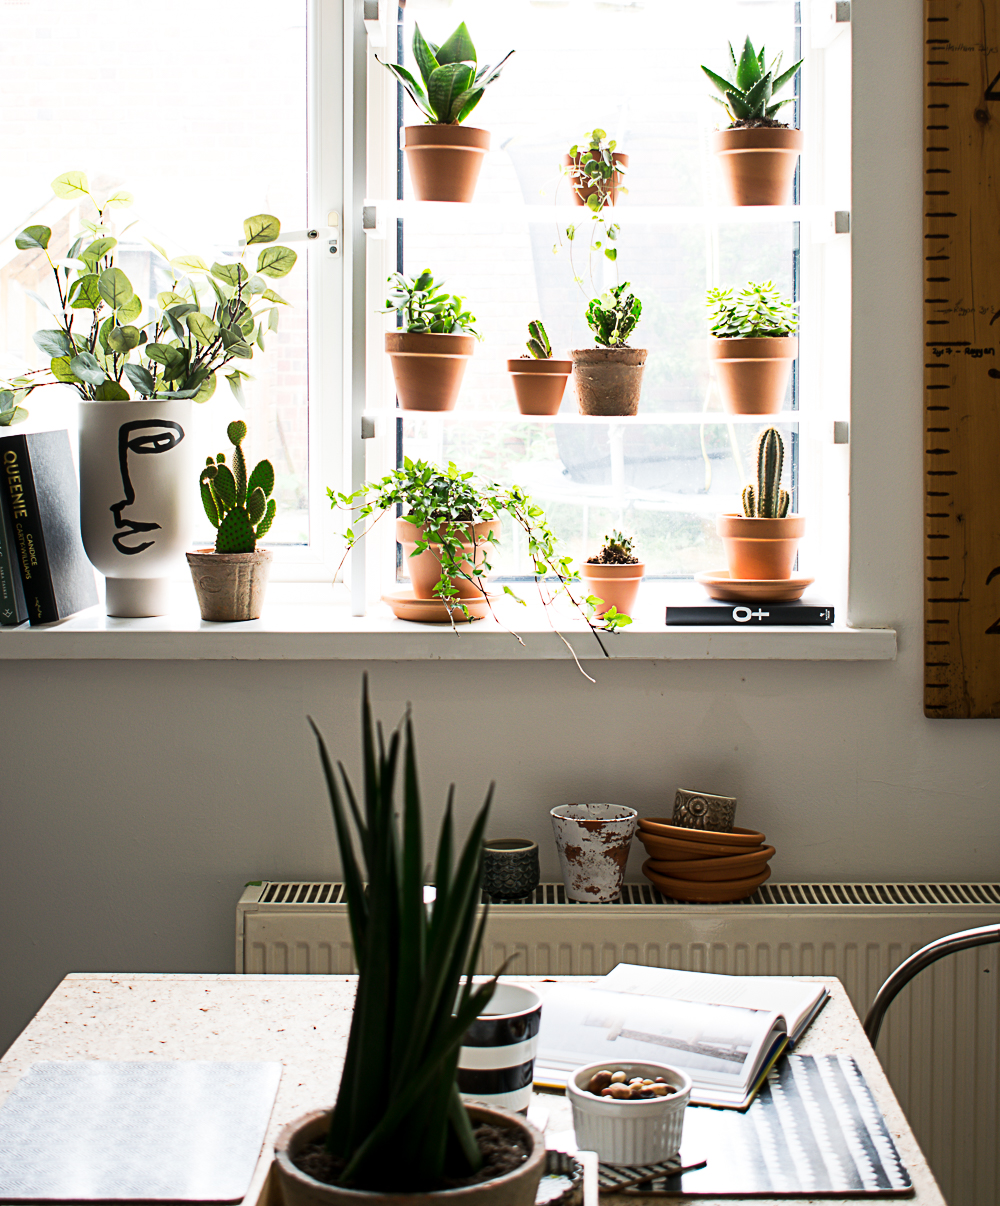
Leave to dry, and that’s it! You have yourself a window plant shelf.
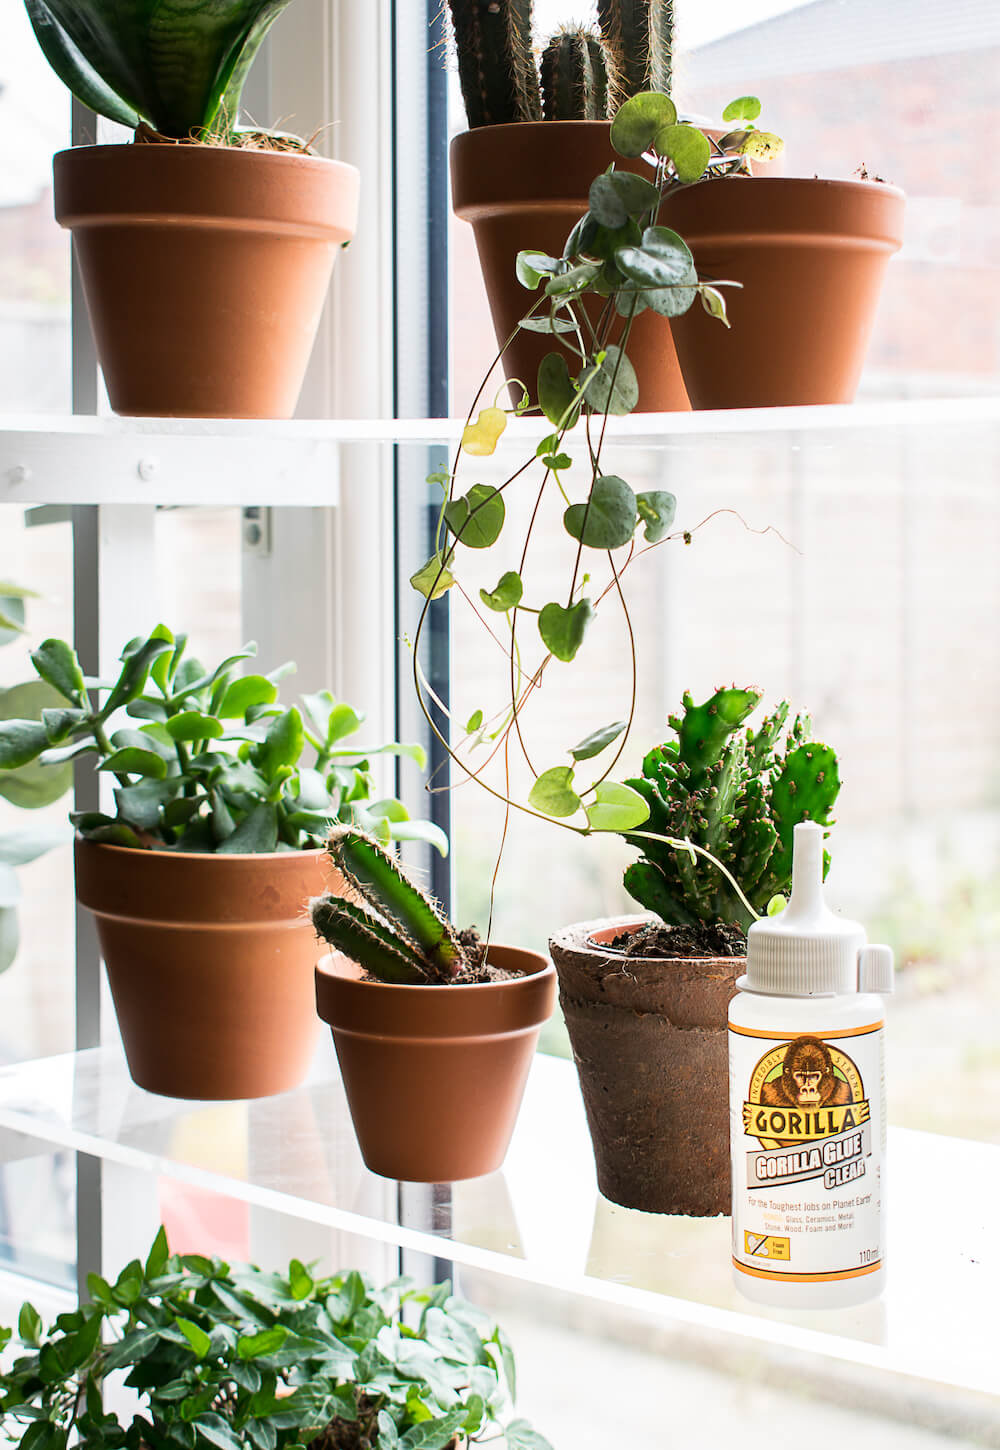
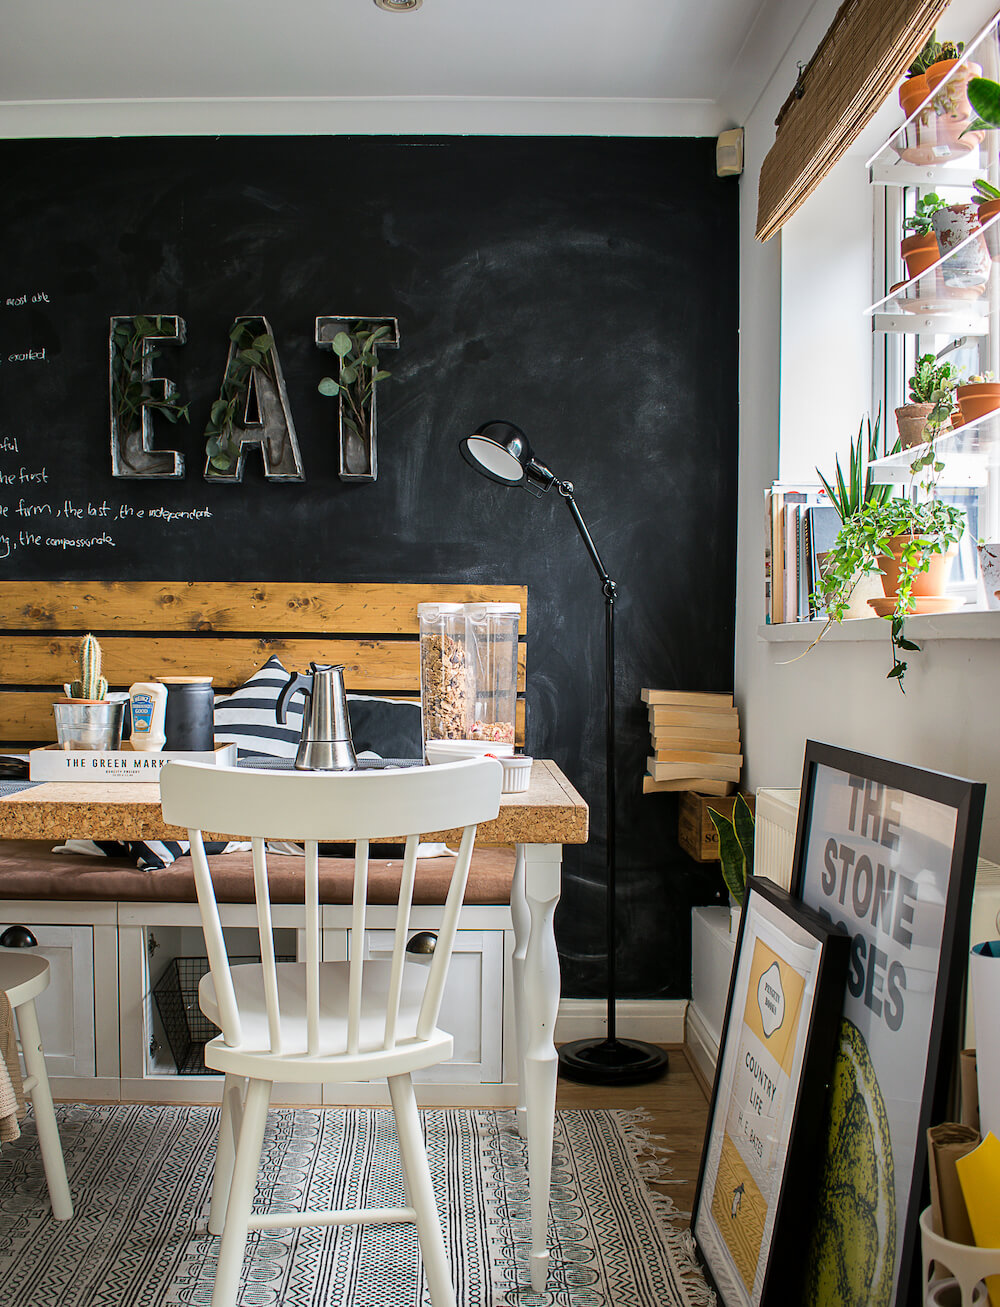
In case you were wondering, this window is in my dining Room!
***This post was sponsored by Gorilla Glue UK. I received products and payment for my time creating this post. I only partner with brands I LOVE and think you will LOVE too! All ideas, photos and opinions are 100% my own.


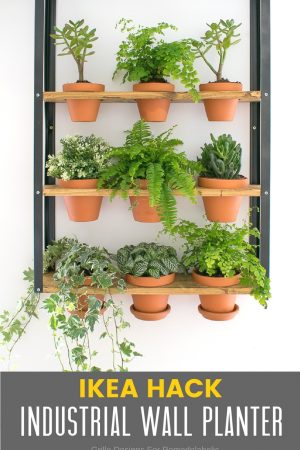
IKEA HACK: INDUSTRIAL WALL PLANTER
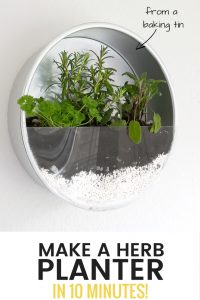
HOW TO MAKE A BAKING TIN HERB GARDEN

Great DIY idea! My daughter LOVES houseplants & is searching for the perfect in window shelving. Question, is the vertical strip attached to window frame somehow? Or is the fact that it is as tall as window enough?
What kind of saw did you use to cut the acrylic so the edges are so smooth? Thanks, looks great!
A manual saw believe it or not!
Hi Medina, I’ve been searching the interwebs for this solution! I have way too many indoor plants in a small house with only a few sun-facing windows. I knew someone somewhere surely had devised an attractive solution to this conundrum. Yours is one of the best I’ve seen out there. Your dining room window looks so lovely with the new shelving and your beautiful plant babies. Thank you so much for sharing your DIY project, especially with the step-by-step instructions and detailed images. So well done! I’m looking forward to this project. I’m glad I ran across your blog; I’ll be checking it out for your other DIY projects. Thanks again! ~ Sherry
Thanks so much Sherry!
Omg you’re so creative! Never seen this done before wow
Thank you!
Looks amazing with all the light coming through!
Thank you!
Wow!Thanks for your sharing!It helps me a lot!!!