STEP 6:
Fold and pin your next burlap petal next to, but semi-overlapping your first petal.

STEP 7:
Keep folding and pinning your petals to your wreath form.

Always starting on the inside of the form and slightly overlapping each petal as you continue pinning them moving outward to the outer part of your wreath form. fold pin, fold, pin, and so on….

STEP 8
When you’ve almost completely covered your entire wreath form in overlapping petals, Pull up your first set of petals you attached and tuck your last set underneath and pin to finish.


ADDING EMBELLISHMENTS TO YOUR BURLAP PUMPKIN WREATH:
Now that you’ve finished the hard part, it’s time for some fun…
Take those Fall embellishments and start hot gluing them onto your wreath.

Whatever doesn’t stay with a little hot glue, I use some simple Sewing pins to better secure them onto the form.

*For this burlap pumpkin wreath I used the Chicken wire to form my stem and then pinned and hot glued to attach.

The I finished it off by attaching some green burlap ribbon, the burlap leaves, and then hot glued a lot more of the Fall Floral embellishments until I had it just the way I wanted it
STEP 10:
In order to finish off your burlap pumpkin wreath, I typically use the last of my cut burlap squares and hot glue them to the back of the wreath form.

This is not a necessity, but I feel it’s part of the finishing touches and is also another way to help prevent any exposed burlap corners on the back of your wreath from fraying over time.
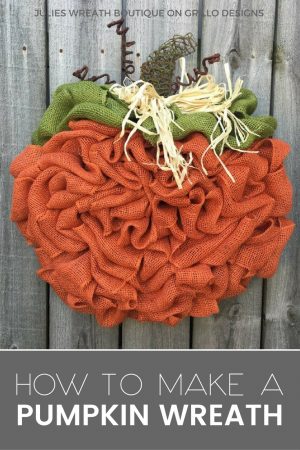
And there you have it! This petal technique is definitely a great way to use texture to add another level of visual interest in your wreaths.

I hope you have enjoyed this burlap pumpkin wreath tutorial! If you have any questions – please leave me a comment below!
If you dont want to DIY it, you can always visit my etsy shop and PURCHASE THIS WREATH. I also have some other pretty wreaths that you might like too! Click the image below to check them out!
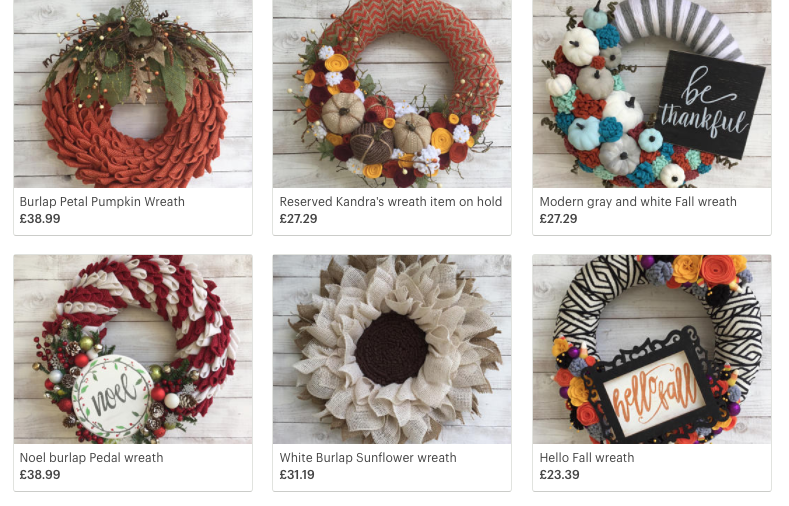
Visit my etsy store
Visit my facebook page
– Laura
Laura is part of our DIY & Upcycling group on Facebook. Click below to join!


Where can I get the wide burlap please..wanting greens but not available in England it seems..
Love this wreath, thanks for sharing!! Do you think this wreath could be made using a pool noodle as a base instead of the pay form? The area I’m located in is currently under lockdown so my dollar store is inaccessible at the moment. Thanks in advance for any reply! Jo-Anne 🇨🇦
So much fun. I made mine in a couple of hours. Love love it.
How many burlap squares did you need to complete this project? How many rolls of burlap (length and width) did it take? Thank You!
This is beautiful n perfect way to use the burlap. I love this so much. Thanks much
Beautiful Wreath! I never thought to do it like that! Thank you for the idea!
Love the wreaths and the instructions.
approximately how many 5.5 squares are needed per wreath?
Just beautiful, will definitely put this high on my want to do list. Thank you for sharing the step by step how to!
Happy crafting
CAV
How do you maked the stem with mossy chicken wire?
Yes! I would love a step-by-step on the making of the wire stem. Love this wreath!
Do you think that you could make this pumpkin wreath using inch burplap ribbon? Just curious because that is what I have found in the stores.
Doesn’t look that hard indeed, maybe with a little patient it could work me. Never tried one of these before though, gonna have to borrow some tools ;p
SIMPLY STUNNING!! Just finished My first Halloween Wreath so will make this one for November, thanks for the amazing pic.`s
and step by step tutorial……………
Thanks! This wreath will make a perfect November project. Good luck!
Your burlap pumpkin wreath is fabulous! I love it. We’ll be featuring this at tomorrow’s Snickerdoodle Party. Thanks for sharing with us!
That sounds great and Thanks so much. I love sharing about fun new projects. So glad you enjoy it.
Your wreath is absolutely beautiful, Medina!
Thank you very much, it’s definitely a fun project
My fall wreath is literally falling apart. I need a new one. I am pinning this because it is one of the prettiest I’ve seen. Hope I can put it together and get the same results you did. Thanks for sharing!
I appreciate that. It does involve a bit of time cutting and pinning, but I think the time is definitely worth it. I love the texture this technique makes. Good luck with yours!!
Very beautiful and very well explained ☻
Thanks! I hope you get a chance to try it out. It’s a fun process
This is so cute! I love the step by step tutorial with pictures too! I need to make this 🙂 XOXO
I hope you do, I’d love to see some end results. I’m so happy to share in this fun project