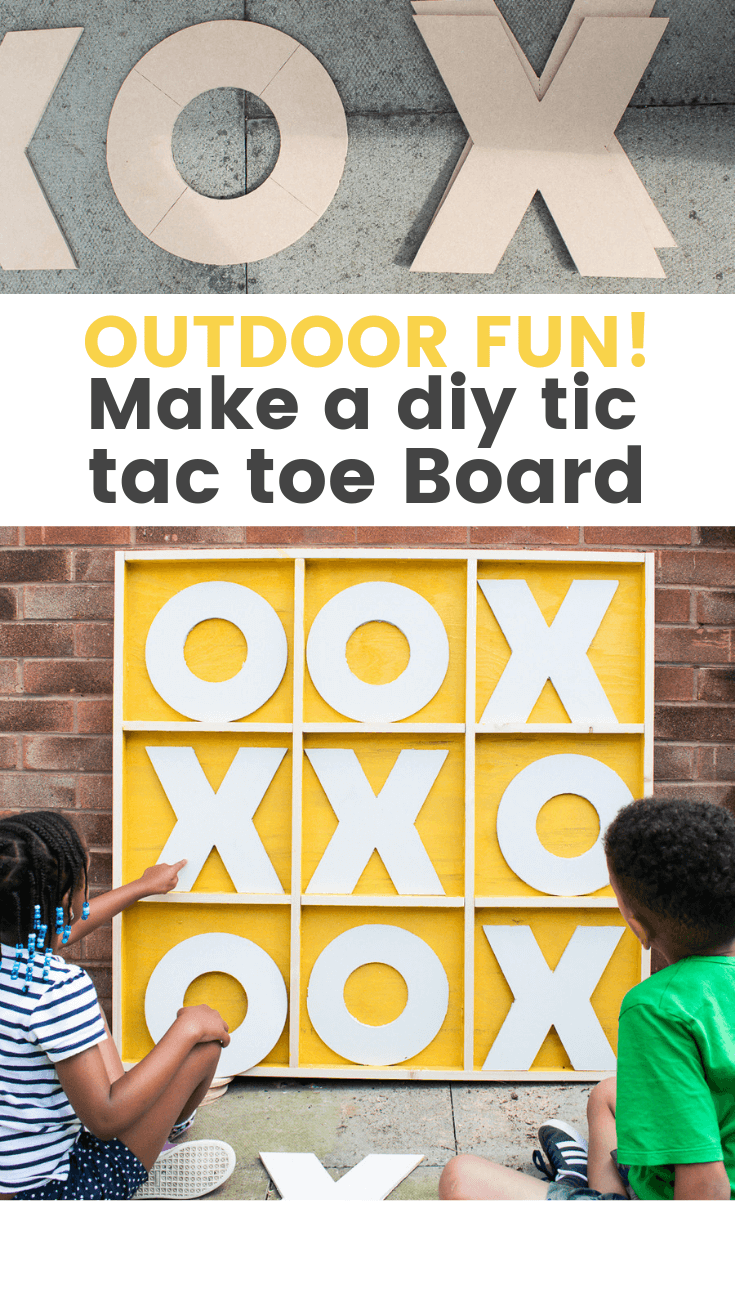
The summer holiday calls for lots of outdoor fun! Learn how to make a Giant wooden noughts and crosses game board for the kids (or the adults!).

**This post has been sponsored by Ronseal and contains affiliate links for your convenience . Please see my disclosure page here
I know we call this game different things in different parts of the world, but for the sake of a little nostalgia let’s just call this, a noughts and crosses board, k? If you’re familiar with the ‘Noughts & Crosses’ saga written by Malorie Blackman, then you’ll know exactly where that nostalgia comes from . . . not that the theme of the books has anything at all to do with the actual game.
But hey ho.
So this week I’m bringing you this fun outdoor DIY – a Giant Noughts and Crosses Board. The kids will love it. You’ll love it. It’s guaranteed to be a family favourite – pinky swear! Or is it pinky promise? I always forget!

This project is another collaboration with Ronseal (remember the rolling table I built for them previously?) – except this time I’m using their outdoor paint rather than their indoor varnishes. I love Ronseal for their stains and varnishes, but I had never tried their paint range up until now.

First impressions?
Really good actually. I chose White Ash and Sundail from their selection of 24 colours – and found both to have really great consistency and coverage. That was on MDF wood too – which we all know is the type of wood that likes to drink paint!. I only had to do two coats of paint to get an even finish!

But maybe I’m getting a little ahead of myself here with the Method. Let’s start from the very beginning.
Ah . . the project list.
Side note: probably important to note, that while this project could be completed in a day or two – it took me one week to finish! Just because I had to keep starting and stopping to parent my 7 year old. I’m sure you Mama’s can relate?
MATERIALS NEEDED TO MAKE A NOUGHTS AND CROSSES GAME BOARD
- 1 sheet of Structural plywood (1.8mm thick)
- 19 x 32mm (1.8m) Dried Sawn Softwood x 5
- 1 x sheet MDF 6mm thick
- Wood glue – this is my favourite brand to use.
- Tape measure
- Pencil
- Ronseal Sundail Paint
- Ronseal White Ash Paint
- Paint brush, Roller + tray
TOOLS NEEDED:
- Jigsaw (or manual saw)
- Sander
- Clamps
- Router
Here are the measurements for the noughts and crosses board

HOT TO MAKE A NOUGHTS AND CROSSES GAME BOARD
1. Cut the structural wood to size (1000mm by 1000mm – basiclly a perfect square). You can do this with a circular saw and guide OR just get the wood cut to size at your local hardware store. Much easier – and saves you lots of time!

You’ll have wood left over from the original sheet, but that’s ok! You can use the smaller cut pieces for another project in the future!
2. Place the wood on a flat surface and sand well with a sanding machine. Dust off any residue with a cloth

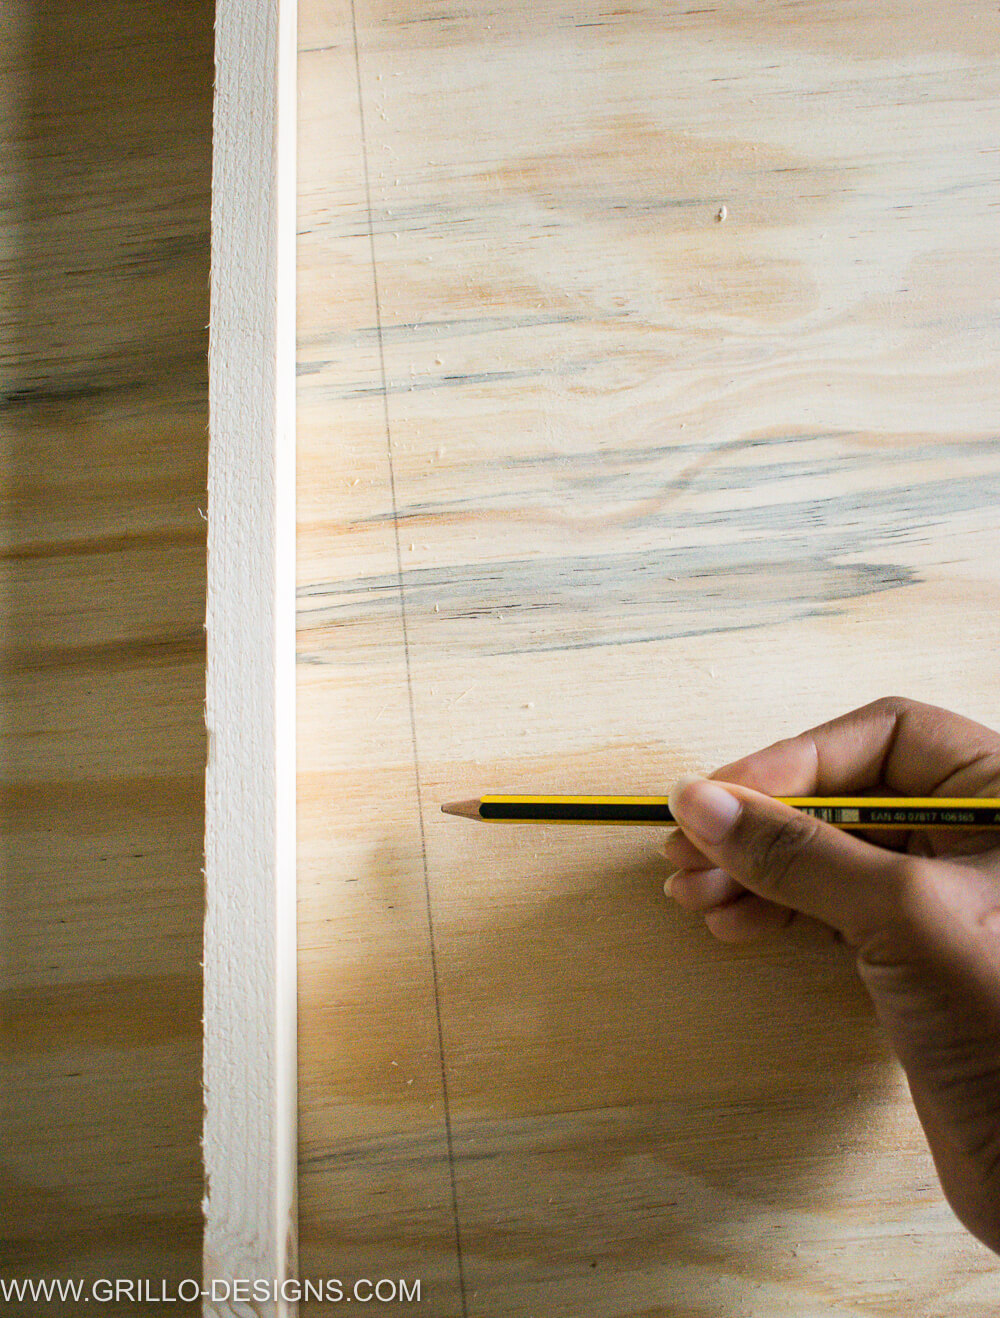
3. Create the ‘borders’ for the board. To do this, you will need to measure the sides of the plywood square, and cut the softwood to size. (you can do this by placing the wood on the plywood and marking with a pencil)


I cut the wood with a jigsaw (as I had left my mitre saw in my studio), but you can also just use a regular manual saw as the wood isn’t too thick.

Start by measuring and cutting wood for the two vertical sides of the square. And then measure the wood for the horizontal sides, with the vertical pieces of wood in place.
4. Secure the wood for the border using wood glue. Make sure to clamp the wood in place while it dries.

5. Next its time to create the inner grid. You want this board to be 3 x 3 to create 9 grids. Use a pencil and a long ruler to mark two equally spaced vertical and horizontal lines (see above plans for measurements).
Secure the two vertical pieces of wood with glue and clamp

Then postilion the horizontal pieces of wood as below (following the pre-drawn lines you have created). You will need to measure and mark each individual wood before cutting as everything might not be perfectly straight!

You should end up with something that looks like this!

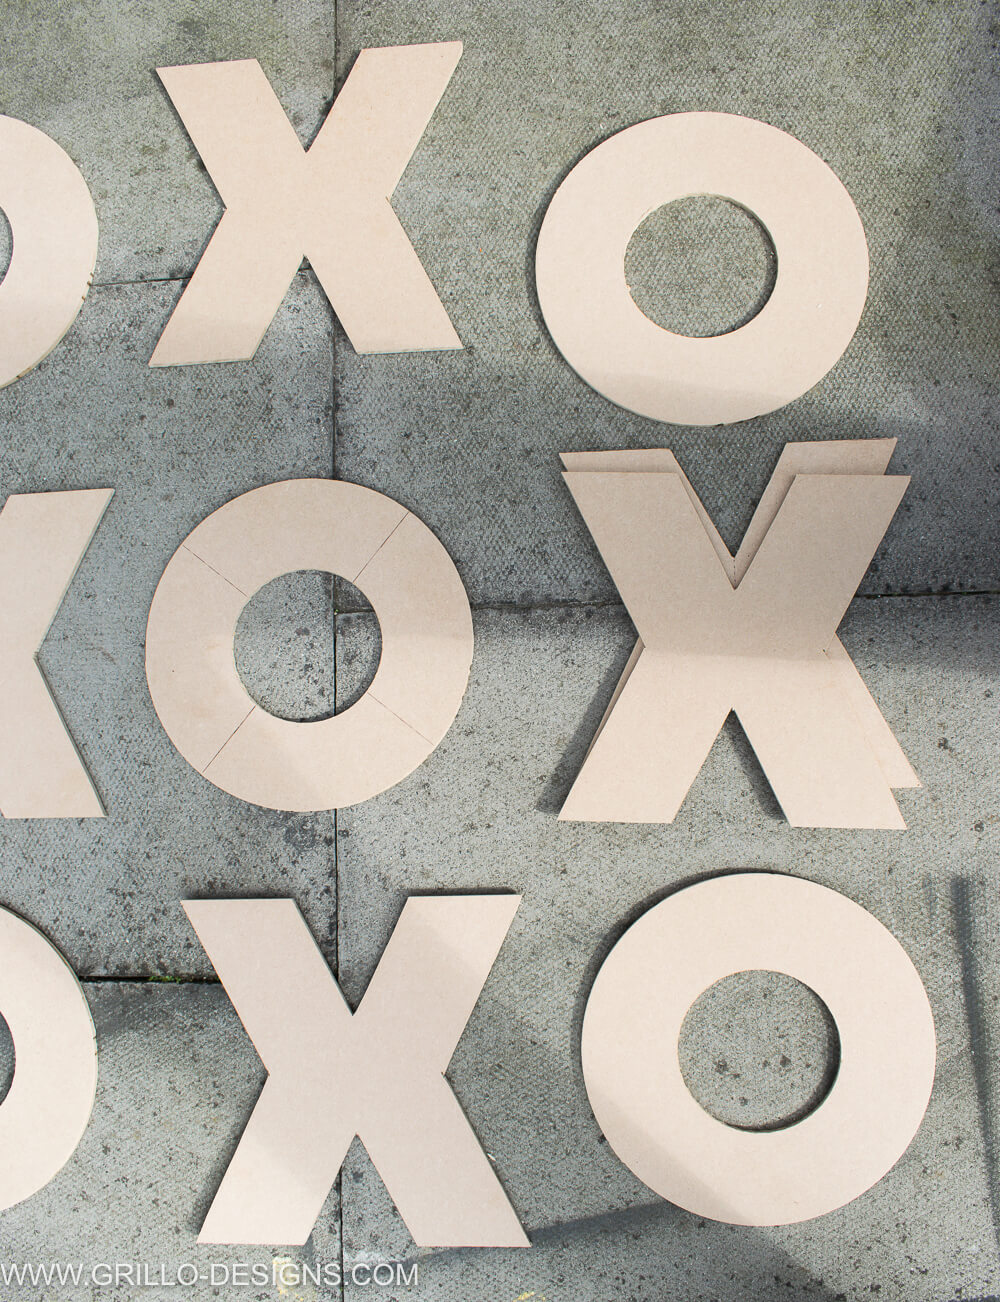
6. Cut out the letters! (alternatively you could order pre-cut mdf letters off ebay or Amazon)
You will need 4 x noughts and 4 x crosses. MDF wood is great for this step. Cut the wood into 8 equal squares.
To make the crosses: Use a jigsaw. You can either use a letter template printed of canva on an A4 paper (similar to what I did here) for the outline or draw an X as I have below.
Stack the 4 pieces of MDF wood on top of each other, clamp to secure and cut along the lines with the jigsaw. As its all straight lines you are cutting, this should be fairly easy to do

To make the noughts: its a little more complicated, as you’ll need to use a router. . . and a guide! You can make a quick one from scrap wood using this tutorial on youtube (pictured above), or skip this step and buy a guide kit from here
Nail you router guide to the centre of each MDF sheet and guide the router around until you get a perfect circle. Repeat again, for the inner circle but make sure to adjust your guide so its smaller.

And this is the finished result
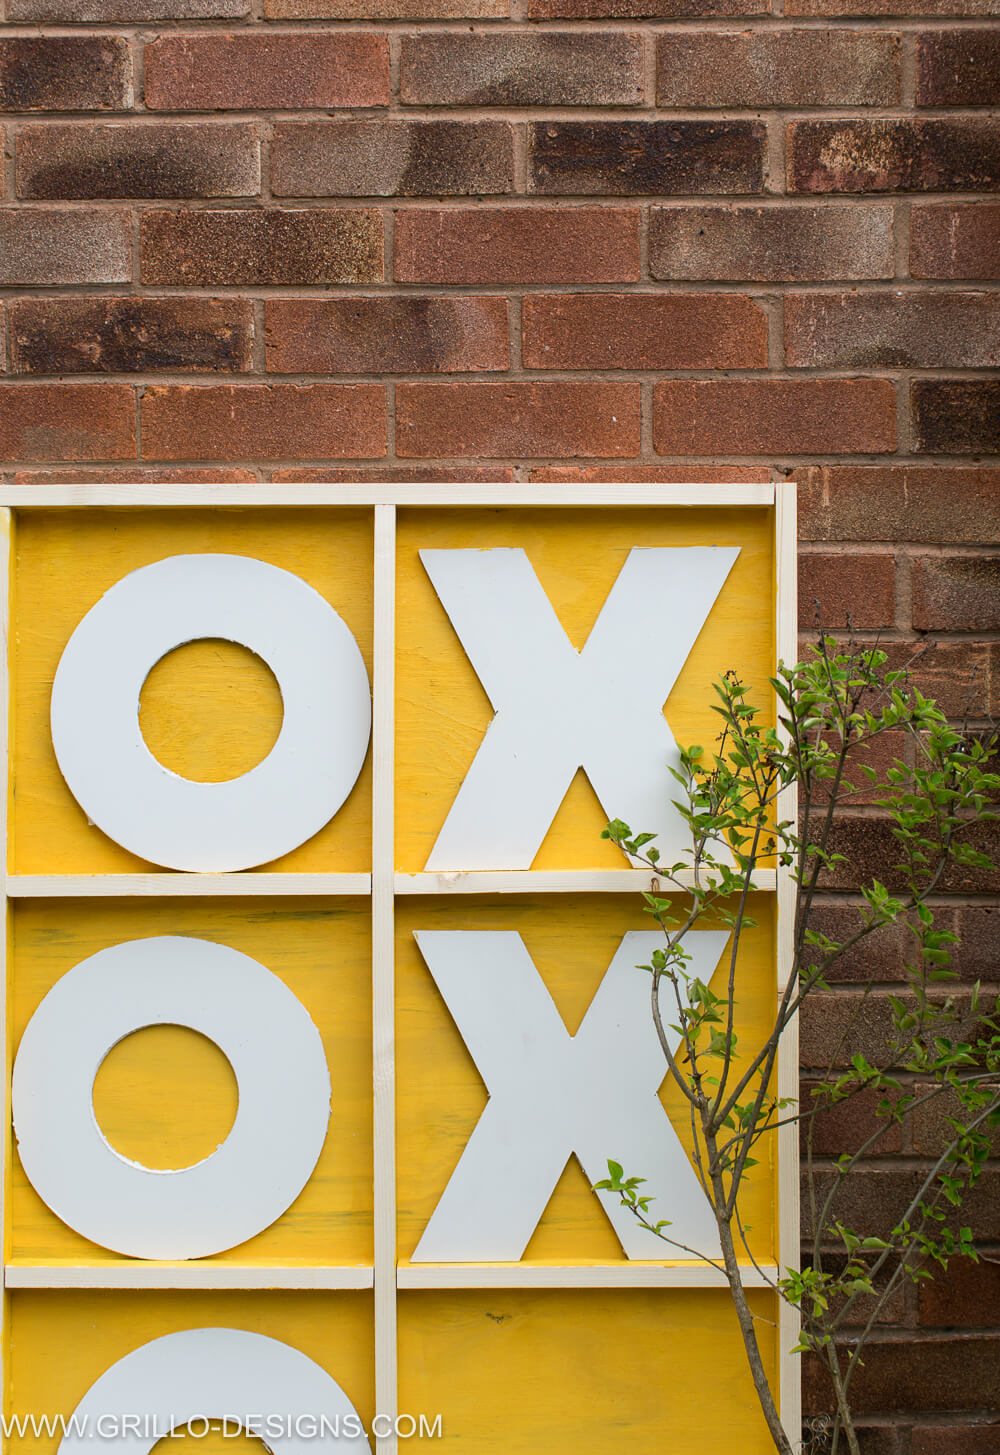
7 . Paint the board and letters. As I mentioned, I used the white ash Ronseal paint for the noughts and crosses

And sundail to paint the inside of the board. I used a roller and paint brush. As you can see, my cat came to watch

Once its all dry, all that’s left to do is start playing!
The Ronseal garden paint is meant to be waterproof and keeps its colour for up tp 5 years! Check back in 5 years?? Ha!


What do you think? Have you created any outdoor games for the garden this summer? Let me know in the comments below. And if you’re looking for some fun outdoors games to try – check out this post.
***This post was sponsored by Ronseal. I received product and payment for my time creating (and styling) this post. I only partner with brands I LOVE and think you will LOVE too! All ideas, photos and opinions are 100% my own.


I love this project! Thank you so much for sharing. I plan to make one next weekend for grandma’s 80th birthday party, I know the family will love it. 🤗