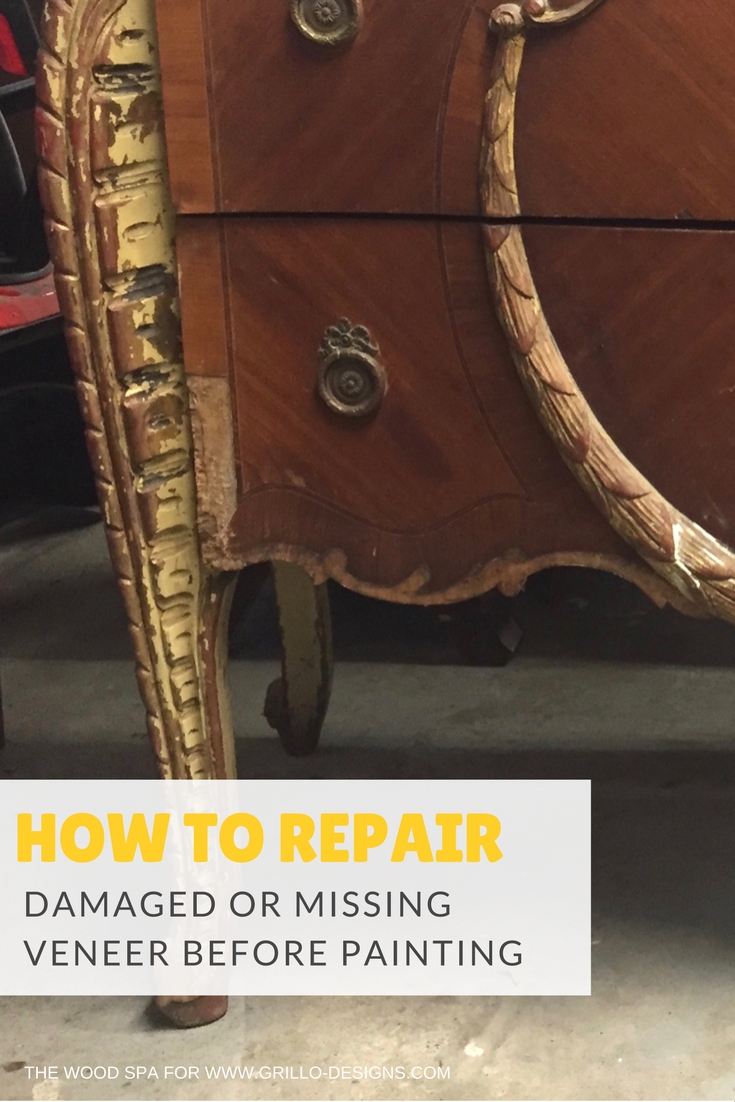
Today’s contributor is Patricia from The Wood Spa. She is sharing a tutorial on how to repair damaged veneer. All posts contributed by Patricia for Grillo Designs can be found HERE.
……….
Luckily for those of us who love restoring and painting furniture, there is a lot of people trying to get rid of incredible high-quality, solid-wood pieces of furniture just because they have some scratches and chipped veneer.
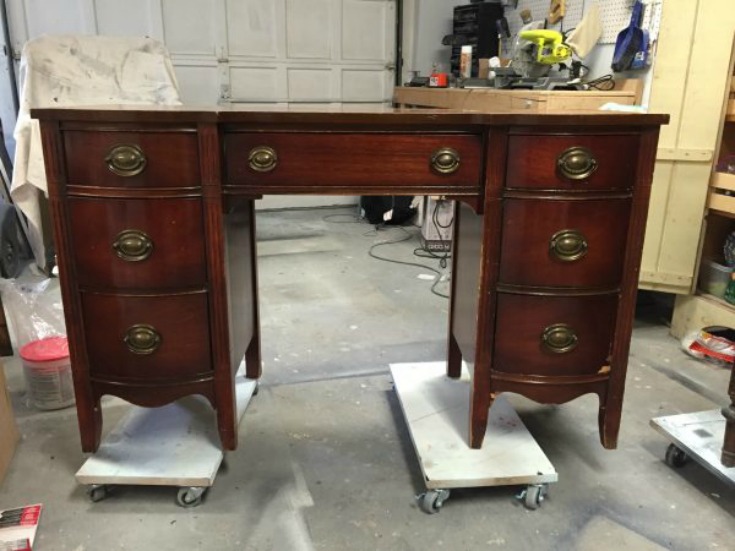
Here in the Unites States, a country of extremely high levels of consumption and waste, it is not hard to find treasures like this beautiful desk available for free or less than $50.
In this post I will show you step by step how I repair damaged veneer in order to achieve a flat and smooth surface, ready to receive paint (I also have a video tutorial at the end of this post, so dont forget to watch). This post contains affiliate links for your convenience – please see full disclosure here
HOW I REPAIR DAMAGED VENEER
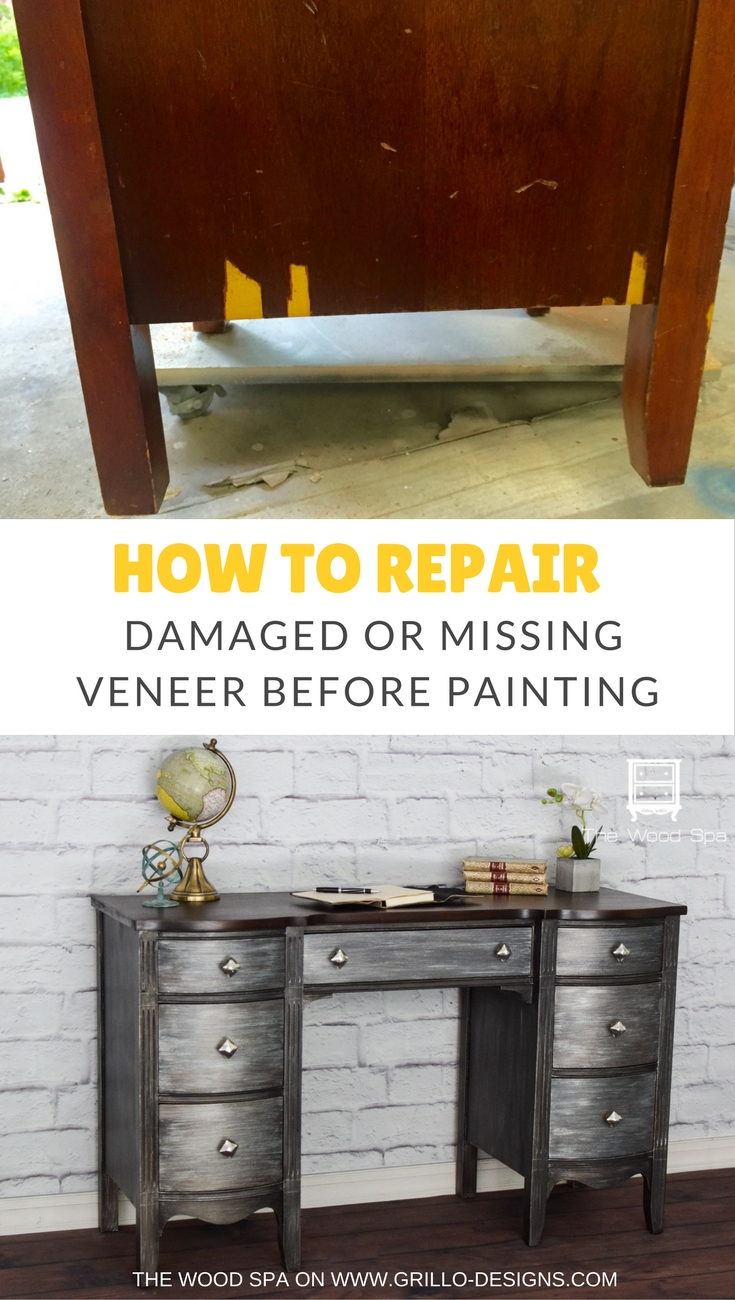
This desk had several spots with damaged or missing veneer. The bottom areas and corners are typically the most affected by this annoying problem.

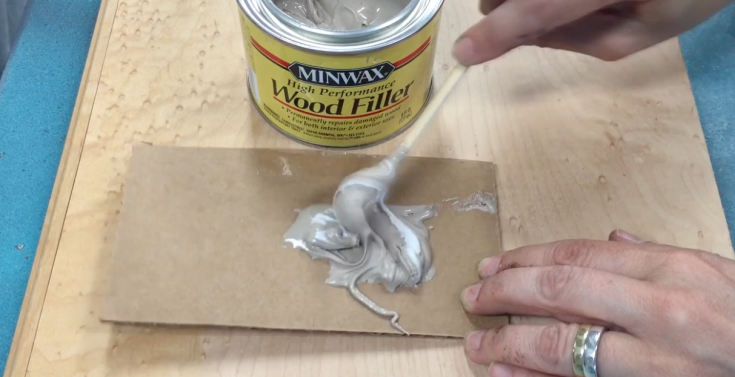
After trying several products, my current favorite is Minwax High Performance Wood Filler which you can buy here. It is easy to work with, dries super hard, and it won’t shrink or deform after I paint it. It is comparable to bondo, which also works very well for this purpose.

The white paste you add to the wood filler is what makes it super hard. Once mixed, the filler dries quite fast so it is best to prepare a small amount and work just a two or three of spots at a time.
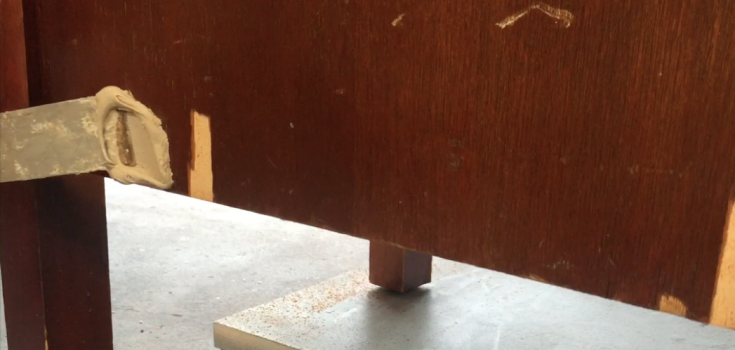
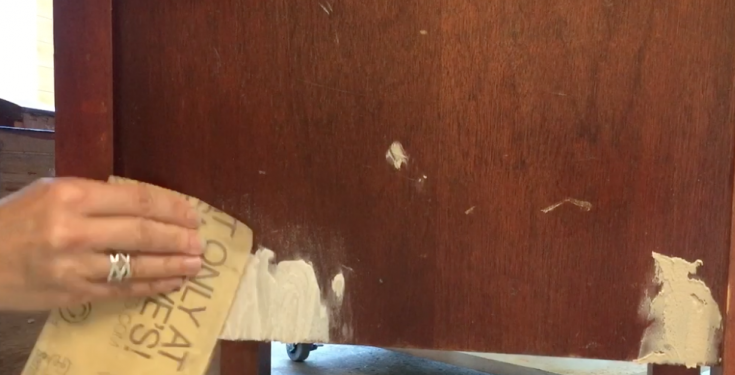
With a thin putty knife, I apply a generous amount of wood filler to the damaged area.
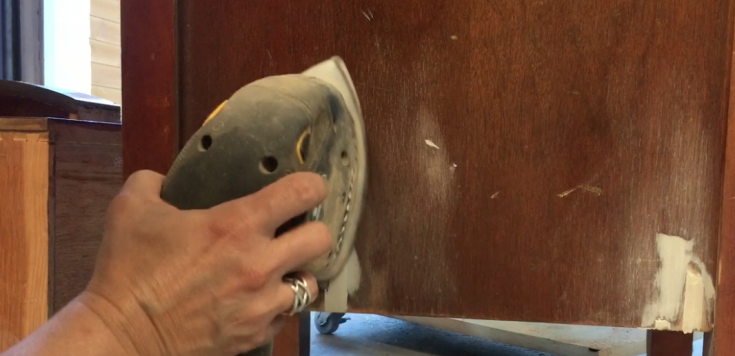
I wait between 30 minutes and 2 hours before sanding the filled spots with a rough sandpaper (60-80 grit). You can also use an electrical sander for this step.
Next I use a finer grit (220) to smooth out the area.
Most times when working on larger spots, tiny holes or imperfections remain in the filled areas. I like to do the touch-ups of those with a softer wood filler like this one, applying it with my fingers and then light sanding with a 220 grit sandpaper after an hour or so.
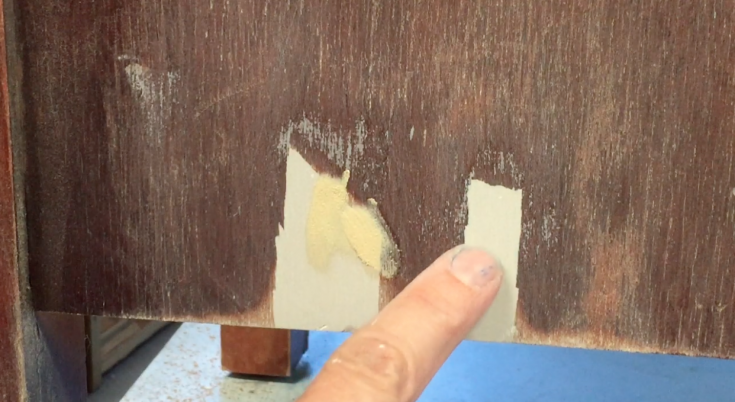
I do as many touch-ups as necessary until the affected area looks and feels totally smooth and leveled.
This is the finished desk. Can you tell where the damaged areas were?
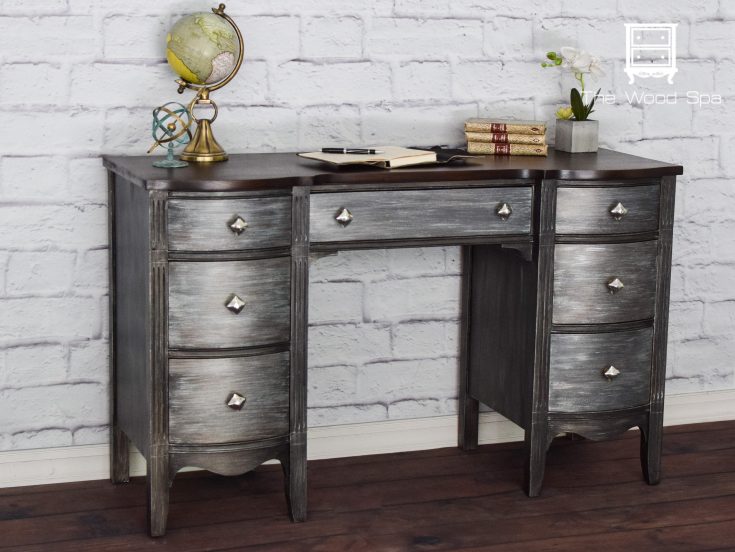


Here are some other examples of pieces I painted that had a lot of damaged veneer!
As always, feel free to ask any questions before or while working on your next project. I will be more than happy to answer them!
Here is a quick video!
SAVE IT TO PINTEREST SO YOU DON’T FORGET IT!
You can follow me on social media here:
PINTEREST / INSTAGRAM / FACEBOOK/ YOUTUBE
And dont forget to visit my blog The Wood Spa
Thanks for reading!
Patricia.
IF YOU LIKED THIS PROJECT YOU MIGHT ALSO LIKE THIS TUTORIAL ON HOW TO PAINT IKEA FURNITURE

OR THIS POST ON HOW TO MAKE HOMEMADE CHALK PAINT

AND IF YOU’RE WONDERING HOW TO USE CHALK PAINT – HERE’S A GREAT TUTORIAL FOR THAT TOO!

What’s the white paste you use with the wood filler to make it super hard?
After fixing the veneer, how do you paint the small area so that it matches the wood grain look of the furniture piece?
I have inherited a 1947 Lane Cedar Hope Chest. There are small pieces of the Venere missing. I would like to repair but I won’t be painting, only maybe refinishing. Will this technique work for that as well?
Such a nice idea. Wow, really amazing idea. Thankx for this.
Nice tutorial Always good work.
I am a first time DIYer. When you have a piece where the veneer is completely gone, for example on the face of a drawer, do you use wood filler on the entire surface, replace the veneer, or paint the underlying “wood”? I’m not sure how well the paint would stick to the “wood”? Thank you for your help!
Hi Bonnie,
When most of the veneer is missing, I just finish removing it from that area, smooth the surface with sandpaper and paint over it. The paint will bond even better to the bare wood. Check out this video on how to remove old, stubborn veneer.
https://youtu.be/8QMC0aRSyi8
Good luck!
Hello . Do you know how to repair old desk with a lots of damaged veneer on the top ? I started to take it off , and I don’t know what to do than ?
Hi, yes, that can be a pain.
I had to remove veneer that was beyond repair and what did the trick was hot iron on a wet towel. Check your my video tutorial on that.
https://youtu.be/8QMC0aRSyi8
Good luck!
Thanks for the post. I am ingesteinterested in knowing how to paint like this? How did you create that effect on the desk?
Hi Jarrid,
The full tutorial including video is on this post. https://thewoodspa.com/2016/07/06/a-desk-from-the-future-a-makeover-with-metal-effects/
Thanks!
Patricia.
Hi Jerrid,
I made a video tutorial on that. I hope it helps.
https://youtu.be/3elyr762YqE
Good luck!
Do you happen to have a tutorial on how you painted that and what colors? I am new to refinishing and LOVE the colors on this piece. This is beautiful!!
Thanks Jenifer,
Yes, I have the full tutorial including video on this blog post. https://thewoodspa.com/2016/07/06/a-desk-from-the-future-a-makeover-with-metal-effects/
Have fun with your project!
Patricia.
Wow it looks amazing!! Can’t even tell it was damaged!
Thanks for linking up with Welcome Home Wednesdays! Live every Wednesday at 7AM CT.
liz @ j for joiner
Thanks Liz! And it’s not so hard,right?
The finished desk looks awesome! It’s so classy. You’re a genius!
Thank you!