
A step by step tutorial on how to create a DIY marble table. This post may contain affiliate links. Please see disclosure page here
. . . . . . . . . . .
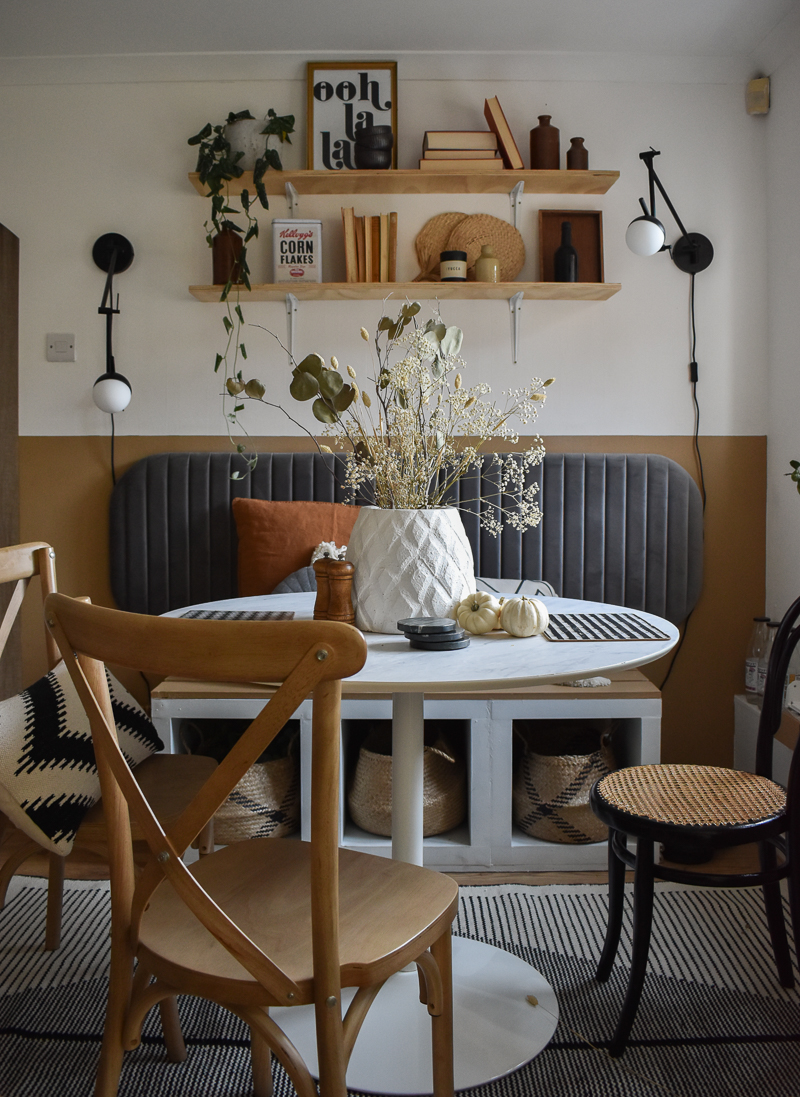
Am I here to confess that I’ve changed something in my dining room . . . . again?
Yup!
Will it ever stop?
Nope!
For as long as we are restricted to the confines of our home (if you’re reading this and it isn’t the year 2020, then just know we had covid to thank for that), things in this house will forever be changing.
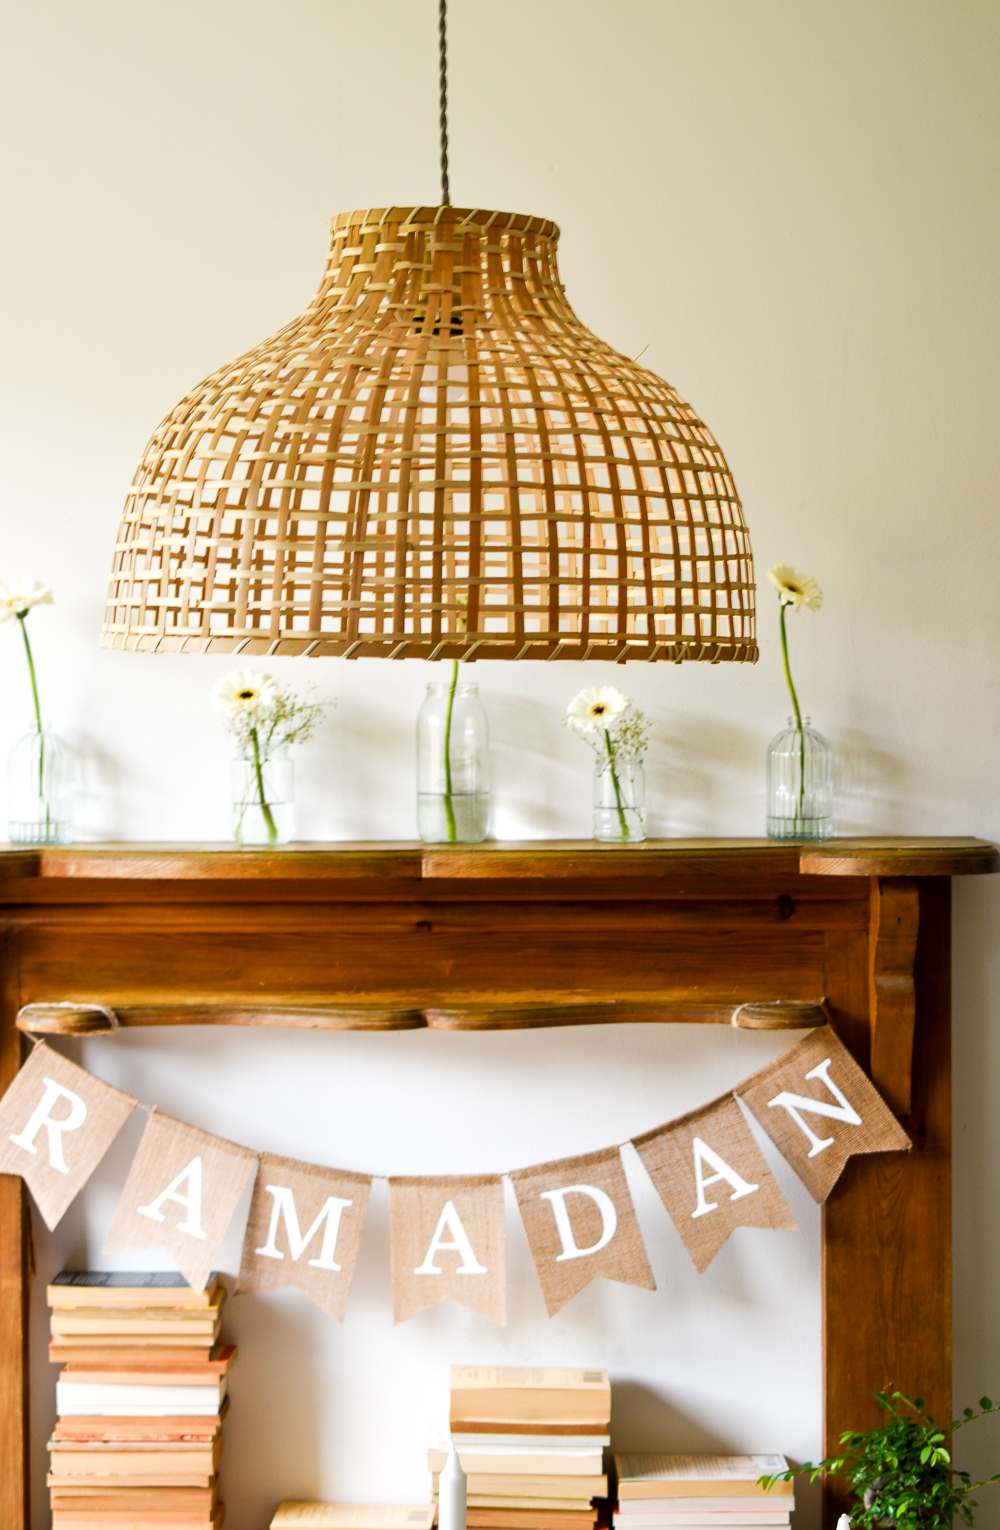
You know what they say (or at least what I say), design is ever evolving and a constant work in progress. The more time you spend in a room, the more opportunities there are to analyse what works and what doesn’t. Like my dining table for example, originally a modern glossy white, but now chic and fabulous! (she says giving herself a virtual pat on the back!)
This DIY Marble table makeover adds a whole new layer of texture to this space, and I for one, am all about texture, especially when you have quite a neutral and earthy colour palette like mine.
WHY EVEN UPCYCLE THE TABLE . . IT LOOKS NEW?
Well yes it is new or rather, new – ish.
But as a side note, upcycling doesn’t always have to involve giving beat up looking furniture new life. It’s totally fine to buy something modern and/or new and change it up so that it works for you! . See here and here for some examples of what I mean.
As much as I loved the simpleness of the original table, the glossiness of its surface wasn’t quite doing it for me (there’s a reason why all the walls in my home are painted matte ). So me being me, decided to cover it, in that fantastic stuff I’m always raving about.
Contact paper ( or sticky back adhesive) . . . a marble effect one.
The brand of paper I chose to use for this DIY marble table makeover was Very Berry as they offered a matte finish (which as I’ve already established, is kind of my thing) . This contact paper has great reviews and you immediately notice its thickness and durability when you roll it out.

The application process as you can imagine . . . was relatively quick and simple. It’s one of those projects you can finish during your work lunch break (I know a lot of us are still working from home), or during your kids nap time. (Here are some other quick projects you might like to try!)
I had originally only planned to record an Instagram Reels video for this tutorial , but lots of people had so many questions about this project that I decided to put it into a post too. I mean if I’m going to continue to call myself a blogger, it’s about time I actually blogged about something new right?
View this post on Instagram
MATERIALS NEEDED FOR THIS DIY MARBLE TABLE:
- Marble contact paper
- Contact paper or removable wallpaper.
- Kitchen knife – or craft knife
- Smoothing tool (a tea towel or an old card will do)
- Tape measure
HOW TO CREATE A DIY MARBLE TABLE:
1. Clean and dry the surface of the table top well, making sure to wipe away any little crumbs or debris. Just to remind you, here is how the table looked before (this is an old picture by the way . . . . the space has evolved a lot over the past few months)

2 Measure the diameter of the table top and cut out your contact paper accordingly (adding 4 inches to the length to ensure you have room for trimming after you have applied everything) . Its best to try and use contact paper that is larger than the surface you want to cover to avoid seams.
However, I couldn’t find any paper that was long enough to cover my table in one go so I ended up cutting my roll of paper down the middle and covering my table in two steps . I told myself that a seam down the middle wasn’t a big deal and might not even be noticeable (which it wasn’t unless you really knew what to look for).

3. Peel back the backing from the contact paper and place firmly on the table top. Start smoothing it down with your smoothing tool (in my case it was a card) . As you pull away the paper underneath the film, continue smoothing, making sure to work out any bubbles/wrinkles.

4. If you’re doing this in two steps like I did, make sure not to leave a gap between the connecting seams by applying the paper very close together (but don’t overlap)
5. You now have two options here.
Option 1, After your table top is covered, cut off all the excess with a very sharp razor or a craft knife. See below.

Or option 2; tuck the paper under the table top.
The contact paper might feel a little thick to get a neat tuck . If that’s the case, grab your hairdryer and apply some heat! The paper will become very pliable and you will notice it start to soften. At this point, you can quickly and gently stretch the paper around the edges.
And you are done… how quick was that right?


NOW FOR SOME FREQUENTLY ASKED QUESTIONS
Is it durable?
This paper has gotten some great reviews so I should hope so. Time will tell I guess . We also use place mats and coasters which I think will only help longevity.
Can you clean it?
Yes this paper is wipe-able against your every days spills.
Is it removable?
Yes! If you suddenly change your mind, you can peel the paper off. Applying heat will help the process, and just clean away sticky residue with soap and water. Rubbing alcohol also helps to remove residue.
What do you think? Has this given you the confidence to attempt something similar in your home? Drop me a comment below!

If you liked this post or just want to come back to it at a later time, click the image below to save it to your Pinterest.


I talk a lot about contact paper on this blog, here are some other posts that might interest you!


Thanks for the cool idea ! Your table looks awesome.
Thank you for sharing your creative idea on how to use contact paper or removable wall paper to cover a table surface. Your table is beautiful and I love your style. I love shopping at thrift shops and to upcycle furniture for my 100- year -old farmhouse. I think this will be my next project.
Good luck with your project Melody!
Love to see what you do and please continue to post besides instagram or pinterest. I have neither and don’t plan to sign up, so thank you for thinking of those of us of that mindset. keep up the happy transformations. Thanks.
You are so welcome! Thanks for this lovely comment 🙂