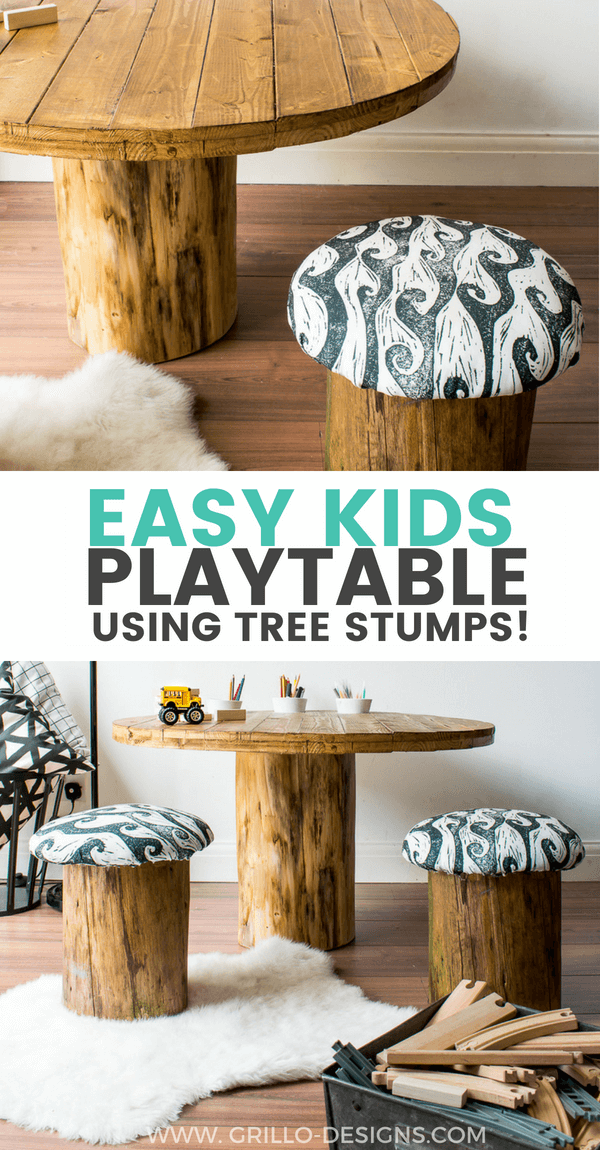
Learn how to build a DIY kids tree trunk table with toadstools – that can be used both indoors and outdoors.

*Thanks to Spoonflower for sponsoring this post. This post may contains affiliate links. For more information, please see my disclosure page.*
I know what you’re thinking…
You’re thinking, I’m sure I’ve seen this table before somewhere … in fact, you might even be fairly certain that you have.
And I’d say (in response to that very shrewd observation), that you are absolutely correct!
You have seen this before… but not here on this blog…. on my Facebook page, which many moons ago, was my ‘actual blog’.
(social media as Im sure you can imagine, was much simpler then)
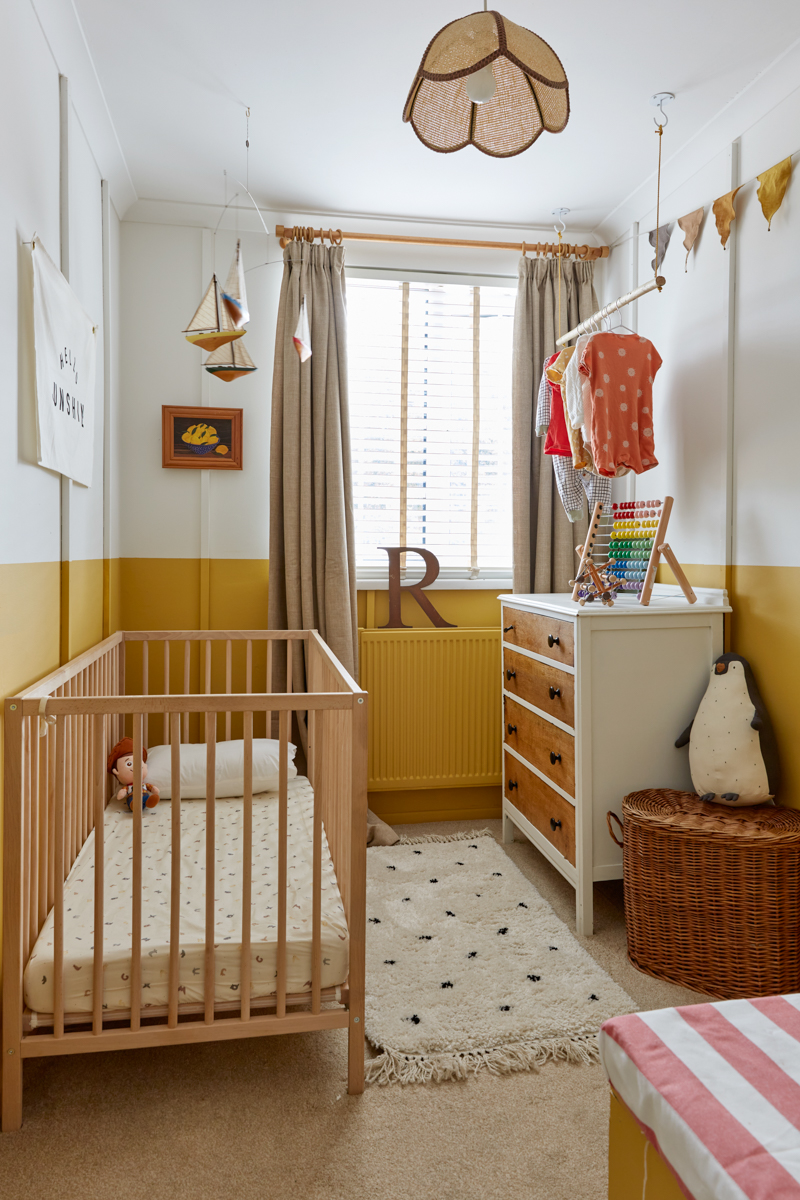
Remember the super colourful playroom in my last house?
(Its ok if you dont, just brace yourself for a trip down memory lane).
So in one corner of the room, I had put together a cute little chalkboard table with even cuter polka dot whimsical toadstools (and in the other corner was the tyre seating reading nook). My son loved it, but like most things, very quickly out grew it.
(I’ve just dug up an old photo for you. I must be feeling a little brave today, ha!)

Hence the reason why there is now a tree trunk table (number 2).
A new and improved version (I hope you’ll agree?)


I’ve added a thicker table top, as well as, newly upholstered stools using gorgeous eco canvas fabric sent to me by Spoonflower.
This fabric is quite durable and can also be used outdoors!


A WORD ON SPOONFLOWER
I first heard about Spoonflower from a post I read on A Beautiful Mess a few years ago. So naturally, I was super excited (and majorly flattered) when they approached me with the potential to collaborate.
Who are they?
(you might be wondering… are you wondering?)
Erm…. possibly a crafters heaven, if fabric, textile, and patterns are your thing! Their website has a large variety of different designs to choose from – which can then be printed on to either fabric, wallpaper or gift wrap paper.
Cool huh?
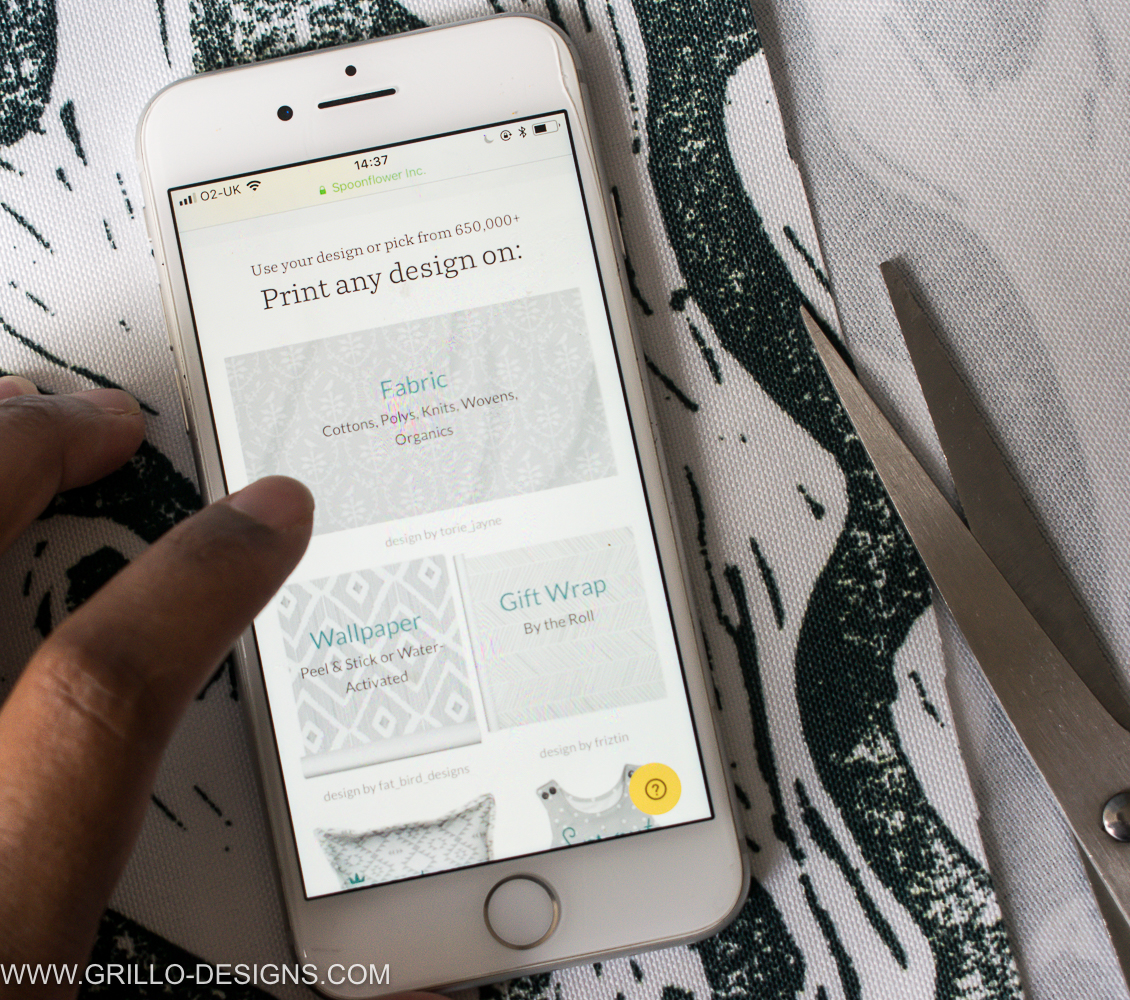
The best part of it all – the design are uploaded and sold through independent creatives and sellers. Spoonflower is based in Durham, North Carolina and Berlin, Germany – which is a huge bonus for people like myself living in Europe!
MATERIALS NEEDED TO MAKE THIS DIY TREE TRUNK TABLE:
This post may contain affiliate links. Please see my disclosure page here
- Tree trunks/stumps (1 x 35cm high, 2 x 20cm high)
- Hard wood timber W 8.9cm L 240cm T 3.8cm (2′ x 4′)
- Outdoor Fabric from Spoonflower – this is the exact pattern I chose
- Measuring tape
- Gorilla wood glue glue
- Linseed oil
- lint free cloth
- 6 X 8″ screws
- Mdf wood
- Wadding (Batting)
- Cotton stuffing
- Varnish (medium oak) or Stain
- 3 terracotta pots
- White spray paint
TOOLS :
- Power Router
- staple gun
- Drill
- Sanding machine
- hole saw kit
- Kreg jig (optional)
HOW TO MAKE A TREE TUMP TABLE:
MAKING THE TOADSTOOLS FOR THE TREE TRUNK TABLE:
You’ll first need to source some tree stumps – 3 to be exact.
I live in the city, so unfortunately stumbling across abandoned tree trunks on my daily strolls just wasn’t going to happen. Thankfully, there is such a thing called eBay – with lots and lots of local trees sellers wanting to make a buck off otherwise free goods of nature.
(actually, should I really be thankful for this?)
There is always that.
The seller who I got in contact with, provided me with tree trunks that had already been dried out , debarked and sanded . Of course, you can do all this part yourself, but be warned, it is quite a long process . Here is a great tutorial though if you want to know how.

I applied linseed oil to the the trunks using a lint free cloth. This step would help to preserve the wood on the trunk longer .

Next a mini upholstery crash course
(very amateurish though I must warn you… professional upholsterers, look away now!)

I used 33cm mdf circles (about 1-2cm thick) for each stool.
You can either order it pre- cut off eBay or cut it on your own using a power router or jigsaw.
I secured the mdf wood circle directly to the top of the tree trunk by screwing in 8” screws with my power drill. I used 3 screws per stool.

I then covered the mdf circle with cotton stuffing ( or alternatively you could use the inserts from an old pillow or cushion) and then topped with a sheet of fire retardant wadding ( I had already cut out the fabric previously)

(Cotton candy anyone?)
Finally I topped it all with the fabric from Spoonflower

Then flipped the stool over…

I pulled at both the wadding and fabric , and stapled to the underside of the mdf circle using my staple gun. You can fold the edges over as you staple if needed.

Neaten the edges with a pair of scissors .

(Cuteness overload, I know)

NOW FOR THE TABLE TOP OF THE TREE TRUNK TABLE …
Slightly more complicated but certainly doable. Do you remember that industrial stool hack I created a few months back? Well it follows the same principles, but on a slightly larger scale.
( Am I putting you off at all?)
I wanted a table with a diameter of at least 90 cm so I made sure to cut the wood slighter larger than that.

Using Gorilla glue , I connected the wood planks together to make a large square (If you have a Kreg jig for this step – even better). I clamped the wood in place and left overnight to dry.

I used a total of 11 wooden planks.
The next part is cutting a perfect circle from the wood.
(time for the power router)
I screwed a scrap piece of wood to the sides of the square for added stability whilst cutting.
My husband helped to create a quick rooter guide from scrap wood which I nailed to the centre (you can also buy your own guide here)

(Me in action – excuse the pudgy hands though)
As the wood was quite thick , I had to cut from the top first then flip the whole wooden contraption over and cut the underside!

Ta daa! And you have yourself a perfect top for a tree trunk table!

I stained it with varnish (this is my preferred choice of varnish/stain always) because the table was mainly going outdoors! The table top was secured to the tree stump using long 12 ‘ screws
Towards the end, I decided to add in a few circles for pencil holders. To do this I used the power drill with a hole saw kit

I also spray painted a few terracotta pots to go inside the holes.
(Over excited much Medina?)

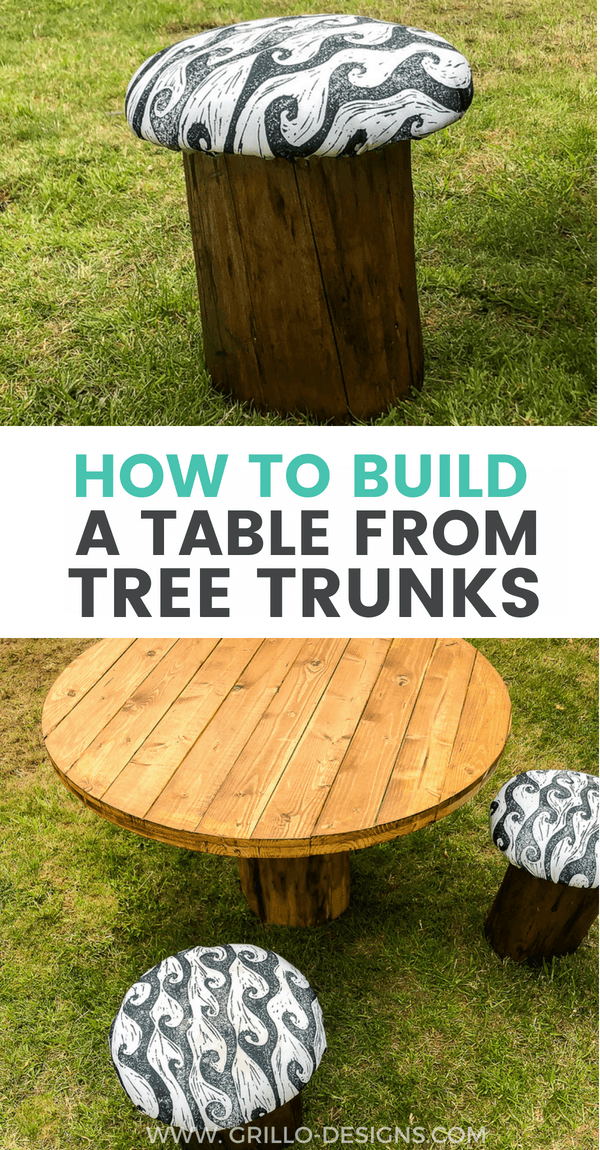
This is the finished result .


(I might have had a little play around with the styling – whilst waiting for my son to get home from school)

When my son saw the completed table for the first time, his initial reaction was wide eyed wonder ‘WOOOOOOW! he gushed! And then out came the toy cars!


You might notice a few products from Roostery in these photos They are an online store that create custom homeware goods through the designs sold by Spoonflower
This pillow is The Catalan throw and the place mat is the Orpington Linen Tea towels!

So tell me, what do you think of Tree Trunk Table version 2? Epic fail or winner?
***This post was sponsored by Spoonflower – you can visit their online store to browse all their stylish designs
I received products and payment for my time creating this post. I only partner with brands I LOVE and think you will LOVE too! All ideas, photos and opinions are 100% my own


DIY GARDEN STOOLS FROM TREE TRUNKS AND TYRES


Awesome, thank you!
Looks fabulous. I thought the table top was a cable spool at first, very impressed that you made it. I love the pen holders too very sweet.
Thanks claire!