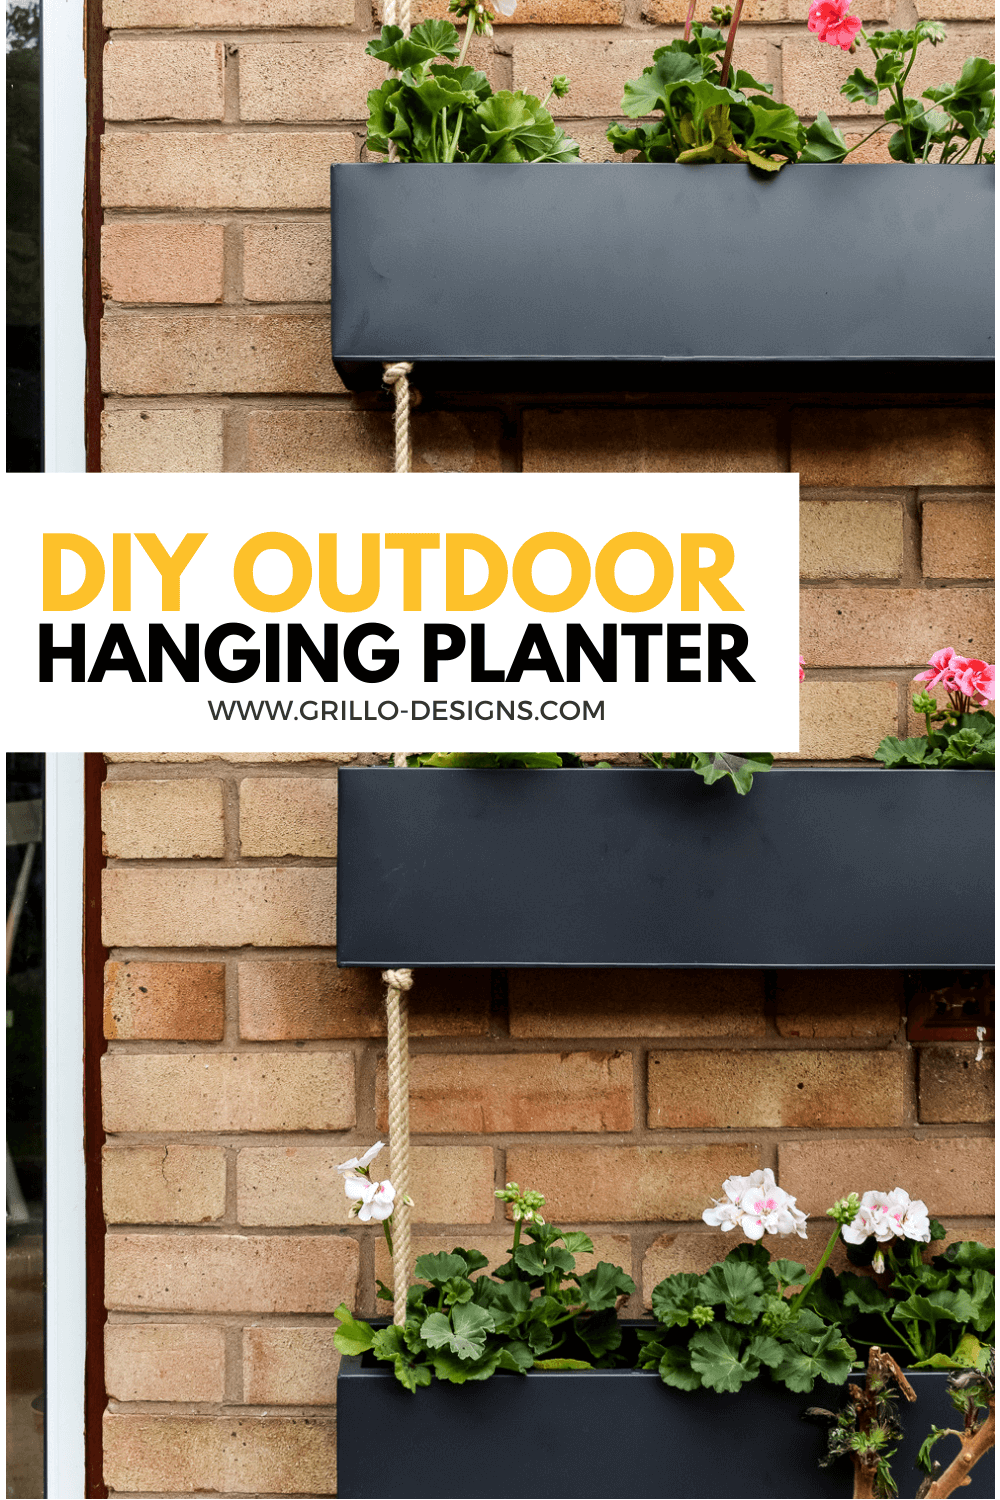
A 10 step approach to building a DIY trough planter from outdoor tiles. Perfect if you are looking to add a little glamour to your garden or porch this summer!

*Thanks to Tile Mountain for sponsoring this project.
………………………………………………………………………………..
Oh sun, is that you??
…. No really… is that you?
After months of dreary cold weather, I was beginning to think you no longer existed… That you were nothing more than a figment of some fairy tales characters imagination.
But here you are …. beaming your rays of light through my dining room windows
And that makes me happy, so happy in fact, that the little DIY switch in my brain has suddenly flipped on.
Give me a minute of sun and I’ll turn into a DIY extraordinaire … I’ll build you a house!
Kind of literally …
I’ll build you something anyway … OK well not I. We (the other half and I)
Like this trough planter for example..

Its made from tiles (and other things) but lets just focus on the tiles for a minute
Aren’t they pretty? (Heart emoji eyes)

These tiles are part of the Tile Mountain outdoor range.
They’re actually meant for outdoor paving (Mediterranean style) but as I rent, I couldn’t see the point of doing something like that for a garden that I didn’t own. Instead I thought, why not use the tiles to make a stylish planter…. on wheels?

That way, if I did ever move homes, I could roll it along with me!

[RELATED : HOW TO BUILD A HANGING GARDEN PLANTER]
MATERIALS USED TO MAKE THIS DIY TROUGH PLANTER:
This post may contain affiliate links. Please see my disclosure page here
TILING: (all tiling materials were supplied by Tile Mountain)
- 6 x tiles – Haven creek Grey mosaic tiles
- 2 x Flexible grey Grout 5kg bag
- Grout paddle
- Grout mixing paddle
TO BUILD:
- 4 x heavy duty castor wheels (400kg weight)
- Treated outdoor wood – Timber , Planks
- Strip wood
- 1 x roll of greenhouse plastic 2m X 2m
- Stone/tile Glue
- Wood glue
- 7 cm Screws
- Exterior Varnish
- L shaped Metal brackets (optional)
TOOLS NEEDED:
- Mitre saw (or Manual saw – but this may take longer)
- Staple gun
- Electric screwdriver
- Clamps
- right angle clamp
- Sander
SEE MEASUREMENTS

 HERE!
HERE!
HOW TO MAKE A DIY TROUGH PLANTER BOX
STEP 1
For a project like this, its always a good idea to cut all of your wood to your desired lengths before you starting build. Make sure to measure at least three times before making your final cuts. We used a mitre saw – but alternatively, you can use a jigsaw or manual saw. It will take a lot more time though!

Use a sander to smooth out any uneven or rough edges.
Here is a picture of all the freshly cut wood (and lengths)

STEP 2
Start assembling the pieces of wood together to make a rectangle.

Make sure to pre-drill your holes before screwing in the screws. Using a right angle clamp at this point helps to get the perfect shape .
You can also apply wood glue to the connecting points for added durability.
Here is what you should end up with.

STEP 3
Screw the pre-cut wider planks to the top of the rectangle base. Place each plank about a 1-2 cm apart (see pic for measurements)

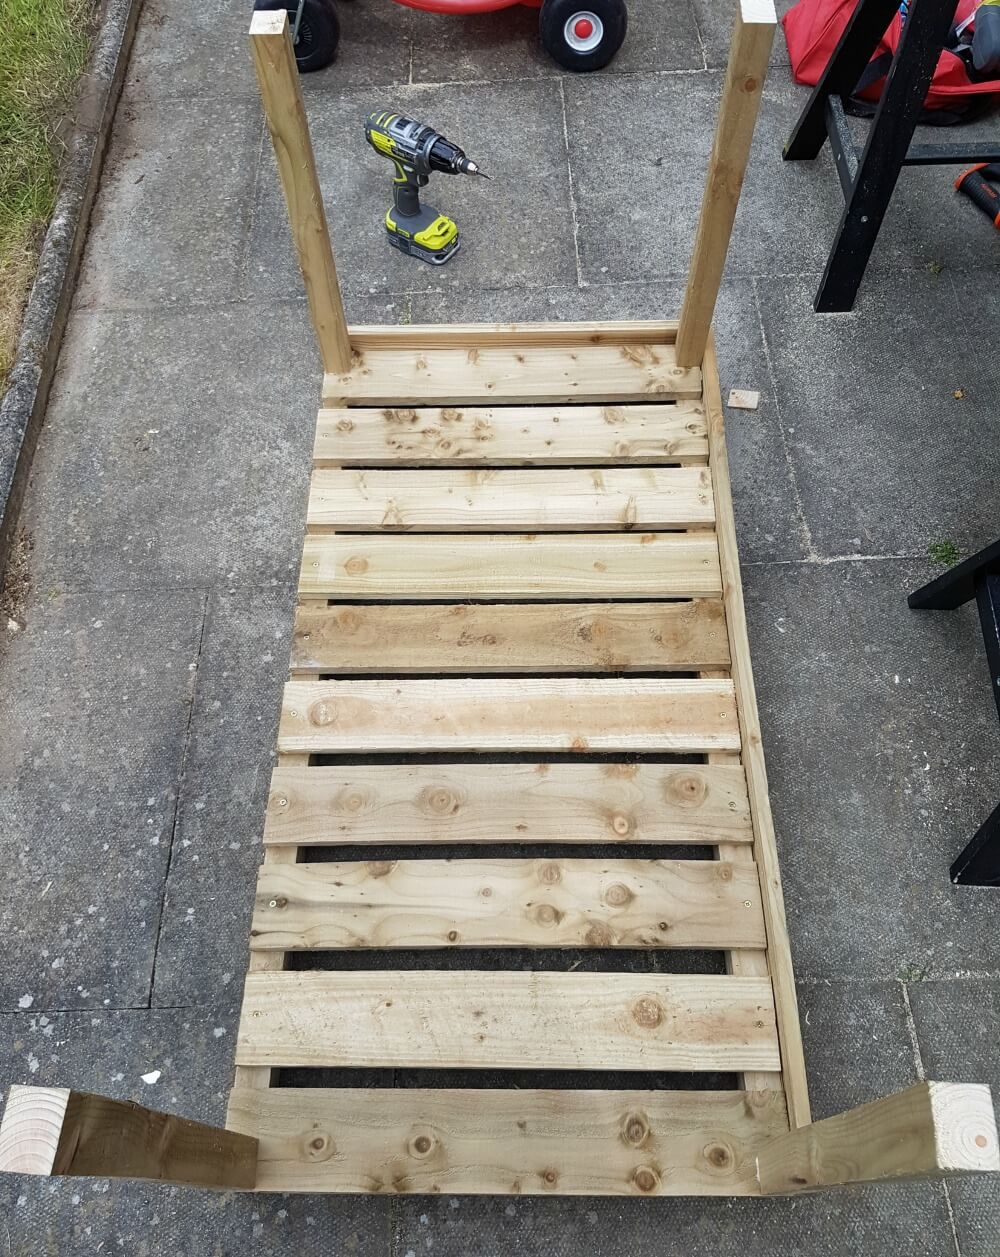
STEP 4
Next, errect your … well I have no idea what to call these things, but they sort of look like pillars?
You’ll need about 4 of them (cut to 533mm long). Screw each one at the corner of each side of the rectangular base.
As the wood is quite thick, to secure the pillars in place, you’ll first need to pre-drill a deep hole with a drill piece much large than the size of your screws.

Then push the screws through from the bottom of the base so that they connect with the pillar wood on the other side .

Once all 4 pillars are in place, take a step back and admire.
Optional – Adding L shaped metal brackets or these wooden triangles to the base of your pillars will help to give your frame a little more support.


STEP 5:
Now the basic frame is done, its time to start attaching the wooden planks to create an enclosed box . Attach the planks the outer surface of the pillars and screw in place at each end to secure in place
The shorter lengthed wood was used for the smaller sides of the rectangle, and the longer planks for the two wider sides.


Once all the wooden planks are in place, here is how it looks.

You can also add in more support by placing the same wood you used for the pillars to the middle of the insides of the wider sides of the box.
.
Sand everything with a sanding machine.
STEP 6
Now for the fun part – the tiling.
My husband and I were pretty new to the process of tiling and this might show in some of our progress pictures. We decided to tackle 2 sides of the trough planter at a time.
To mix the grout we followed the exact instructions on the package.

We used a float paddle connected to the drill to mix the grout evenly

Our son got in on the action too.

Then using the grout float , we smoothed it on to the surface of the planter box.

Apply the tiles – pressing them firmly in place!


You can use clamps whilst the grout is drying to ensure the tiles stick well.
Once dried, flip the trough planter over to the other side repeat the tiling process.
STEP 7
Whilst the planter is on its side, screw in the castor wheels. These wheels hold a weight of 400kg which was definitely needed as this trough was pretty heavy!

NOW flip the box onto its wheels (you’ll need two people to do this)
STEP 8
Almost there..
The sides and the top of the planter looked a little messy so the last part of this project is just tidying everything up.
The best way to do this is to use strips of wood to cover everything up.
For the sides we did this.

They were applied to the tile edges using glue (specific for tiles and cement)

For the top the wood was cut at 45 degree angle and screwed in place

As the wood we used for this part was not treated for outdoor use, I had to stain and varnish.
STEP 9:
Apply greenhouse plastic to the inside of the trough planter and staple in place using a staple gun. You can cut off any excess plastic from the sides with a pair of scissors.

I found this tip from a blog called Garden Answer – apparently applying plastic to the insides helps to preserve the planter even further and prevent rot.
Also make sure to poke holes into the bottom of the plastic for drainage!

STEP 10
Add the soil. We used 4 bags of 125L – and your flowers or plants. And you are done!


Just to note, the flowers we planted were only babies and still hadn’t bloomed – so itll be nice to check back in with you guys in a few months when they do!


So what do you think? Do you think you’ll give this a try this bank holiday weekend? If you do, please send me pictures! I would love to see!
***This post was sponsored by Tilemountain.com – you can visit their online store to browse all their fabulous tile and flooring selections. I only partner with brands I LOVE and think you will LOVE too! All ideas, photos and opinions are 100% my own


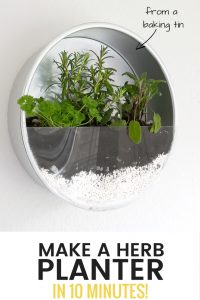
HERB PLANTER FROM A BAKING TIN
IKEA HACK: INDUSTRIAL WALL PLANTER


I’m curious if the tile has cracked with it being applied directly to wood. Wood expands and contracts in temperature changes. I learned my lesson applying mirror to wood…. just curious if your tiled cracked since the project has been finished for a couple years. Or perhaps you are not in an area with drastic temperature changes. Thanks!!
Fab ?
Omg! Is beautiful, I love it! Thank you for the inspiration and the tips!!!?
Thank you – so glad you like it!
Love the planter. Great minds think alike I’m actually working on a similar project myself but on a much smaller scale.
Thank you claire 🙂
Medina, this is absolutely amazing, what an incredible thing to pull together, love the tiles, they are just fabulous on the planter ??
Ahh thank you so much! I really appreciate it!
SO COOL !!! THANK YOU THANK YOU! NOW i KNOW HOW I WILL MAKE THE PLANTER FOR MY FIG TREE !!! 🙂
Yay let me know how it goes!
Just when you thought Medina was taking a break for the bank holiday weekend… nope, breaks are for the week. Great piece of DIY and choice of tiles too!
Well done both for pulling this diy off – it looks like a lot of fun x
Looks fab!! I’m pretty sure though that you’ve made it look A LOT easier to make than it actually is. 🙂