A step by step tutorial on how to make a DIY outdoor hanging planter from standard plant boxes. *This post is a paid advertisement with Habitat UK .

I’m about to hit you with a load of contradictions.
Whilst I do enjoy moments spent out in nature, I wouldn’t say I was necessarily an outdoorsy person.
I’m most definitely a homebody, but I do start to feel really restless (and a little anxious) when I’m indoors for long periods of time.
I like the idea of glamping, but would definitely turn down any offers of camping. I love seeing flowers bloom , but will run away at the first sighting of butterflies (or bees).
I’m grateful to have a garden, but on the other hand, often neglect it’s upkeep for most months of the year
Because I’ve never seen the garden as a priority.
Well until now that is.

COVID and isolation has definitely changed a lot of things for us – including how we all now view the garden. It has become our safe haven … our happy place. If any of us aren’t having such a great day mentally, ‘let’s go to the garden’ is usually the first thing we say. Sometimes a little fresh air and a little sun really does make it all better!
I have now become that person who potters around in their garden, and my recent collaboration with Habitat has made pottering even more fun! This campaign is focused around the effects of your home environment on your mental well-being. As our garden has been that one place where we’ve been spending most of our time recently, it seems only logical to pretty it up a little with some new garden furniture and other DIYs.
OUTDOOR HANGING PLANTER : DIY OR HACK IT?
The first thing I decided I wanted to do was build an outdoor hanging planter (I’ve wanted one for absolute ages), but rather than build it from scratch, I opted to hack a few garden planters instead.
Simple, quick and achievable.

That has been my manta whenever I have attempted any DIY during this period. Funny enough, even though I have more time, I’m finding I’m not as productive as I used to be. Usual day to day activities takes up much more energy, so the things I do spend time on, need be easy and achievable. I like the feeling of going to bed knowing I’ve done something . . .anything.

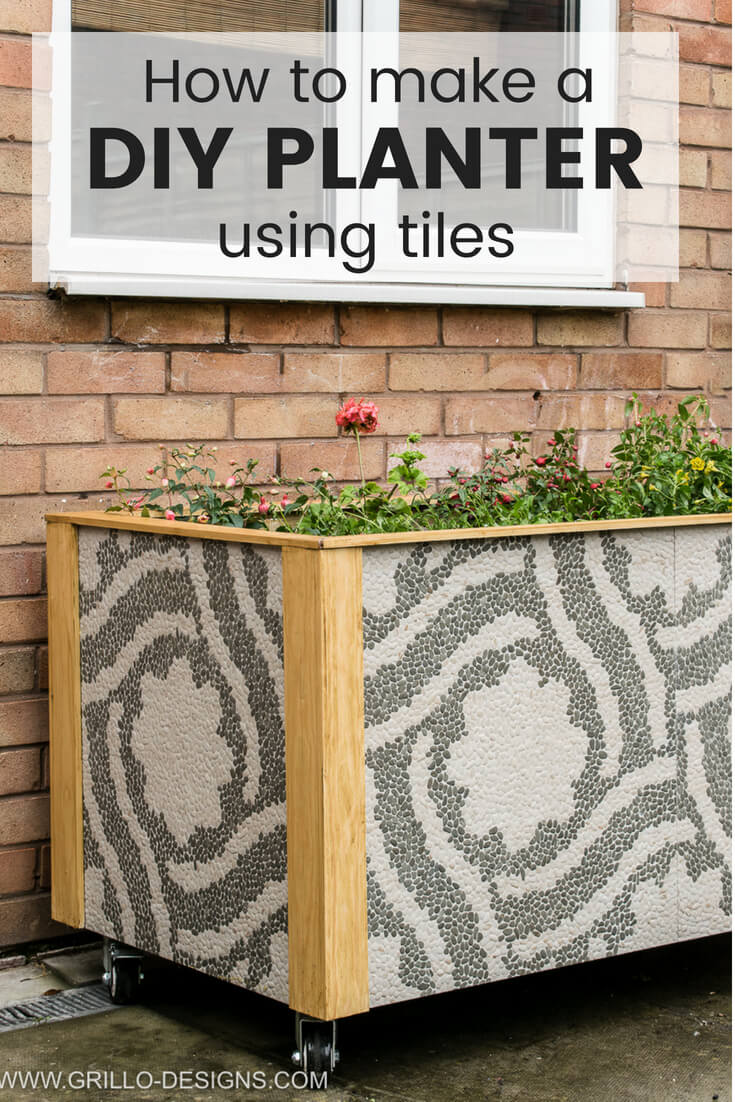
{RELATED: CHECK OUT THIS OTHER PLANTER I MADE . . IT HAS WHEELS]
MATERIALS NEEDED TO MAKE AN OUTDOOR HANGING PLANTER:
- 3 x planters
- 10 mm rope 5m long
- Tape measure / ruler
- 2 x heavy duty brackets
- Drill
- 8mm, 10mm drill bit for metal
- 6mm masonry drill bit
- Marker pen
- Flowers
- Soil

HOW TO MAKE AN OUTDOOR HANGING PLANTER:
WATCH THE VIDEO:
STEP 1: The first thing you need to do is drill holes to all four corners of the top of the plant box. Measure and mark 5 cm at each end to ensure all the holes on each planter are in the same position. This will ensure that you get a symmetrical looking planter once hung.

To create the holes, start with the smaller 8mm drill bit.
I was a little apprehensive about drilling into metal to begin with, but because the metal on these planters were so thin, making holes wasn’t difficult at all.
Next, use the 10mm drill bit to make the hole even bigger. Below is a picture of the drill bits I used.

STEP 2: Flip the planter over and drill 4 holes into the base . . again at 5cm distance from the edge (so the holes line up with the holes made at the top of the planter). . Repeat this step for ALL of the boxes.
Note you wont need to make base holes for the plant box that will be at the bottom of this hanging planter.

You should end up with boxes that look like this (note the holes)

STEP 3: Thread the rope though the top hole of the first planter and make a knot like below.

Place the planter box on its side. Measure and mark 30cm on the rope from the edge of the planter


Tie a knot at the marked position.The knot gives the next planter something to rest on.

Thread the rope through the pre-drilled holes on your next planter, knot and repeat. It should look like below. Cut the end of the rope once you’ve completed one corner.

STEP 5: Repeat this step for all four corners of the planters. Try to keep the measurements between each knot consistent.

STEP 6: Decide where you will be hanging this outdoor planter.
You can either hang from your garden fence using over the door hooks, or drill brackets into a brick wall. I went with the latter as our fences are a little damaged – although I got my husband to do this part, as I’m not too confident about drilling into brick.
He used a masonry drill bit and wall plugs to ensure the brackets were securely positioned (see below)

STEP 7:
Side note: Sourcing outdoor flowers during this time was an absolute nightmare. I usually buy my plants online, but this time it served better to head to my local supermarket.


STEP 8: Hang the planter from the brackets. I literally just knotted the rope around the brackets. Now stand back and admire your creation. From start to finish this should take you about 3 hours.


I also added in some other outdoor furniture to this space. This black metal bench, a wooden fold-able table and these cushions.

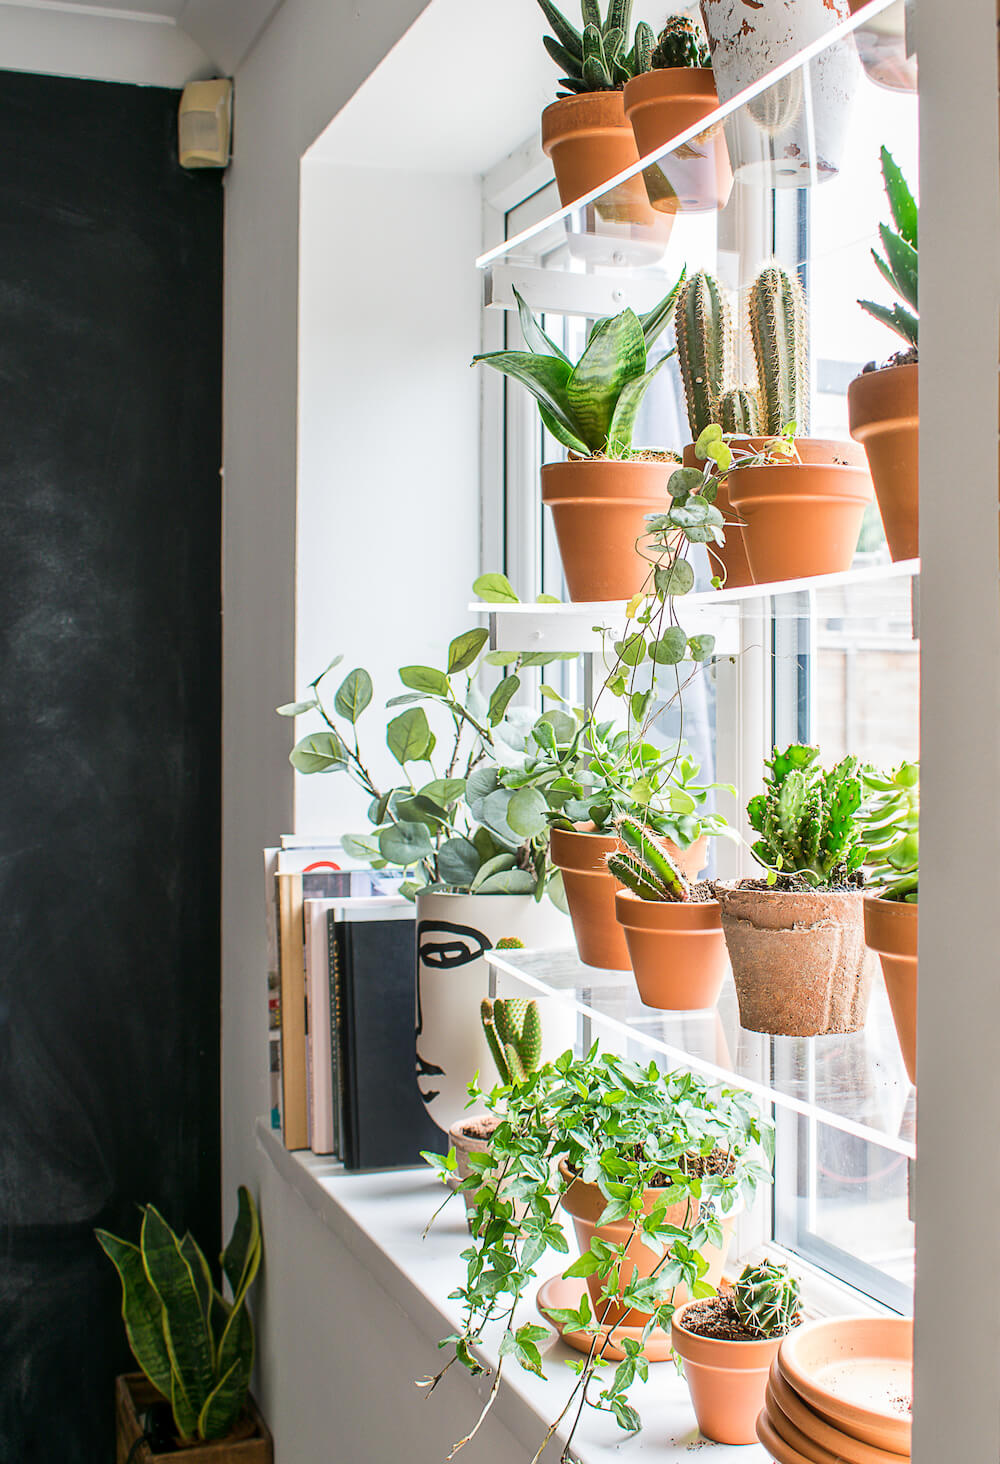
Also, noticed the window? That’s my plant shelves in my dining room!


What do you think of my outdoor hanging planter? Have you ever attempted anything similar in your garden? Where have you been spending the most time during this isolation period?


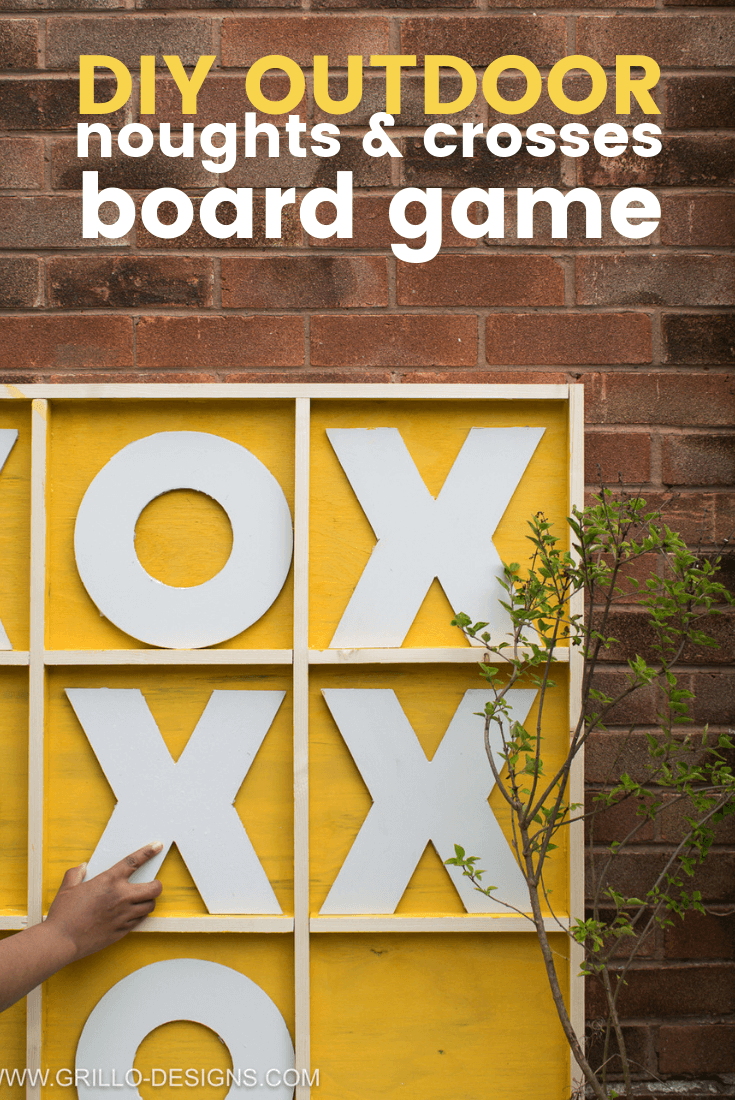
DIY OUTDOOR NOUGHTS AND CROSSES BOARD


Hello!! Has anyone found similar planters for this project that lives in the States? I am having a hard time finding planters that would work and I love this idea!! Thank you in advance for any tips/leads. 🙂
Hi There!
Are you willing to divulge where you purchased the planters? I have been looking for something in this exact style! Also, these came out so great!
Thanks, Dana
Hi Dana, these are from Habitat!
Hello Medina,
I tried emailing you before and it was to no avail. So I will respond here. I am so glad to see that you have some new content I like your designs and look forward to getting your email. I am a senior a somewhat active one and have DIYed some Target bookcases. Next time I will take a picture so you can see we have a lot in common. Keep up the good work!! And of course I did not forget HAPPY 10th ANNIVERSARY to U and your Hubby!! 🙂
I don’t feel anxious, however I do enjoy being in my space. We have made things quite comfortable that is me and my adult son.
Will email you soon. I will soon put up my Website.
Helene
Ahh you are so kind helene thank you!
I like the projects that you had there’s something that I can learn and it’s small enough that it only takes a little while to do it and I will be trying it thank you so very much in Jeannie Williams
Thanks Jean 😉