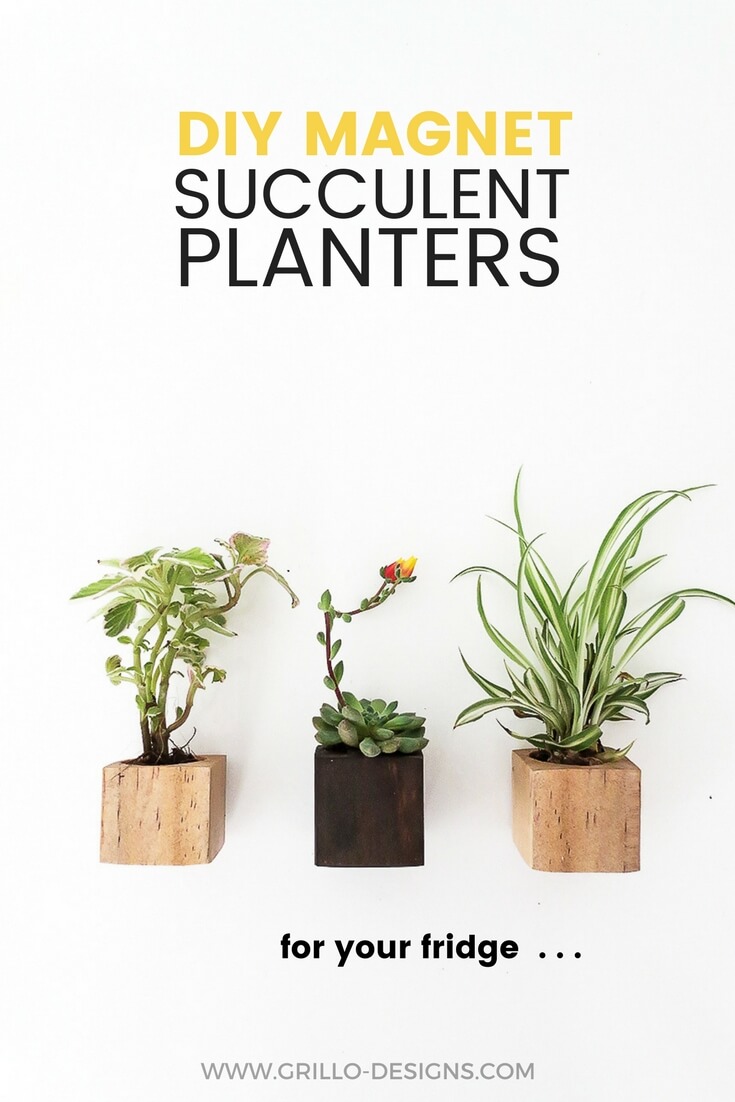
Learn how to create wooden magnet planters for your mini succulents – perfect for a little green growing nook on your kitchen fridge!
Hi! It’s Amaryllis here from Ohoh bog.
It’s alway nice to add some plants into your home. They are pretty and add a touch of mother nature into your decor. The usual spots to display plants are the window sills, the side tables or even on plant stands.
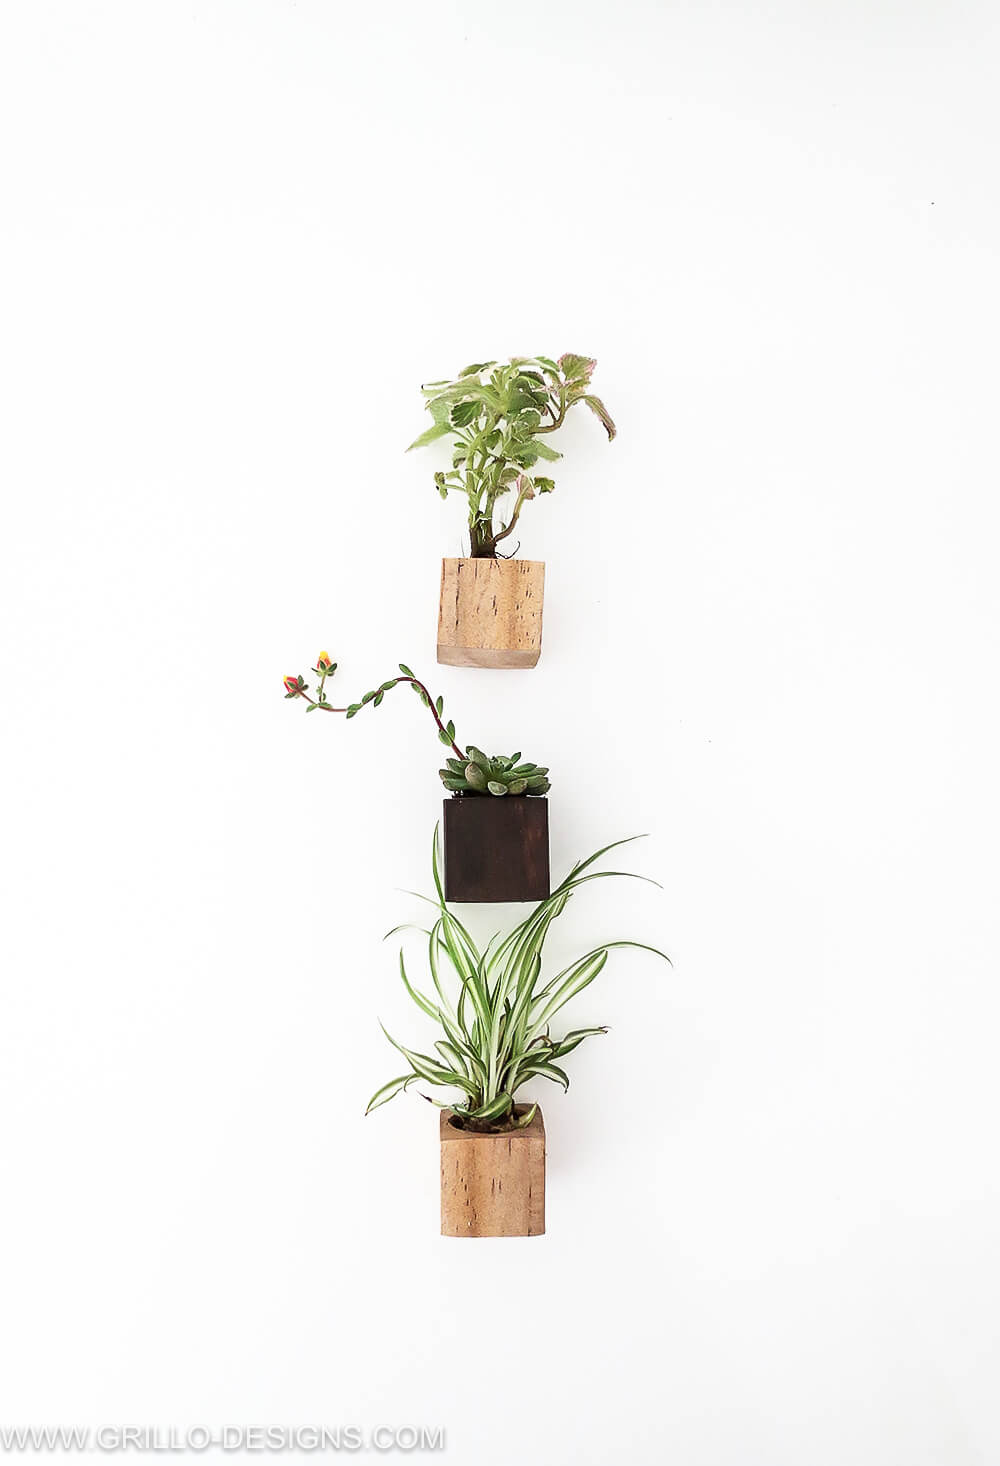
If you like greens, or like me, are a little plant mad (like me), you will adore these cute little magnet planters. You can put them on your fridge or on any other magnetic surface in your kitchen.
MATERIALS NEEDED TO MAKE A MAGNETIC PLANTER
This post contains affiliates for your convenience, see full disclosure here
- A piece of 2’x2’ wood timber
- A handsaw
- A drill with a spade bit
- A trigger clamp
- Some plastic caps (I used tube end caps)
- Magnets
- Sanding paper
- Wood stain or paint
- A brush
- Varnish / poyutherane
- Succulents or plants
- A ruler and a pencil
HOW TO MAKE A MAGNETIC PLANTER
Step 1
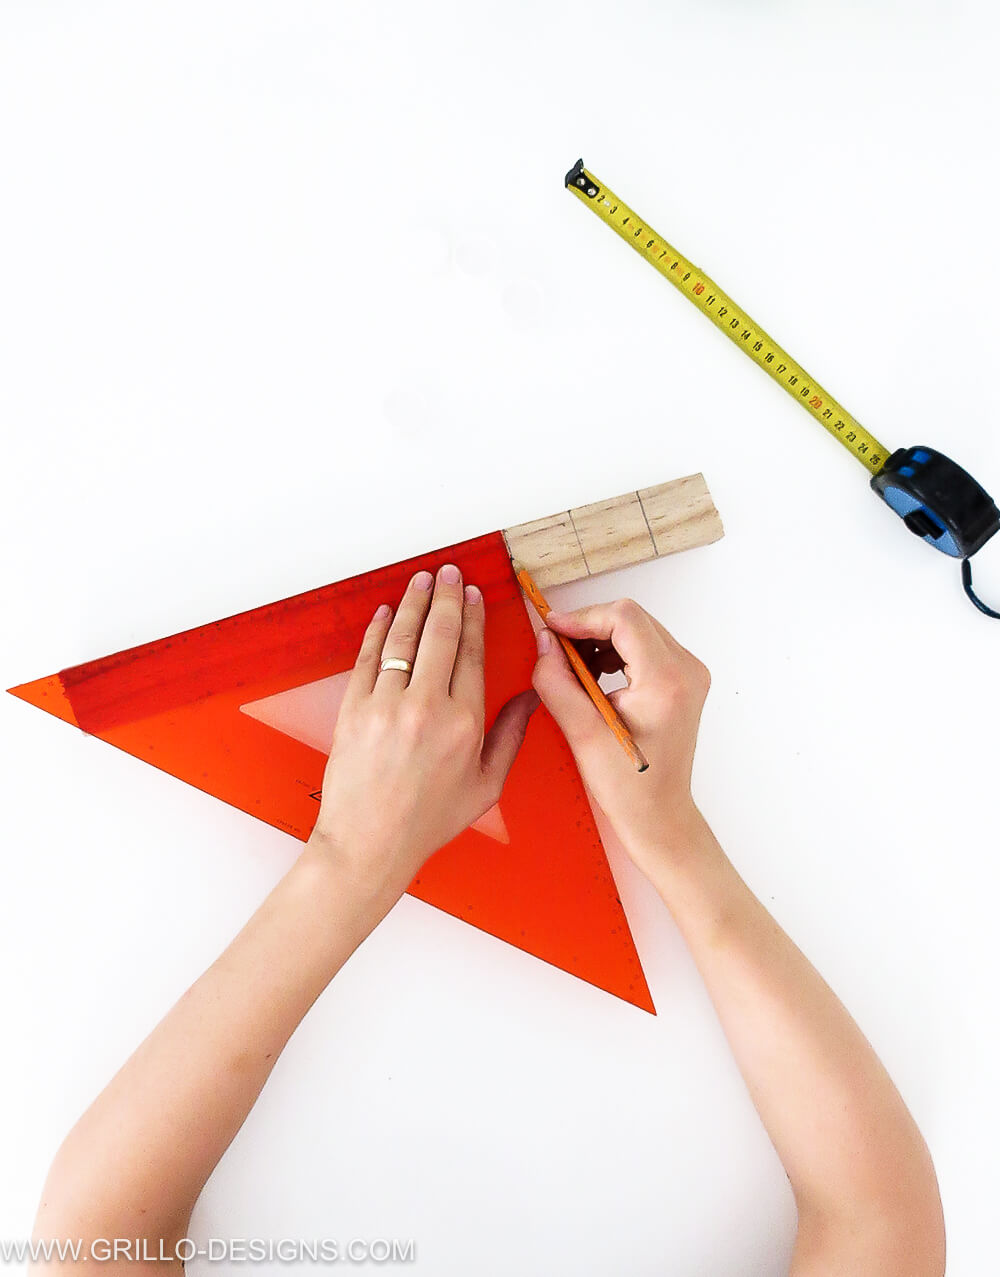
Take the wood timber and measure sections of 2 inches.
Trace the lines and cut with handsaw to make wooden cubes. Repeat several times to make as many planters as you wish.
Sand all the faces of the cubes to give them a smooth finish. You can start with a 60 grid paper and finish with a 120.
Step 2
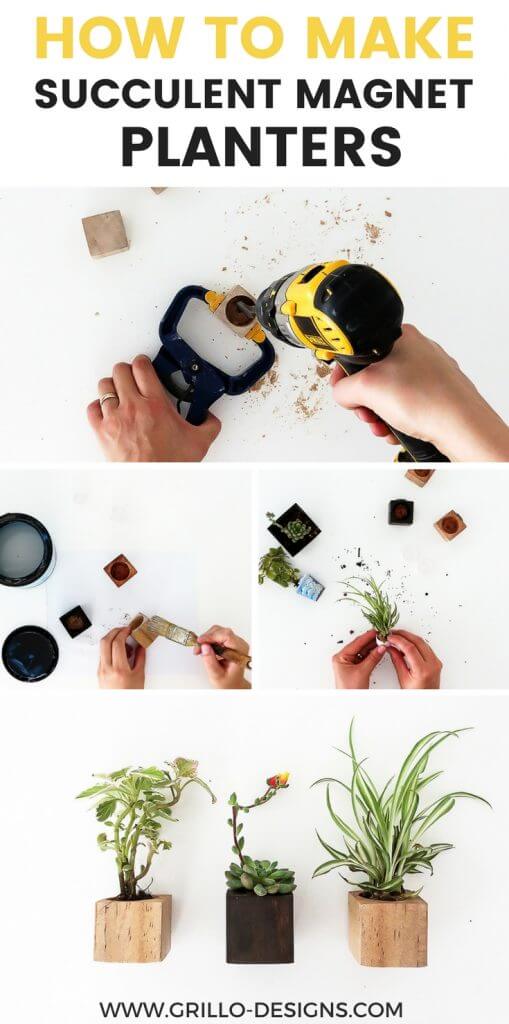
You need to make a hole in the cube to convert it into a planter. The hole must be big enough for the plastic cap to fit in. To drill into the wood you need to use a spade bit the same size as the plastic cap.
Trace a point in the center of one of the cube face. and place the spade bit on it. Next place the drill vertical and drill a hole into the cube – stop drilling at ⅔ of the hight.
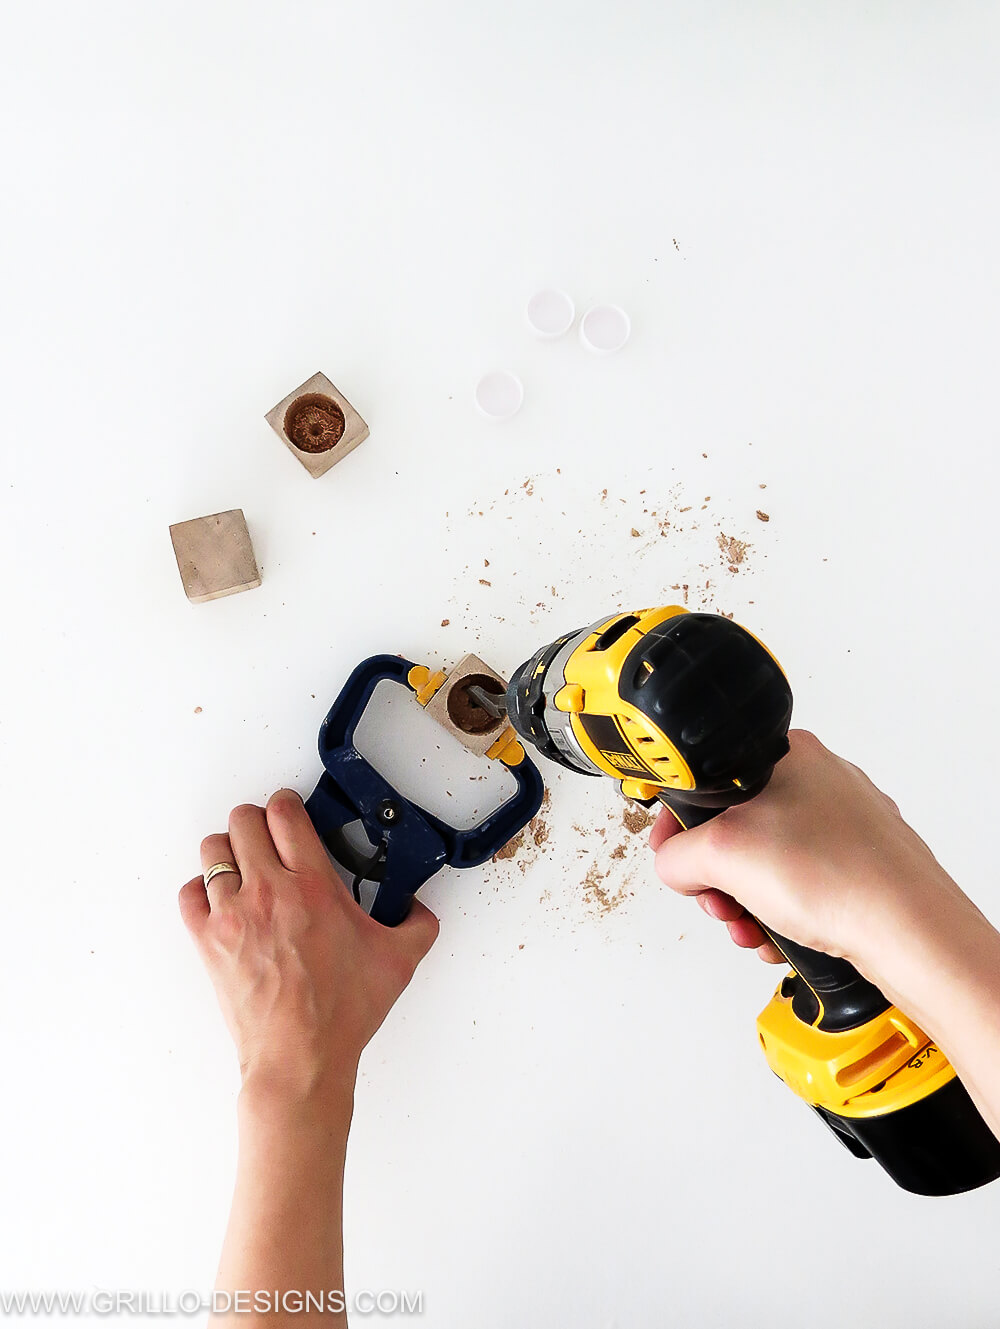
Do not pierce the cube completely. Sand the inside of the hole to remove splinters.
IMPORTANT: Hold the wood cube with a trigger clamp, not with your hand!!! If the drill slips you can hurt yourself very badly. If you have a workbench you can also hold the wood cube in it.
Step 3
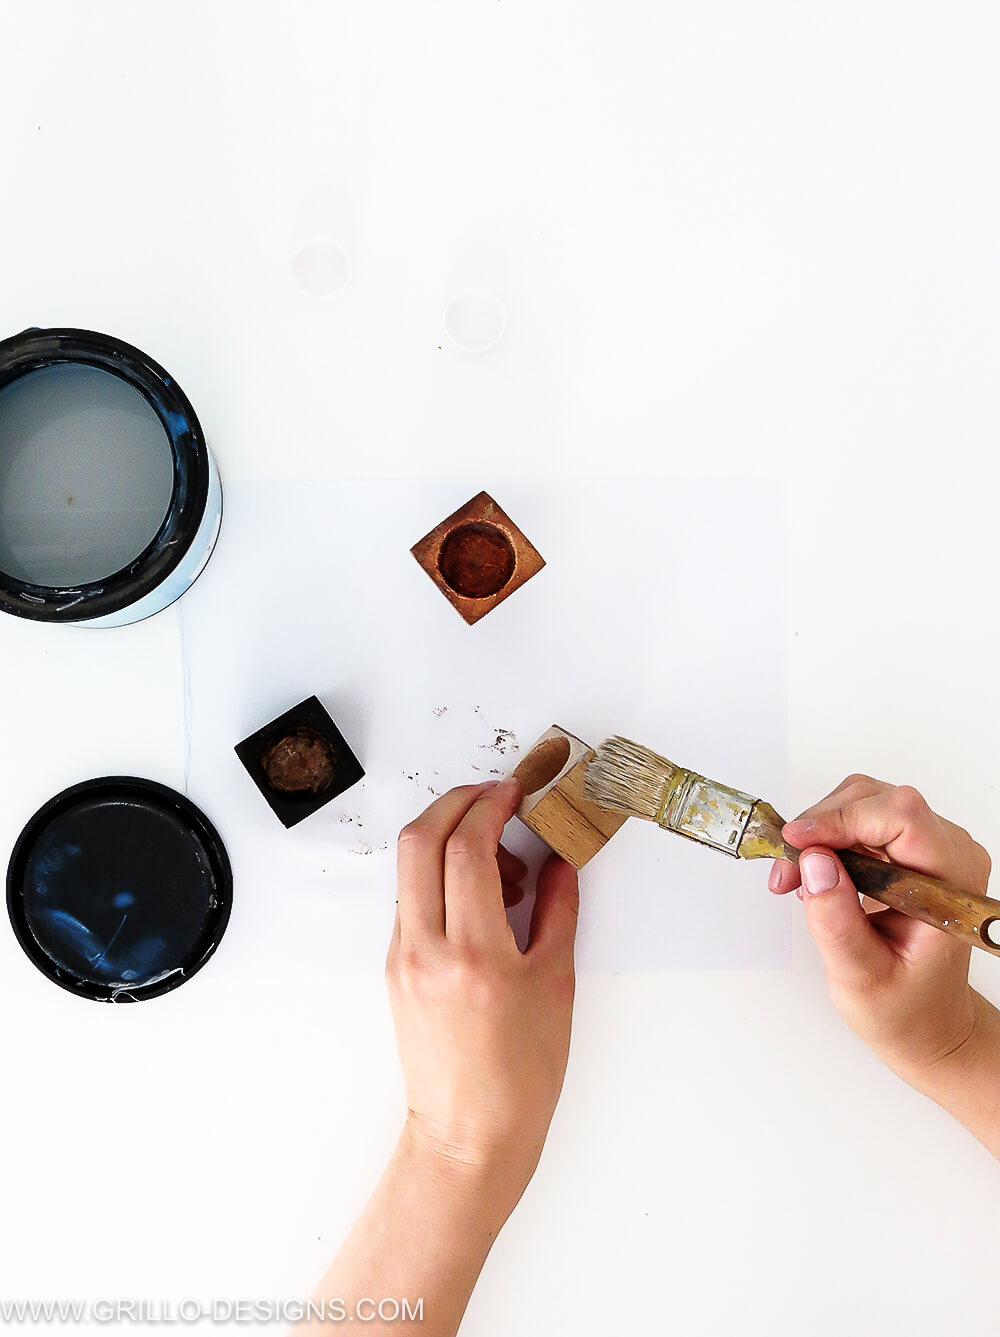
You can stain or paint the planters any color you like.
Once the paint or the stain is dry, apply two coats of varnish to protect the wood from water dripping.
Step 4
Fix the magnet on one side of the planter using a all purpose glue.
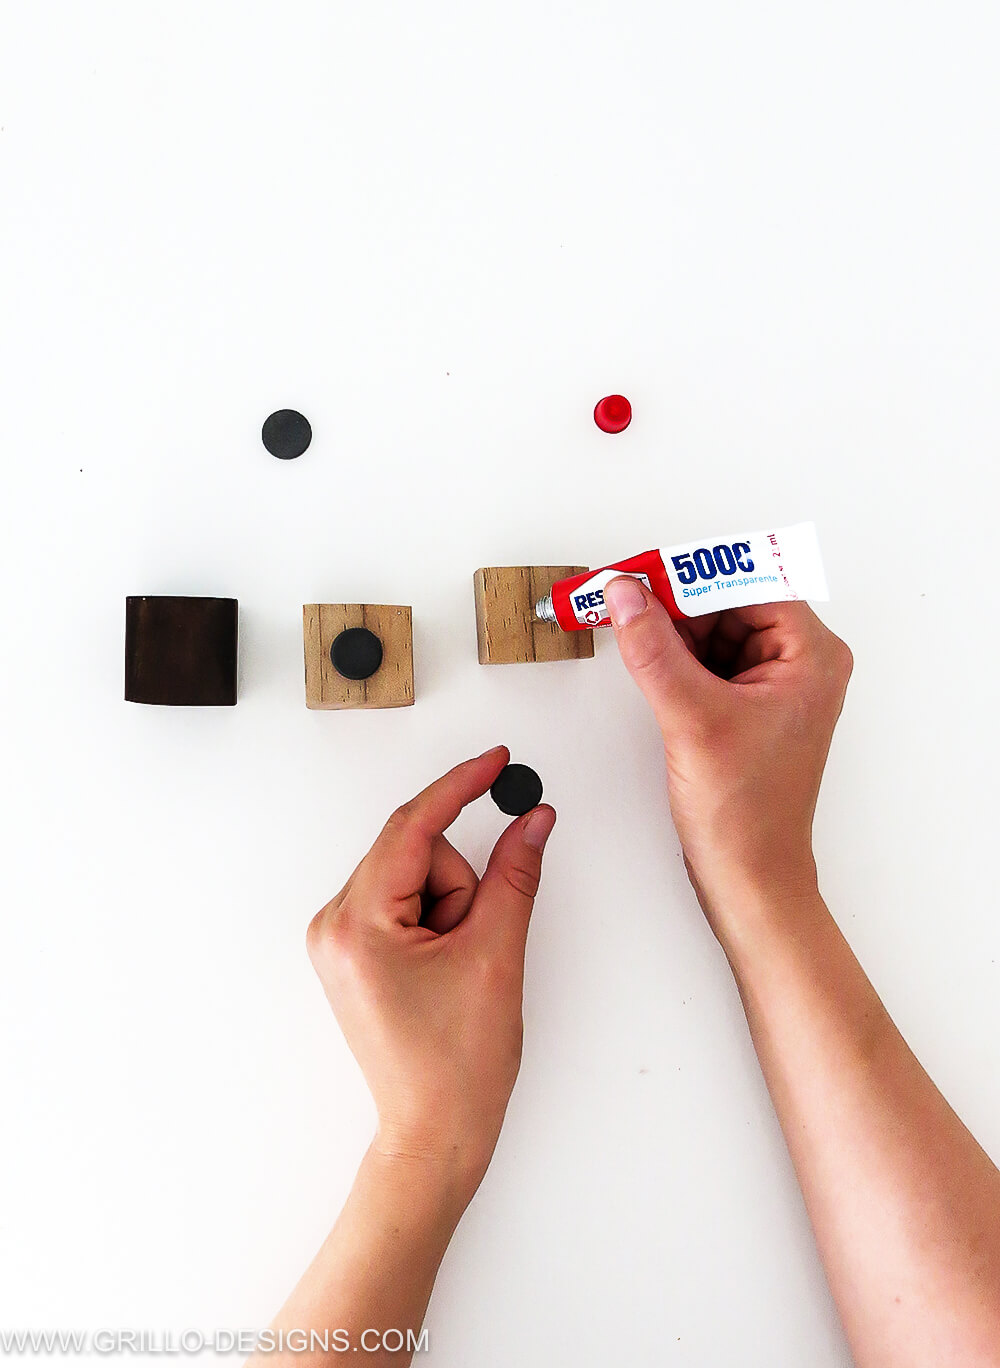
Step 5
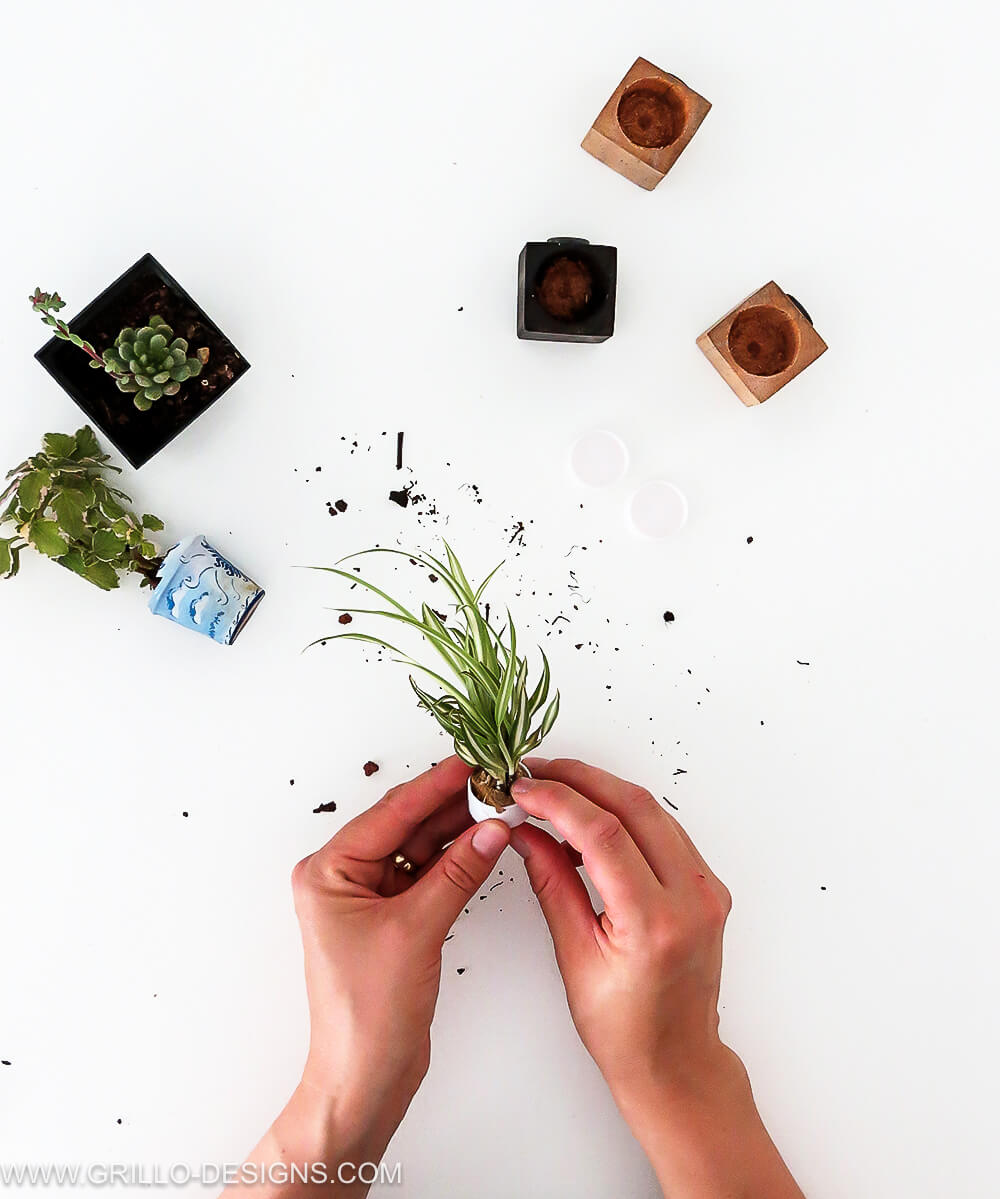
While the glue dries, place the plants into the plastic caps. Add a little water if necessary and place the cap into the planter. No need to glue the cap into the planter, that way it very easy to take the plant out for watering.
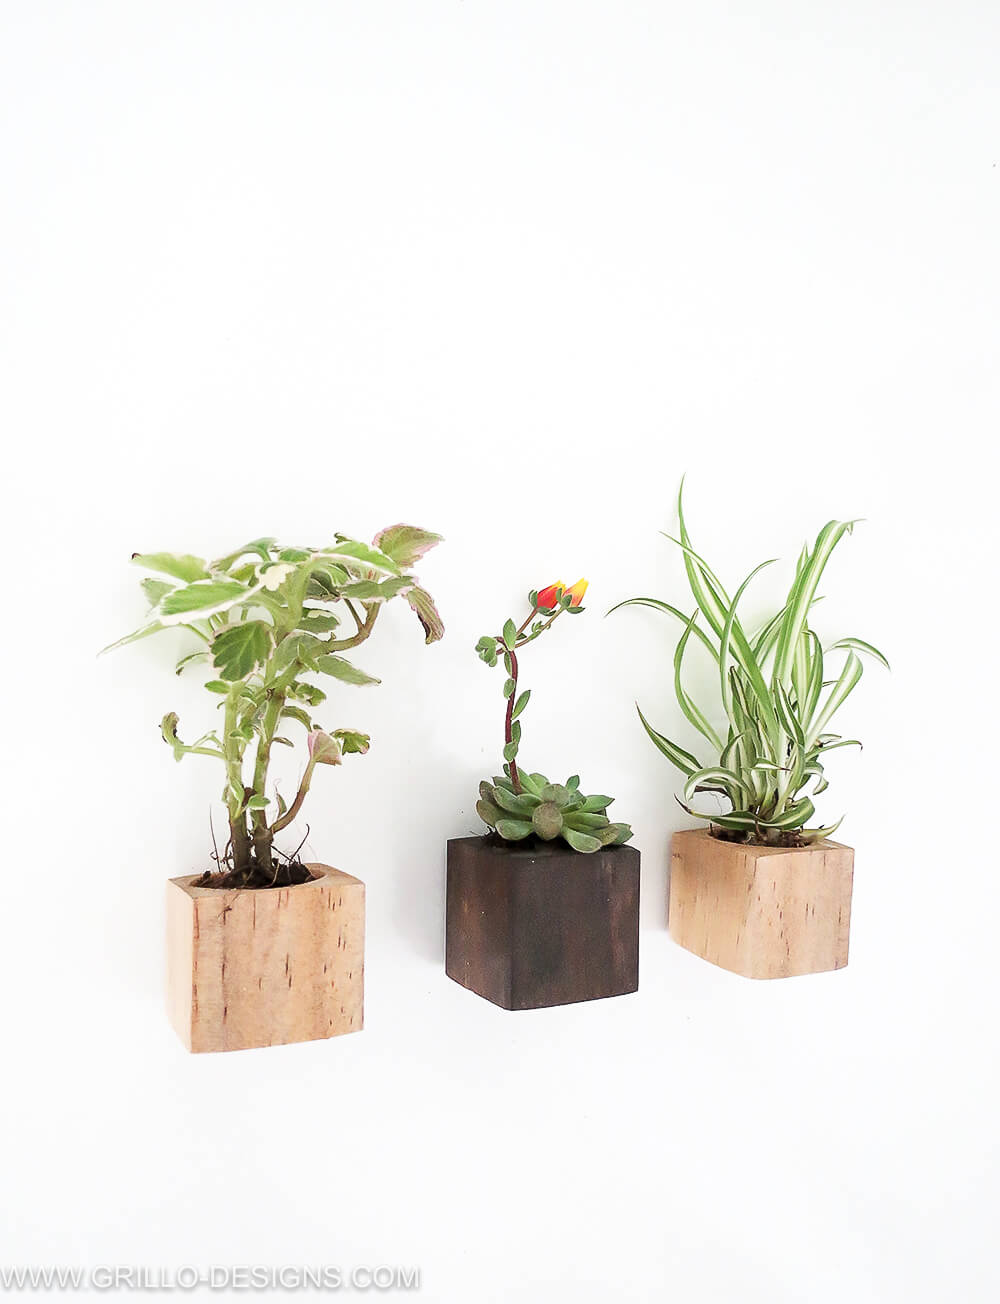
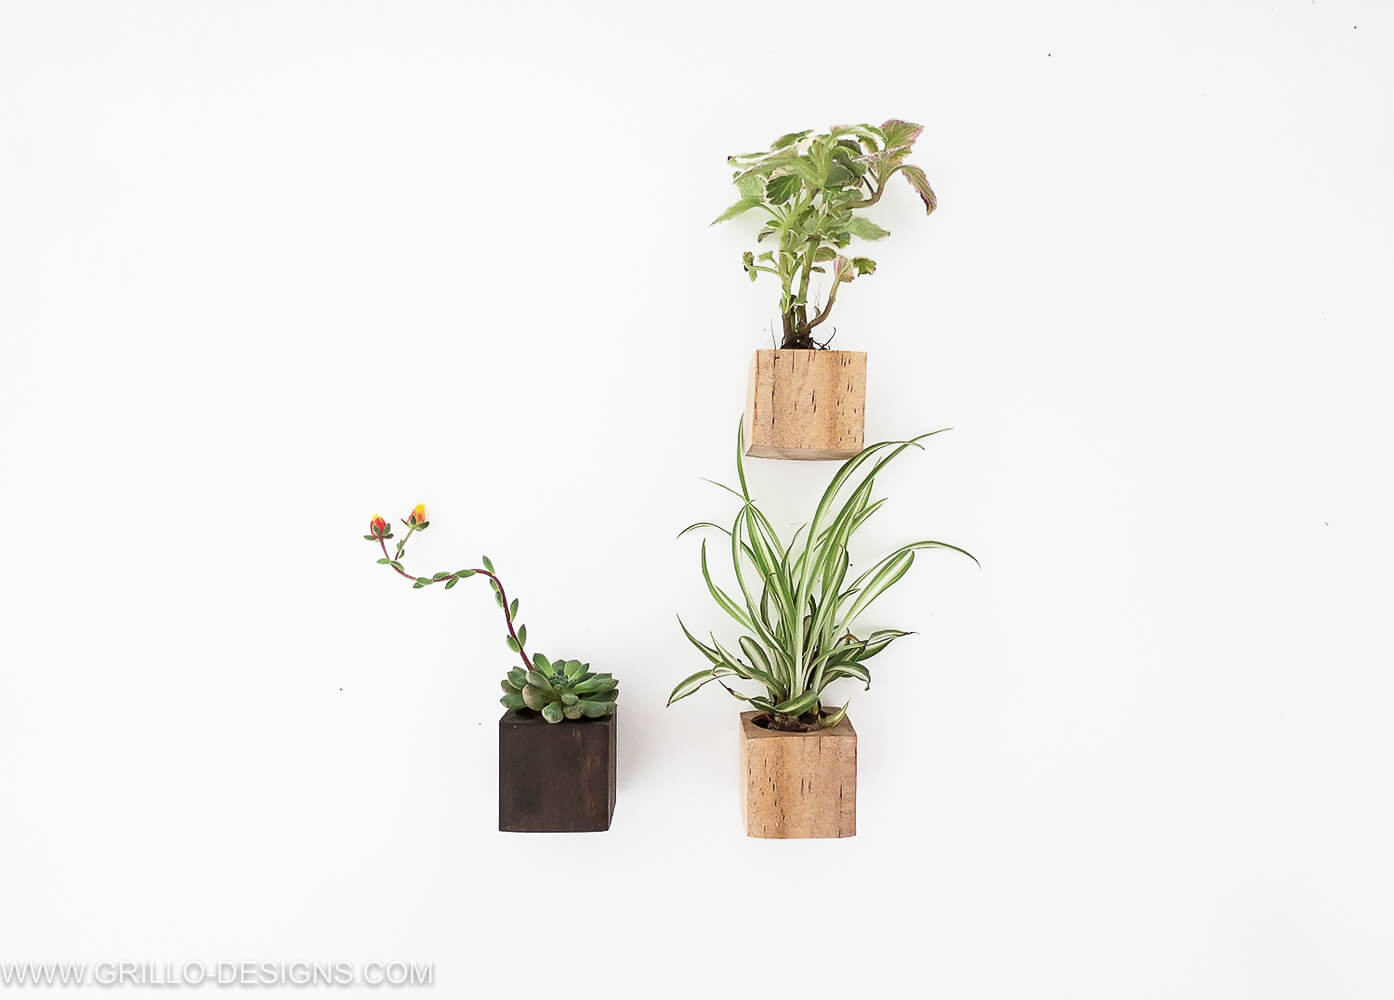
And done! you can display your mini planters on the fridge.
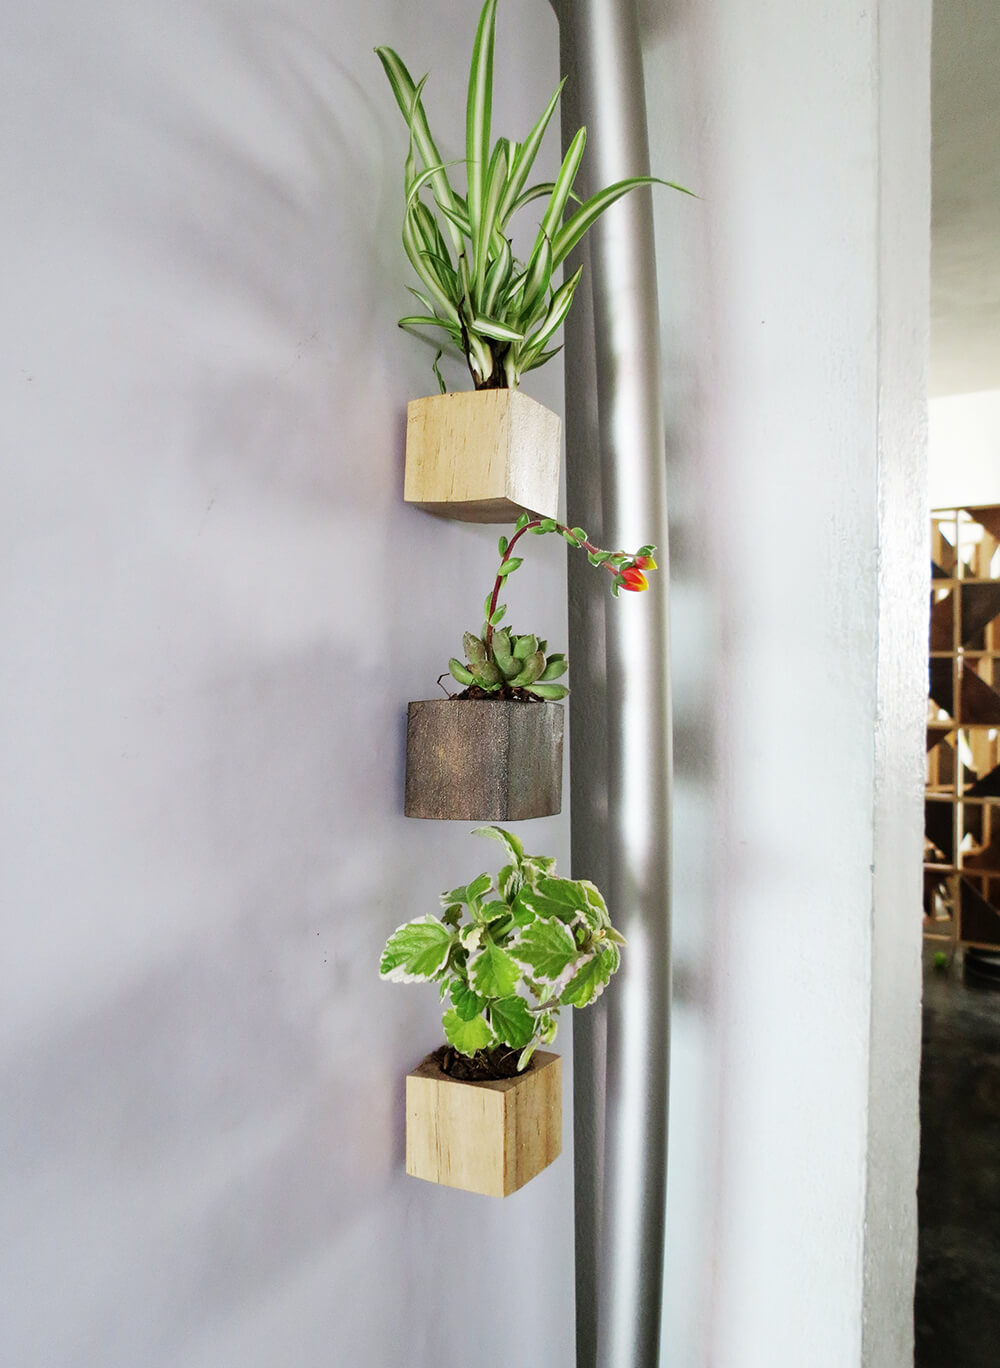
If you dont have green thumbs, know that succulents and cacti are better suited for small planters.
ABOUT THE AUTHOR
Amaryllis is a DIY addict and the creative mind behind Ohoh Blog. She likes to make home decor, lighting, and furniture projects. It could be painting, sewing, drilling…no matter the technique! Whatever she has on hand is inspiration to create—feeding her serious addiction to upcycling.
FOLLOW HER ON SOCIAL MEDIA:
FACEBOOK / INSTAGRAM / PINTEREST



Oh my goodness these are ridiculously cute!
I. Love. This. Haven’t got a doubt in my mind about my next DIY project x)
Great idea!! I will have to try this one out! Thanks ladies!
Thank for reading!