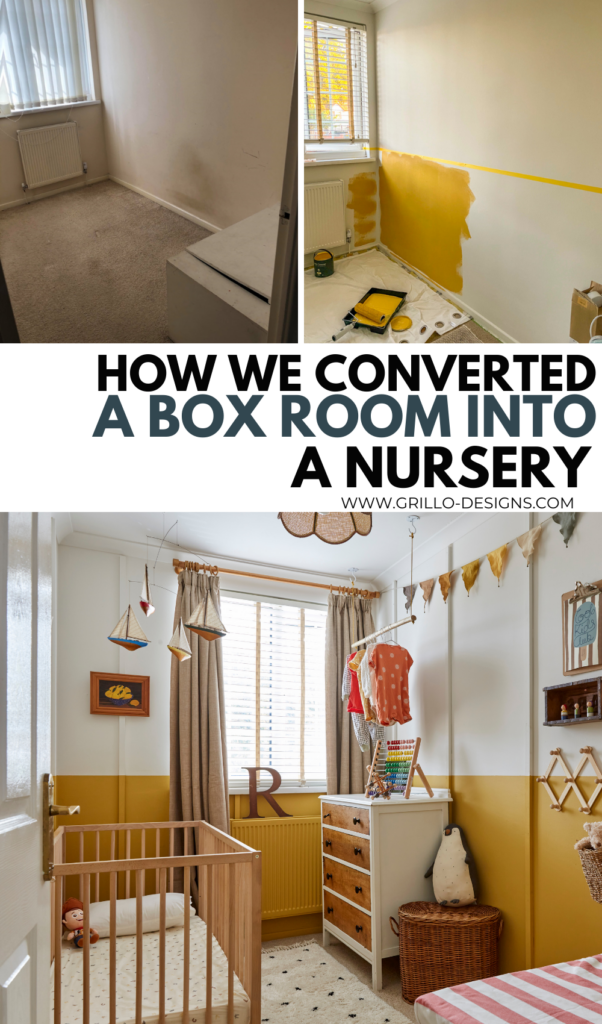
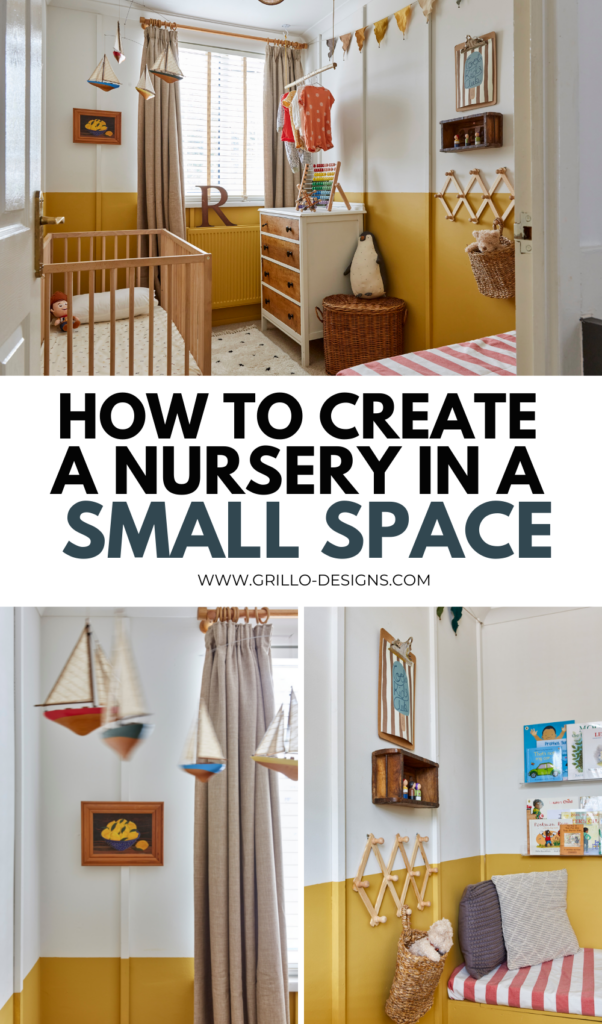
In this post, I’m sharing how we turned the third bedroom in our home (aka the Box Room) into a modern small nursery for our youngest. As well as some tips and tricks on how to make the most of a tiny space.

So… just under 2 years and the man cave is no more. It’s the end of an era, albeit a rather short one.
And before you echo the sentiments of my younger brother, who seemed to imply that I had wronged my husband in some way (‘Poor Vince’ were the exact words he used when I told him about our plans for the nursery), this was actually HIS idea.
That’s right.
It was my husband who had suggested we do this, although I could see the moment the words left his mouth , he wanted to backtrack. LOL (yes I’m laughing to myself as I write this) .
Too late of course. The idea had already taken full form in my mind and it was full steam ahead. His mistake for not knowing me better after 12+ years of marriage.
Cue late night mood boarding in my head, which involved lots of very intentional scrolling (makes a change) on Pinterest and Instagram (you must follow me on there if you arent already) . I mean who needs sleep, when there’s a room that needs to be decorated right?
Oh and wanna know the cherry on the top? Little Greene Paint company had reached out around this time asking if I was going to be doing any updates and since the seed had already been planted, we decided to collaborate on making my idea of a small nursery makeover come to life
(note: collaborate on Instagram that is, this blog post has not been sponsored by them but the paint was PR PRODUCT)
This post may contain affiliate links. Please see disclosure page here.
WHY WE DECIDED TO CONVERT THE BOX ROOM (PREVIOUSLY MAN CAVE ) INTO A SMALL NURSERY:
– My little one (you can read more about our IVF story here) has turned 1. Yeah, no matter how cliche it sounds, time really does fly when they’re young!
– He is not sleeping through the night yet (which is fine, he’s still young). However it has dawned on me that having his own space to sleep could help with his overall sleeping. He’s a really light sleeper and a lot of the time I was waking him up with my snoring, or when I’d try to quietly sneak back into the bedroom after unwinding downstairs (here’s the space we created for him in our bedroom) ! The plan had been to put him with his older brother (who recently got a room makeover of his own) – but he’s also a light sleeper, so it didn’t seem fair to do that while little one’s sleep was still a little unpredictable.
– He’s slowly weaning off breastfeeding, especially at night . Having him close by when he fed often was just easier, but with fewer night feeds now, it didn’t seem too taxing to walk over to his room, which is just down the landing.
I kinda feel like I’ve over explained myself here, but I love a backstory. Nothing ever makes sense without a good meaty backstory to sink your teeth into right? And if there isn’t one, I’m totally that person who will pause a movie just to grab my phone and Google. You know, dig a little deeper.
Please tell me I’m not the only one who does this?
Full disclosure, this project took us about 4 weeks to complete – which is quite quick by our standards but as this involved a working commitment via Instagram I was on a tight deadline.
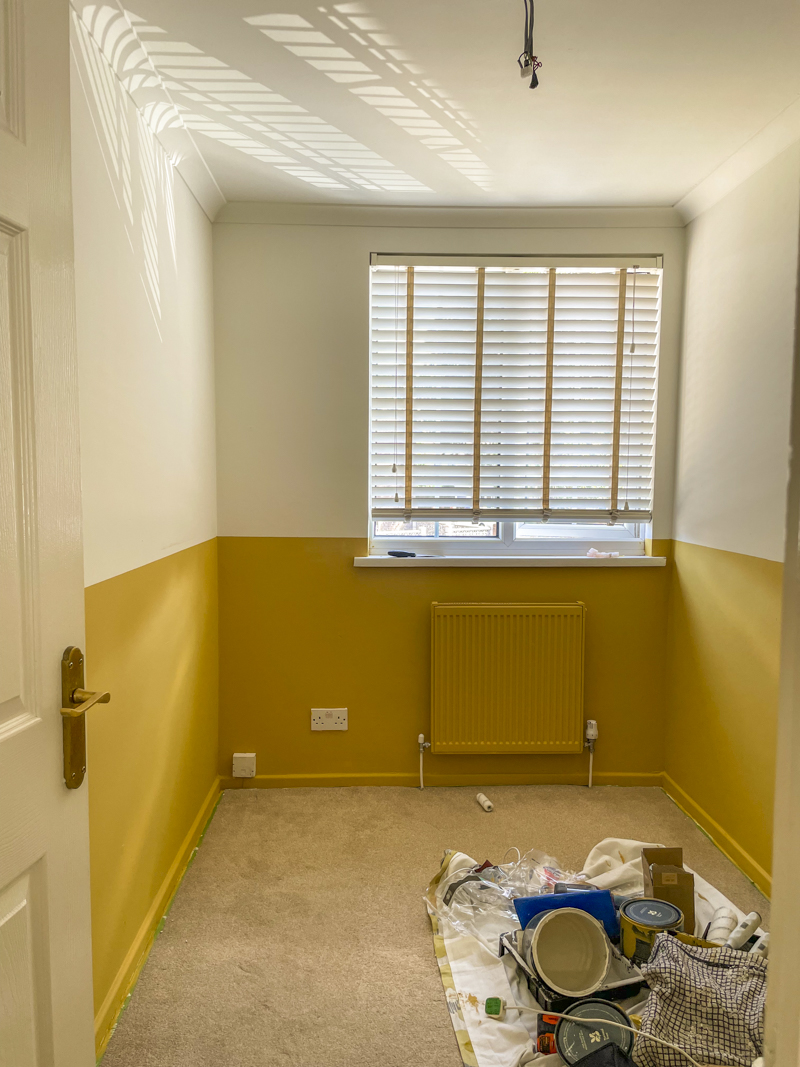
THE NURSERY WALL COLOURS
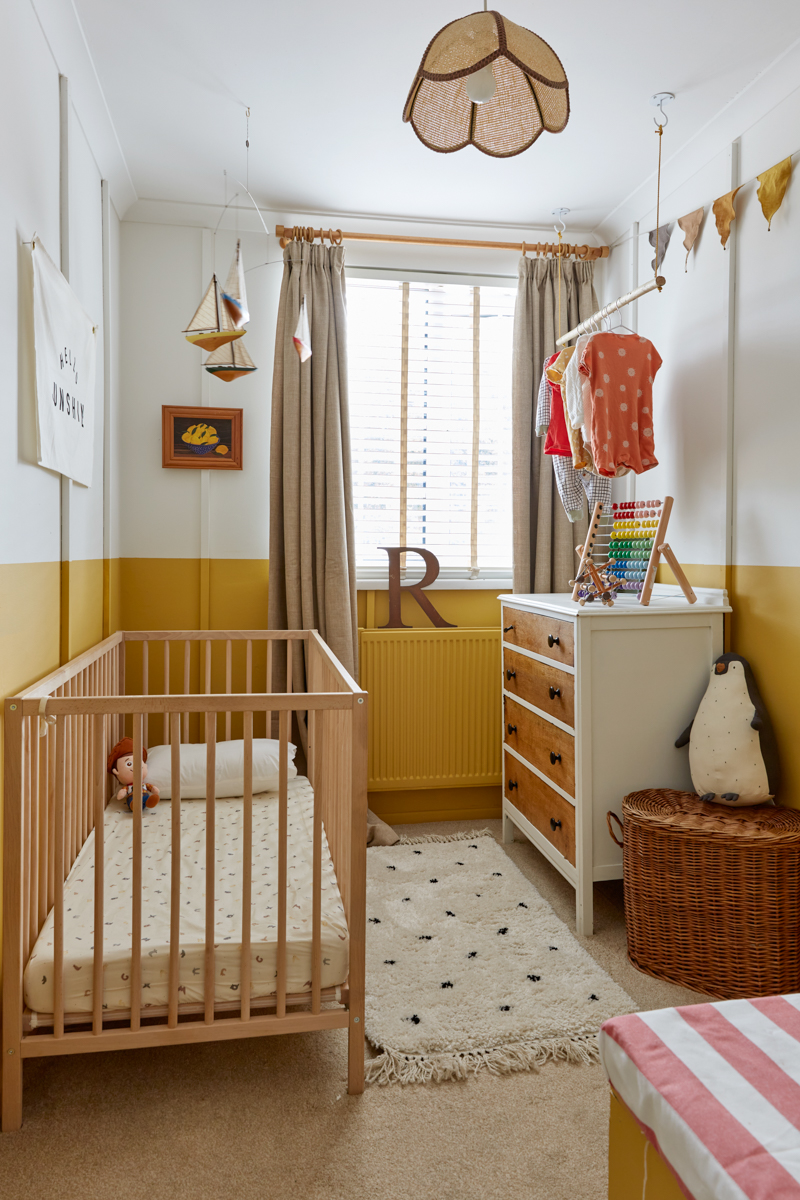
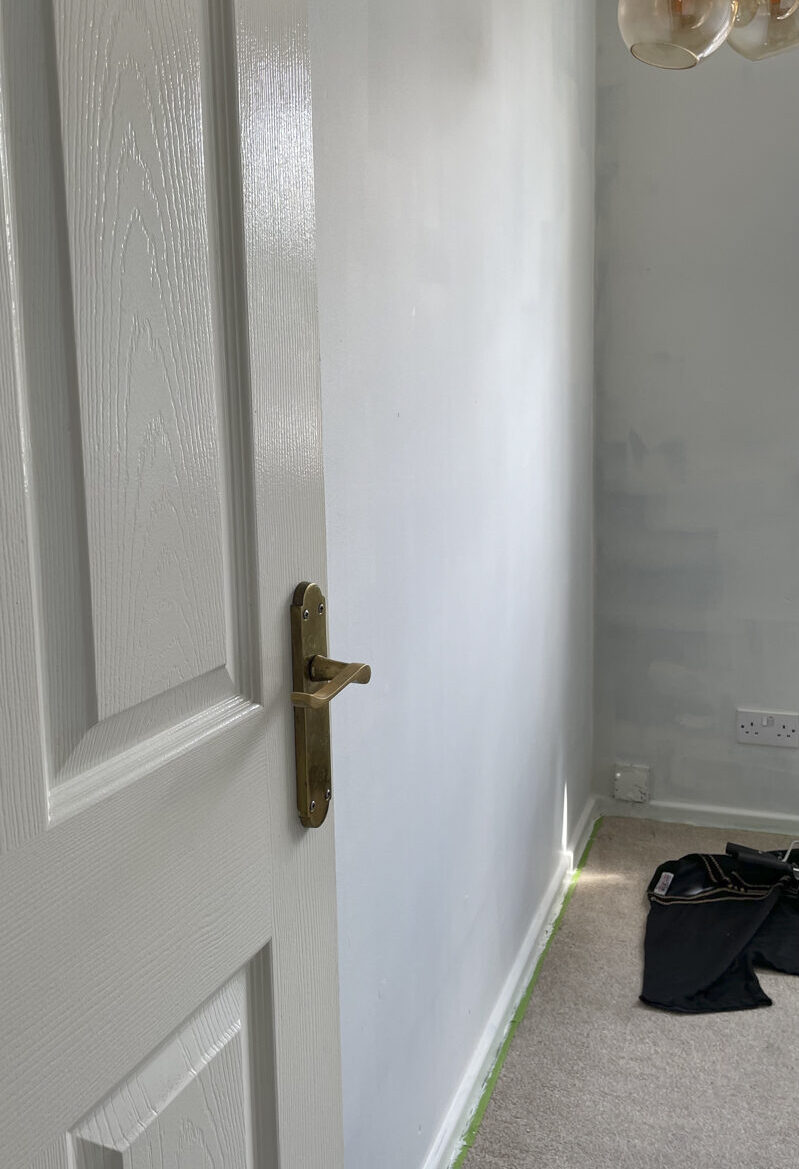
As you can see the biggest change with this space was the wall colour. We went from all black and a wallpapered ceiling to a soft white and warm yellow – see below pictures.
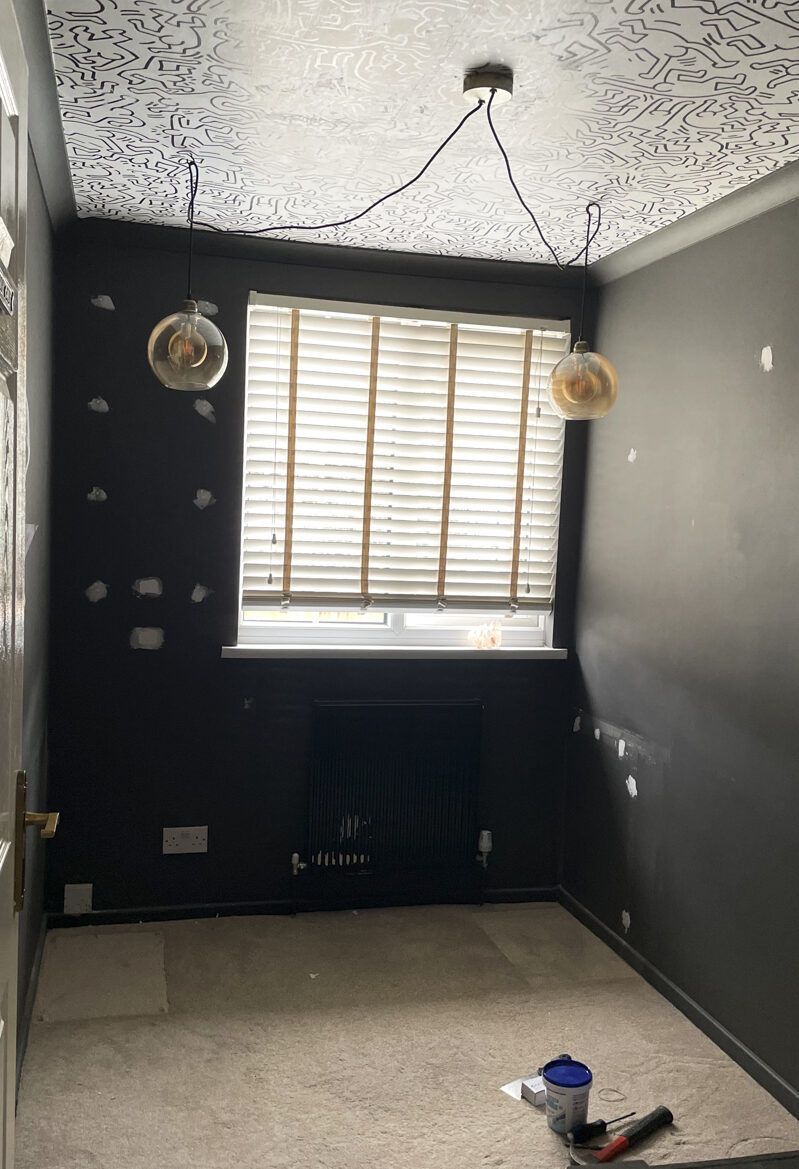
Now, I do love a moody tone but I just don’t think it works for a small nursery. Also, any excuse to slap on a bit of yellow (if you’re new here and didn’t know, yellow is my colour! Yellow IS Grillo Designs.) The colours we used were: Yellow Pink, and Linen Wash from Little Greene Paint Company.
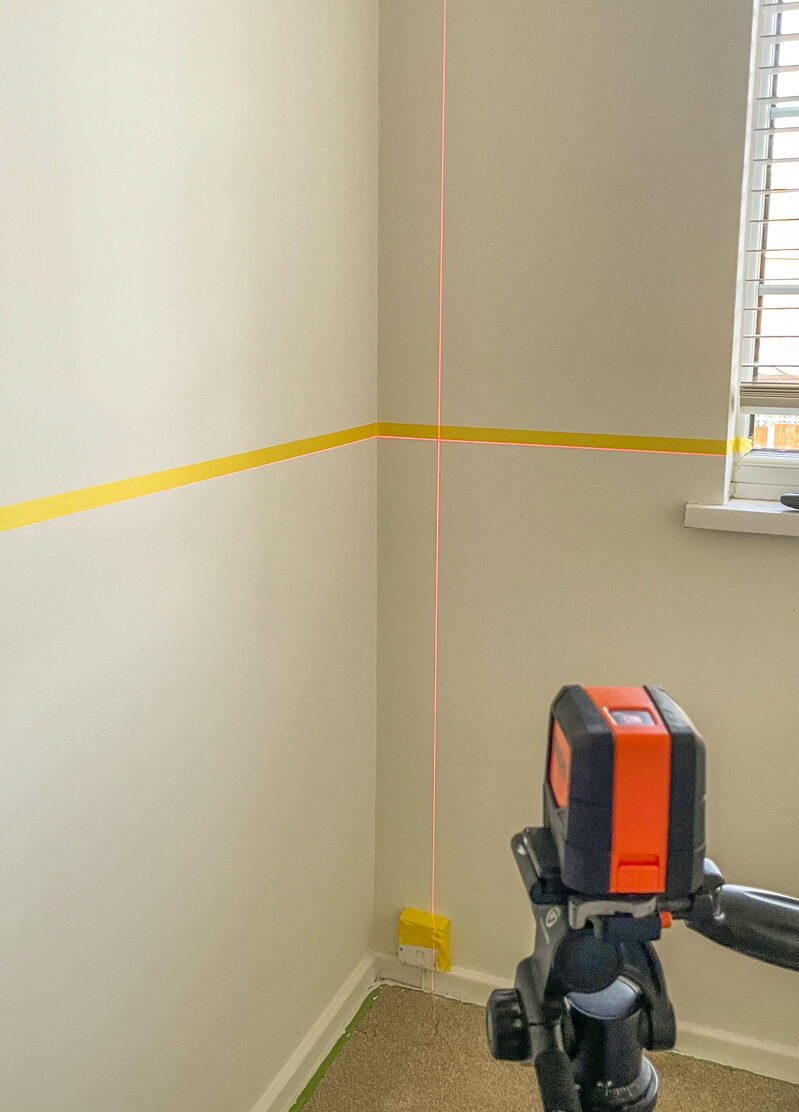
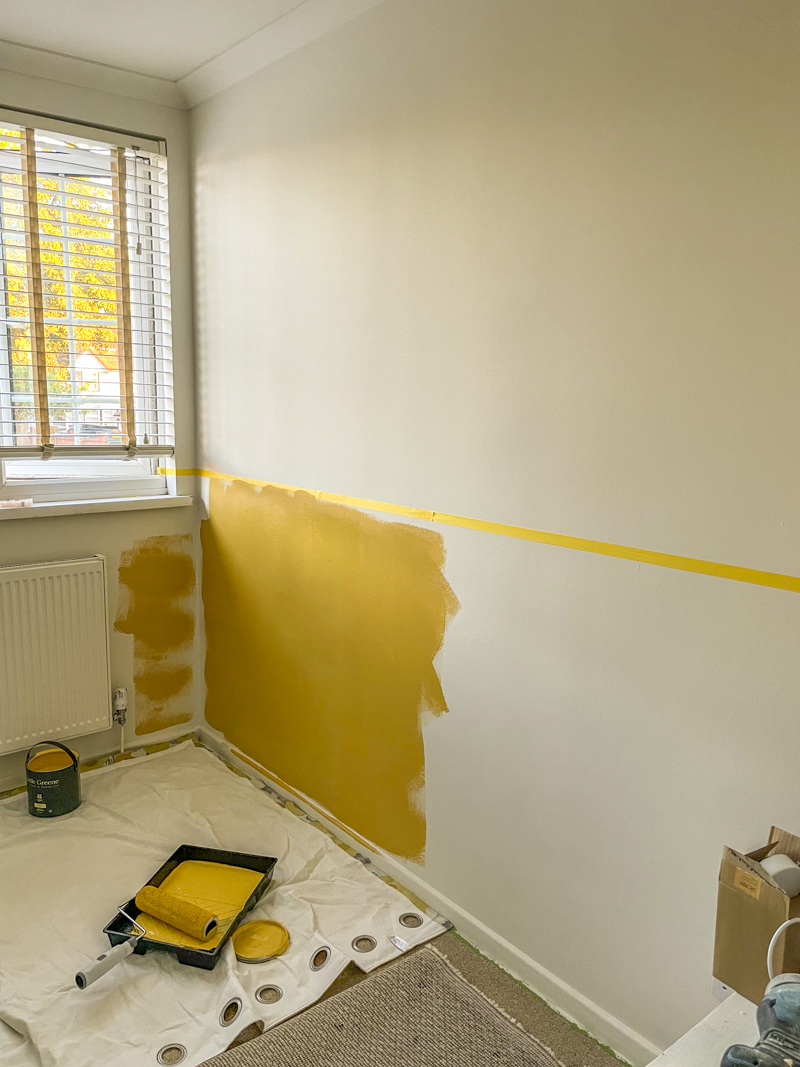
I had a tonne of fun using a laser level and tape to get a half painted wall – this is the level I have. The half painted wall effect (which I also did in my bedroom) is a painting technique that will never get old. Much like rattan.. It’s a classic!
The wallpaper on the ceiling also had to go because I couldn’t match it up to the design for the nursery (sorry Kieth Haring). Removing the wallpaper was hellish by the way.
Hellish.
As we pulled it off, it peeled off the paint and you could see the plaster coming through . We ended up having to scrape all the paint off which took about two days. I say we, but it was really my husband who did a majority of that. I hyped him up from the sidelines for moral support. I’m really good at that by the way.
Side note: I’ll never paper a wall again in traditional wallpaper again. It’s only ever going to be renter friendly from here on out (check out my favs here) or browse here if you’re not sure where to buy removable wallpaper from.
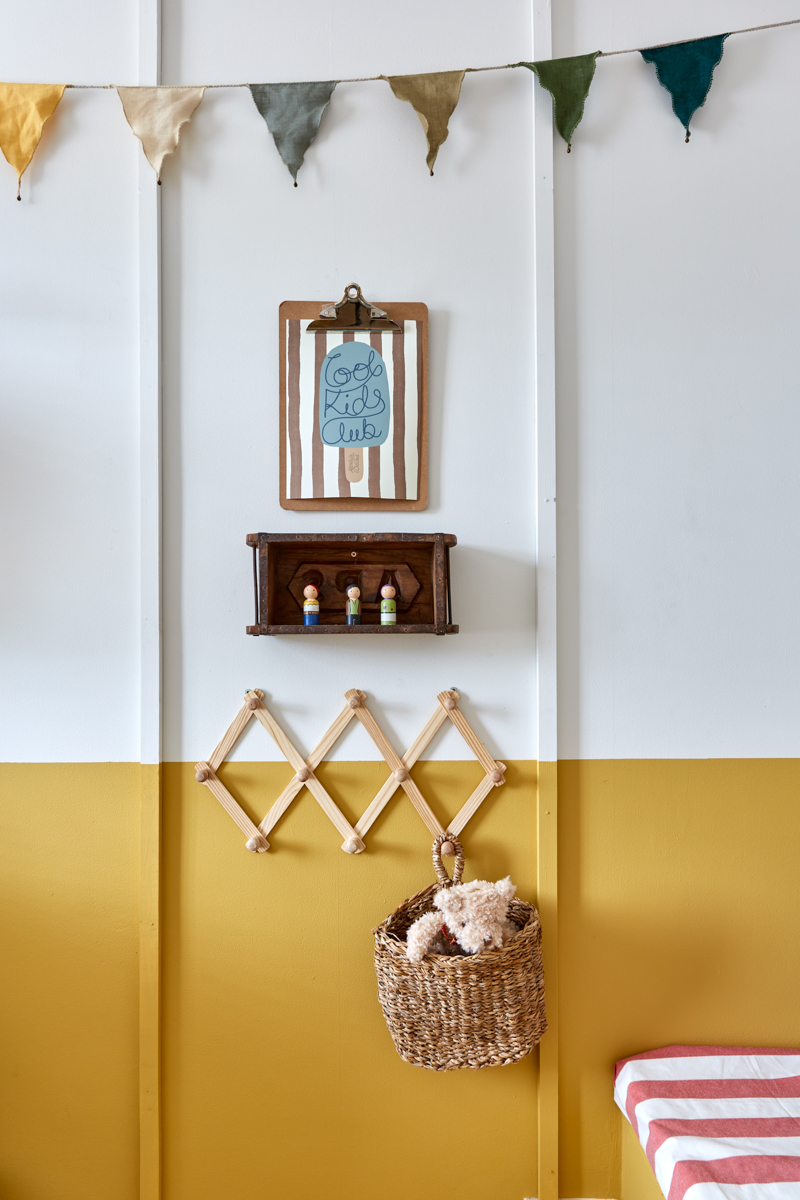
THE PANELLING IN THE NURSERY:
After the painting, it was time to panel.
The style of panelling I chose was a super, simple vertical one inspired by this @mycityapartment on Instagram
Since having my youngest son, I’ve really become a soft core kind of DIY-er , the less fuss the better! Plus my home didn’t feel like it would suit the usual traditional panelling as it’s a “modern” 60s boxy style house. I felt the style of vertical panelling I chose would add a modern touch and also provide a false sense of height, to the fairly low ceilings we have. I think it worked really well and added another element of detail/interest.
To sum it up : I used 18 x 28mm wood (bought from here) , cut to size. I then nailed the wood to the wall with 40 x 16mm nails (liquids glue would have been too permanent, potentially caused damage and as you know I rent, it is much easier to fill in nail holes than repair plaster) . I used a level to ensure panelling was nailed in straight .
You can cover nail holes with wood filler if you want , but I decided to skip this step as I don’t feel the nails were noticeable through the paint. I also skipped the caulking step to the sides of the panel because again, I didn’t want anything too permanent.
At least this way it would be easy to remove and patch up with a little polyfilla whilst providing a simple, effective detail.
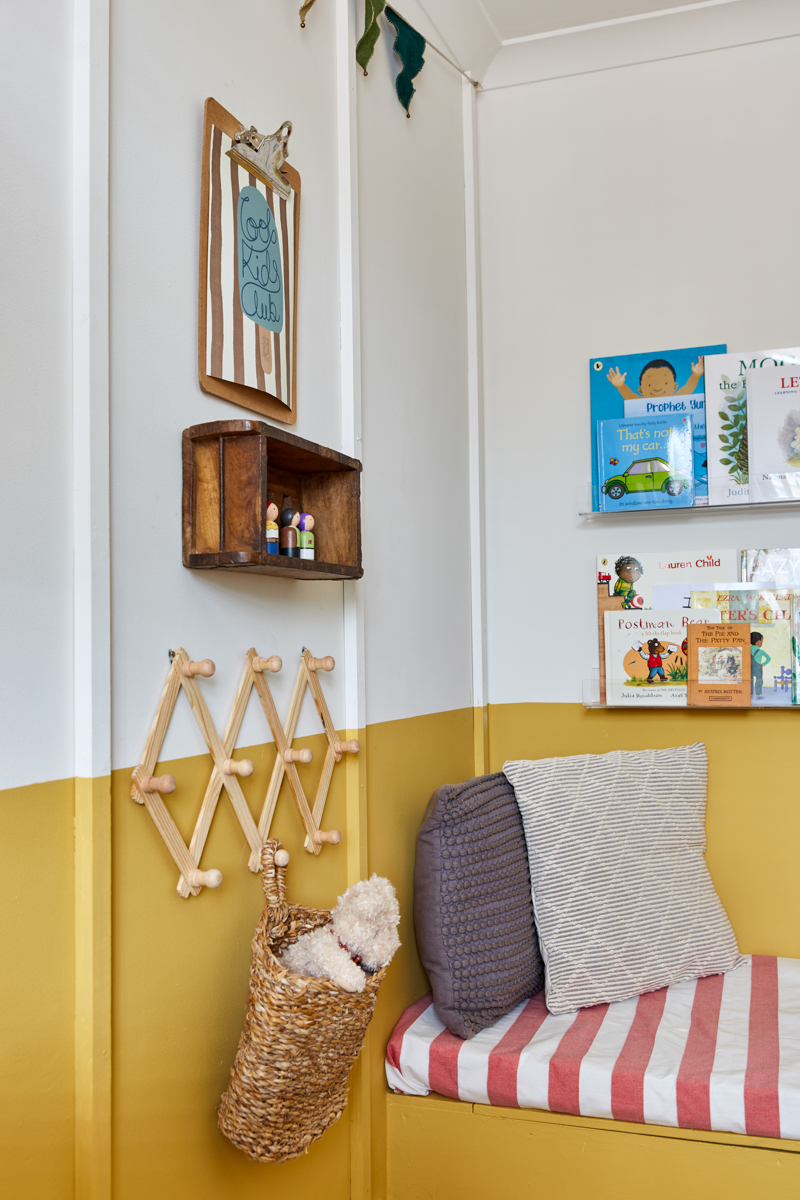
THE STAIR BOX – SMALL READING NOOK
Or bulk head as it’s sometimes called .
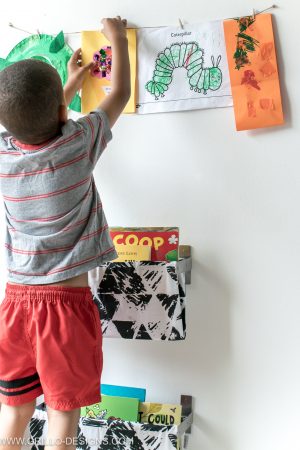
I decided to turn this space into a little reading nook. Thankfully it’s already had a box built around it , so I didn’t have to do any physical building. I just added a foam cushion (from dunelm – had no idea they sold them) and some reading shelves. Not actually sure why I chose clear shelves … but I actually ended up really liking them.
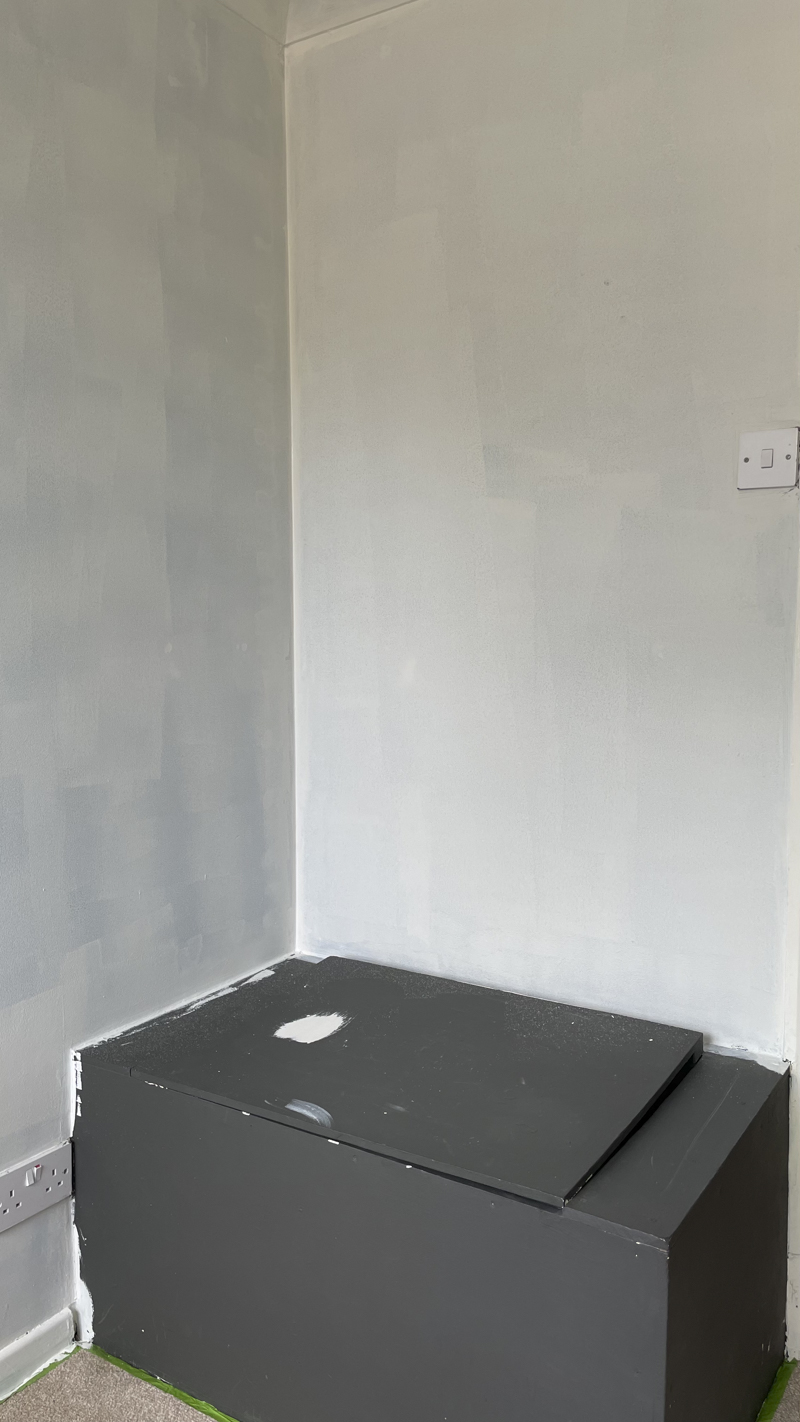
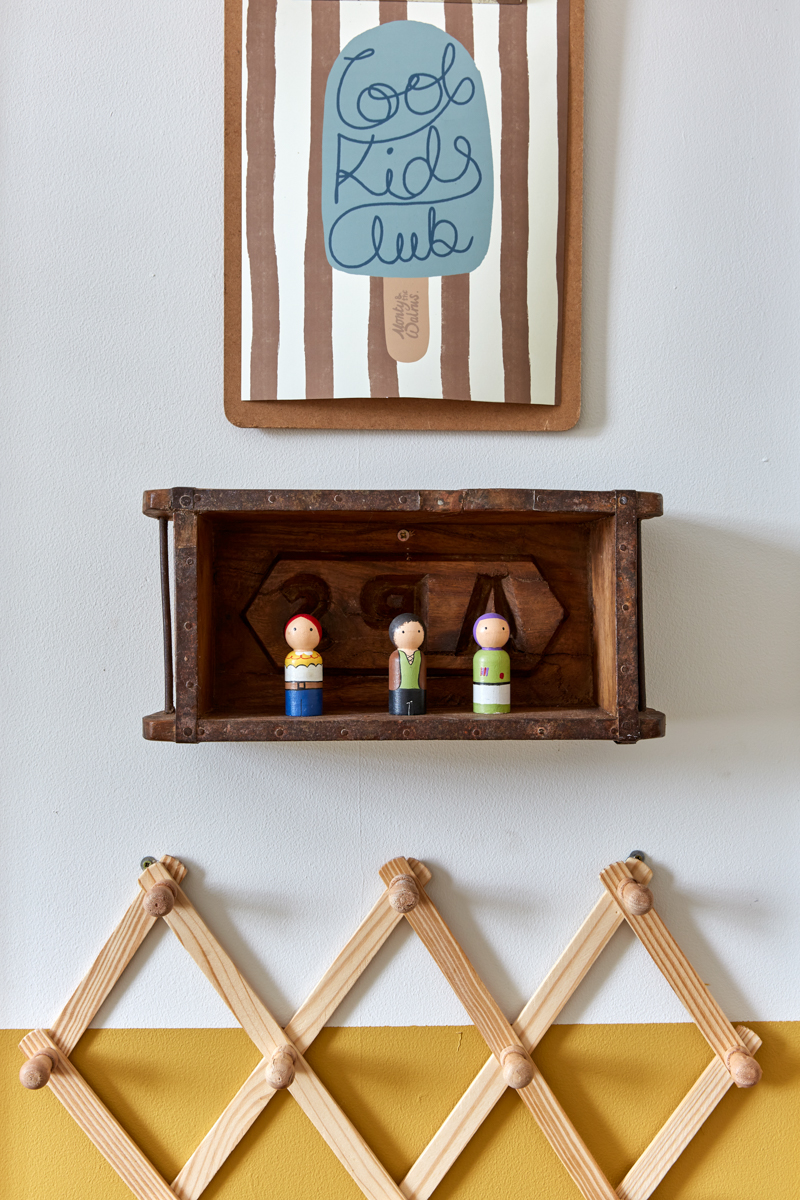
This corner feels a little unfinished though so I do plan to build up on it in the future. Maybe I’ll add some more shelving as he’s got a lot of books. Most of them passed down from his elder brother. The Cool Kids Poster is from here
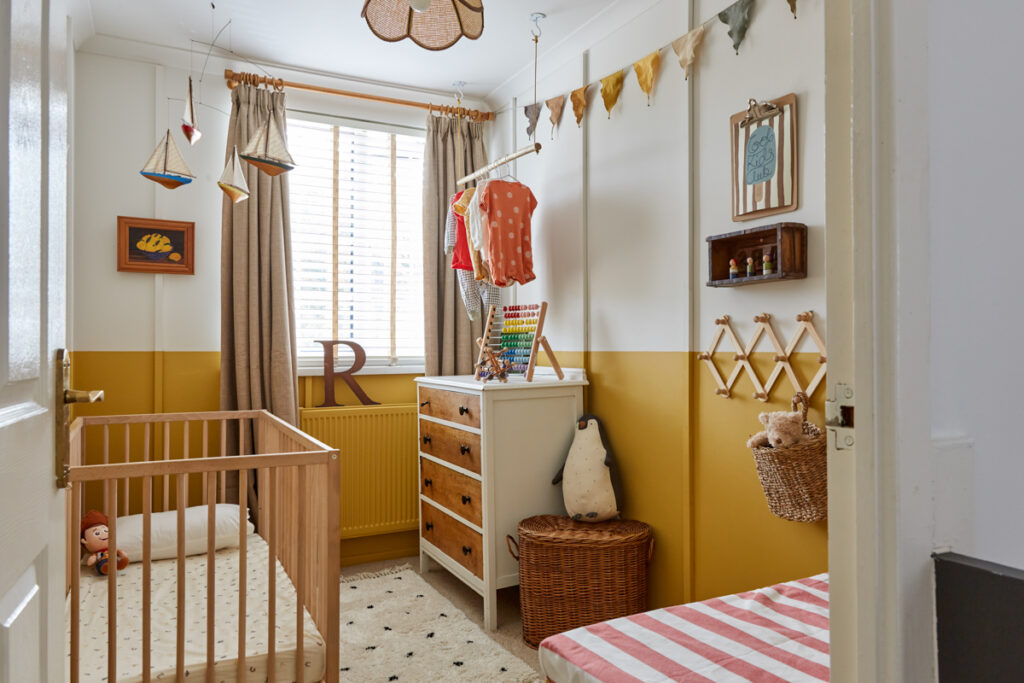
FURNITURE PLACEMENT IN THIS SMALL NURSERY:
The room is a literal box. I’m not kidding . The furniture really had to be kept to a minimum if we were going to have space to even breathe in here.
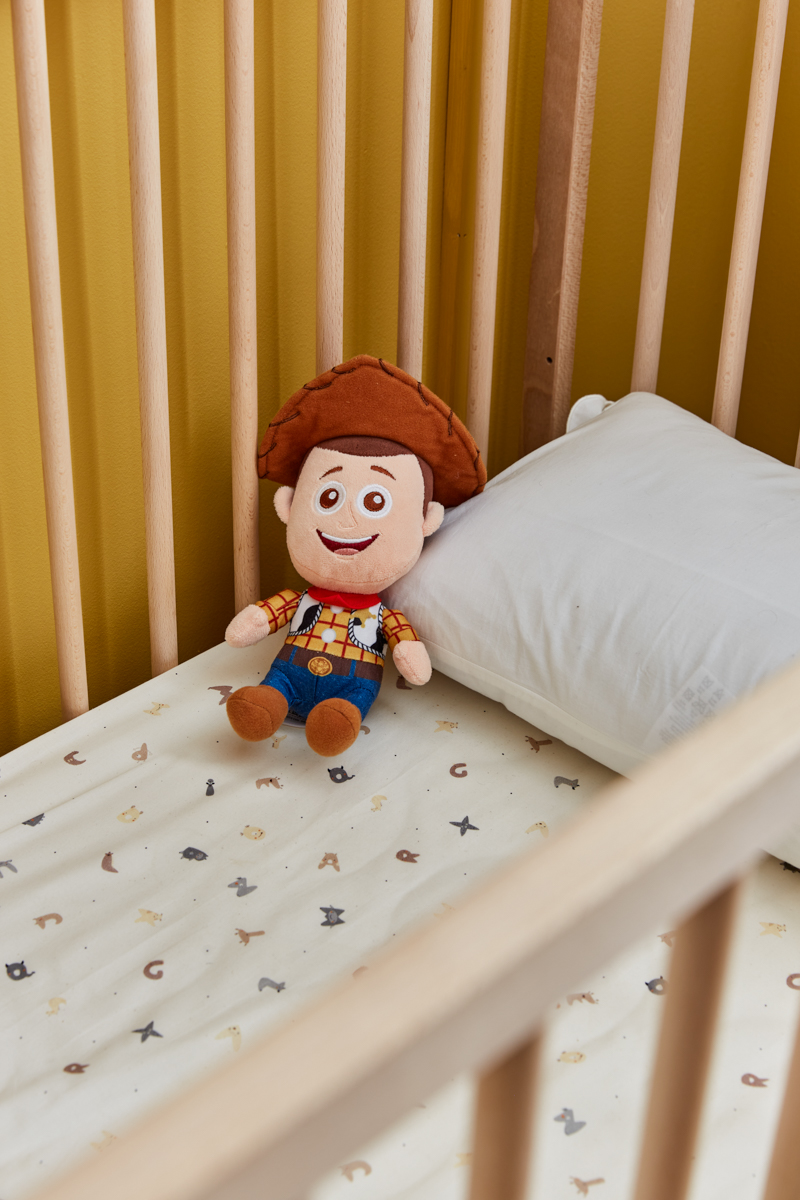
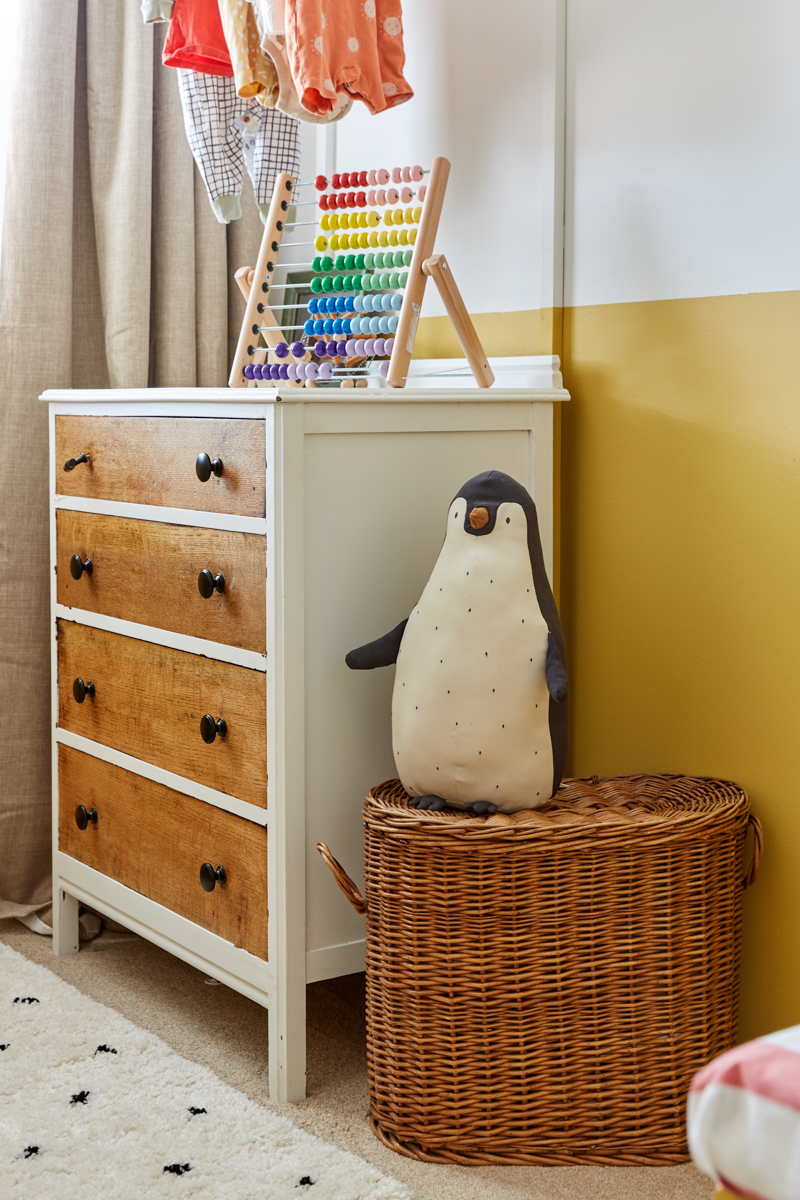
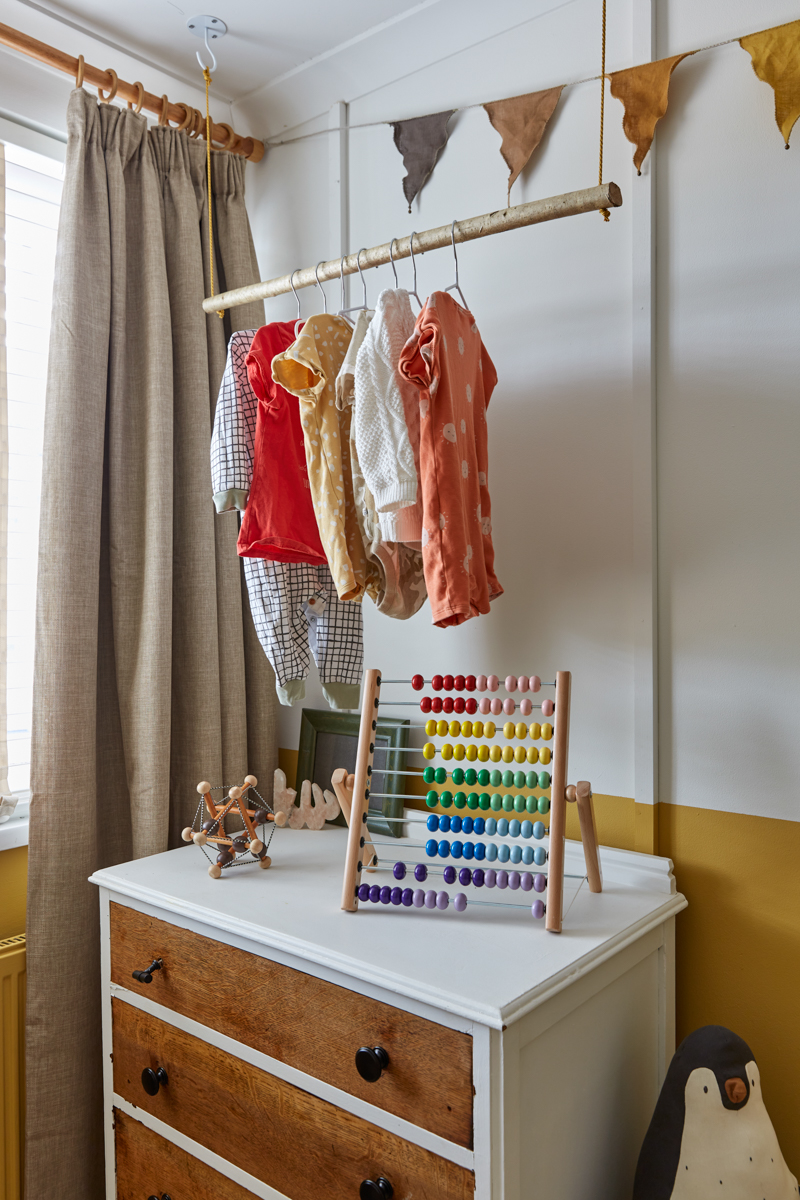
So there’s a cot, a really compact IKEA one, a dresser (this one I upcycled a few years ago) with a hanging DIY rail made from driftwood just above it (I’ll share a tutorial for that soon) and a basket (second hand from eBay) for toys.
My biggest tip for decorating a bedroom with very limited floor space, is to forgo large boxy furnitures likes wardrobes, and consider something like a rail or open storage to allow better light flow.
Also, use the ceilings and walls to hang as much as you can. Another tip would be to hang your curtain rail as high as possible to give the ill lions of taller ceilings. I bought this wooden curtain rail from Dunelm, and added gorgeous black out curtains.
That’s it. I don’t see myself adding anything more because I feel the room will start to feel really cramped.
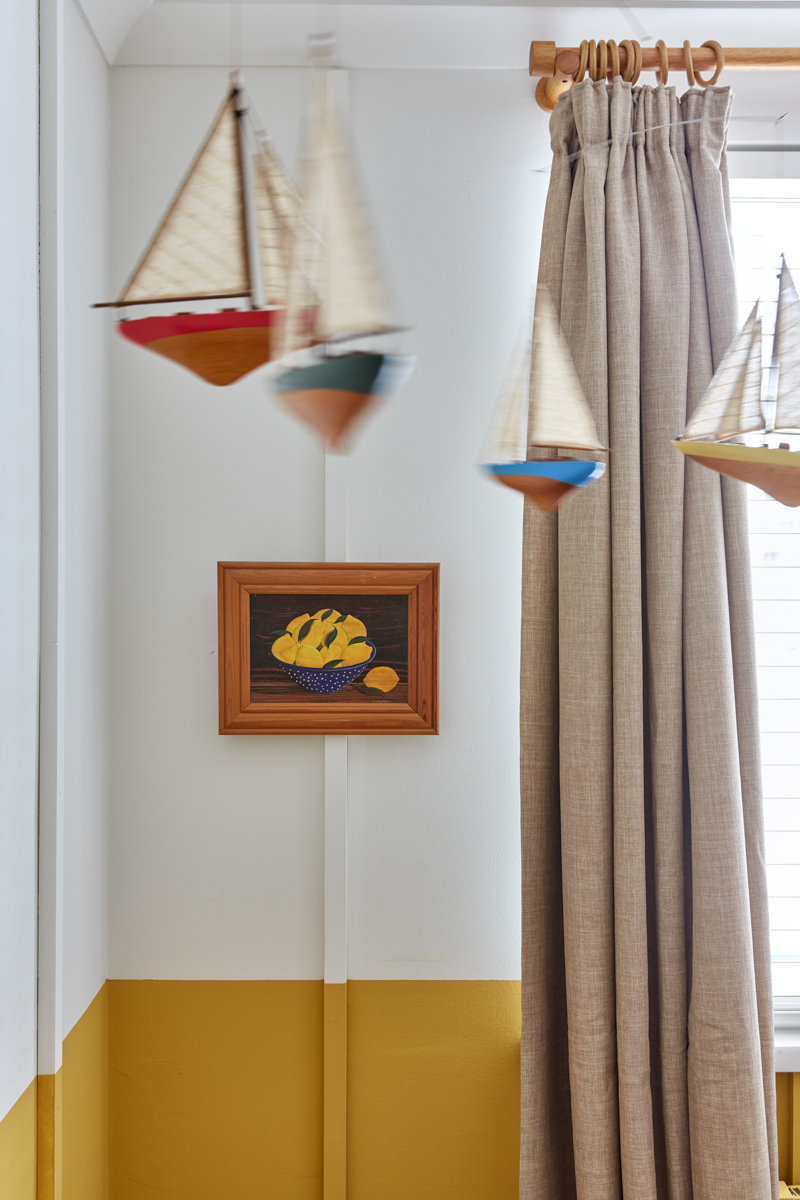
I think the statement piece in this room is definitely the mobile which is from Pavilion Broadway. And I think the Hello Sunshine canvas art, above his cot looks great here. The mini peg toys used to be my eldest’s – I got them handmade for him when he was 3 years old.

I think that’s everything but as always if you have any questions about this small nursery makeover, let me know in the comments below!!
Photographs taken by : Kasia Fiszer photography


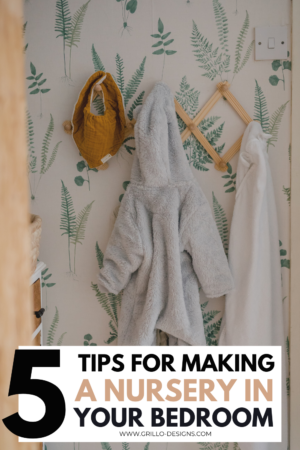
TIPS FOR CREATING A NURSERY IN YOUR BEDROOM
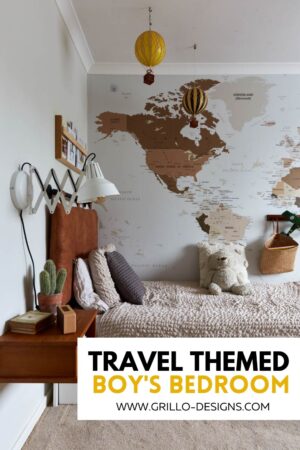
TRAVEL THEMED BOYS ROOM MAKEOVER
Wow Medina! This is such a great post! It’s the little things in life that mean the most and make up the larger moments in our lives.
This is gorgeous!
Thank you!
You aren’t the only one – I love a good back story. I sometimes forget my point because I get so wrapped up in explaining the back story (it *does* drive my husband crazy, though). The room looks fantastic – I love it!
Ahh thanks so much!