Hi there! Join Grillo Designs on Instagram and Pinterest to keep up with our latest posts and ideas. If you’re on Facebook, why not join our Home decorating, Upcycling and DIY group too – inspiration is guaranteed!
If you’ve been following my blog for some time then you’ll know that none of my kitchen appliances are as they should be. And by as they should be I mean, standard looking, white, shiny, functional , plain?
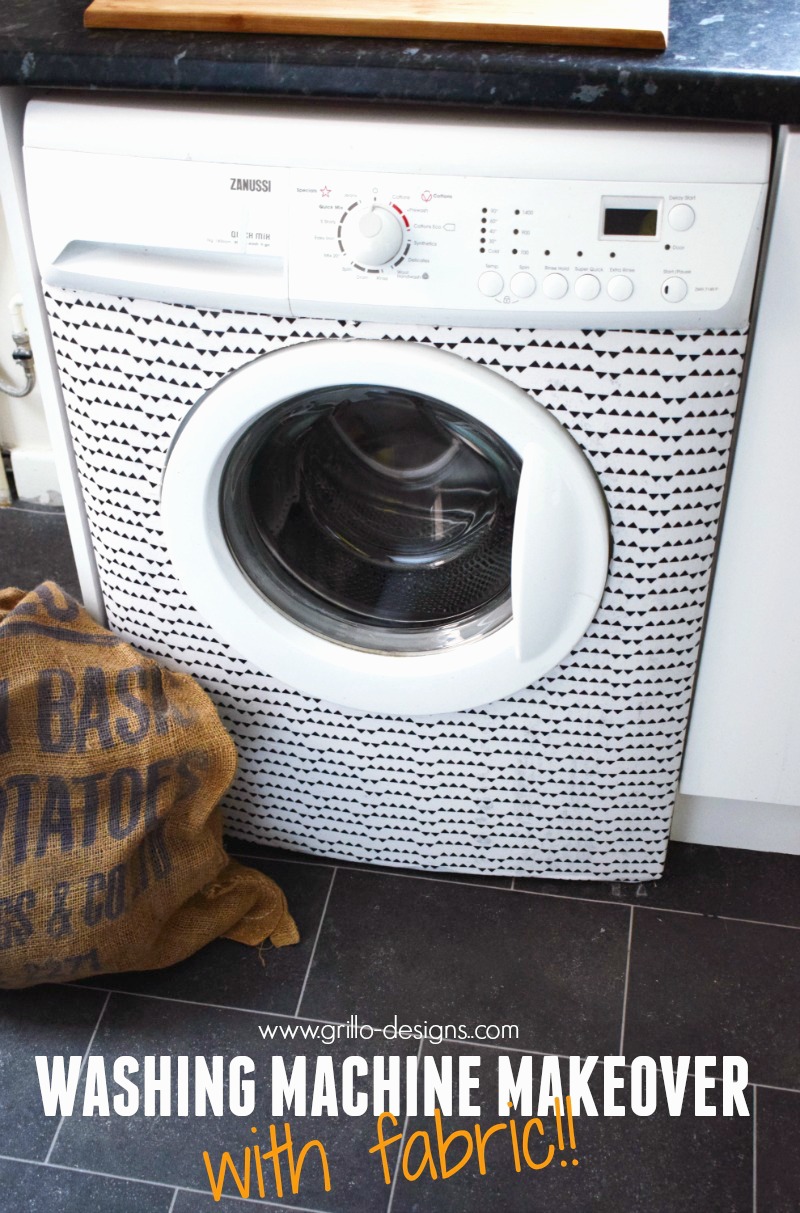
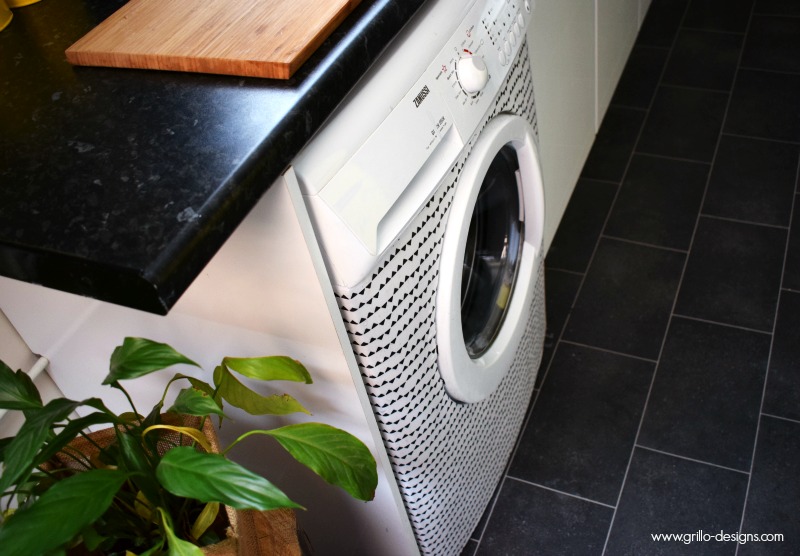
Take my fridge for instance, it was originally white but now it’s bright yellow and looks like one big mason ball jar . And then there’s my washing machine, which brings me to the post at hand. It used to be bright too, matching my previous bright and funky retro kitchen perfectly. But I’ve since moved homes … and it just ended up looking really out of place. So I stripped off that contact paper (really easy to do by the way) and updated it again… This time with fabric! (Here is a close up)
I know what you’re thinking. Huh fabric? Yup!
Seriously? Yes indeed.
Is this chic crazy?Uh..pass on that one.
Why fabric? Why not? Its:
– Easy to put up (unless you happen to be a perfectionist)
– Semi easy to strip off . How I know this? Let’s just say what your seeing here is the result of me stripping the fabric off TWICE before I was happy with how it looked. And no damage to machine except sticky patches .
– Wipe-able – thats if you choose to seal it.
– Safe? No idea…haha no I’m just kidding! My washing machine’s external panel doesn’t heat up even at the highest temperatures – but even so I still sprayed fabric with fire retardant spray before applying. Disclaimer: Doing this may effect your warranty of your machine so just check before hand.
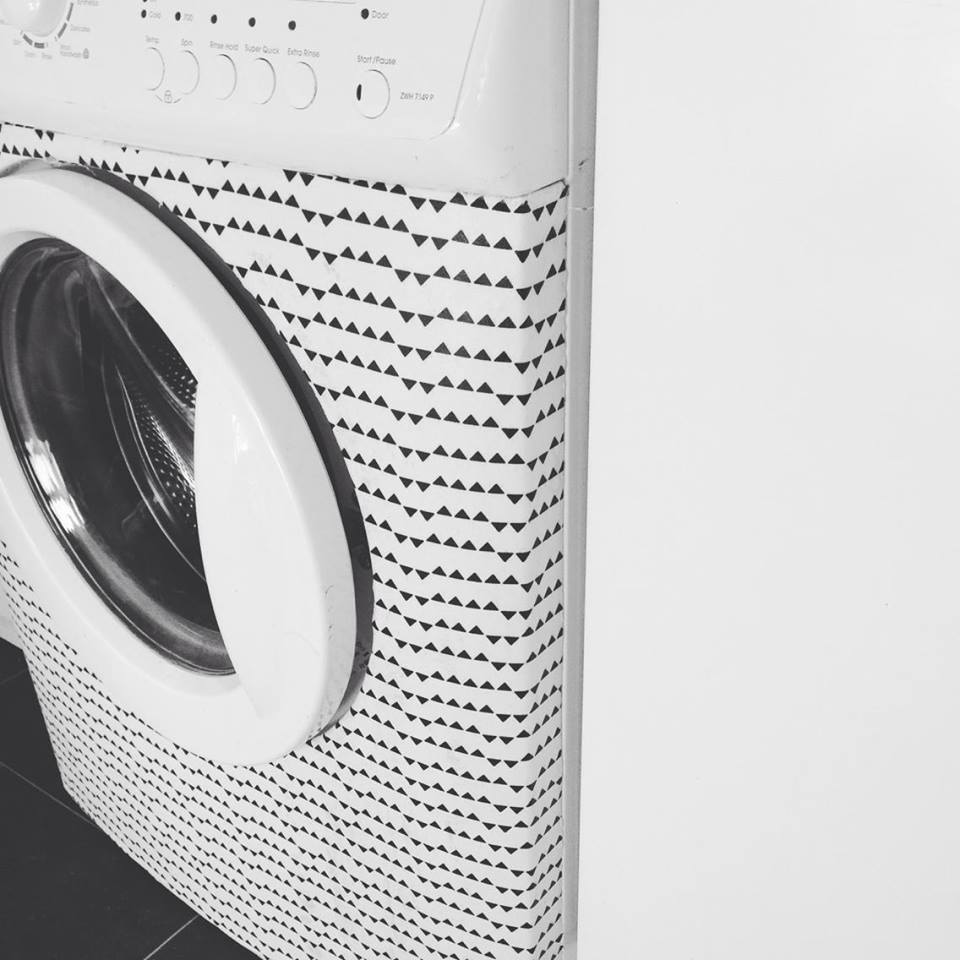
The fabric I chose is quite a modern scandi looking pattern and although it probably doesn’t seem like it ties in with the look of the kitchen just yet … it will. Oh it will! Trust me! I have a wonderful vision for this room!
So lets get to the nitty gritty!
Materials I Used
- Fabric 110 x 22.5 ( I ordered 3 to make a longer strip)
- PVA glue
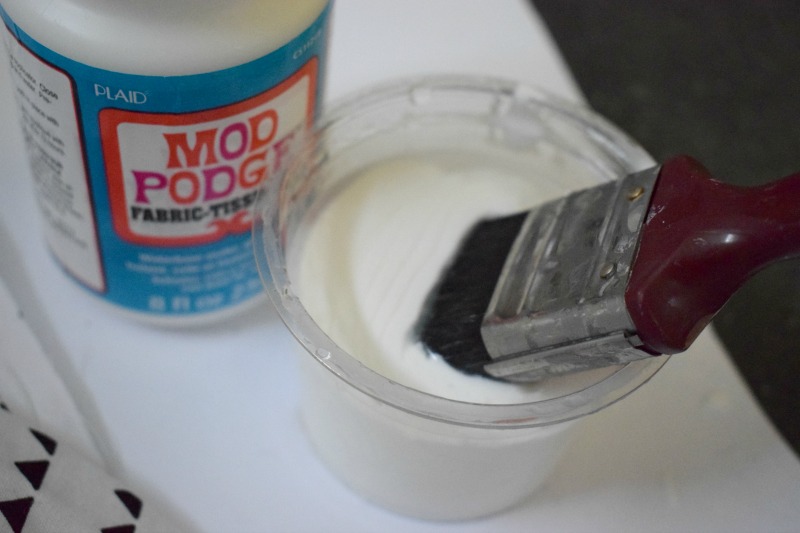
- Mod Podge
- Clear varnish (Ronseal)
- Knife
- Paint
- brush
- Tape
- Scissors
- Pen
How To
1. I peeled off the old contact paper and gave the front panel a good scrub. The contact paper was great – didn’t leave one mark so I swear by this stuff if you want to be less adventurous than I have been here.
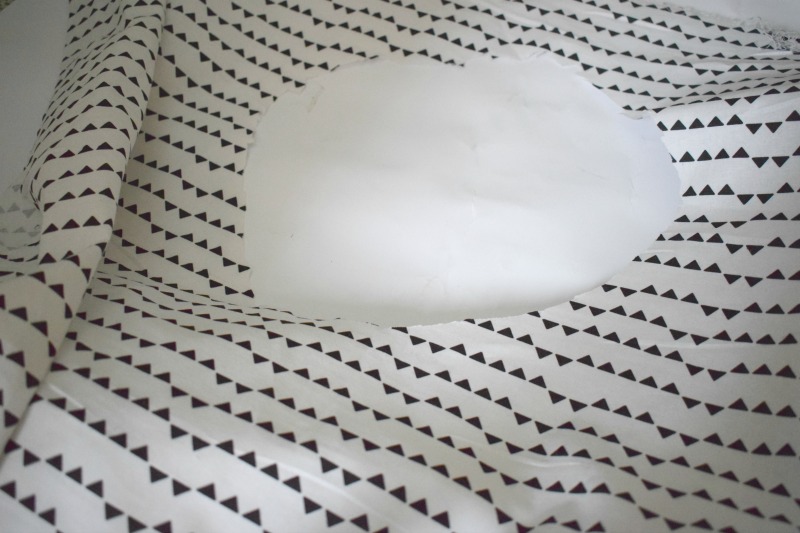
2 . I flipped the fabric around and attached to the top of machine using tape. This was done so I could roughly outline how big I needed to cut the circle for the door. I’ll add here that I did make a pathetic attempt to remove the washer door … yh huge fail!
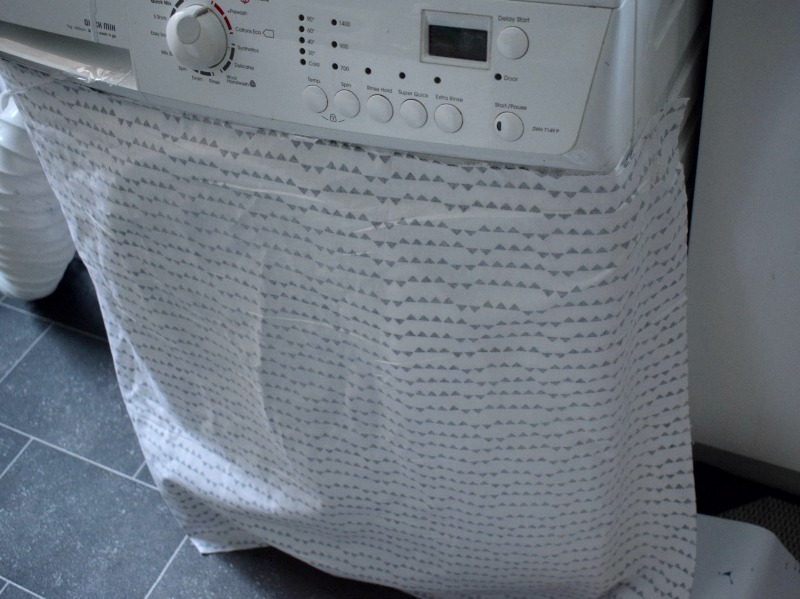
3.Using a marker and tape measurer I loosely drew around the door.
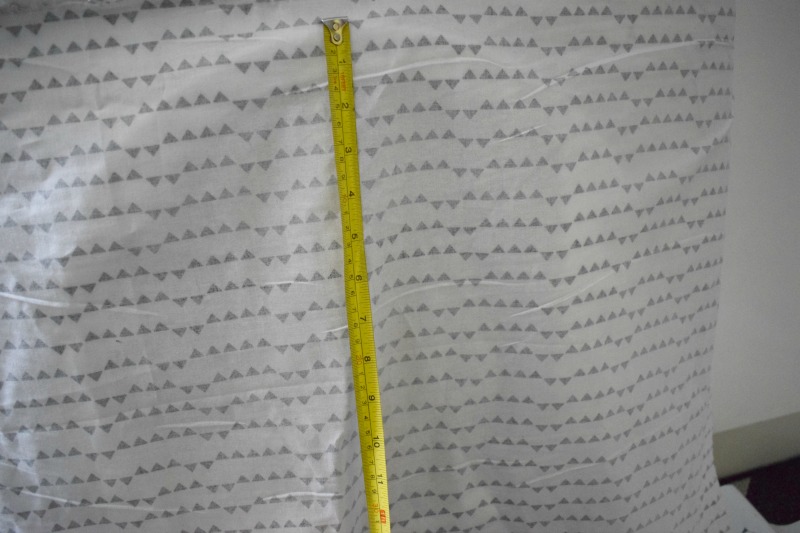
I then cut around the outline so I ended up with a large raggedy hole in the middle. It doesn’t need to be a perfect circle at this point, just enough to fit over the door . I planned to neaten it up later.
4. Mix 1/2 PVA glue with 1/4 of mod podge and a table spoon of water.
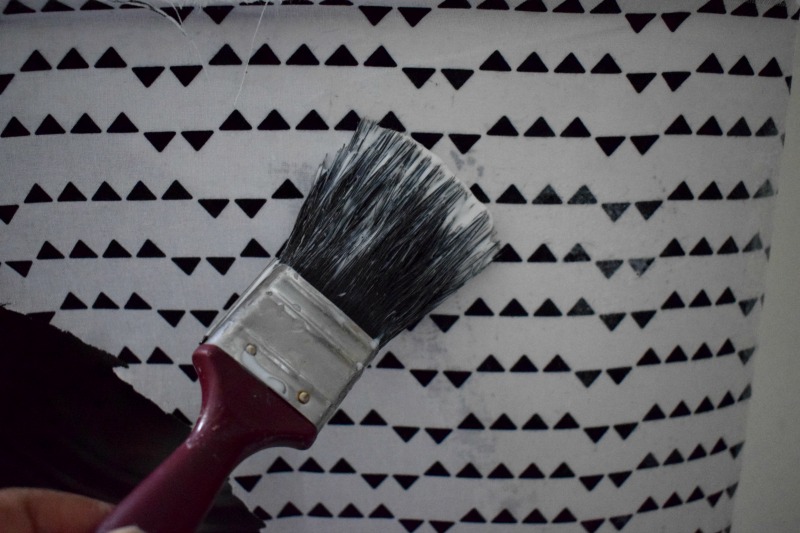
5. Apply very thickly to the top half of the washing machine surface with a paintbrush.
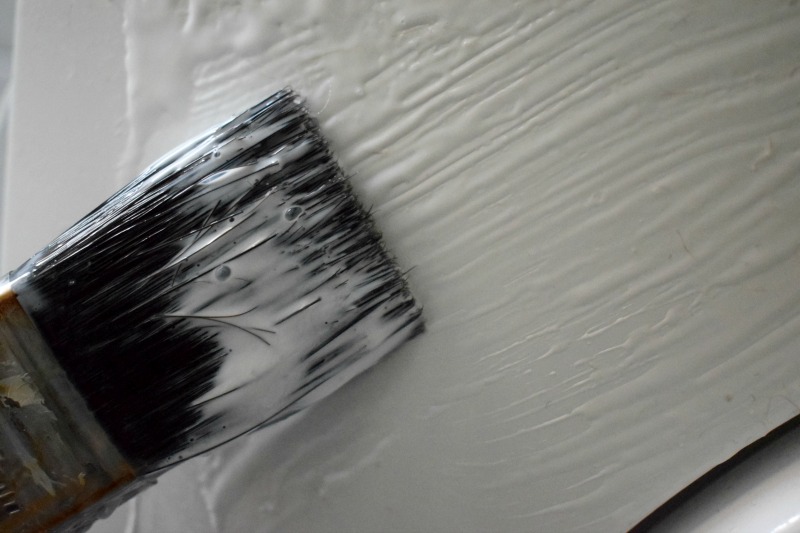
Apply the fabric to the glue smoothing as you go along.
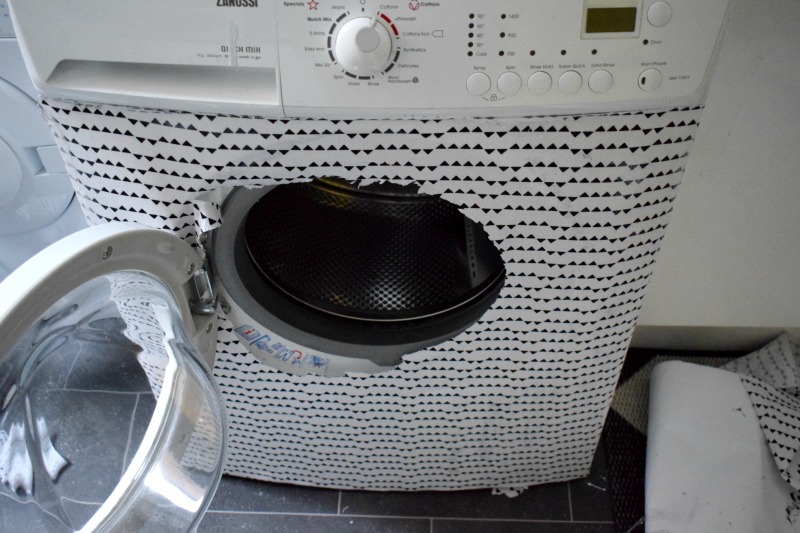
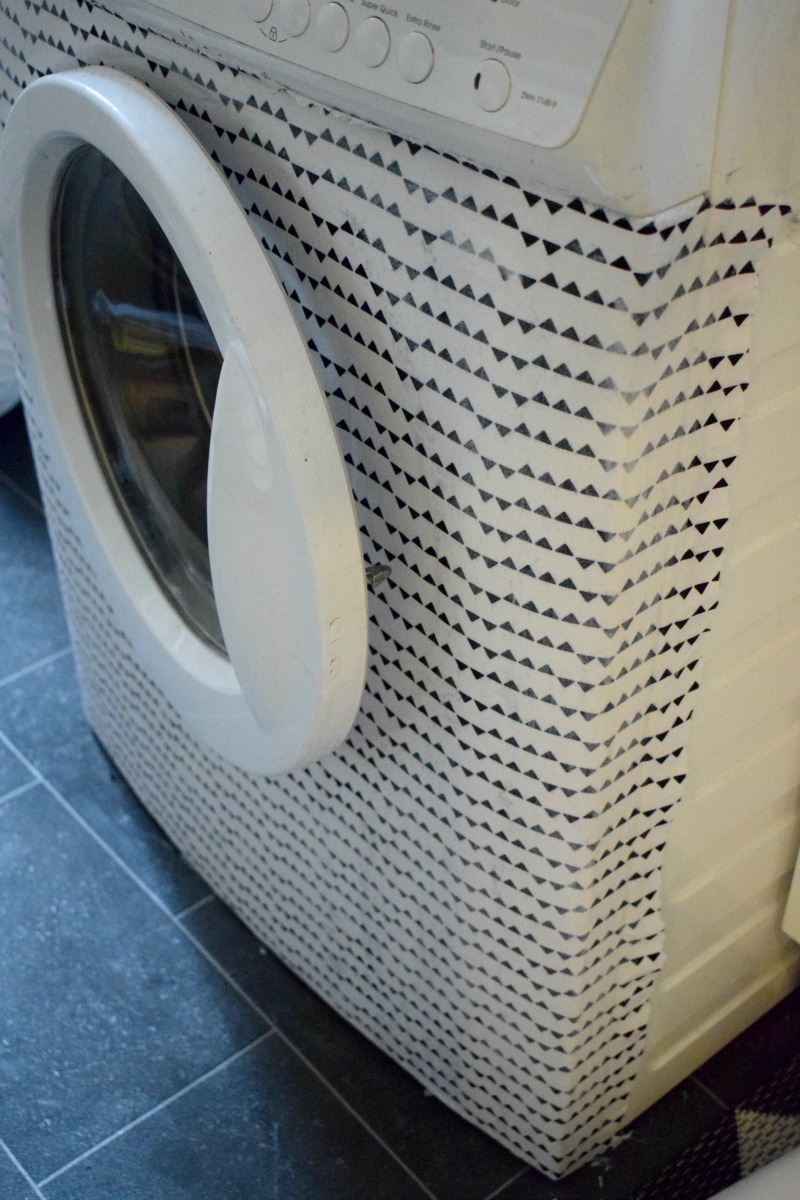
6. Repeat the above to the bottom of the machine. Once you are happy with the layout of your fabric, paint over the top with more of the glue.
The sides will look like this but its ok. Once the fabric had dried, it will then harden making it easier to cut off the extra bits around the door and sides.
7. I left the fabric to dry overnight.
Follow Grillo Designs’s board Grillo-designs.com on Pinterest.
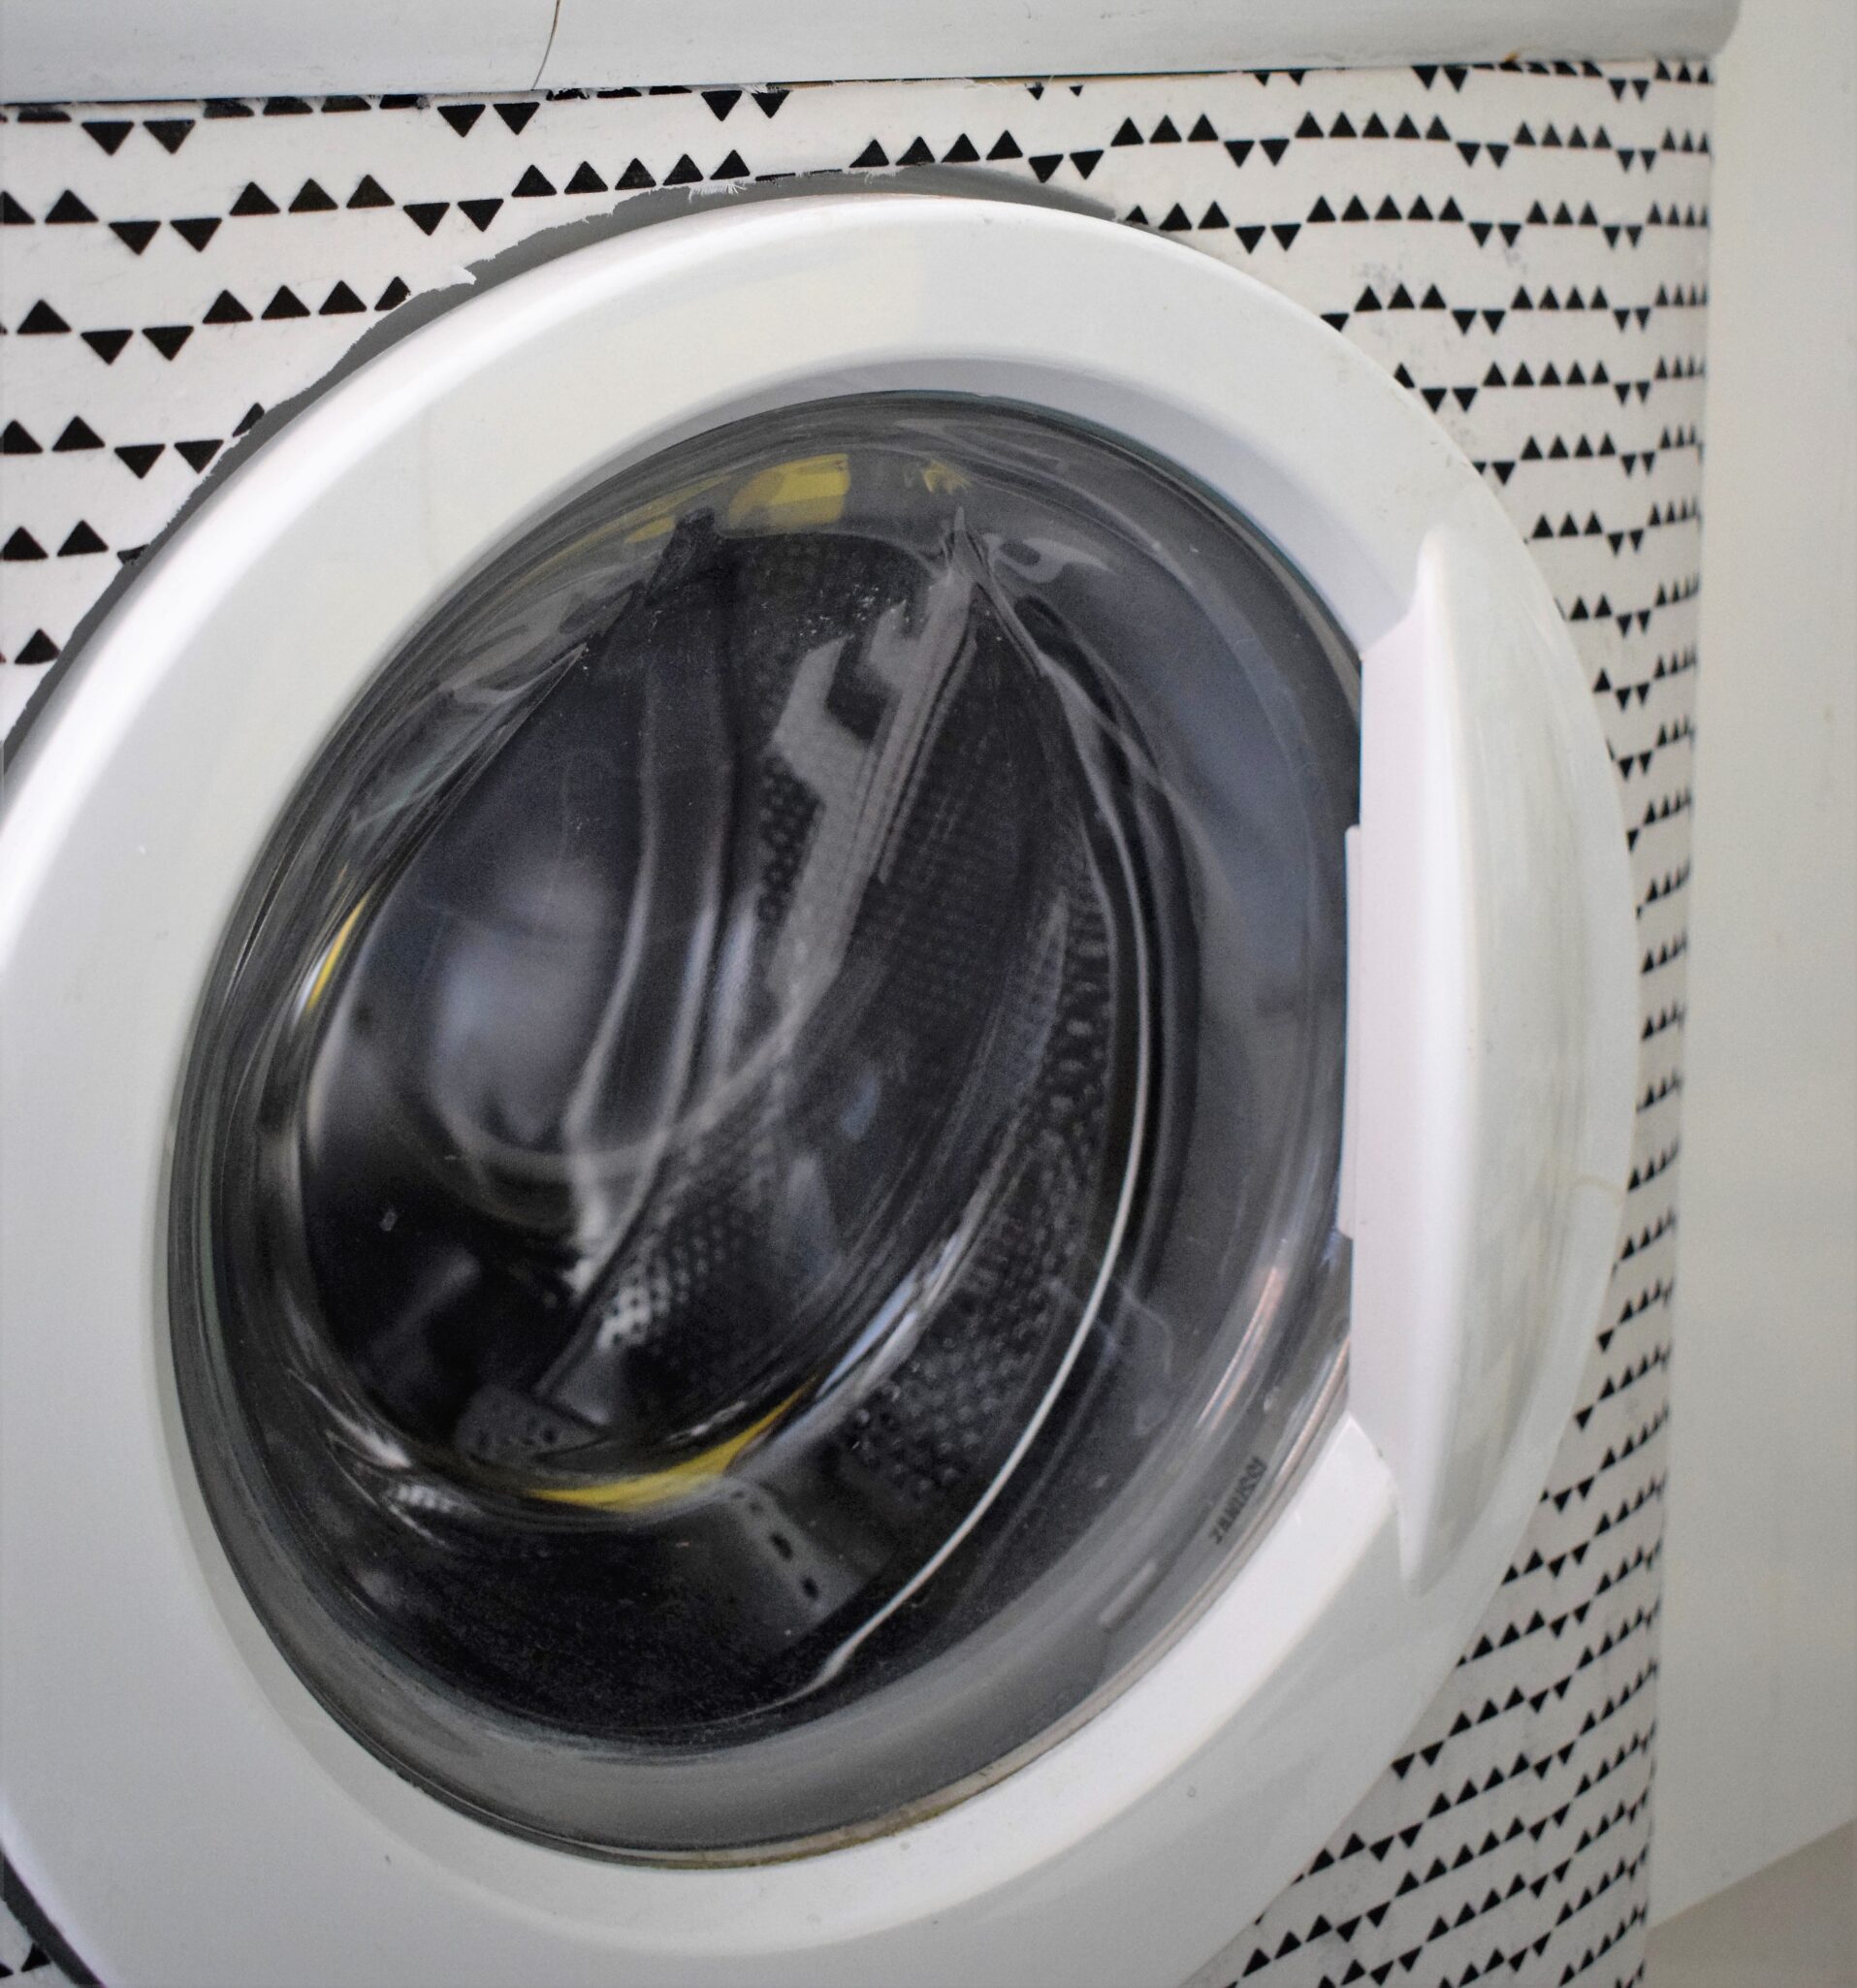
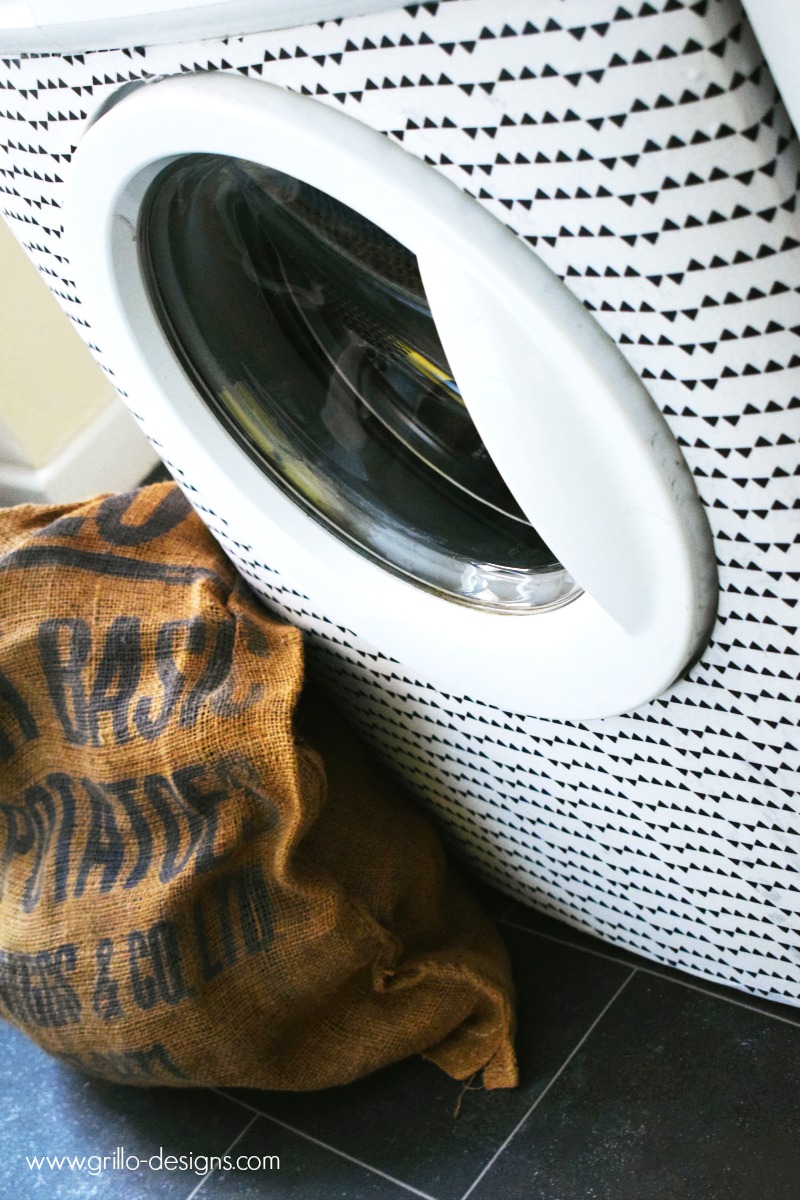
8. I then tidied up all the edges with the knife (or you can use scissors) and sealed with 2 coats of clear varnish.
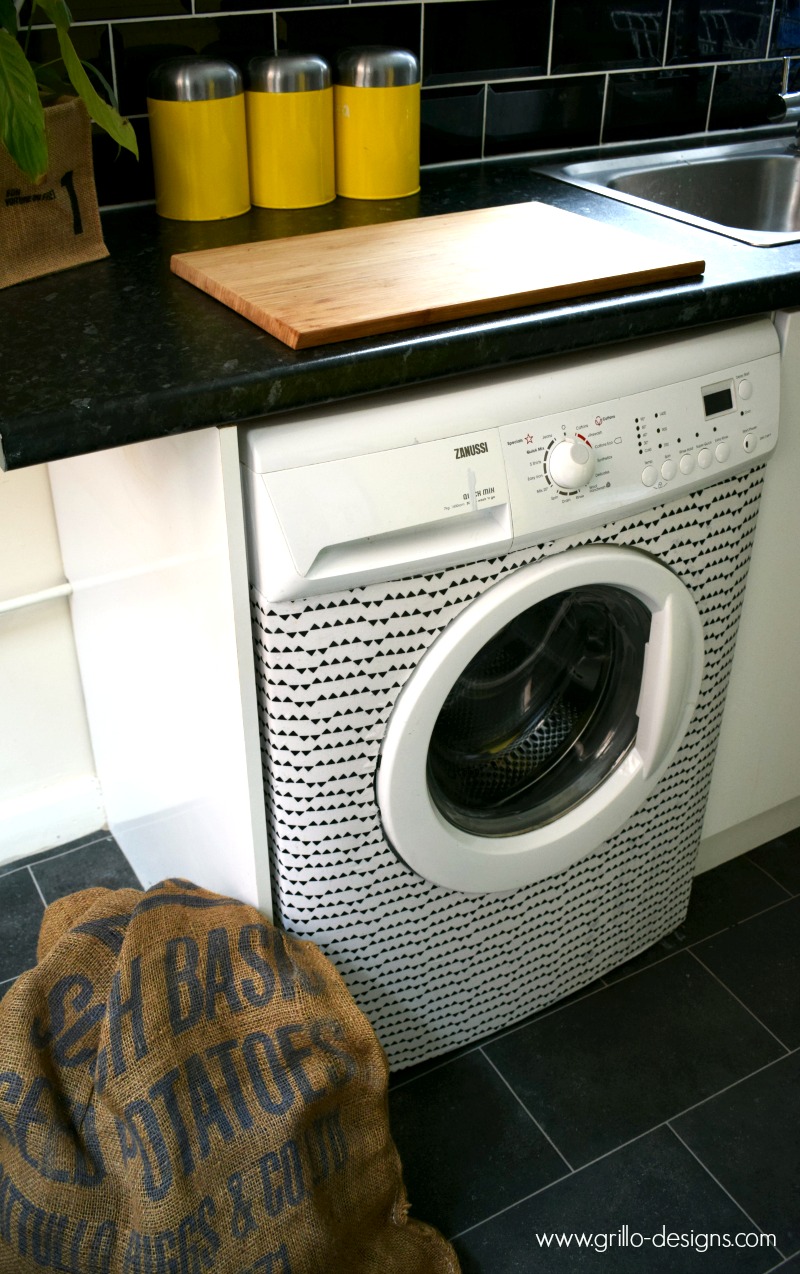
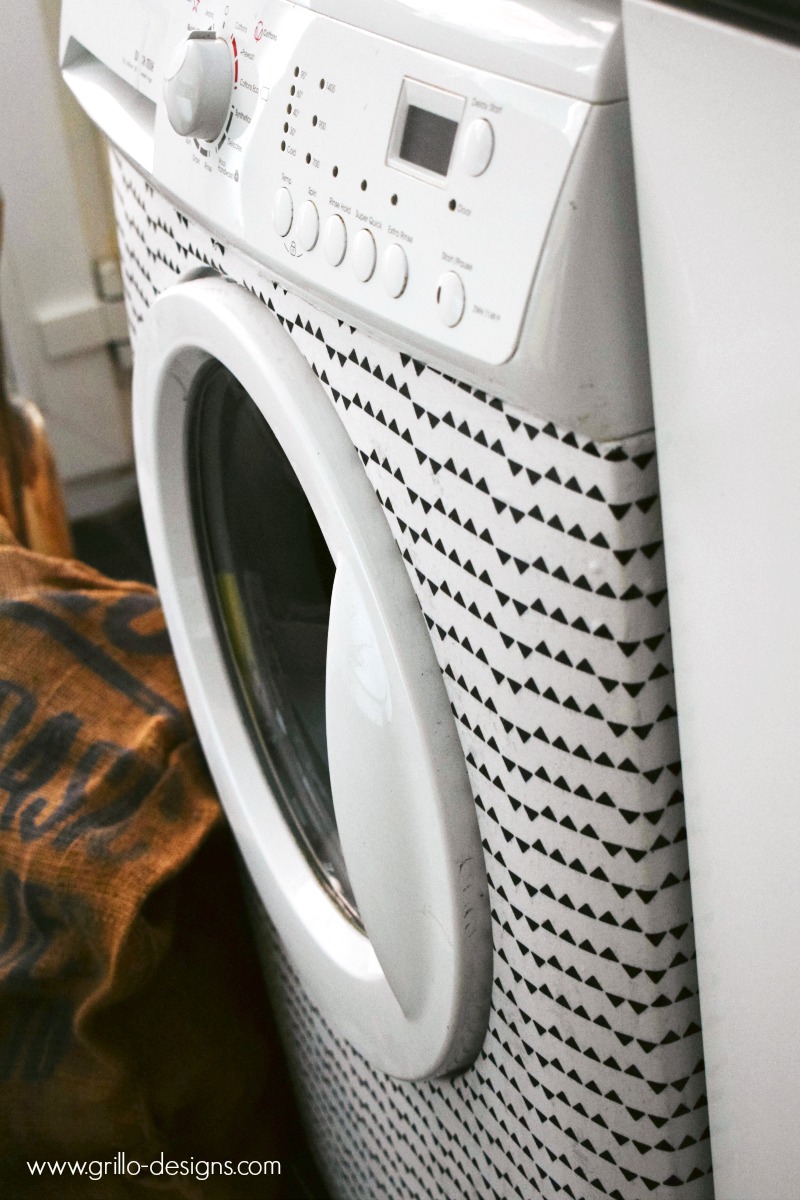
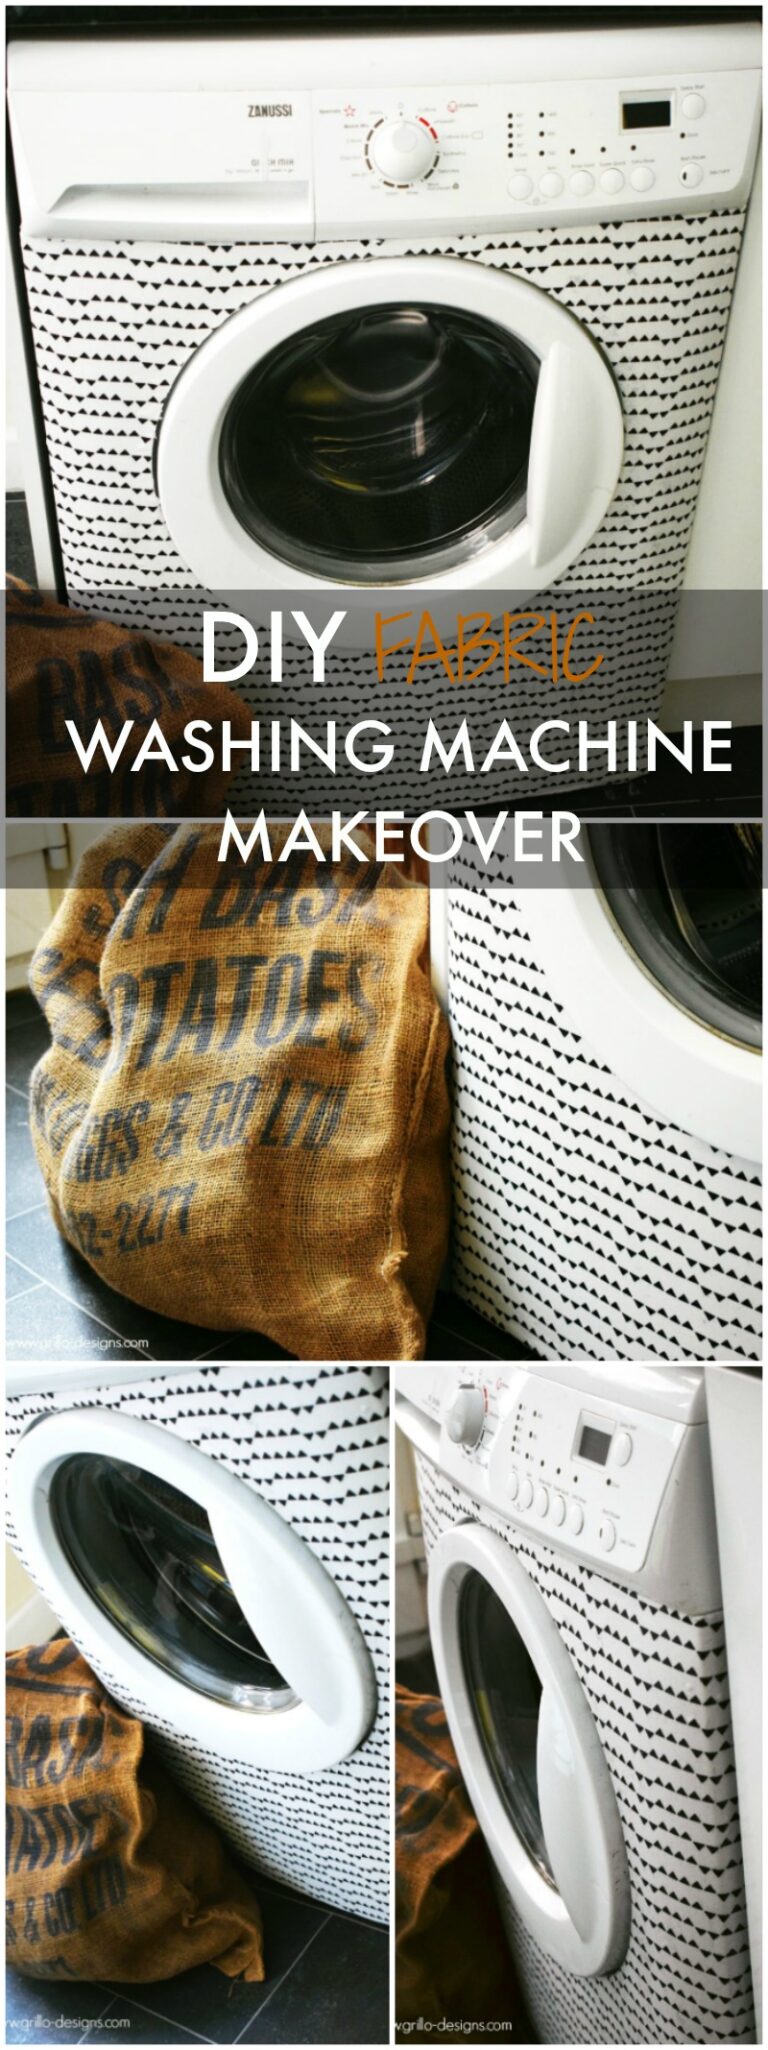
See what I mean about easy peasy? Lets get a before and after!
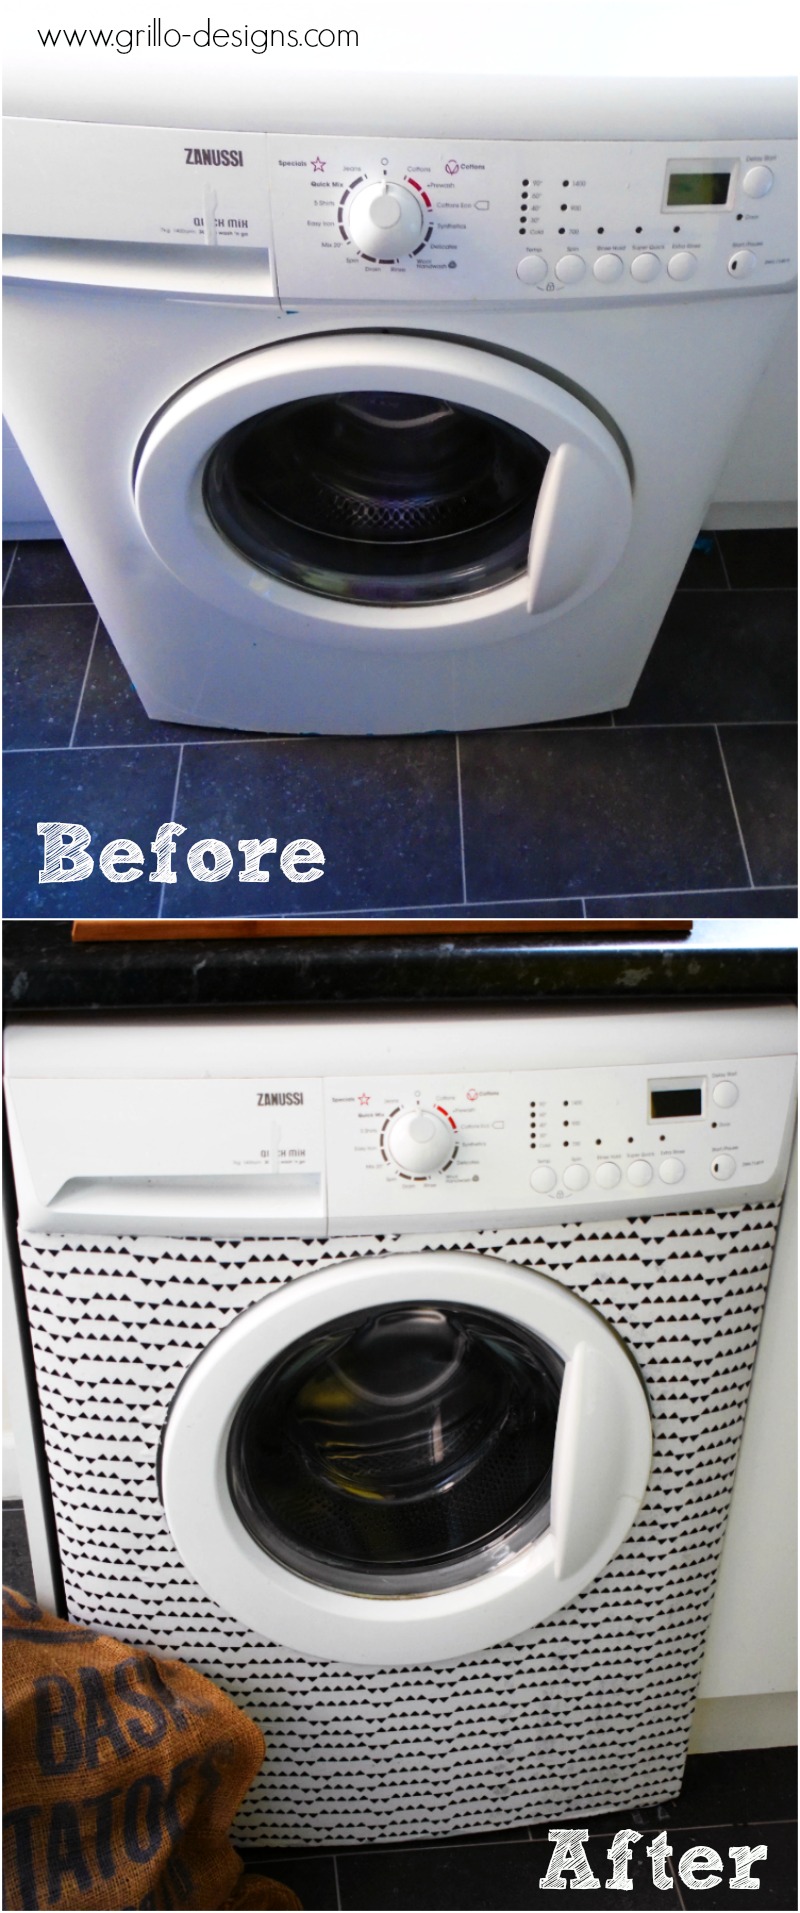
And how about a PIN IT picture? I love when you guys share my pictures, especially to Pinterest!
Dont forget to SIGN UP HERE to receive my weekly newsletter filled with more DIY inspiration for your home!
If you liked this project, you might also like:

Oh I really like that! Its really funky yet stylish to cover an old washing machine1 Fab!