Hi there! Join Grillo Designs on Instagram and Pinterest to keep up with our latest posts and ideas. If you’re on Facebook, why not join our Home decorating, Upcycling and DIY group too – inspiration is guaranteed! Dont forget to SUBSCRIBE!
Submitted by: Maria Macheca

Materials used:
Peat moss, vermiculite, Portland cement, water, mask, rubber gloves, molds, Pam cooking spray
How I made it:
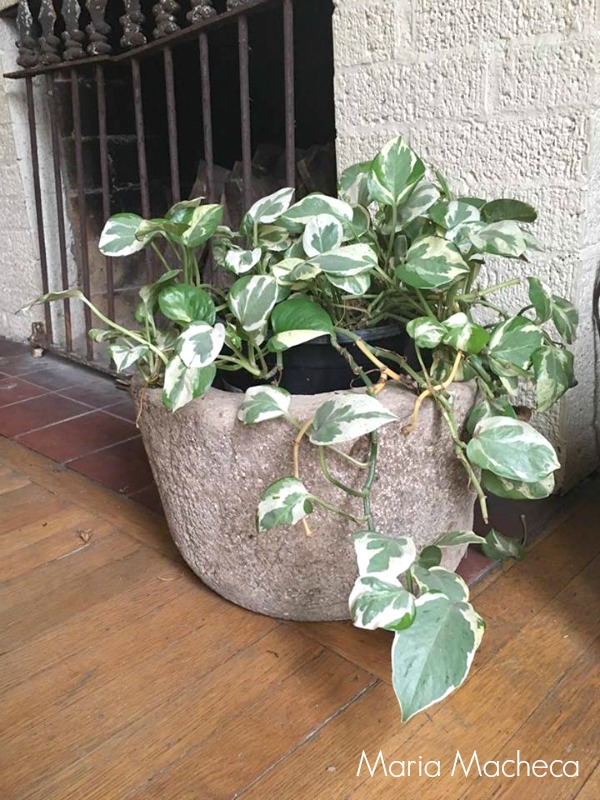
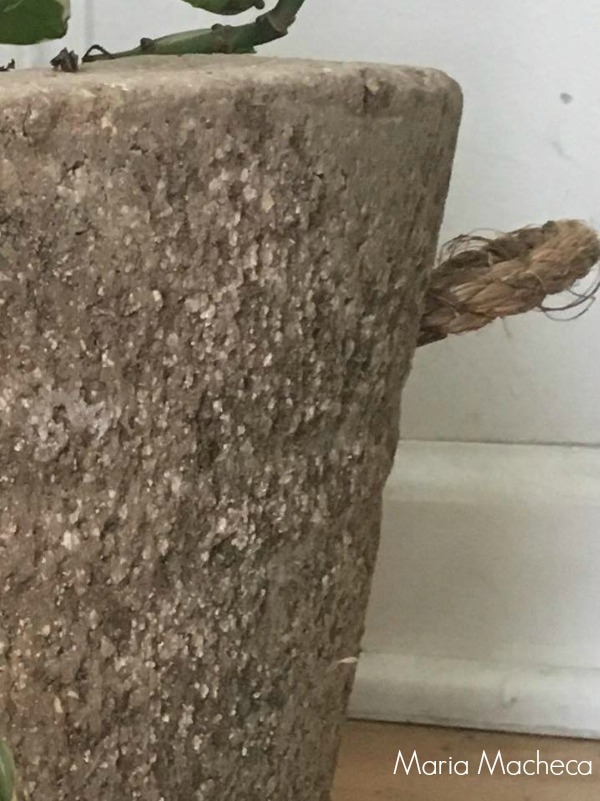
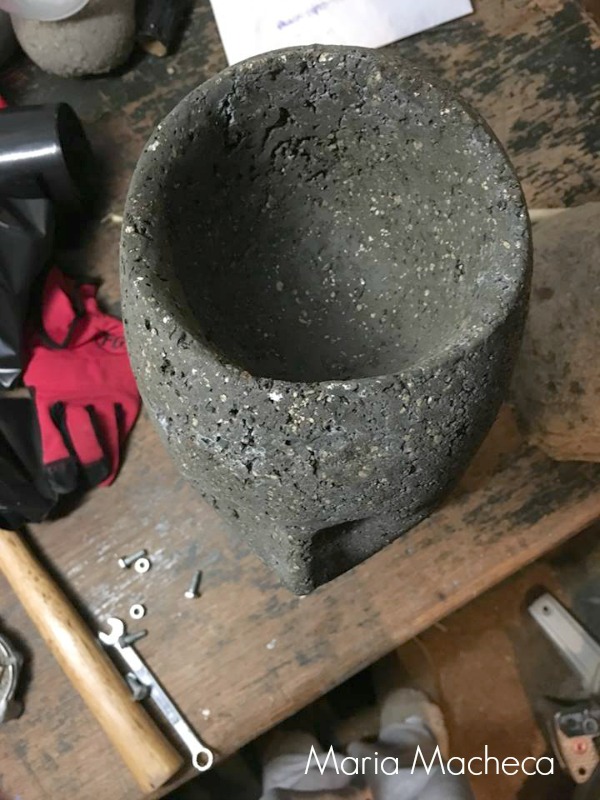
Hypertufa is a man made material created by mixing together Portland cement, peat moss, vermiculite and water. I love working with it because once it cures it has the look of aged concrete but is much lighter in weight.
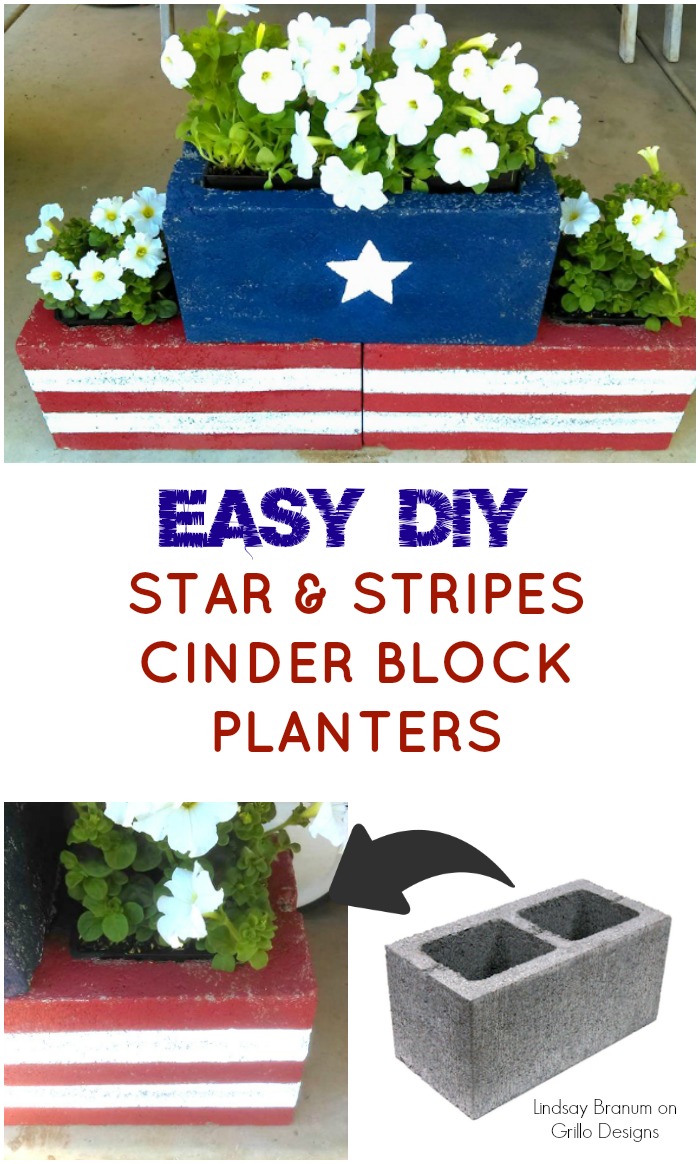
Start by heading to your local dollar store to find your molds. Look for 2 plastic containers, one larger one to use as your outer mold, and another slightly smaller one for your inside mold.
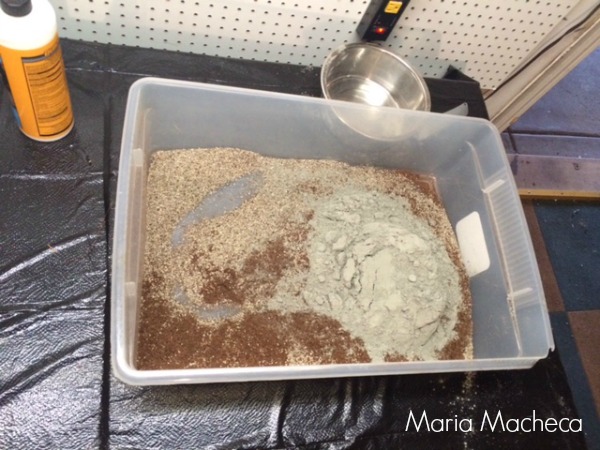
In a large plastic container, combine 3 parts peat moss (I usually sift out the larger chunks and little pieces of wood), 3 parts vermiculite (both available at garden centers) and 2 parts Portland cement. (Make sure the bag says Portland cement!! Available at Lowes and Home Depot). Be sure to wear your mask and rubber gloves, the cement dust is nasty to breath and tough on your hands.
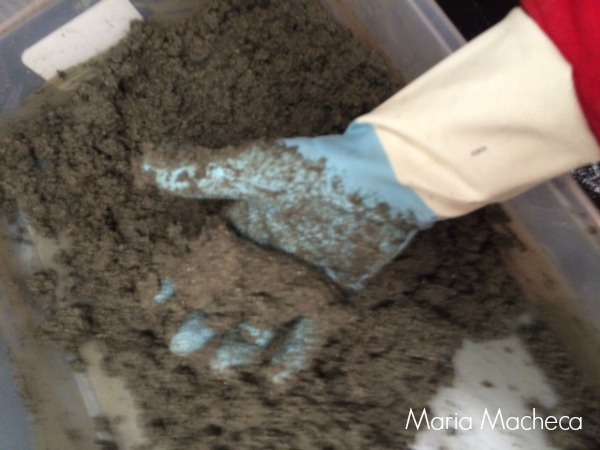
Thoroughly mix the dry ingredients together and then start slowly adding water. Mix thoroughly again and add some more water continuing until the mixture is similar to the consistency of cottage cheese. Grab a handful and squeeze it together, it should stick together with maybe a drop or two of water coming out.
Next, grab your molds and cooking spray. Thoroughly cover the inside of your larger mold and the outside of your smaller mold. This will help keep the hypertufa from sticking to the mold when it comes time to take them out. Start packing the tufa mixture into the bottom of your larger mold until it’s about an inch thick.
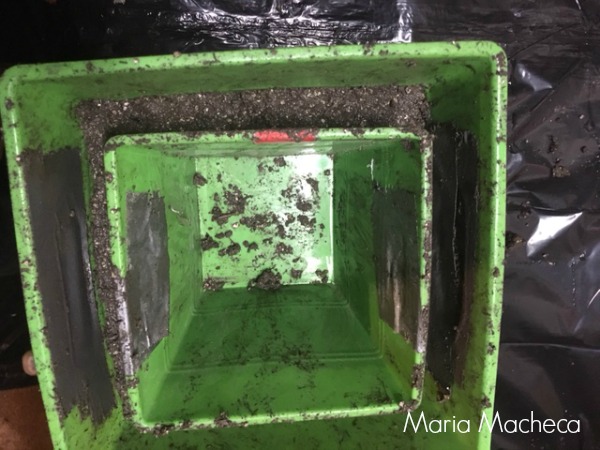
Then begin building the tufa up the sides taking sure to pack it in tightly. Now take your inside mold and press it firmly into place. You may need to add a little more mixture to make sure your walls are solid. Just use your fingers and keep pressing in more tufa until it’s even with the top of the molds.
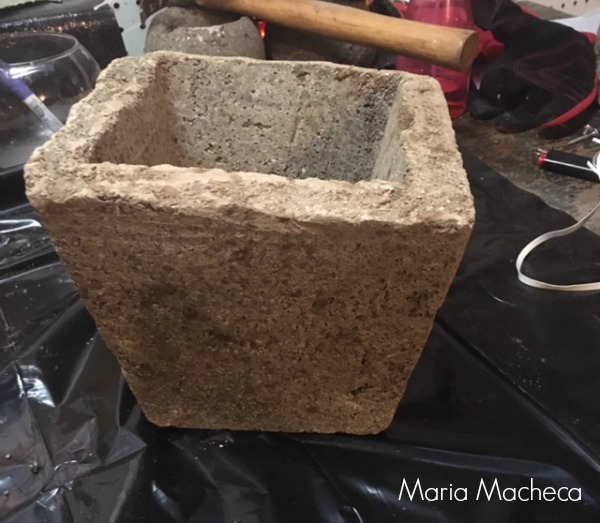
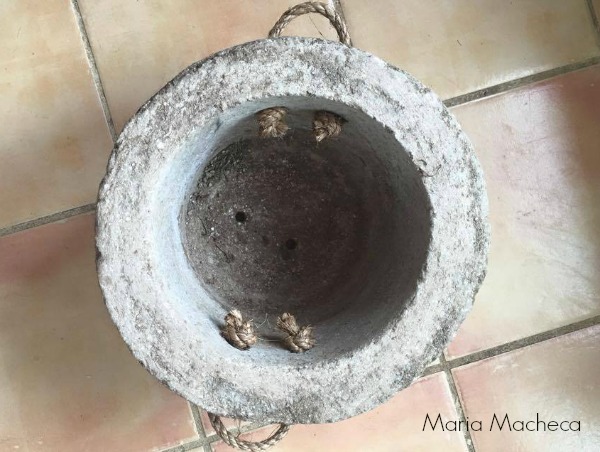
Now it’s time to test your patience! Take your molded piece and place it gently inside a plastic grocery bag and wrap it up tightly. Wait 48 hours before you unmold it or it won’t have hardened sufficiently. You can test it by pressing your fingernail into the mixture, if it leaves a mark, wait several more hours. When it’s time to unmold, remove from bag and gently remove the inside mold, turn upside down and take off the outside mold. Voilà! You’ve just made a pot!
But wait….there’s more. Hypertufa takes a full month to completely cure. So place it back in the bag and set it aside either outside in the shade or inside in a cool spot. Once fully cures you can use a masonry bit to drill a hole in the bottom for drainage. You may also want to hose it out for awhile to leach the lime from the cement out of it as lime can be harmful to plants.
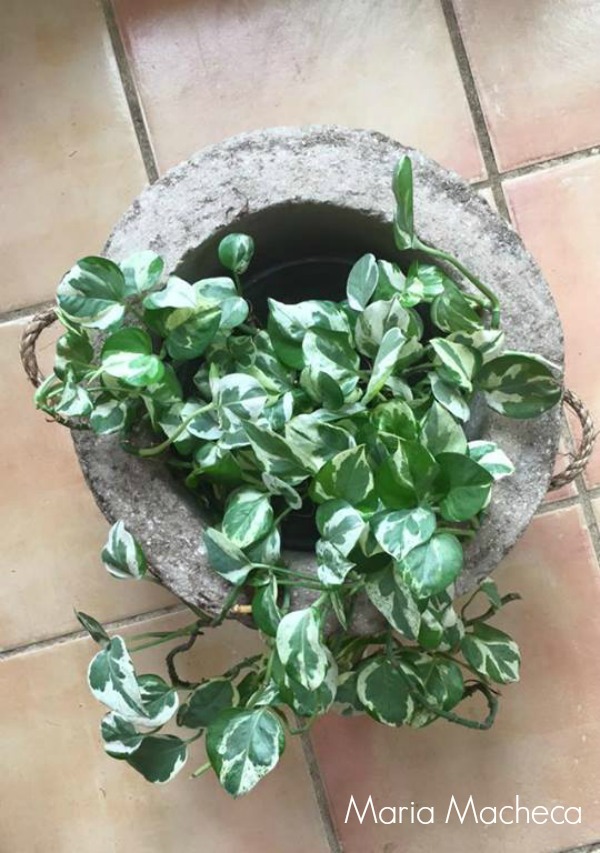
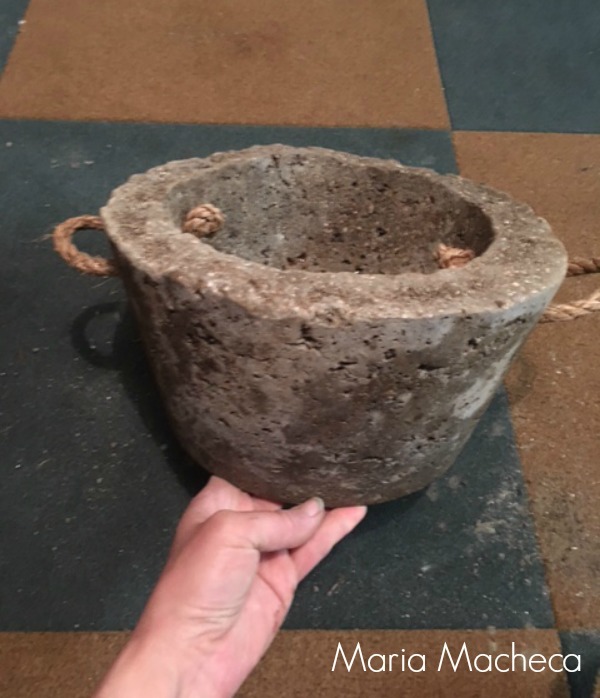
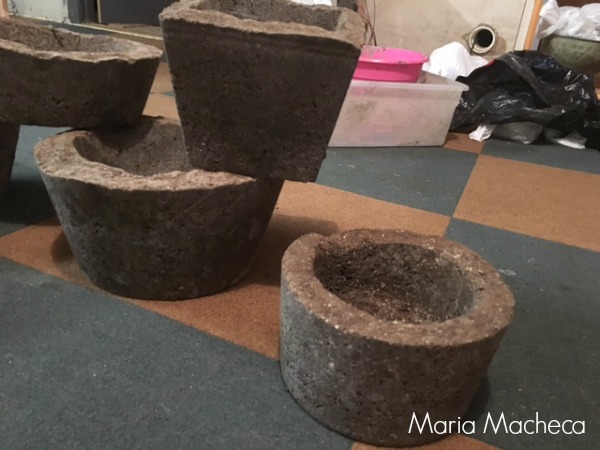
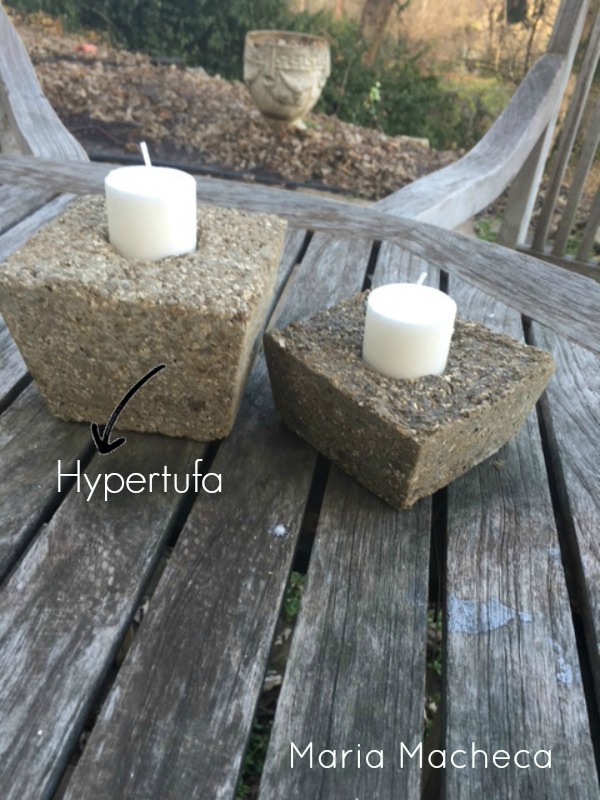
Once you’ve got the hang of it you are only limited by your imagination. I’ve made tea light holders, all sorts of different size and shaped pots, and my favorite, my head planter! Just have fun with it and feel free to ask any questions!
Maria Macheca
Hi there! I’m a mama to three giant dogs, wife to a fabulous guy and hairstylist to many. I’m an avid gardener and serial DIYer. I always seem to have some sort of project going and lately it’s been all about Hypertufa! I love working with this material as the possibilities are endless. I’ve made many pots and planters, tea light holders. Please send me a message HERE if you would like to buy one!
Dont forget to follow the Grillo Designs Group board to see what our other members are getting up to!
Follow Grillo Designs’s board Grillo Designs Home Decorating, Upcycling and DIY Group on Pinterest.
If you liked this post, you might also like:
To see more projects from our group members, click here.. To see Grillo Designs DIY projects, click here. To submit your own project click here.


