Want to know how to turn your staircase into a bold design feature in your home? Here’s how! Today I’m sharing how I stenciled and painted my stair risers for a more industrial style look.

If you’ve been following me for a while, you’ll know that my painted stair risers and carpeted steps was a project I had completed in 2018. Yes 2018! What with everything happening right now Corona wise, that feels like a lifetime ago now doesn’t it? (gosh, what a year 2020 has been, and its not even over yet!)
When I had initially shared my entrance reveal , I had promised to come back and talk you through the whole painted stairs process. A lot of you had questions, in particular about the carpet treads. If I’m being totally honest though, it’s only because I finally figured out out how to log into my iCloud account and discovered that the progress pictures of the stairs that I had once thought were lost… actually weren’t (just in the cloud), is why this tutorial is even possible today.

So yes, I feel like we should dedicate this one to the iCloud! Whos’s with me!?
WHY ONLY PAINT THE STAIRS RISERS .. WHY NOT JUST PAINT THE WHOLE THING ?
The reason I told everyone at the time: I wanted a bit of warmth under my feet when I climbed the stairs …. it gets pretty cold here in the winter.
The real reason: I had visions of my son (who was 5 at the time) slipping on a painted step and falling down the stairs ….
And I really wish I was joking about this, but I’m not.
I’ve always been that super anxious parent that immediately thought of every bad scenario that could happen before ever stepping out of my house. I’ll admit to that anxiety usually being focused around my son (poor thing). I mean never mind the fact that I myself could fall and break my neck, or even my husband . . .all that mattered was it need not happen to my son . Yes I have issues and I’m working on them ha.
MATERIALS NEEDED :
This post may contain affiliate links. Please see my disclosure page here
- Primer (this brand is my favourite)
- Paint for wood.
- Clear Varnish
- Paint brush
- Foam roller and tray
- Wood filler
- Pliers (optional)
- Gloves (optional)
- Stencils (optional)
- White latex paint (optional)
- Sandpaper
TOOLS:
- Sanding machine
- Mask
LETS GET STARTED . . HOW TO PAINT YOUR STAIR RISERS:
1. REMOVE
If your staircase has a carpet already – pull it up!

Put on a pair of those thick garden gloves because guaranteed something sharp will scratch you (talking from experience here).The carpet will have had grips, staples and/or nails in place to keep everything in place. Remove them, with your pliers (or using the end of a hammer)
Luckily, the wood underneath my carpet wasn’t in a bad condition.


2. REPAIR
Fill any holes or dents in the wood with the wood filler .

Dip the tip of a putty knife into the wood filler, scooping out a small amount. Press the filler into the holes, making it as flush with the surface as possible. Smooth out with the putty knife and leave to dry for at least 24 hrs .

Once all was dry, its time to sand everything including the areas that you just filled in to ensure everything has a smooth finish (or to remove any previous finishes if your stairs has been painted or stained before) .
Make sure you sand the risers as well as the treads. I used my orbital sander as well as 120 grit sandpaper for this step. You can totally use just sand paper alone, but that will take for ever! If you don’t own a sander did you know you can rent one in your local area?
Give the stairs a really good clean to remove any dust and grease. If you are using a cleaning detergent and water, remember to let the wood dry completely for a day or two.

3. PRIME AND PAINT
Now it’s time to prime ( I only primed the steps/treads because I knew I was going to cover them).
The primer will give the top paint something to adhere to and stop the paint from just soaking into the wood. This is the primer I used (actually its the primer I use for everything its great!). Paint carefully with both the foam roller and paint to prevent paint drips . Keep your coats thin, the paint will last longer if you paint multiple thin coats as opposed to one thick coat.
Check on the paint tin for drying times between coats, and once the last coat is on leave for 12 hours if possible before walking on the stairs – the longer you leave it to dry, the stronger the paint will be. I painted three coats of primer.
I don’t have a picture of the primed stairs risers, but I feel like I’ve neglected my banisters a little in this tutorial so here you go! Yes I painted them too.

For the final top coat on the stair risers and banister , I decided on a bold colour called Coal Tipple by Valspar in an eggshell finish . It’s the same colour I used for my bedroom walls, and the internal doors in my house.

Note: Matt finishes like eggshell aren’t as durable as high gloss paints, but don’t show as many imperfections.

4 VARNISH
Use a clear varnish to protect areas that may be more susceptible to wear and tear like the steps (if you aren’t covering them) and the banister. NOTE: If you’re using a floor paint as your top coat, you wont need to varnish.
5. CARPETED TREADS
Now, lots of people seem to think I did this part myself, I didn’t although now I’m wishing I had. This part was done by a carpet layer. I showed him a picture of what I wanted, and although he was initially very baffled by my request, he managed to get it done really well.

Another alternative to this idea would be laying your own carpet treads . There are stores that make treads to size or maybe a stair runner is another option?
6. STENCILS
OK, yes this totally should have been step 5!
Make it step 5 if you don’t want to ruin freshly laid carpets! The reason why it wasn’t for me, is because the idea to stencil my stairs was a spur of the moment idea! My son at the time really loved numbers, so I thought it would be a fun way to encourage counting ha!

To stencil the stair risers, first stabilise the stencil, remove the excess paint from the brush onto a paper towel or rag and then dab the paint on! Avoid using a side-to-side movement or pressing too firm; this will cause bleed. I found these craft foam paint brushes great for dabbing the paint on.
These were the stencils I used.

And here’s the final look!

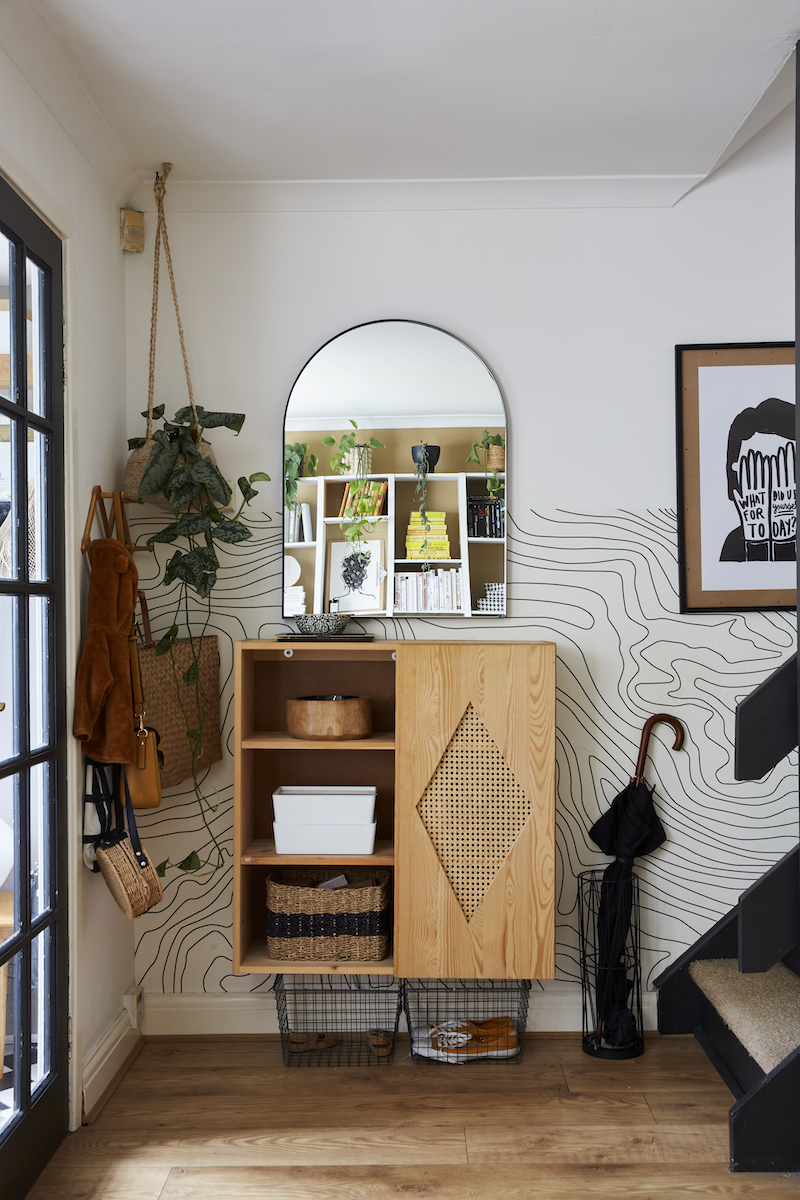
The art on my stairs wall has changed a little over the years, as you might have seen from my pictures.
BEFORE:

NOW:

Well I think that’s everything! Any questions about this tutorial at all? Have you ever attempted to paint your stairs?
SAVE THIS POST TO PINTEREST

YOU MIGHT ALSO LIKE:
HOW TO PAINT DOORS (LIKE A PRO)
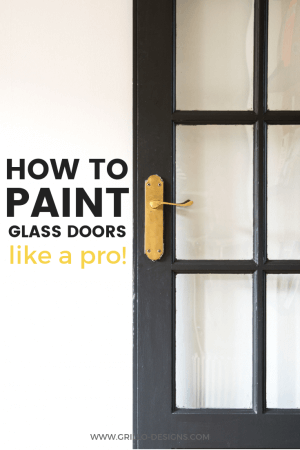


I am really glad I have found this information.Thanks for every other informative site.
Hi Medina, having admired these brilliant stairs for ages, I’m now locked down at my mum’s and have decided to try this on her slightly battered and un- carpeted stairs but how do you leave stairs to dry for 12 hours? Do you do it early in the morning or last thing at night? Sorry probably a very silly question. I’m also going to try and put the tread on myself – maybe glue it down 😬
Looks brilliant! could I ask, was it economical to have the carpet laid like that? I fancy a runner but know they’re pretty expensive…
HI! Stairs look great! Was wondering if the squiggly lines on the wall, wallpaper? If so, any reference on how to get it or do that?
HI yes its wallpaper from Etsy (coloraydecor)