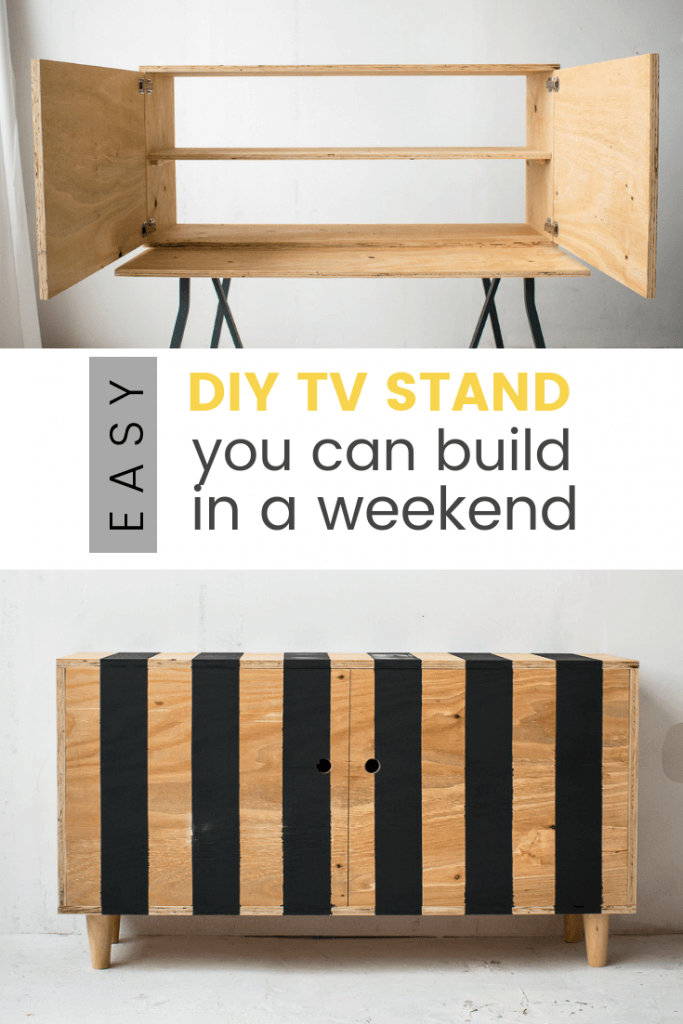
This tutorial will show you how to build a DIY TV stand for your television and all it’s connecting devices. In an attempt to keep this project as beginner friendly as possible, the building plans are simple, and the power tools, few. Enjoy!

**This post has been sponsored by The Gorilla Glue Company
WHY I NOW HAVE TWO TV STANDS….
Now this might surprise you, but I actually already own a TV stand.
And it’s a gorgeous mid-century handmade cabinet that I bought off eBay last year for a steal (well, I like to tell myself it was a steal because the only other alternative is acknowledging the thought that I might have been ripped off – which in reality – I probably was..).
I loved it from the moment I laid eyes on it.
Of course, my husband hated it from the moment he laid eyes on it. And naturally, he wasted no time in vocalizing that at every chance he could (oh I’ve just had a sudden bout of deja-vu here. Did you read my last post about our new velvet sofa?)
‘Its so ugly,’ he’d say almost every time he’d walk by it. ‘Why would you buy something like that?’
As he’d sit down to watch TV ‘When are you going to get rid of this thing?‘
As he polished the cabinets door ‘You know, I’m pretty sure my grandmother has something like this in her house’ (he thought the world of his grandmother but that was clearly another dig)
This went on for about a year mind you (I’m just as stubborn as he is relentless) …
Until one day I decided that enough was enough! If I was ever going to get a moments respite, he … sorry, I mean the TV cabinet had to go!
So yeah, now I have two cabinets (all thanks to hubby dearest). One that is currently sitting in the garage waiting to be listed on eBay (I’m bawling my eyes out here) and another, well this one…. that I made from plywood!

Pleased to tell you, that this new one is husband approved (insert major eye roll)
BUILDING THIS DIY TV STAND WITH GORILLA GLUE . . .
This project is a collaboration with Gorilla Glue. I’m pretty sure most of you are familiar with them – so I wont go into too much detail about the brand it self.
What I will say though, is that I have been using Gorilla Glue consistently for most of my diy projects and they have never once disappointed. Each of their products do exactly what they say they do – seal with all the strength and toughness of a gorilla.

I was sent a variety of products for project. However I ended up using the glue from the clear glue range. I like that this glue dries clear and doesn’t froth!
Perfect for a cabinet that was going to be holding quite a heavy TV.

MATERIALS NEEDED TO MAKE A DIY TV STAND:
This post contains affiliate links for your convenience, see full disclosure here
- Plywood – I bought an extra large 18mm thick panel
- MDF Backing
- Gorilla Glue clear
- screws 75mm
- 106mm cabinet door hinges – click here for other source
- 12cm 4 x wooden legs (these are the exact ones I used)
- Painters tape
- Paint suitable for wood
- Clear Varnish / Poly
TOOLS NEEDED:
- Drill
- Sander
- 3/8″ Hole cutter drill bit
- Manual Saw
- Foam roller
DIY TV STAND PLANS:

HOW TO MAKE A DIY TV STAND
1. MEASURE AND CUT THE WOOD TO SIZE
I usually cut all my wood myself, but this time I felt the need to cut a few corners. I popped to my local hardware store (in this case JEWSON), bought a huge plywood panel, and watched as they cut the wood down exactly to my measurements.
Note : I based the measurements for this build around the existing TV cabinet that I already had – you know the one we must not speak of
So gloriously simple (I found myself wondering why I hadn’t done this before)
However, if you want to carry out this step on your own, using a circular saw with a guide will ensure you get perfect cuts every time!

2 .PRE -DRILL HOLES TO THE THE ENDS OF YOUR BASE & TOP PANELS
Drill two holes to each end of the larger wood panels (these holes need to be big enough to fit 75mm screws). The holes should be positioned not too close to the edge of the wood as they will be used to screw the side panels in place (
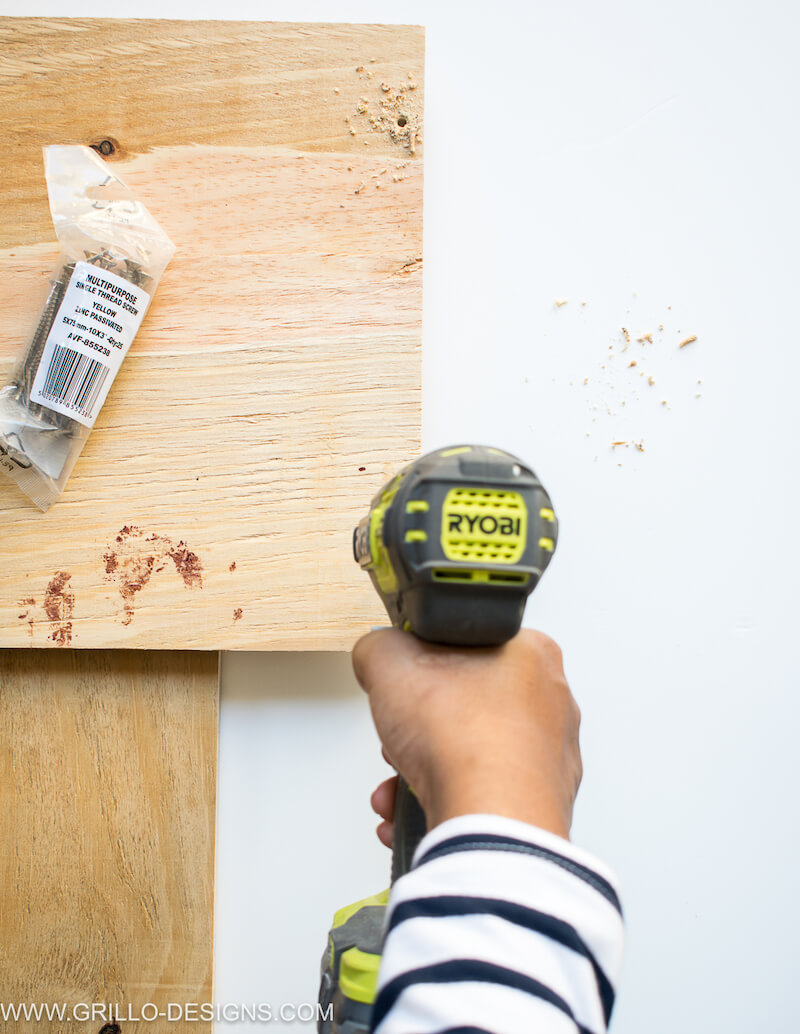

Repeat this process for the other similar sized wood panel.
3. MAKE A RECTANGLE BOX
To do this, apply the gorilla clear glue to each end of the base wooden panel. Note; as plywood is quite a porous wood, it doesn’t need to be sprayed with water before glue application.


Position the shorter wood panel on top of the glue – using a 90 degree angle to ensure it all dries straight. You can prop this contraption against a wall or secure with clamps while you wait for it to dry (if needed)
Repeat this step on the other side of the large wood panel.

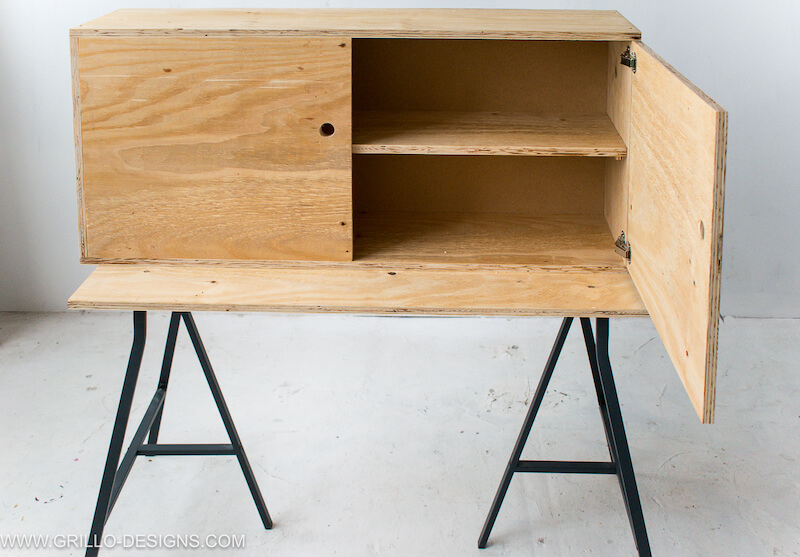
Once the glue has dried (it dries clear after 1-2 hrs, but needs at least 24hrs to bond/cure) , place the final top panel in place in the same fashion. You should end up with a rectangle box like this

4 .INSERT SCREWS THROUGH PRE-DRILLED HOLES
Gorilla glue binds wood together quite well. However, to give this TV stand even more stability, I inserted 75mm screws through the pre-drilled holes.

5. ATTACH CABINET HINGES
These are much less fiddly than cup hinges.
Secure each hinge in place – one end to the insides of the TV stand and one end to to the cabinet doors.
NOTE: It might seem like I’ve missed a step here re: the cutting of the cabinet cabinet doors, but remember they had already been cut to size by my hardware store.


6 ADD IN THE MIDDLE SHELF
Not only does this shelf create extra storage for TV connections and media, but it also gives the TV stand additional support.
To secure it in place, you will first need to create brackets from the smaller cuts of wood. Don’t forget to pre drill two holes to each of the brackets

Apply clear gorilla glue to the back of the brackets and attach to the inside of the TV stand sides (use a level to ensure its position is straight).

Once dry, secure the brackets in place with screws.

7. NAIL IN THE BACKING
The backing I had bought was wider than my cabinet – so I had to cut it to size with a manual saw before nailing in place

8 INSERT DOOR HANDLE HOLES
To make the handles, measure and mark were you want each hole to be. Then use the drill with a 3/8 piece to create them. You will need to apply some force to ensure the drill piece cuts all the way through the wood.

Now if you like the raw look, you could just stop here with this tutorial and attach your desired legs.
But if you want to create the bold stripey feature – then keep reading!
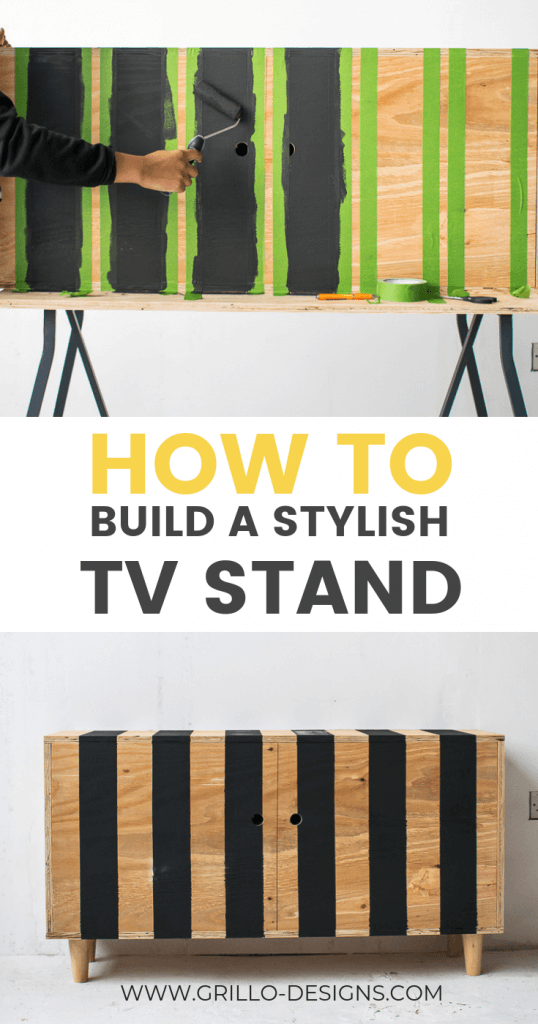
9 PAINT THE STRIPES
This step was probably the hardest part of the whole tutorial if im honest.
It took me a total of 3 hours to apply the painters tape. I really wanted to make sure everything was straight before even attempting to paint .
The black stripes worked out to be 9.1cm in thickness. And I used an 8.5cm gap between each stripe.

The paint was then applied with a foam roller

And the tape removed immediately whilst the paint was wet to reduce bleed through.

But I did still get some bleed through – which I corrected with a little light sanding.
10 ADD ON THE LEGS
I’m really pleased with these legs I bought from Amazon. They were great quality and the colour matched the cabinet perfectly.
The legs were secured to the bottom of the cabinet (4 screws per leg).

And voila!

I mean it looked pretty insane in my studio, but when I brought it home and placed it in my living room, I almost died at how pretty it looked!


It pains me to admit it (because that would mean acknowledging that my husband had been right), but this new TV stand matched the decor in the living room much better than the first one.


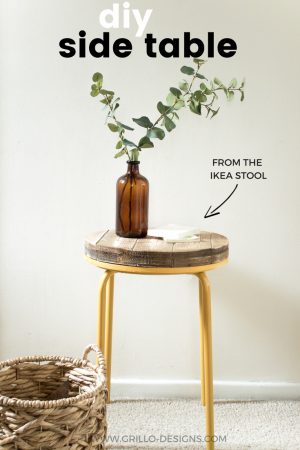
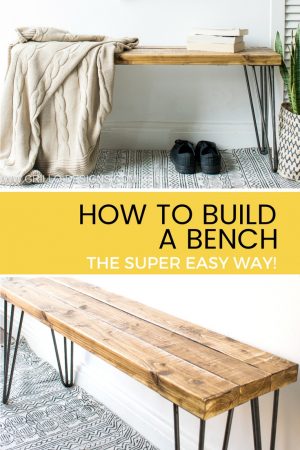
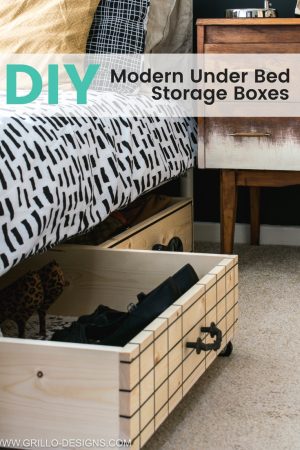
I love when you share my projects on Pinterest! Save this DIY TV STAND TUTORIAL for later by pinning the below photos to your boards!


Hi Medina
I love the cabinet it looks great. Can you share which type of plywood you used? Was it a hard wood or a softwood one?
Thanks
OMG looks amazing with the stripes! As you said maybe it’s a weekend project!
OMG! I just love it. Great work is done here. This DIY TV Stand is looking very elegant. Thanks for sharing its tutorial.
Very detailed tutorial, thank you so much for sharing!
Great job! Looks nice and sturdy too