
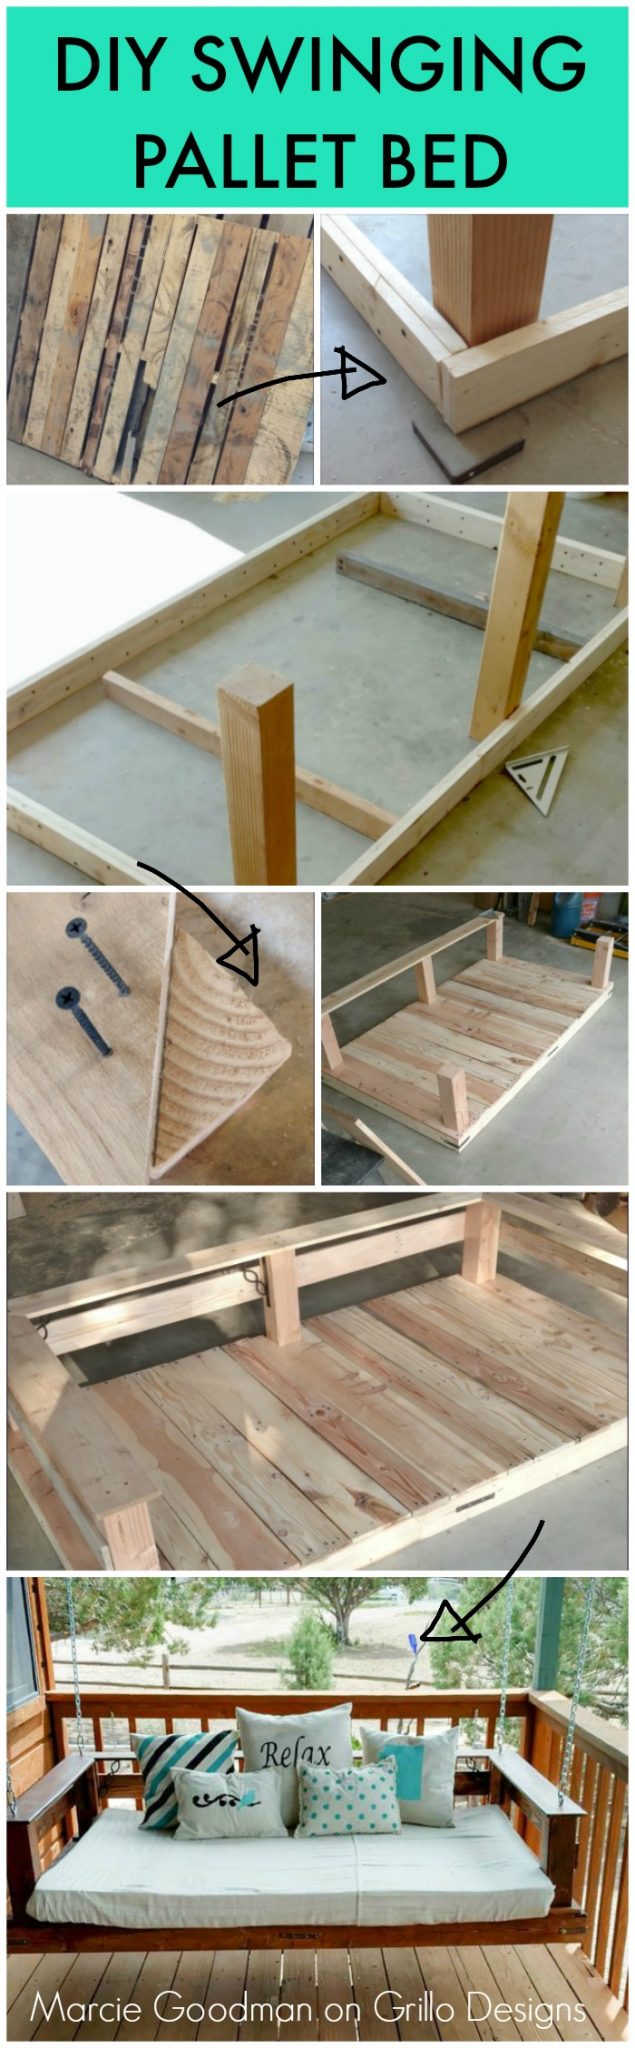
This pallet swing project was submitted by Marcie Goodman – a member of our Home and DIY Facebook group. I love that this whole swing set is made from pallets which makes this a definite DIY on a budget. You can view other pallet DIY projects on the site here – or keep scrolling to read Marcie’s full tutorial. Not that I’m biased or anything but this is one awesome and informative read! – Medina Grillo
DIY Pallet Swing Tutorial
Materials used:
Pallets
- 2 X 4’s
- 4 X 4’s
Tools:
- Drill w/ drill bits and phillips screwdriver bit
- Belt Sander, 80 grit sandpaper
- Orbital or Corner Sander, 120 grit sandpaper
- Speed Square
- Measuring Tape
- Ratchet
- Sawzall with Bi-metal Blade
- Hammer
- Wonder bar
- Nail Punch
- Table Saw
- Chop Saw
Supplies & Hardware
- Stain (I used Minwax Early American)
- Polyurethane (suitable for outdoors)
- Wood glue
- 2” Wood screws
- Lag bolts, 5”
- L brackets 4”
- Mending plates
- Spray Paint (I used hammered metal, brown)
- Decorative Brackets,
- 8 Ear plugs
- Dust masks
- Safety Glasses
How to:
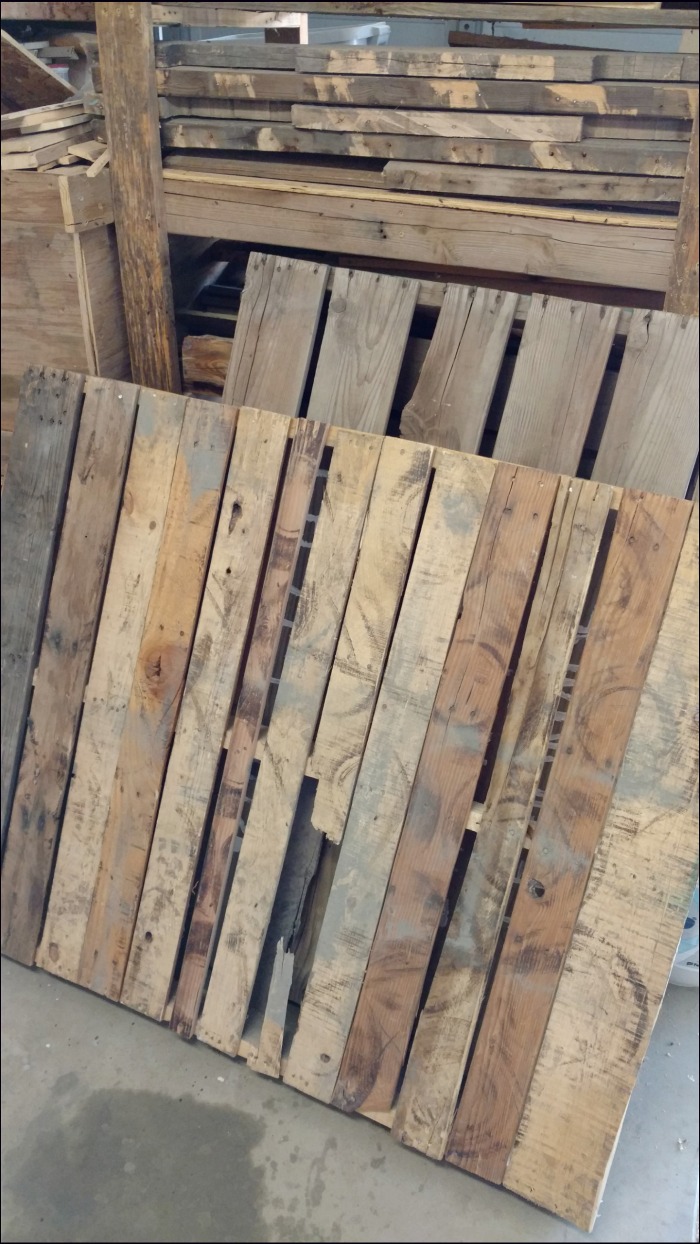
Gather pallet wood for your project and use sawzall to cut apart the pallets.Look for straight pieces of equal thickness to use for swing bed platform.(Don’t worry about dirt or grime. That will be sanded off exposing beautiful grain)
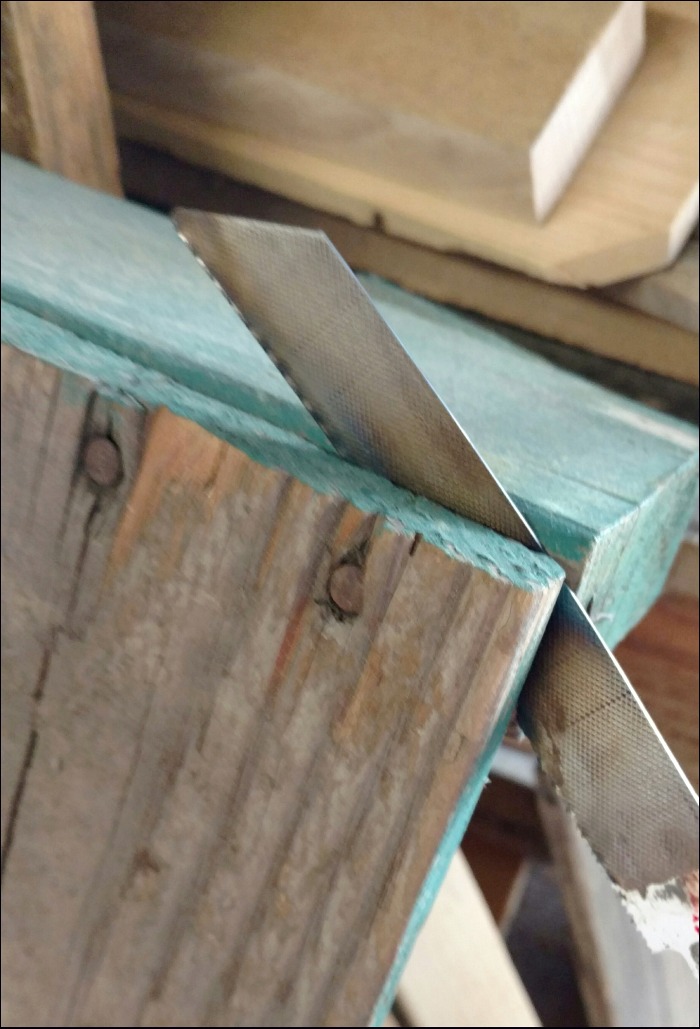
Place the bi-metal blade at an angle on nails and cut. Unfortunately, most pallets are used with screw type nails, so a hammer does little good.
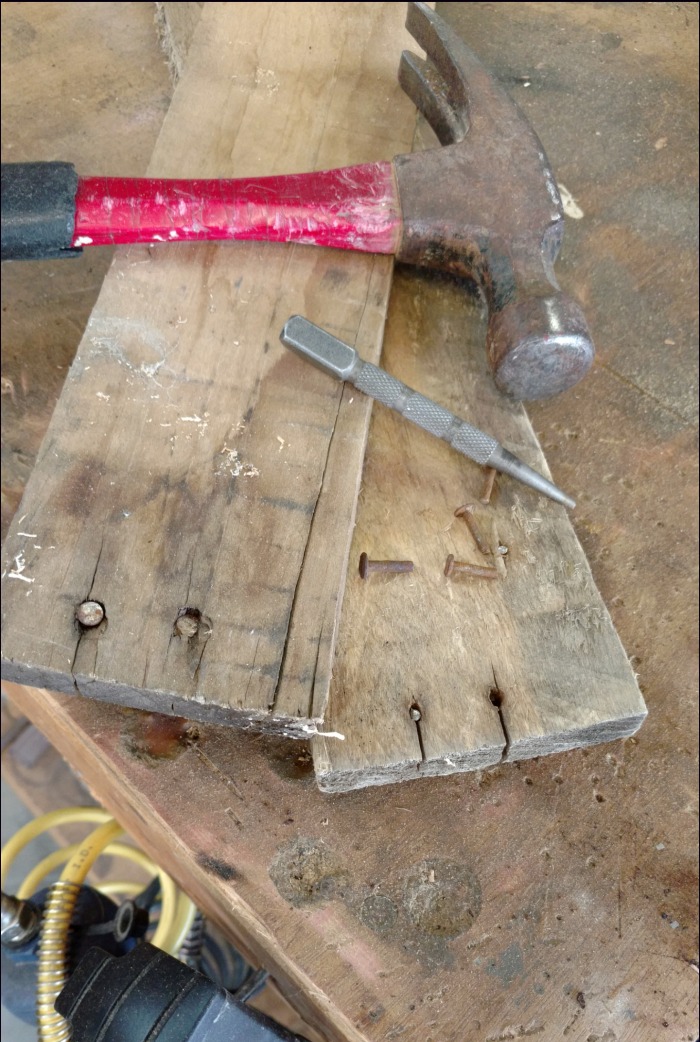
Using nail punch and hammer, drive nail heads out from the cut side.
Prepare wood for your project. This is a lot of sanding to make wood smooth enough for your swing bed. *Remember- the lower the grit number, the more aggressive the sanding will be. I start with 80 grit belt sander which will help get they dirt and grime. I finish with 120 grit pads on my corner sander. (This is a good time to paint your brackets and mending plate)
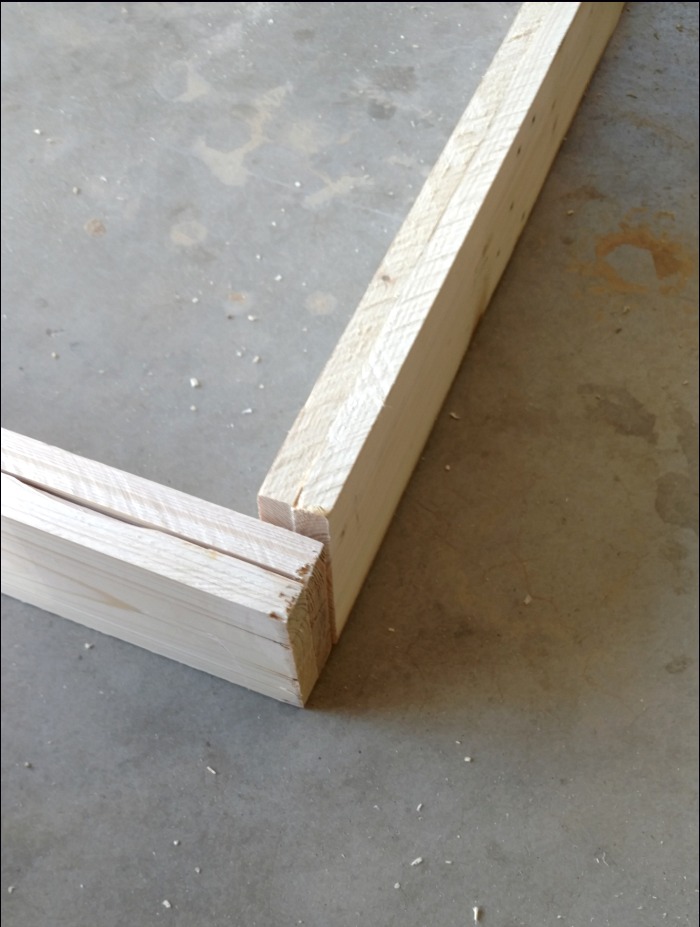
Begin your frame, keeping in mind finished project dimensions. Cut 2 X 4’s to finish length, you can brad nail if you have a pneumatic brad nailer, or make pilot holes and screws just to hold in place. (Remember, pilot holes are made with a bit smaller diameter than your screws). Glue wood before nailing or screwing
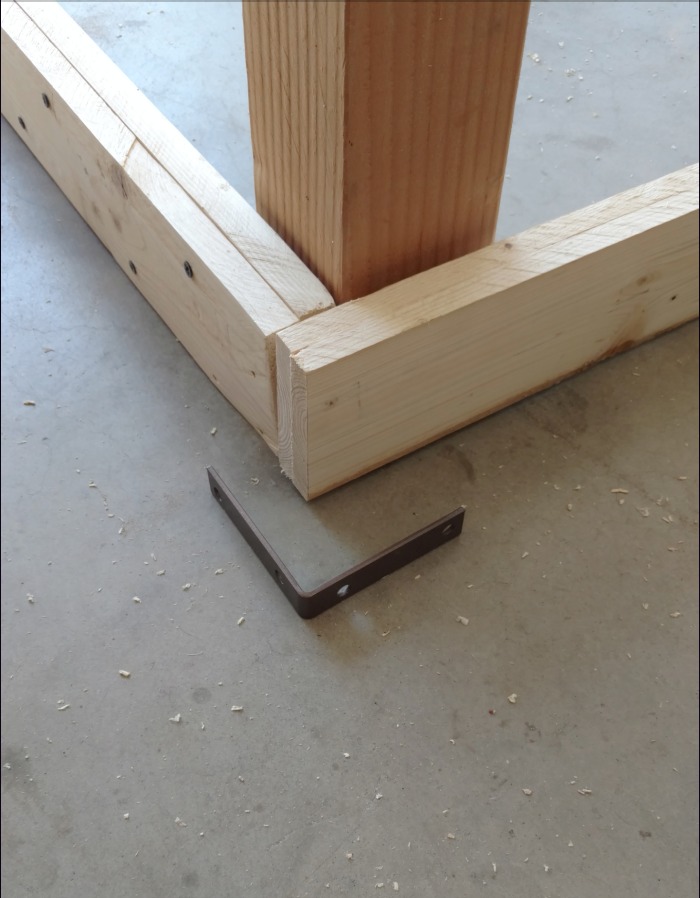
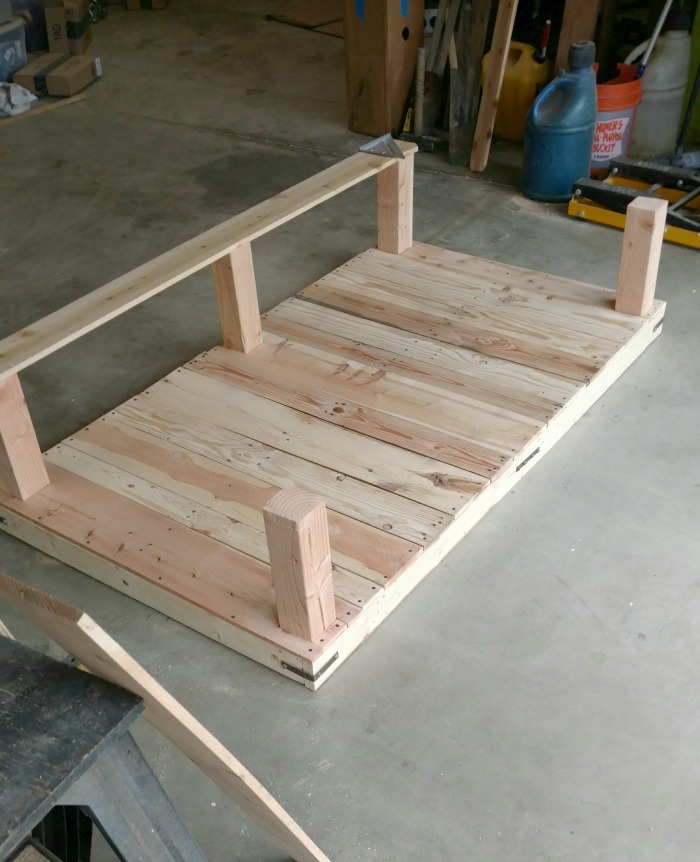
Cut 4 X 4’s into 16” lengths. Place 4 X 4 into inside all 4 corners of frame. Place 4” angle bracket halfway onto the outside of 2 X 4 and drill pilot hole thru 2 X 4 and into 4 X 4. (I used last hole of L bracket). Using 5” lag bolts & ratchet lag bolts into place. Drill another hole on other side of bracket, (I used 2nd hole this time, ratchet lag bolt).
Repeat on all 4 corners. Using sawzall, cut off excess lag bolt that punched through.
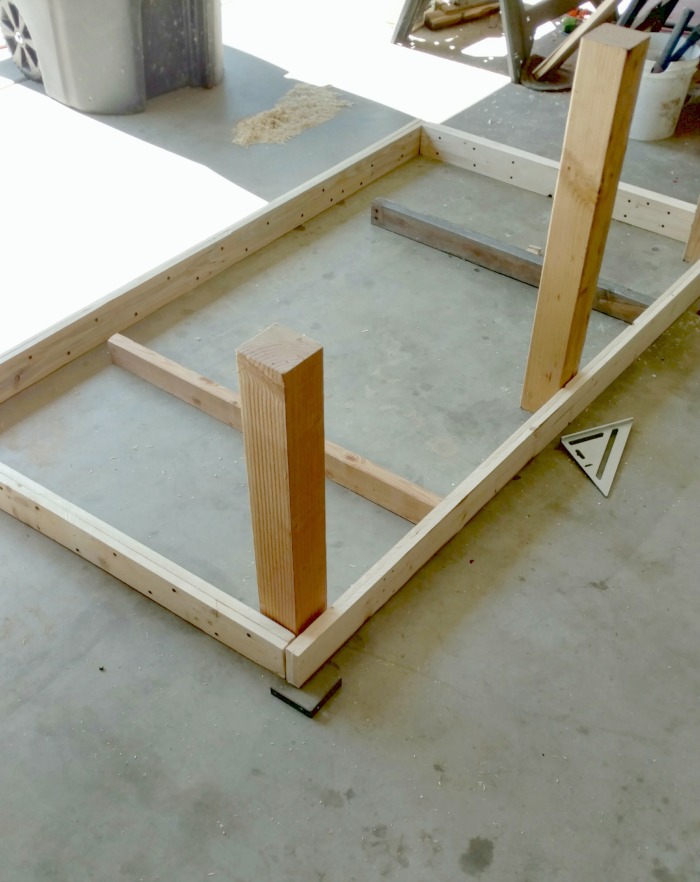
Find Center of back of swing bed, place last 4 X 4 centered inside frame. Place mending plate centered on outside of 2 X 4, drill pilot hole, and ratchet at least one lag bolt.
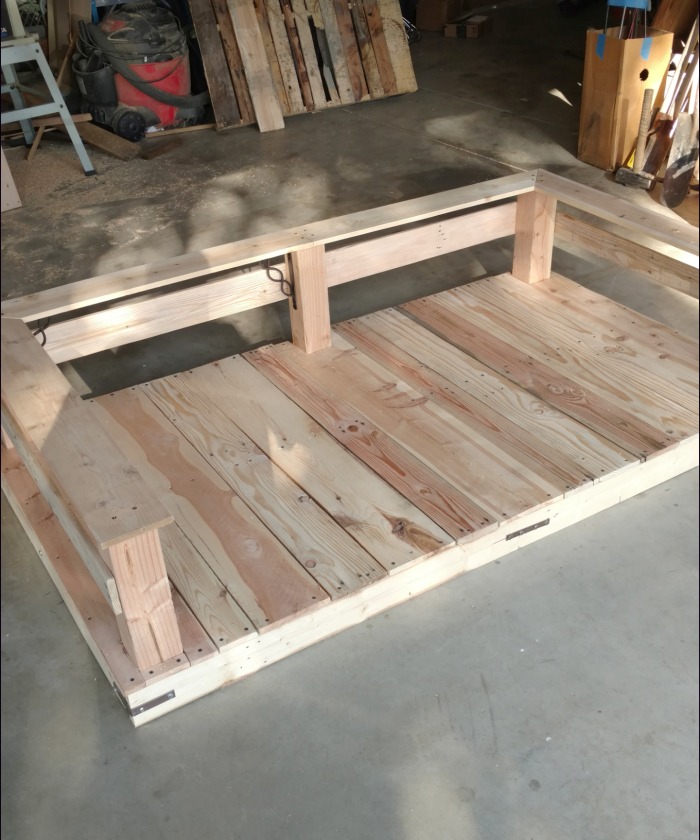
Cut 4-2 X 4’s to inside of frame width length. Place one each side of centered 4 X 4 (not shown), drill pilot, ratchet lag bolts using outer mending plate that is attached to center post. Place mending plate on front side of swing bed. Drill pilot holes using outer holes on mending plate and lag bolt the end of the 2 X 4’s onto frame. (I actually used a scrap piece of 4 x 4, cut to 2 X 4 height to be sandwiched between 2 X 4’s. I ratcheted shorter lag bolts into the two center holes into the 4 X 4)
Measure and cut 2 X 4’s to fit from center 2 X 4’s to the inside frame. these will be perpendicular to the center of center 2 X 4’s. This will provide more strength and something to screw boards to. Lag bolt them in from the side.
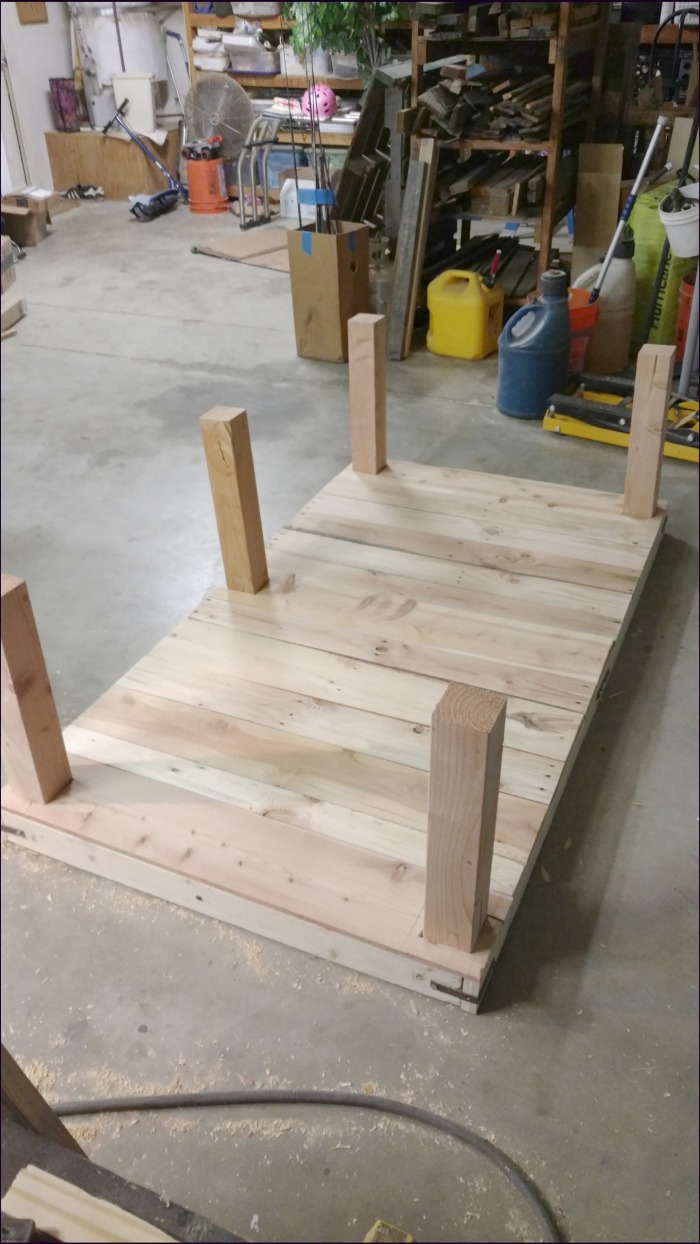
To begin covering the frame with prepared pallet boards, measure and cut pallet boards to fit the width of the frame. Begin screwing the ends of pallet boards to the 2 X 4 frame and middle 2 X 4 with 2” wood screws.
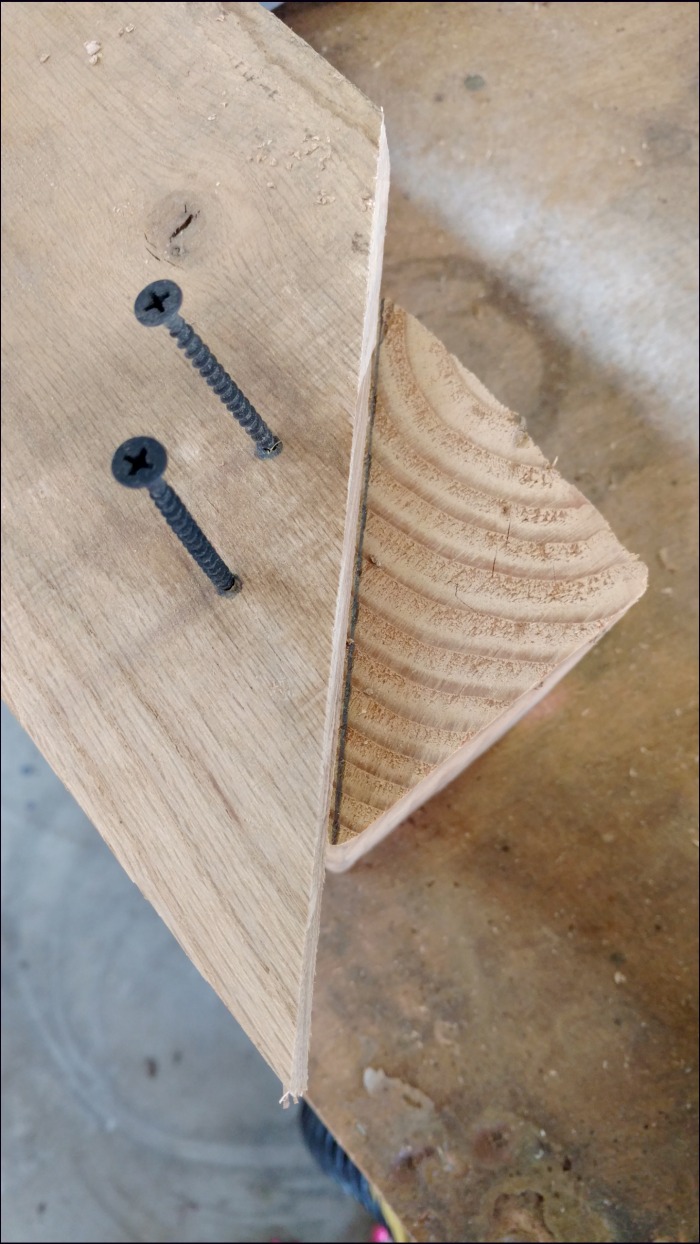
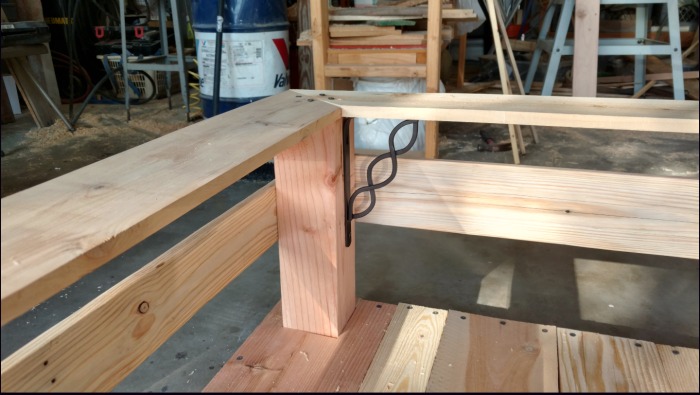
To add the top arm rests/back, measure your pallet board to be at least 1 1/2” – 2” longer to overlap in the front. Miter the other side to fit halfway on the rear 4 X 4 post. Screw into place.
Continue around the top of your swing bed.
Cut pallet boards to fit around the 4 X 4 as a midrail and screw into place.
When attaching the bottom boards, you may have had to notch around the vertical posts. Using scrap wood, measure and miter pieces to trim out around the posts. Screw into place.
Sand all edges to remove all sharp edges. Stain with brush, or roller. Apply polyurethane according to instructions.
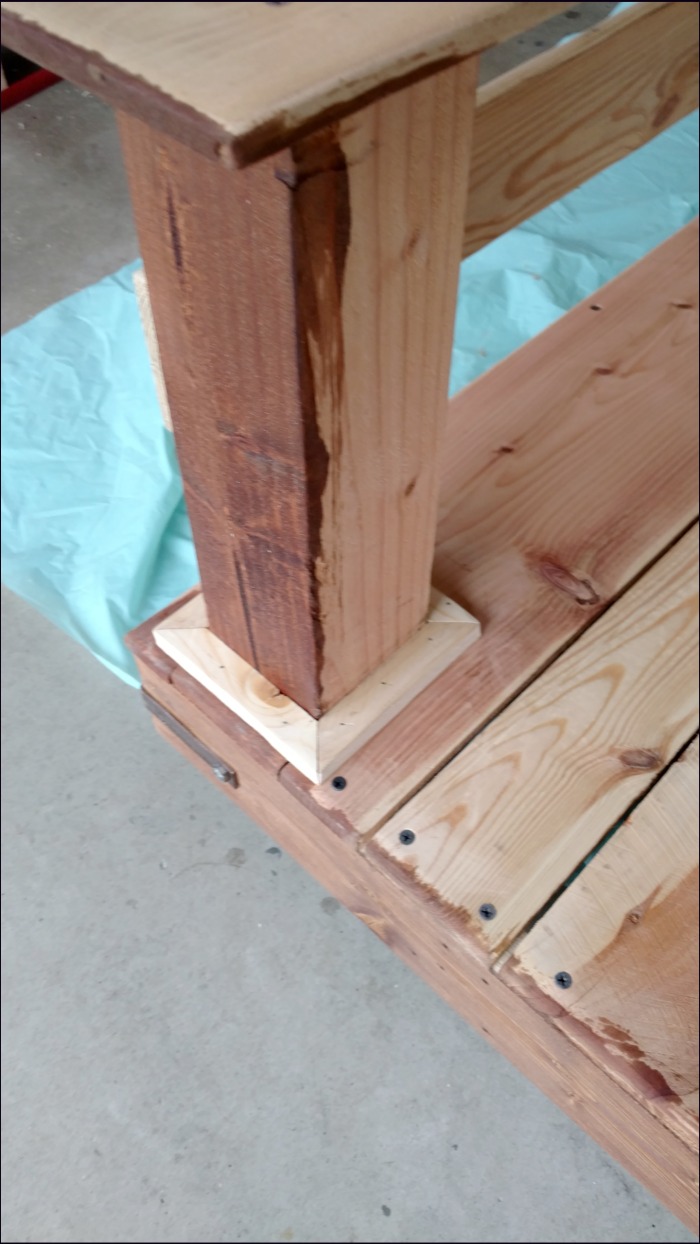
After dry, place decorative brackets. Touch up Lag bolt heads with your spray paint. ( just usually spray some on paper and use an artist brush to paint it on.)
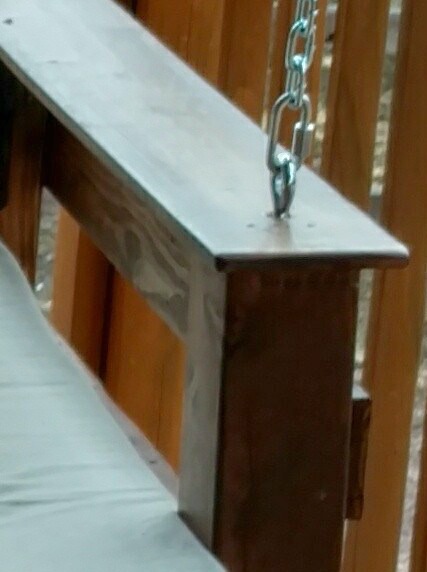
On top of the armrest, over the 4 X 4’s, drill pilot hole and screw in a screw eye, so you can attach a chain or rope. PLEASE check with hardware store for chain sizes, screw eye and chain connector D ring for strength and compatibility.
**Wood Glue: Use wood glue on all pieces that you will be bolting or screwing.
Add foam pad with a cover. (I ordered a 2” king mattress top and cut to size I needed. Add pillows.
Enjoy

SAVE IT TO PINTEREST:
Hi! The swing bed looks awesome! I was wondering what size mattress you used since the 4x4s are inside the frame.
Awesome