Hi there! Join Grillo Designs on Instagram and Pinterest to keep up with our latest posts and ideas. If you’re on Facebook, why not join our Home decorating, Upcycling and DIY group too – inspiration is guaranteed!
Submitted by: Jill Andrea from Reimajine
Materials used:
Pair Of Antique Doors,
lumber,
CeCe Caldwell’s Paint,
Crown Molding,
Luann Plywood,
Burlap Fabric
How to:
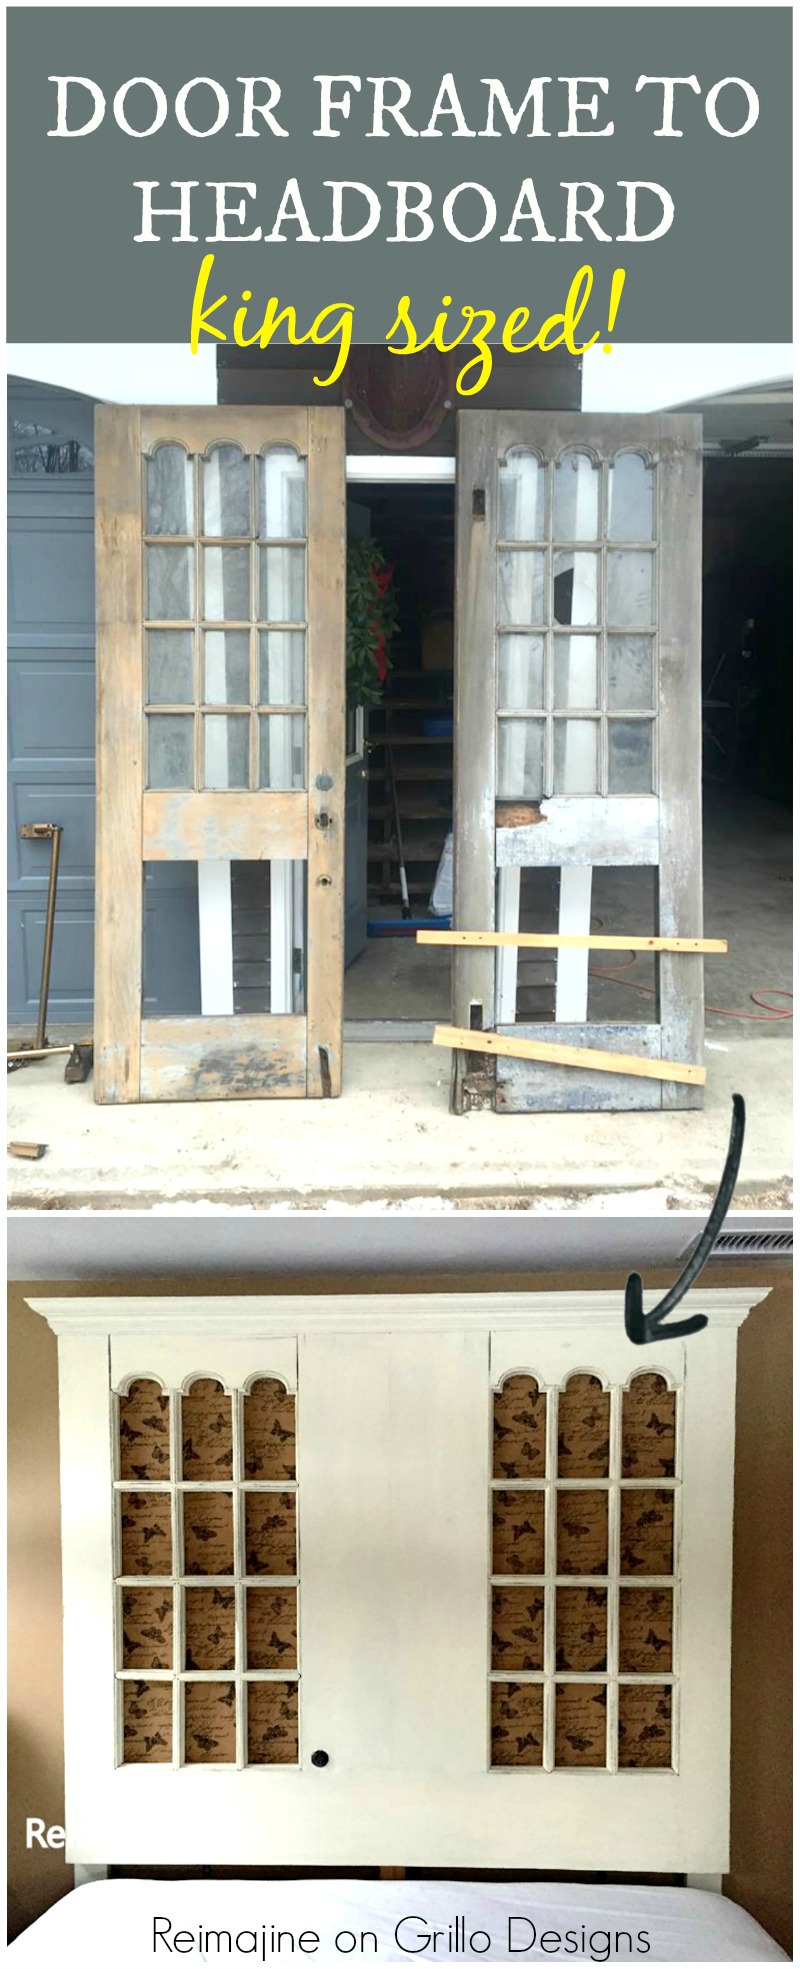
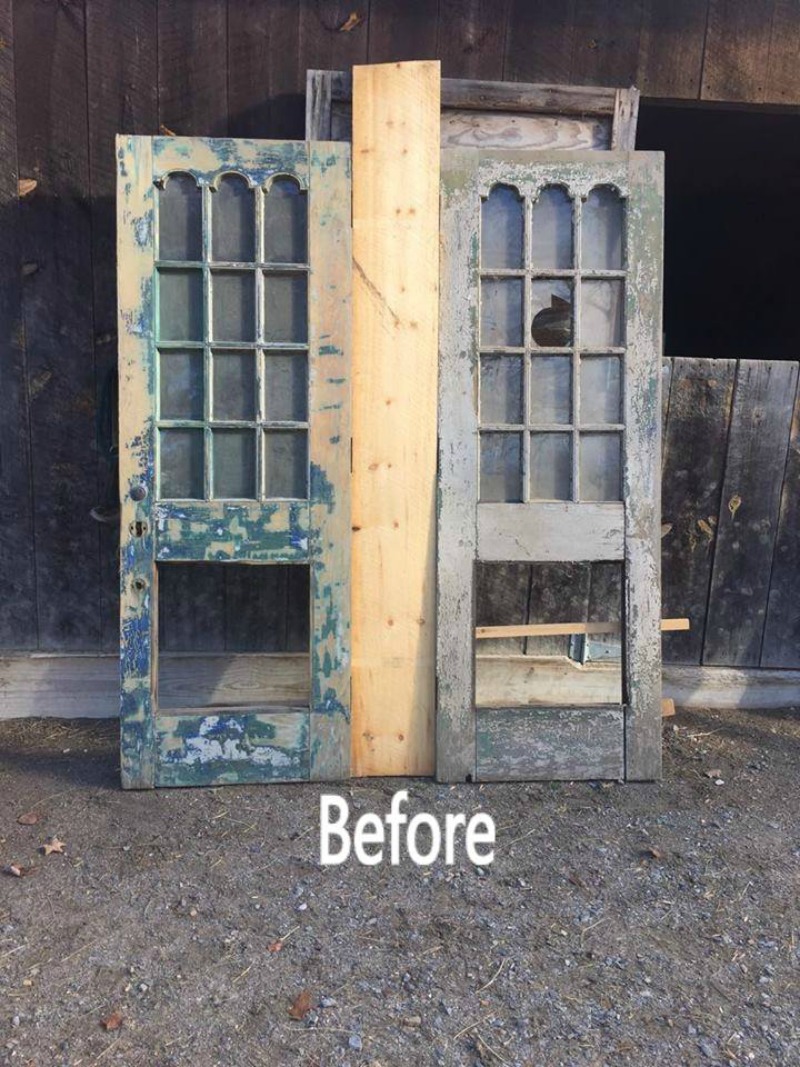
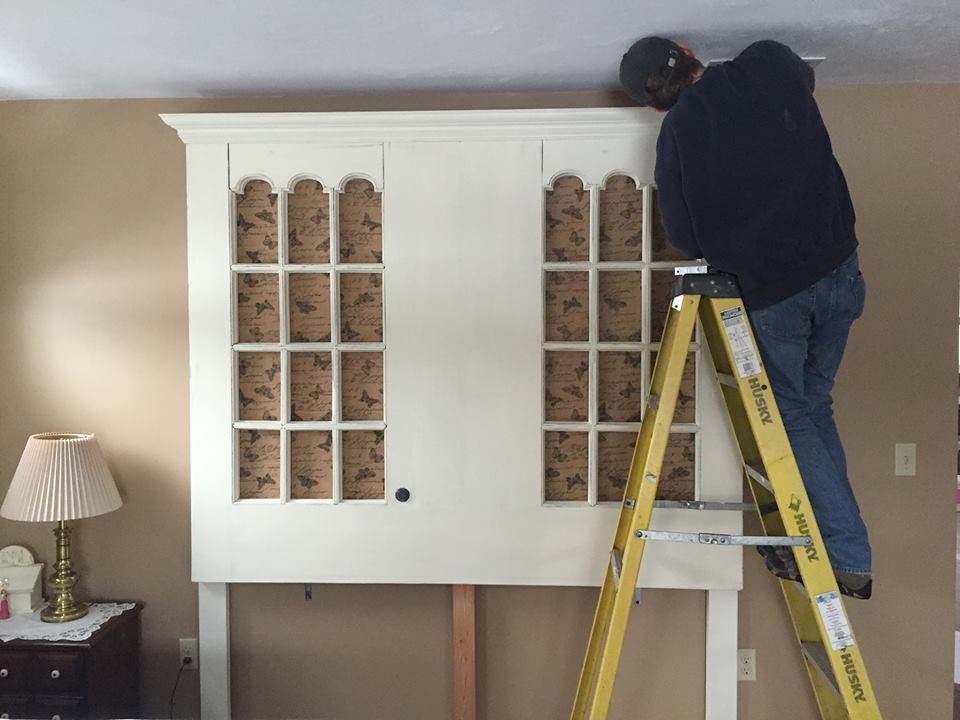
We started with a pair of matching antique doors.
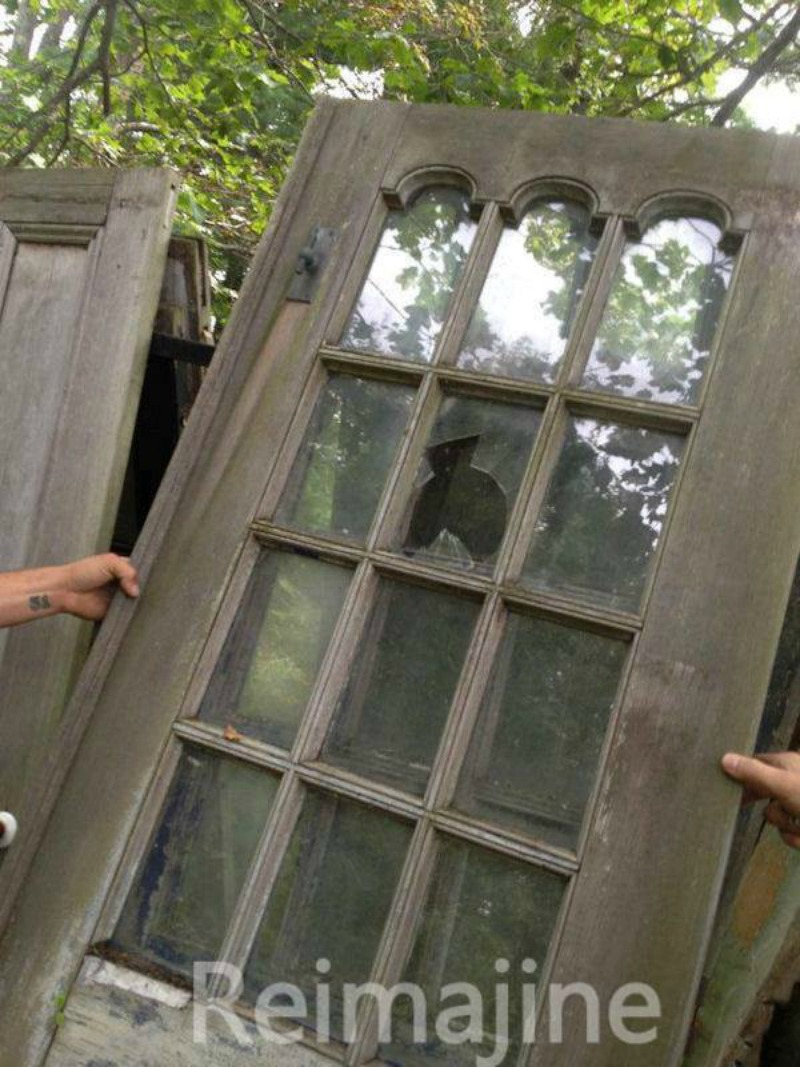
We had to remove the existing paint ( always take care when doing this as more often than not your dealing with removing lead paint) The bottom of the doors were rotted but that was okay we only needed the tops for this project.
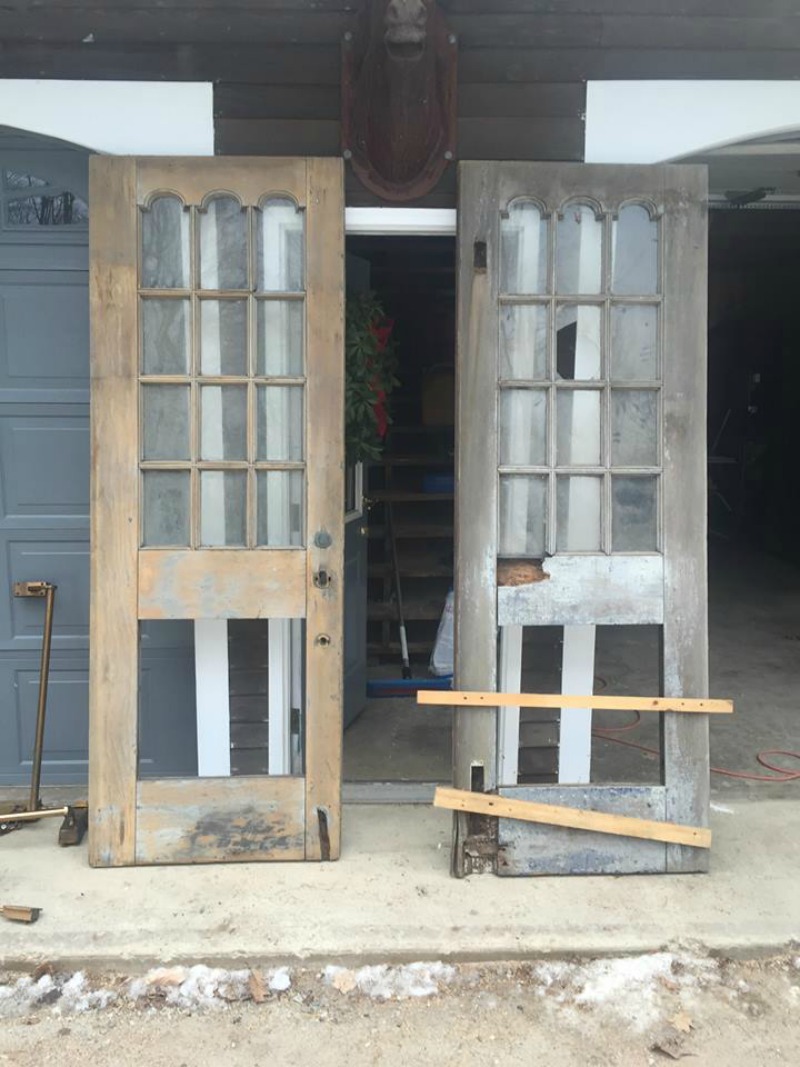
We cut the bottoms off both doors just below the end of the glass panes. Because the doors were only 32″W each we had to add an additional 12″ to the center of the doors to get the 76″ of width we needed for this king size headboard.
We also added a 10″ piece of lumber along the bottom of the two doors. This served two purposes it was another way to secure the doors together and would increase the height of the headboard so the pillows and shams wouldn’t rest against the glass openings.
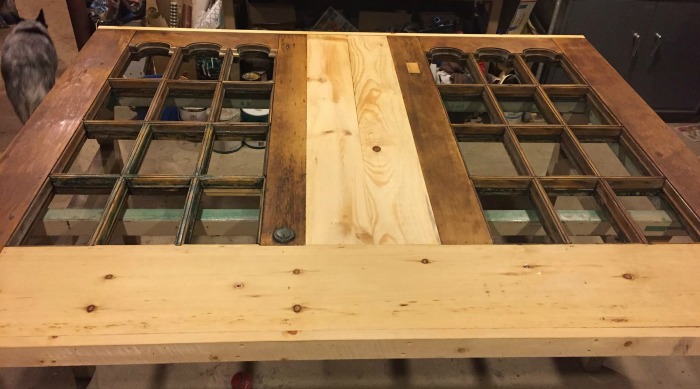
We used biscuits, glue, nails and screws to join the doors to all the new lumber. Now that the doors were all secured together we could remove the existing glass. We made the decision to remove the glass for safety reasons most of the pointing was lost and the glass really wasn’t secure in its individual slots.
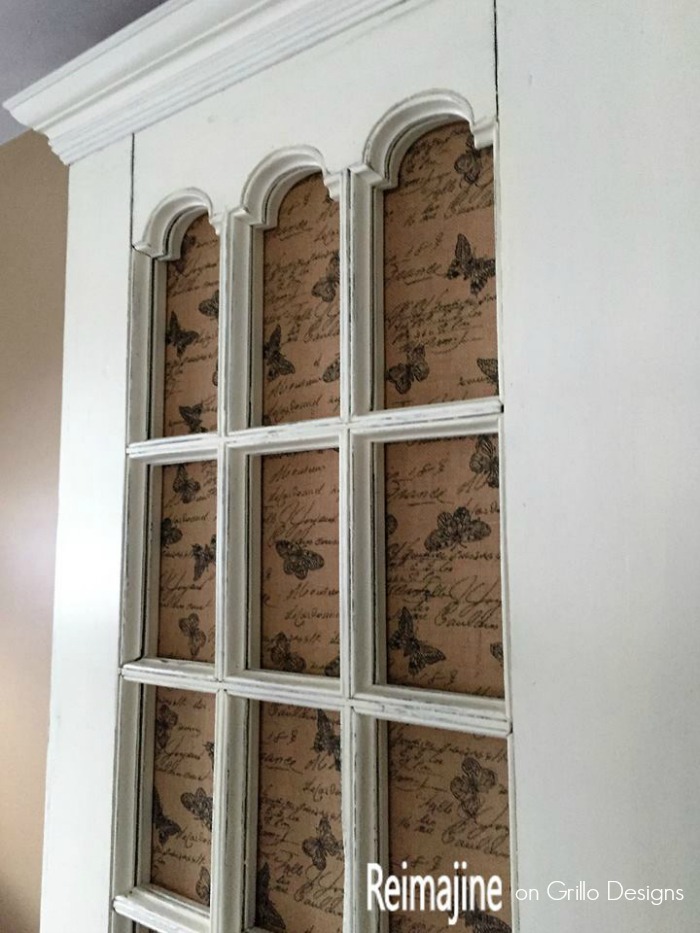
So now we had the base of the headboard finished and ready for paint. We used CeCe Caldwell’s Paint in Vintage White for this headboard.
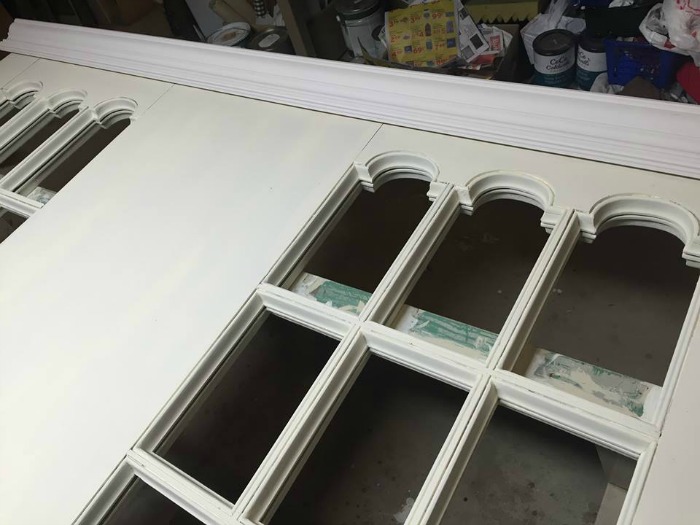
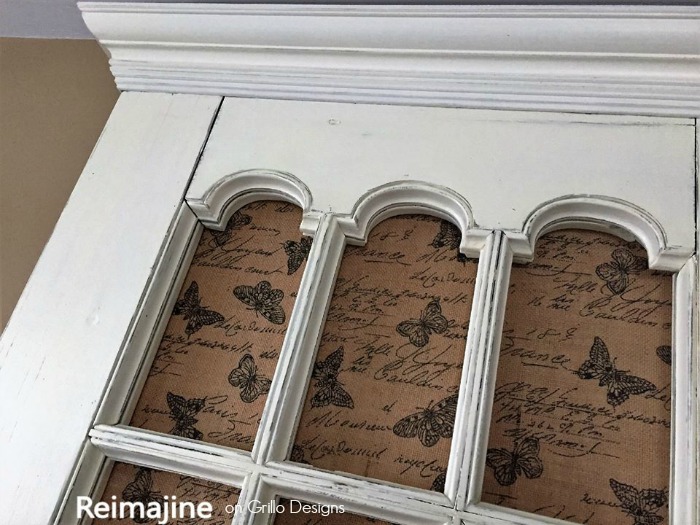
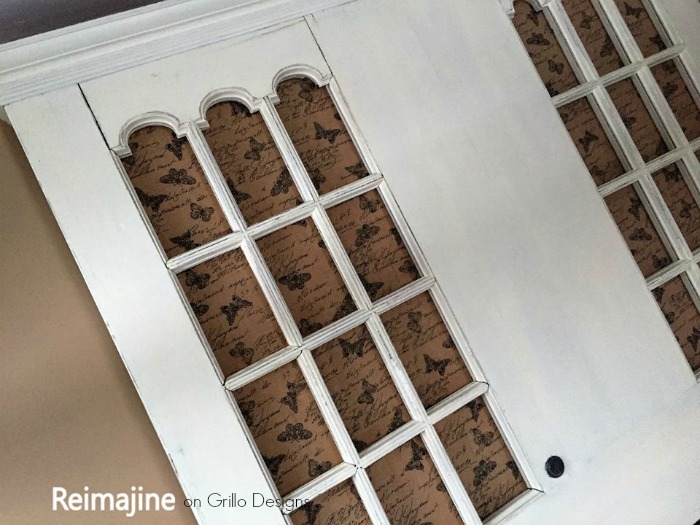
Once the paint was done we chose a crown molding to top off this king size headboard. We thought it was fitting a crown for the King lol We chose a composite crown molding for this project. At this point the weight of the headboard was pretty significant and we we didn’t want to add to that. We then backed the window section with a burlap fabric. We first wrapped the fabric around two individual sheets of luann plywood then attached it to the back of the headboard. The plywood gives the fabric more stability.
Last is to add the “legs” . Due to the weight and height (a whopping 91″T) of this headboard we not only added three “legs” to this piece but secured it to the wall with L brackets into the studs as well.
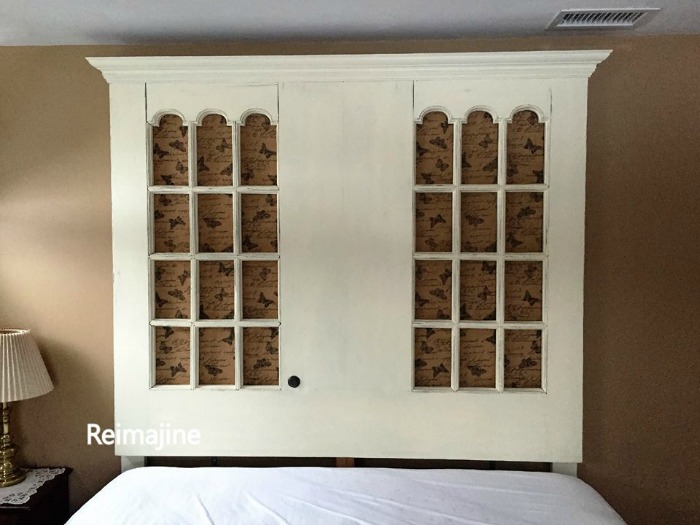
And there you have it a head board fit for a King well at least a king size mattress 🙂
If you would like to see more of my husband and I’s work, you can find us here;
Website: http://www.reimajine.com
Recent posts on Grillo Designs:
Jill Andrea at Reimajine
We are a husband and wife team that are passionate about breathing new life into anything old and discarded. There is also a strong possibility that we are hoarders lol. Ron is a master carpenter jack of all trades. I’m the dreamer/visionary. As a team we are able to tackle just about any project.
If you have any questions for Jill or would like to share your thoughts on this project, please leave a comment below. If you would like to see more of our group members projects click here. To see Grillo Designs projects click here.