Hi there! Join Grillo Designs on Instagram and Pinterest to keep up with our latest posts and ideas. If you’re on Facebook, why not join our Home decorating, Upcycling, and DIY group too – inspiration is guaranteed!
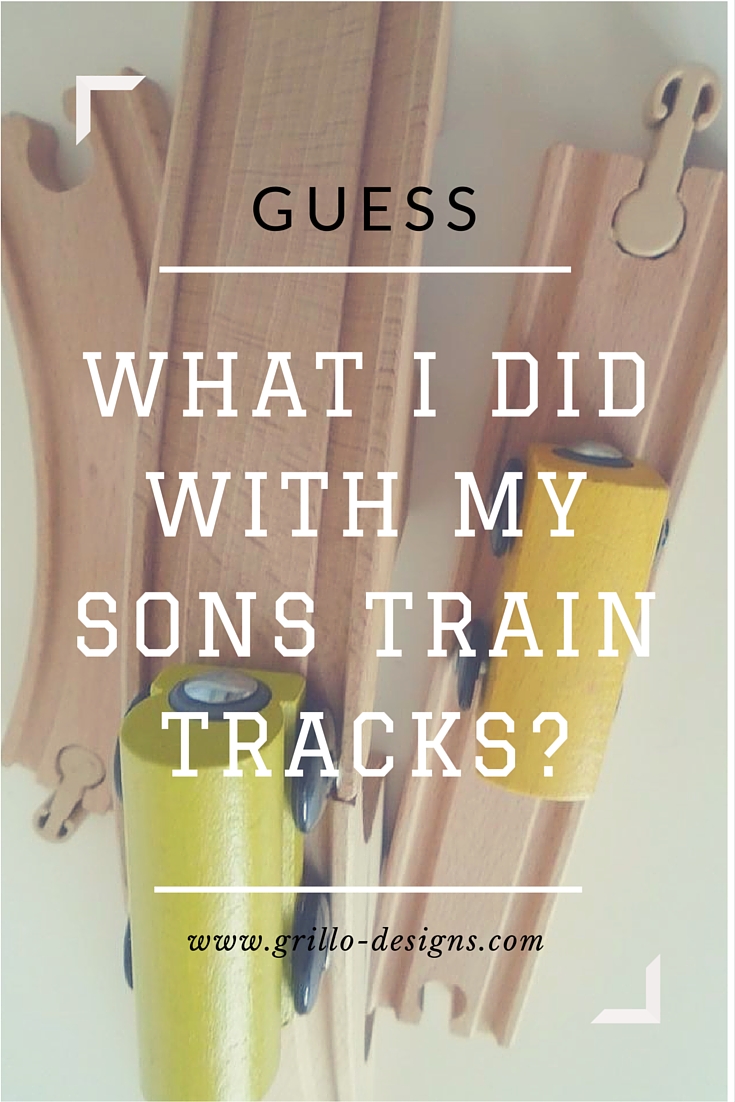
Over the months, my son had built up quite a collection of train tracks but then for some reason suddenly lost interest in them! For a long time, they stayed packed away in our storage bedroom.
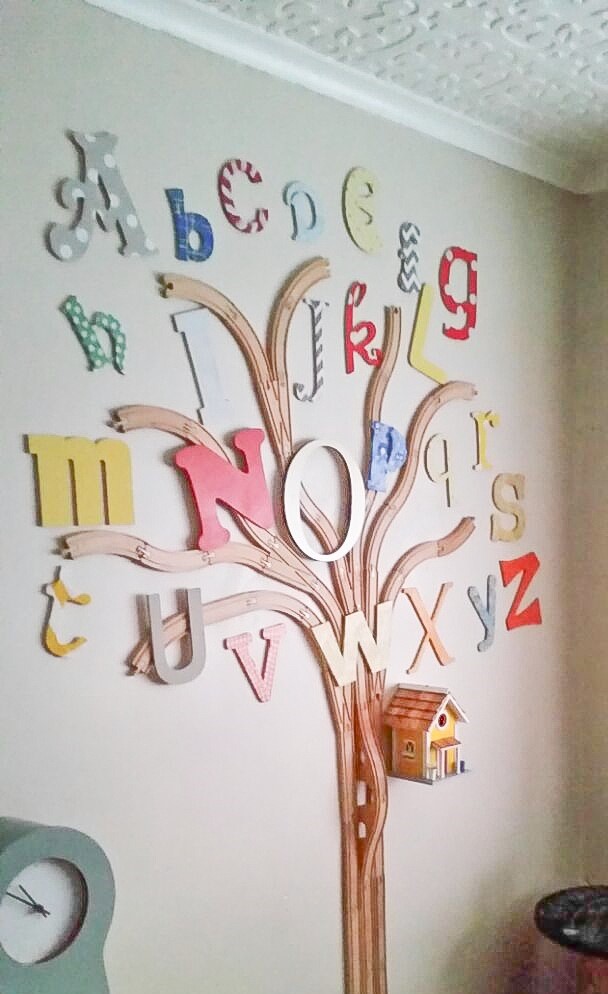
The idea of placing train tracks on a wall was inspired by two photos I had seen on Pinterest. The first being a photo from MOMMO DESIGN. Originally I had wanted to create a tree out of MDF wood and used it as a bookshelf, but scrapped the idea when I realised it would require a lot of work and planning. This is what I ended up with!
Materials used to make this Track Tree:
Affiliate links used, please see full disclosure here
- Blu-tack or you can even use command strips
- 3 x IKEA LILLABO train tracks. You can also browse places like eBay, by searching ‘wooden train tracks‘ if you are looking for certain parts that you don’t have
- Wooden alphabet letters. I actually bought mine as a set from a UK supplier on eBay, but he no longer sells them. However, a similar set can be found on Amazon here.
- Assorted decoupage paper, acrylic paint, and fabric remnants to decorate letters
- Modpodge glue
How to:
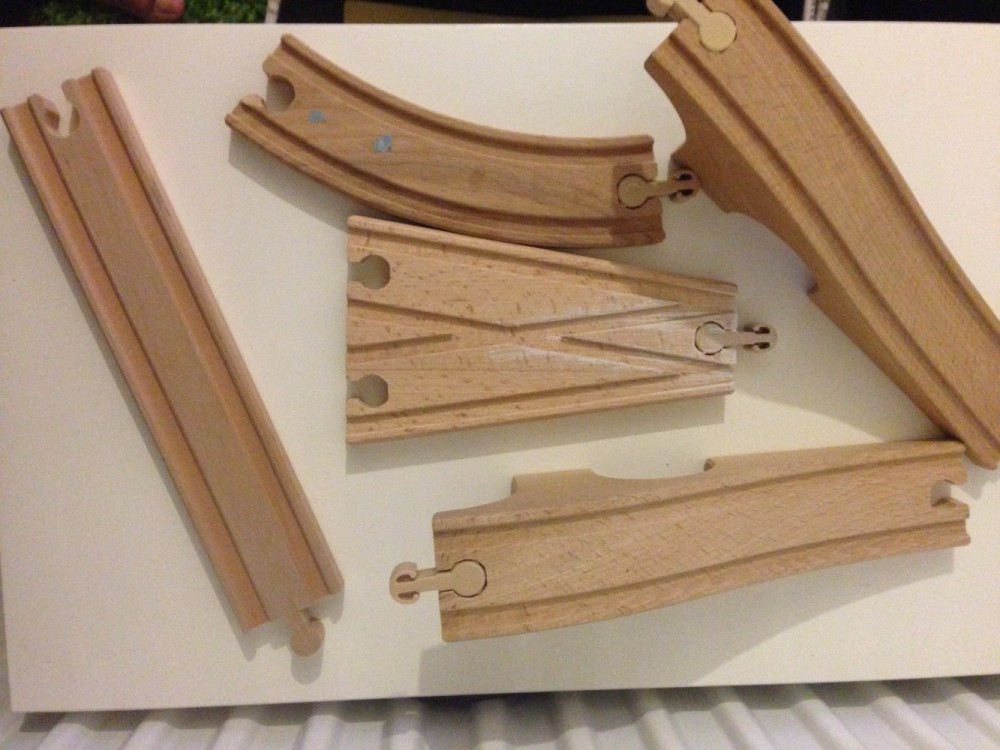
These are the four main tracks I used to create the tree shape. As long as you have a variety of these 4 pieces, it’s all plain sailing from here.
- Bridge tracks
- Straight tracks
- Connecting Point tracks
- Curved tracks
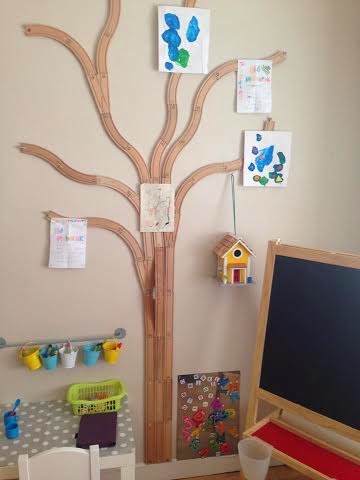
First I attached the blu- tack to the back of the tracks. Starting from the floor skirting board, I worked my way up the wall using the ‘straight’ tracks – making sure to place three tracks close to each other to create the thickness of the tree ‘bark’.
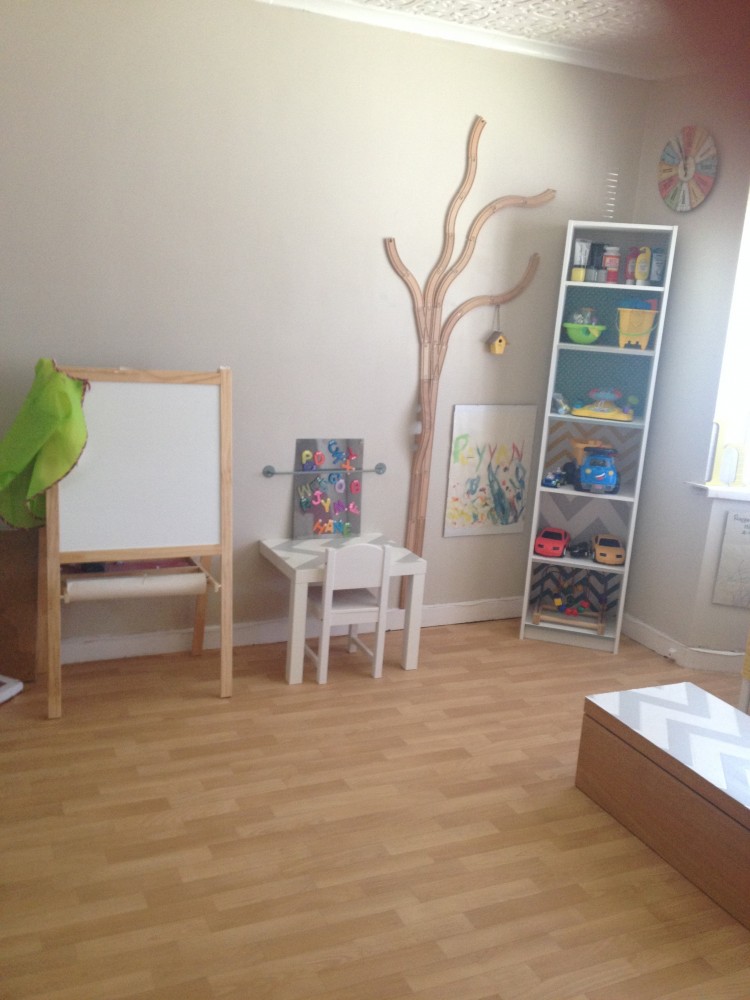
I kept going with the ‘straight’ looking tracks up the wall until I reached the height I wanted. When I got to the middle I then added the bridge tracks to the middle of the bark to allow the tree to branch out
I then started to use the ‘curved tracks’ to create the effect of branches. This can be designed any way you want but I stuck with the rule: one track facing inwards and the next track facing outward.
I used the tracks with two connecting points to make even more branches from one line of tracks. I had a go at this tree three times before I was happy with the end results. The first tree looked like this…
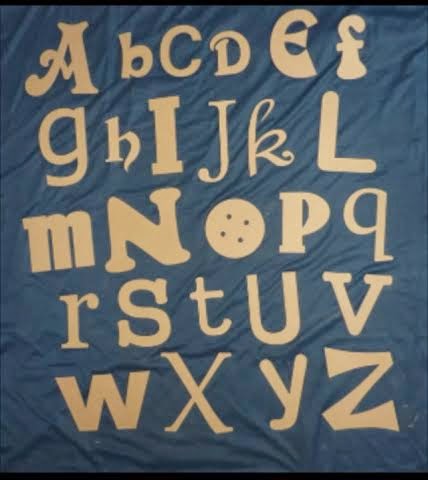
Here are the alphabet letters that I bought as a set, off eBay (you can find similar ones here)– I decorated them with fabric, paint, and decoupage paper. I had a helping hand from my friend with this part. We used the Mod Podge glue to stick it all down and also used it as a sealant to protect the letters. It took quite a while to decorate all the letters, so I’d suggest buying ready-decorated letters if you want to save time.
The last step involved arranging all the letters around the tree. I managed to place the whole alphabet around the tree in four rows. I needed it to have some sort of order to it so my son would be able to engage and learn from it.
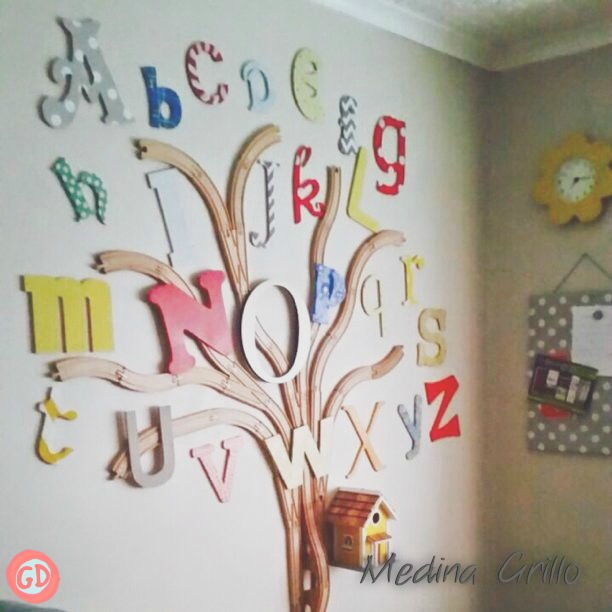
Again I used blu- tack here to stick the letters to the wall. I did originally plan to use nails to keep everything in place, however, the blu-tack worked really well so I decided to leave it like that.
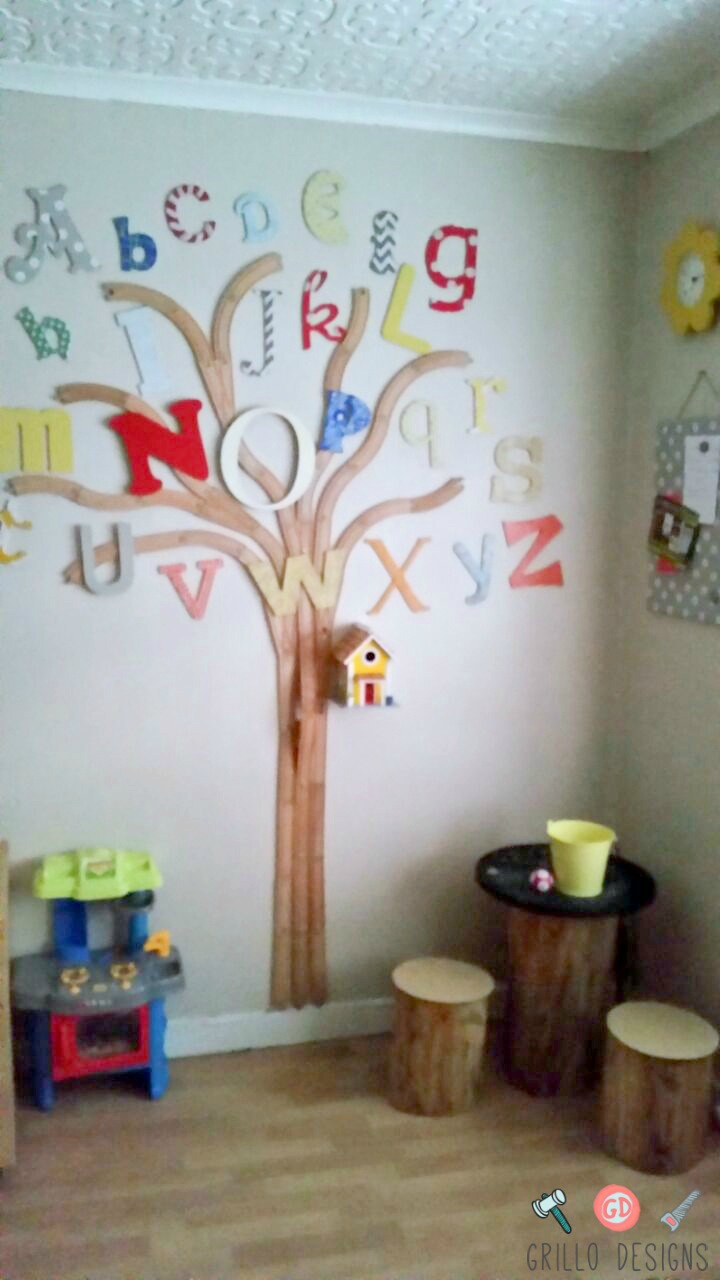
What do you think? Be sure to leave me a comment below – I love hearing your thoughts! Also apologies for the crappy photos, I had just figured out how to use my cheap camera phone at the time haha!


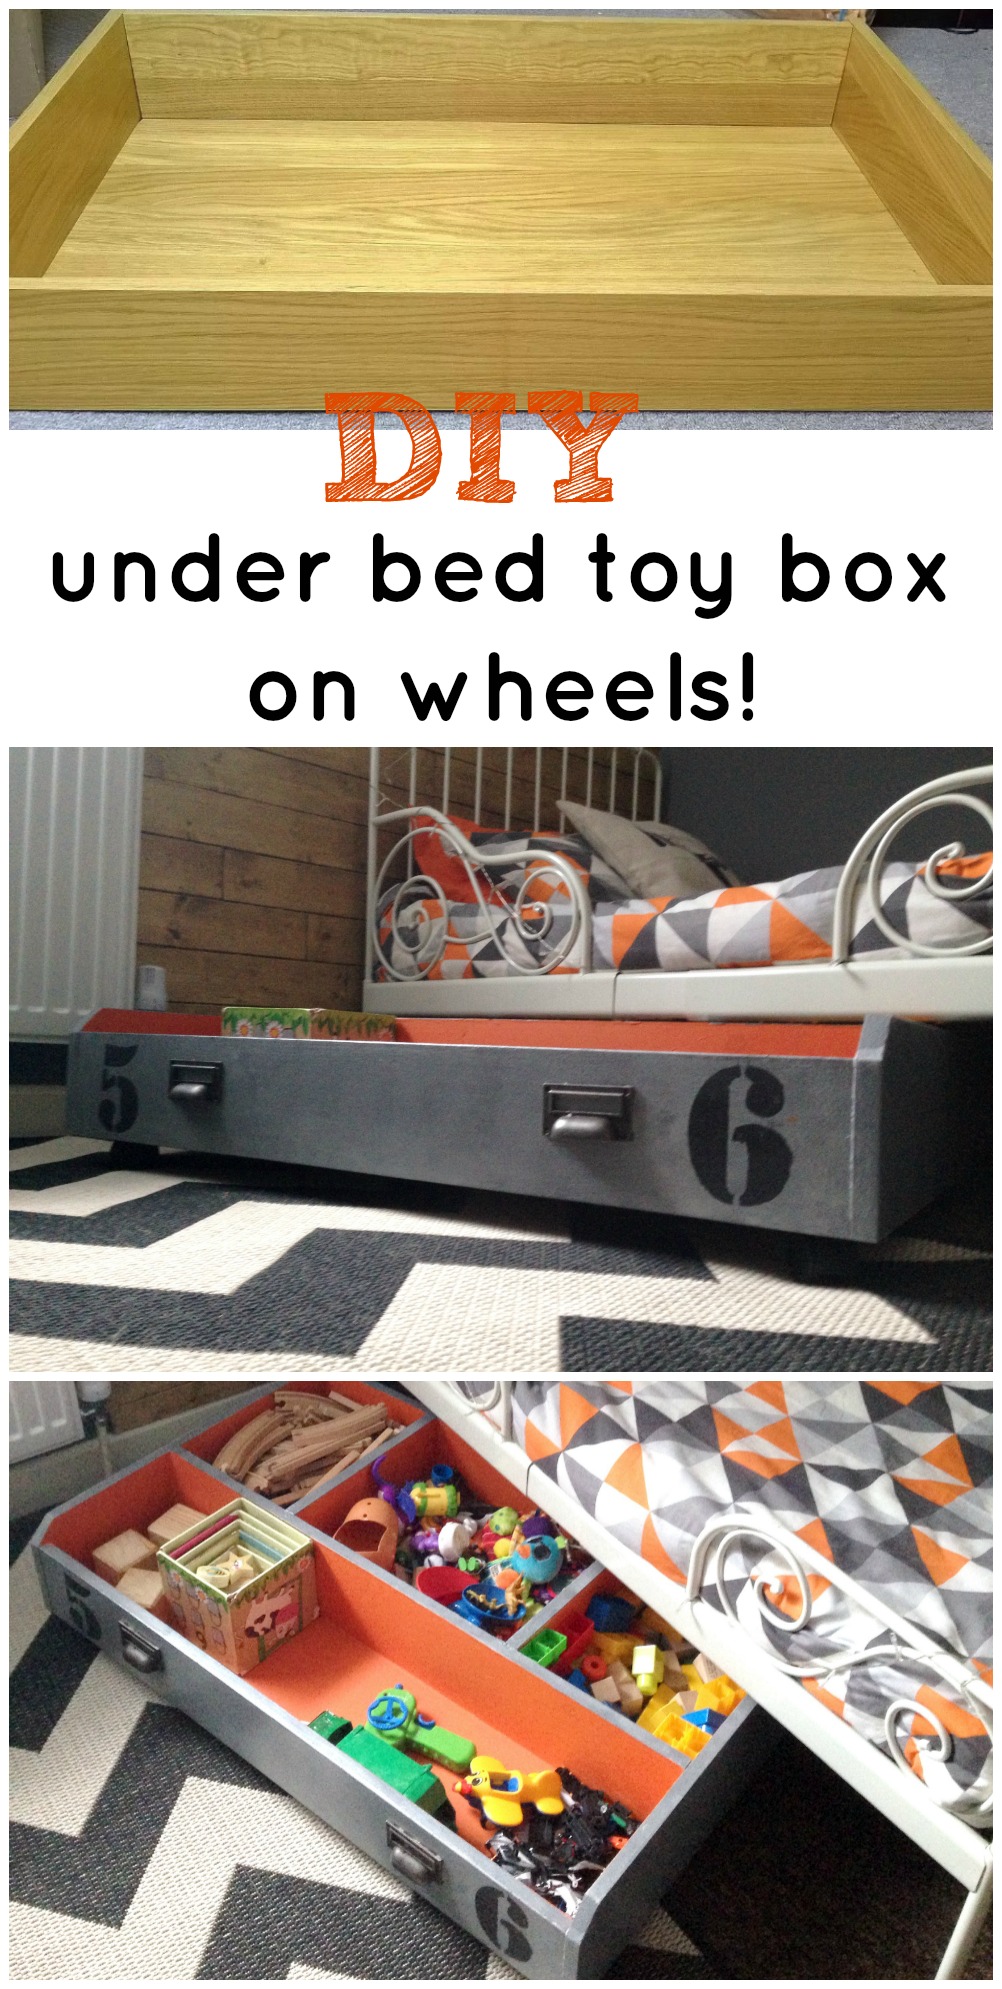
DIY IKEA PAX DRAWER TO UNDER BED STORAGE BOX
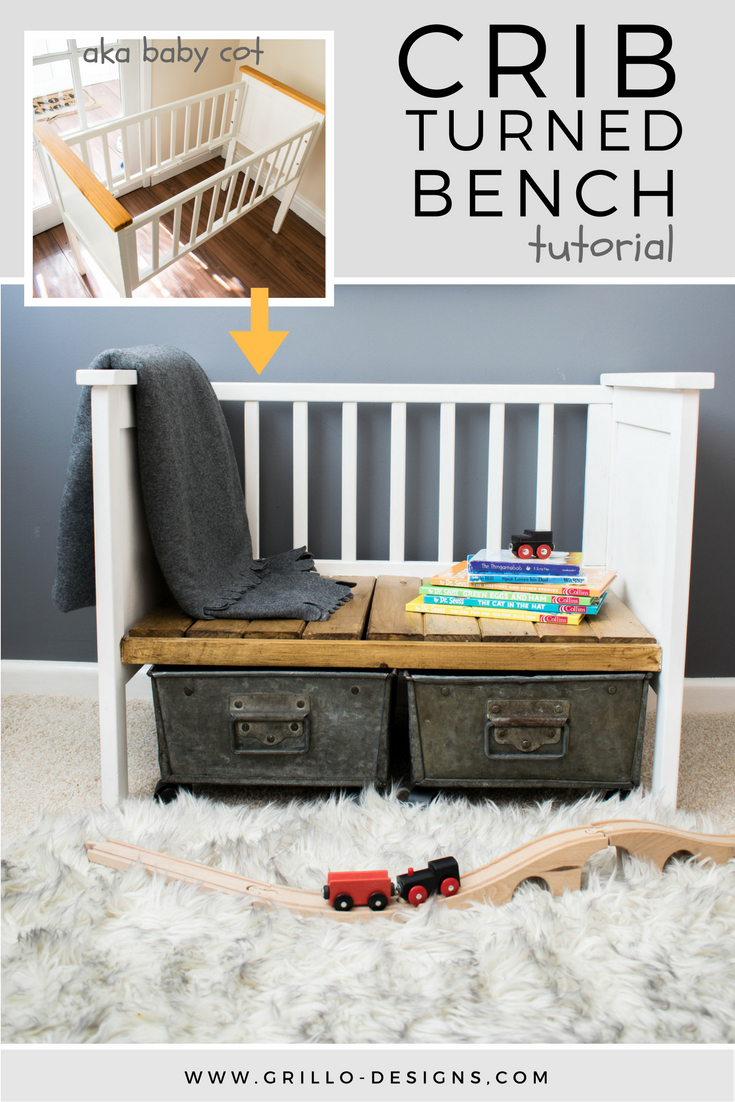
FROM CRIB TO KIDS READING BENCH
Don’t forget to join the Grillo Designs Private Facebook groups below for more inspiration!
Do you have an approximate size of this? Trying to figure out which wall to put this on?
This is an amazing idea. Wonderful job! I wish I had read this before I donated all my son’s train tracks.
Thanks Patricia! It was so fun to make 🙂
This is awesome! Such a clever idea and you it looks wonderful in the room.
I love this, Medina! It also reminds me of the alphabet story “Chicka Chicka Boom Boom”. The theme is wonderful. Very creative!!!
Wow this is absolutely fabulous. It looks incredible! X
Wow this is absolutely fabulous, would never have thought this idea, looks amazing.
Hugs Erin xx
Wow this is fantastic love it what a lucky child you have loved the picket fence there too xx
What a wonderful idea! I love this! Perfect for decorating a kids room 🙂
http://www.ikiwn.com
Wow this is so creative, and I love it. I would not have the imagination to think of this, amazing job hun xx