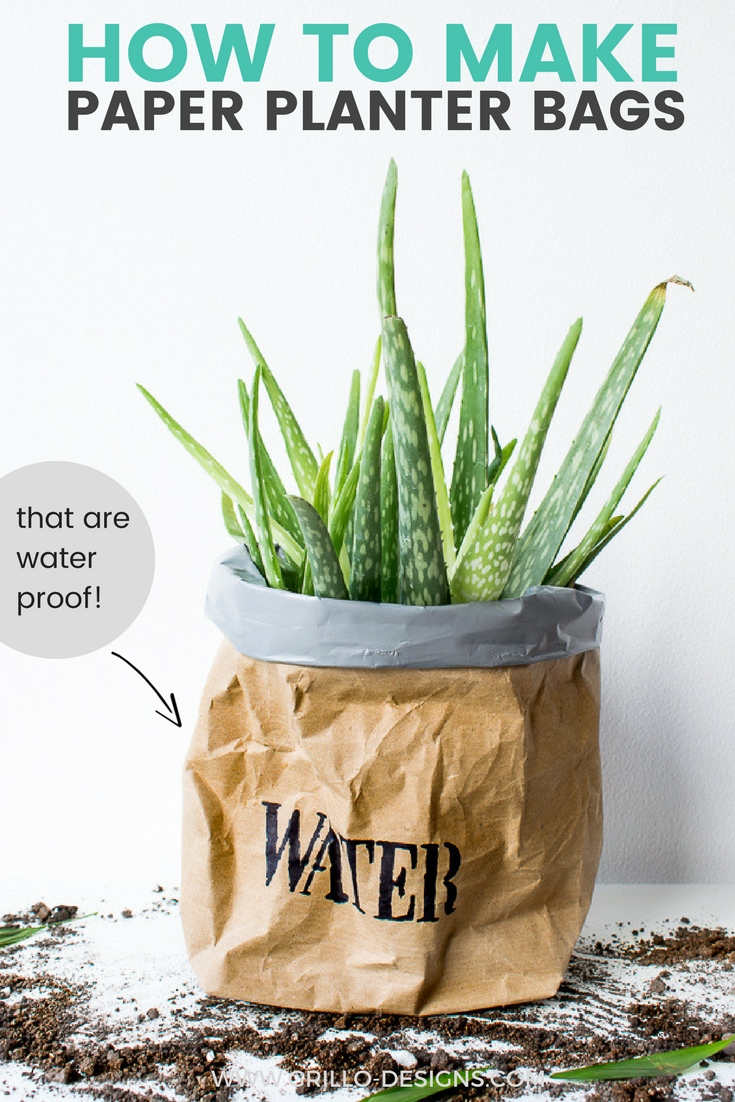
Learn how to make a durable waterproof planter bag from Kraft/Packing paper!
[Psst! Join me on Instagram to keep up with all my behind the scene shenanigans!]
………………………..
There are three things you should probably know about me.
- I use exclamation marks way more than I should!
- I love IKEA to infinity and beyond
- I move homes – quite often. Hence the endless supply of cardboard boxes, bubble wrap and packing paper (aka kraft paper) you might find in my spare room. Oh and I’m also pretty hopeless at keeping plants alive – although, my luck might be changing with that one….
Well ok…. four things then.
But coming back to the packing paper thing, I really do have rolls of it packed away in storage. Which is super handy because I happen to really love the stuff!
Aside from it’s most obvious function (wrapping fragile items for parcel travel if you didn’t know), kraft paper is great for doodling on and for …. making planter bags! Especially water proof ones like these below!
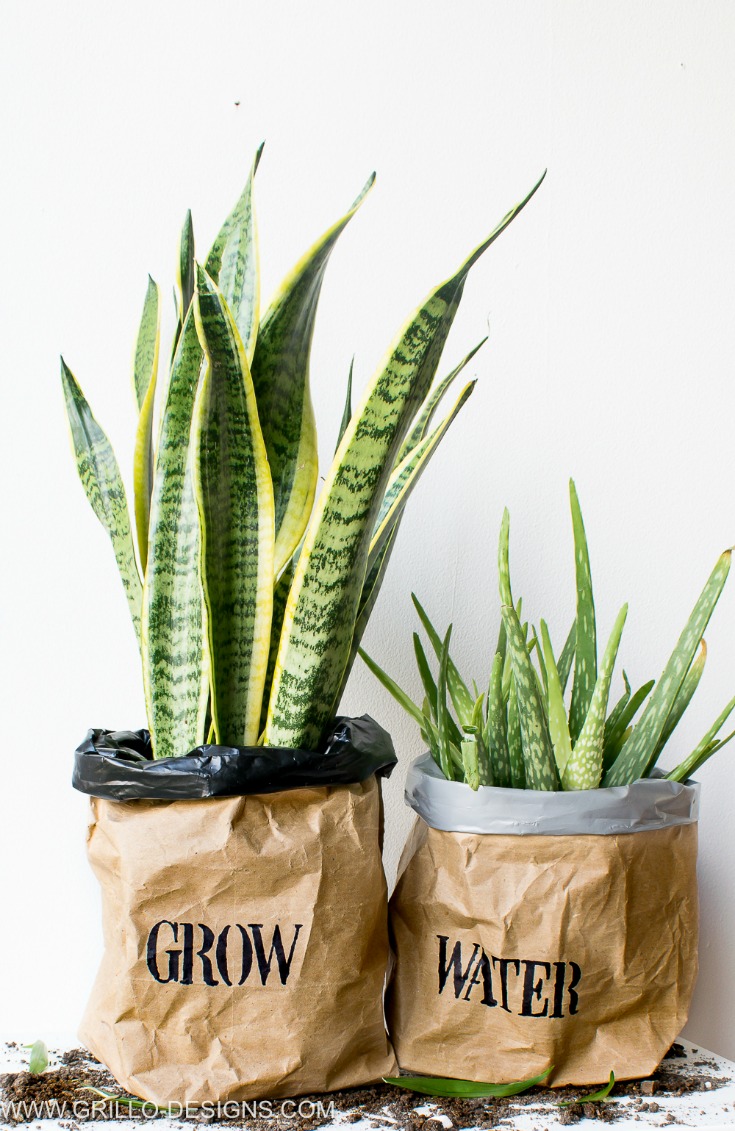
You can actually purchase washable brown paper on Etsy? You know, the kind that doesn’t immediately turn to mush when you water your plants, but will cost you an arm and a leg to buy? My planter bag idea however is a much cheaper alternative. I’ll show you how, because Im good like that 😉
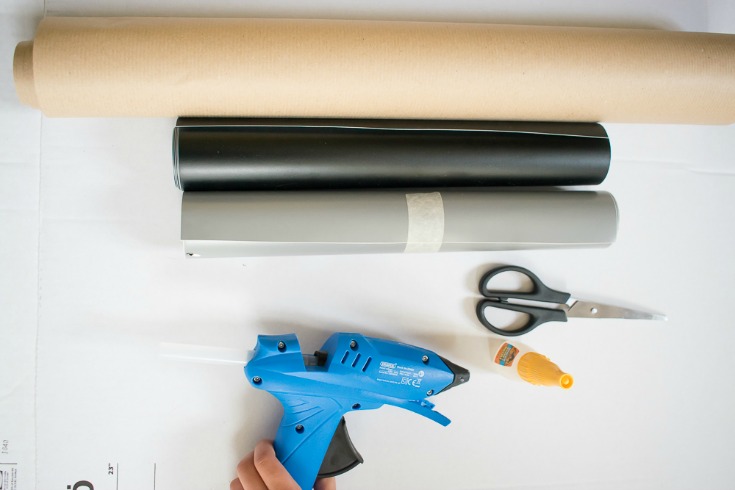
MATERIALS USED TO MAKE THESE PLANTER BAGS:
This post contains affiliate links for your convenience – please see full disclosure here
- Brown packing paper / Kraft paper – I used a 50mm x 10m roll
- Glue or glue gun
- Contact paper (matt) – I used grey and black 1m x 300mm, but you can use any colour including clear contact paper too! Just a note, if you’re in the UK, then this is called Sticky Back Plastic and you can source it here
- Scissors
- Tape
- Black sharpie pen (optional)
- Stencil (optional)
HOW TO MAKE A PAPER PLANTER BAG:
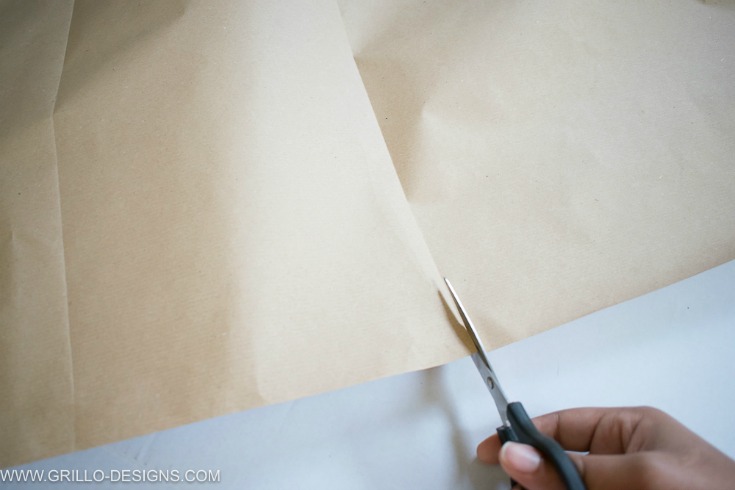
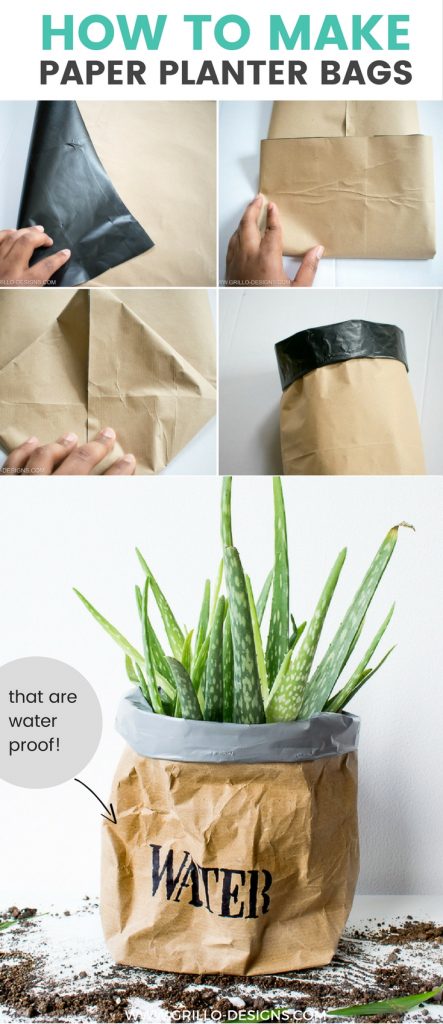
First you will need to cut your packing paper to your desired length and height. I wanted quite a large bag so I kept the height as it was and the width about 60cm. I used a ruler to ensure my lines were cut straight.
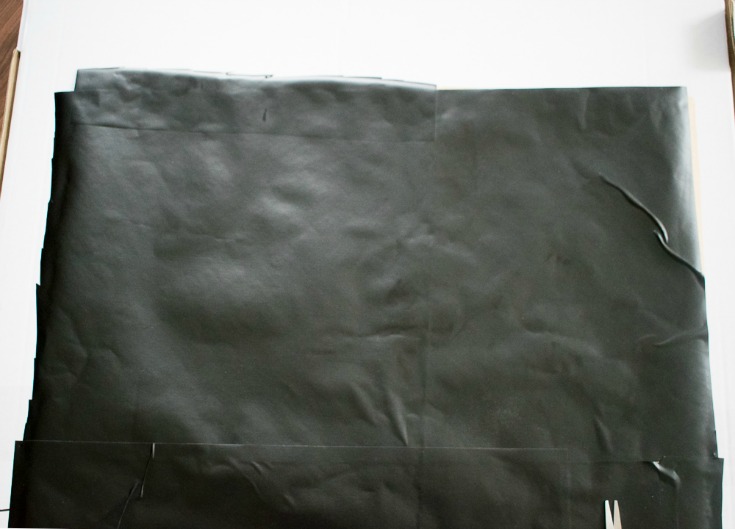
Next, apply the contact paper to one complete side of the packing paper.
As you can see from the image below, my application looks slightly amateurish. The roll of black contact paper I used hadn’t been long enough to cover the entire kraft paper in one go – so I had to fill in a lot of gaps. Let me reassure; It doesn’t matter if this part isn’t done perfectly because no one will see it!
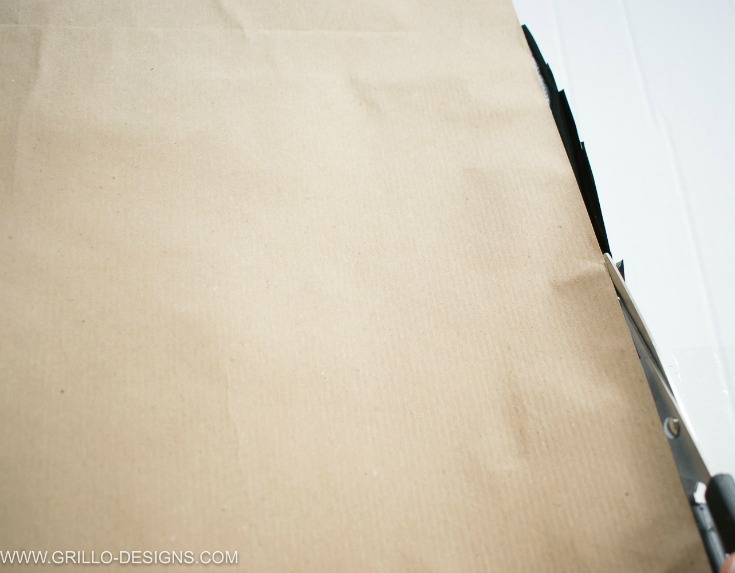
Flip your paper over to the brown paper side and cut off any excess contact paper edges with your scissors
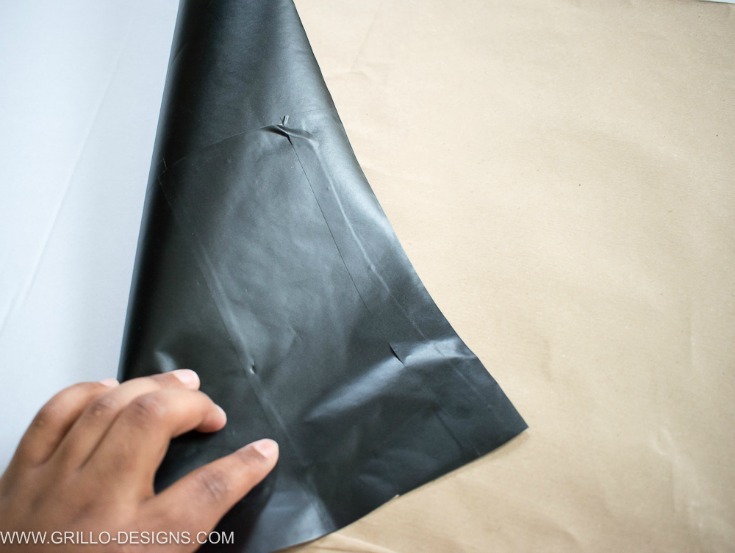
You should be left with a more durable paper that looks like this. Brown on one side and black contact paper on the other.
Straighten your paper and fold over the opposite ends so they meet in the middle (with a very slight overlapping). Remember the side covered with contact paper will become the inside of your bag so make sure only the brown side is visible at this point
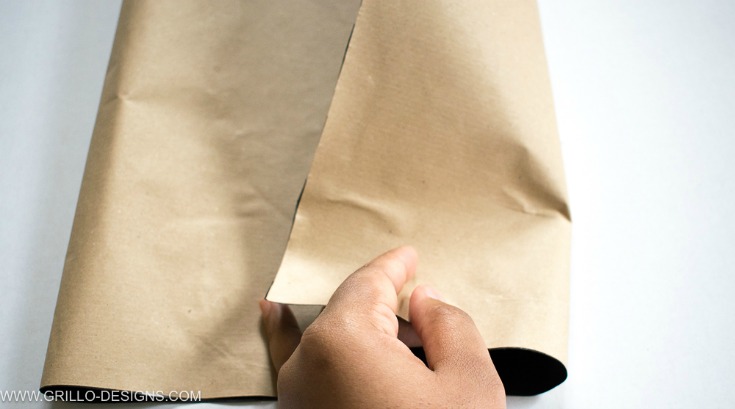
Use your glue to keep the two overlapping ends together. You should end up with a rectangular shape like the image below
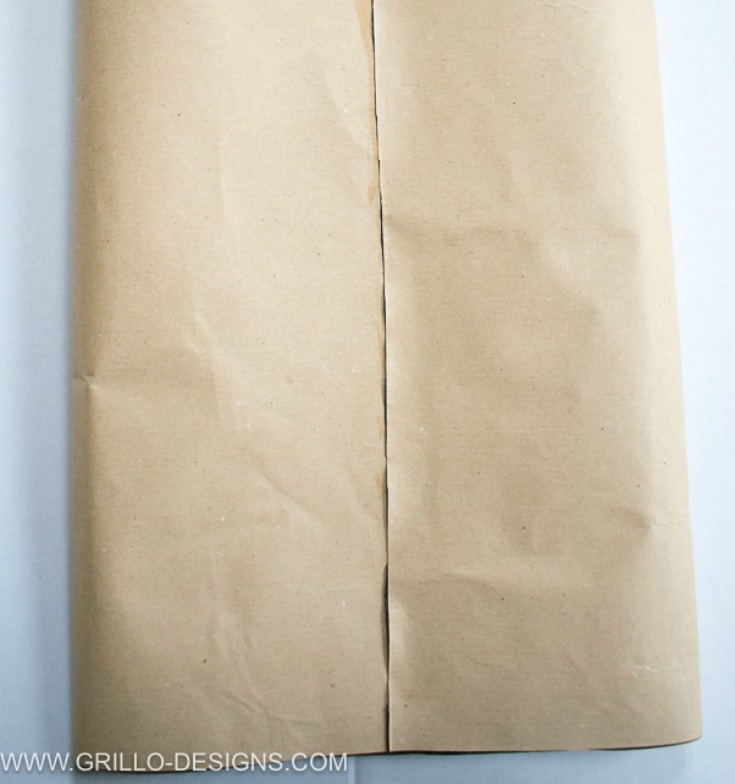
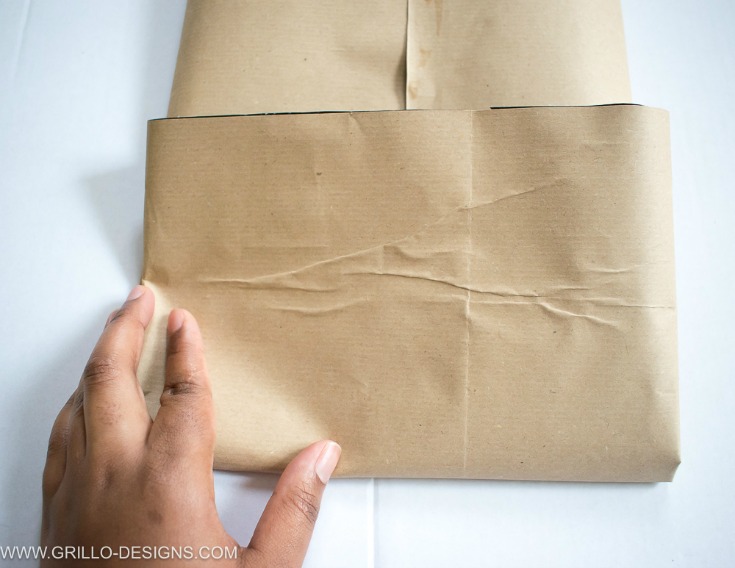
Fold the bottom of the sack upwards – this will become the base of your plant so it’s important to decide here just how wide you want that base to be. The longer the fold up – the wider the base.
Make a diamond shape with the bottom you have just folded over and fold it flat.
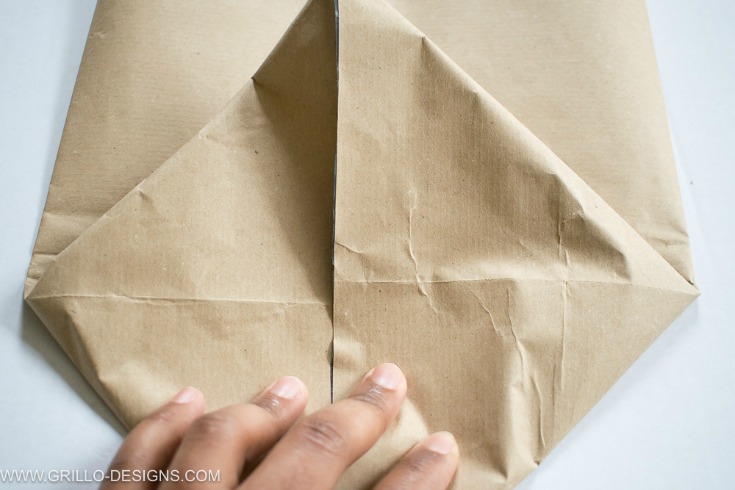
Then fold the bottom and top edges of your diamond corner into small triangle flaps.
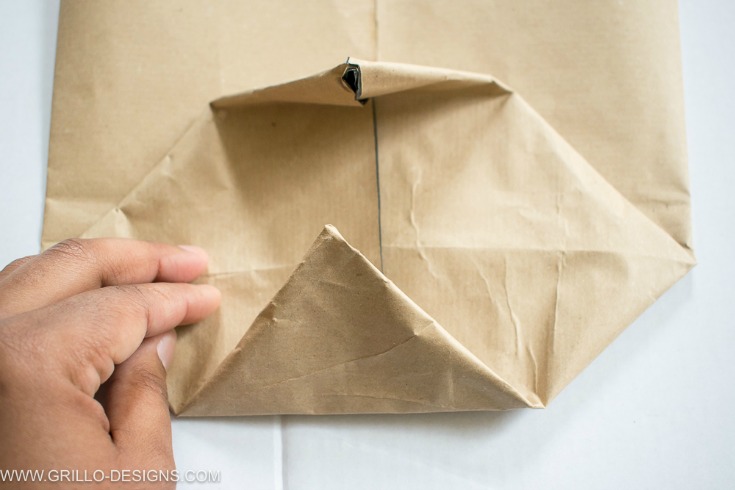
Secure in place with tape – I also used glue here for added strength! The image below isn’t perfect I know but again…its another part no one will see.
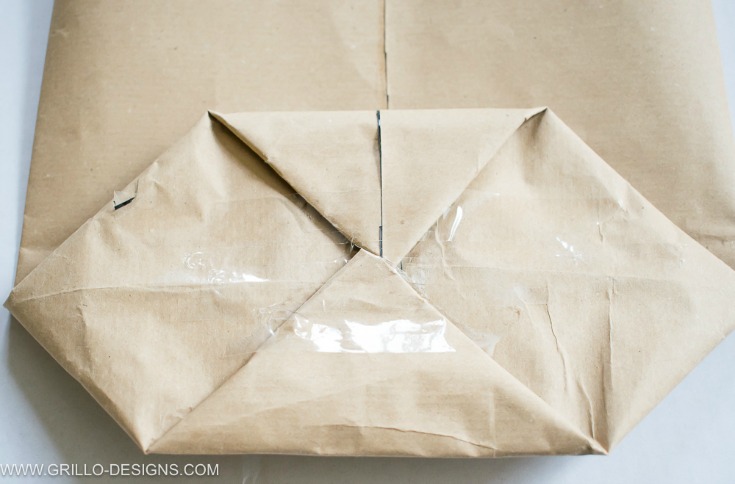
FYI: If by this point, you’re wondering how I became such a pro at folding paper bags… I’ll be honest and say I only learnt this method a few weeks back…when I googled how to fold a paper bag…and got this image
Place your hands inside the planter bag and turn the edges over so that the inner contact paper shows (it wont tear…promise! I folded this bag about 4 times…because it ended up being quite tall.
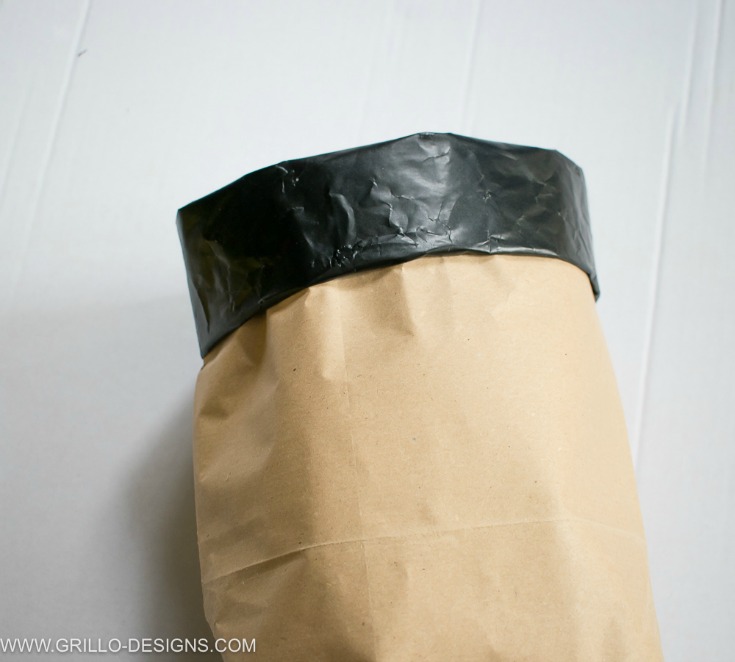
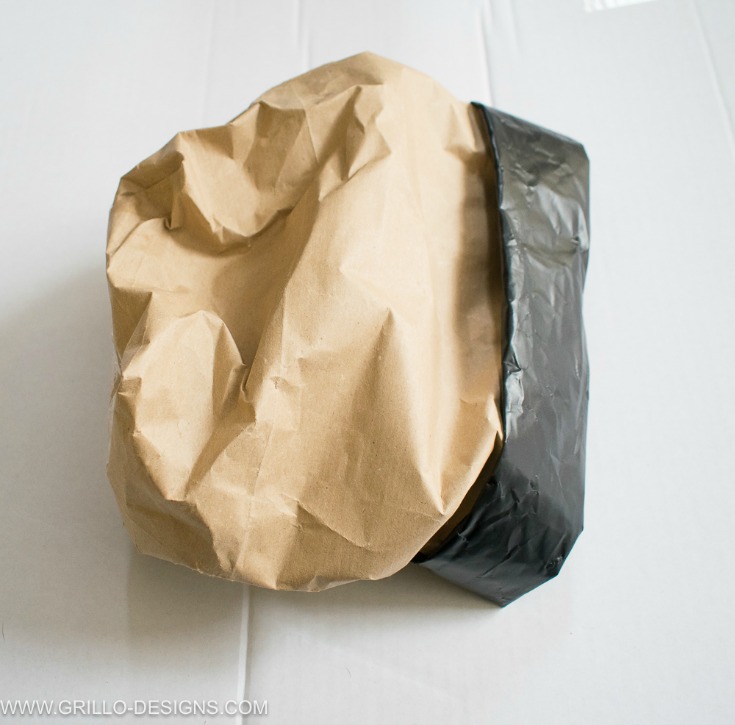
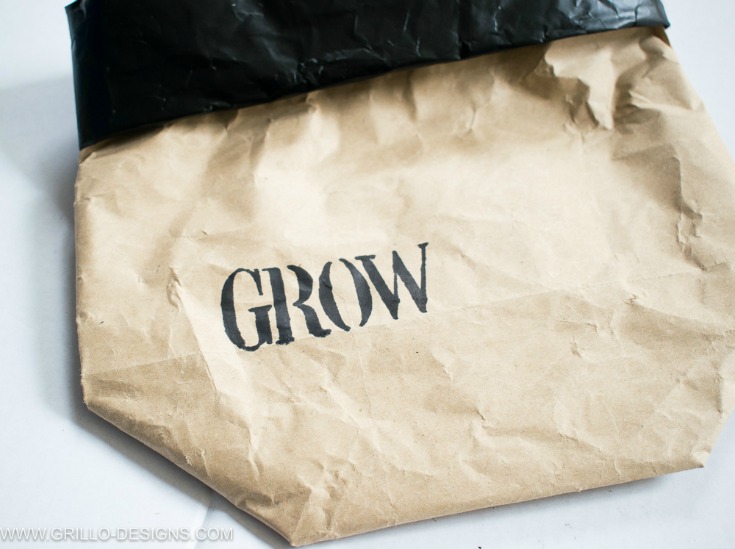
Scrunch the bag into a ball to give it that added texture.. then straightened it out again.
And then finally – stencil , although this is totally optional.
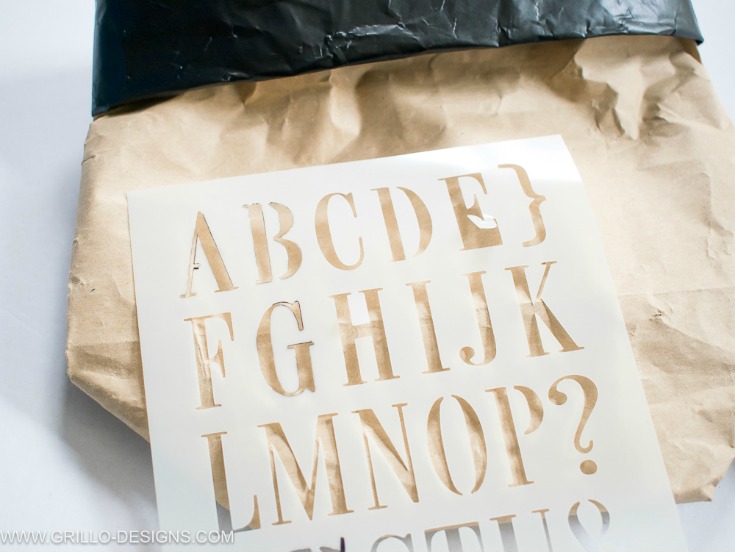
I used this stencil that I bought of eBay along with a sharpie pen to write out the words GROW.
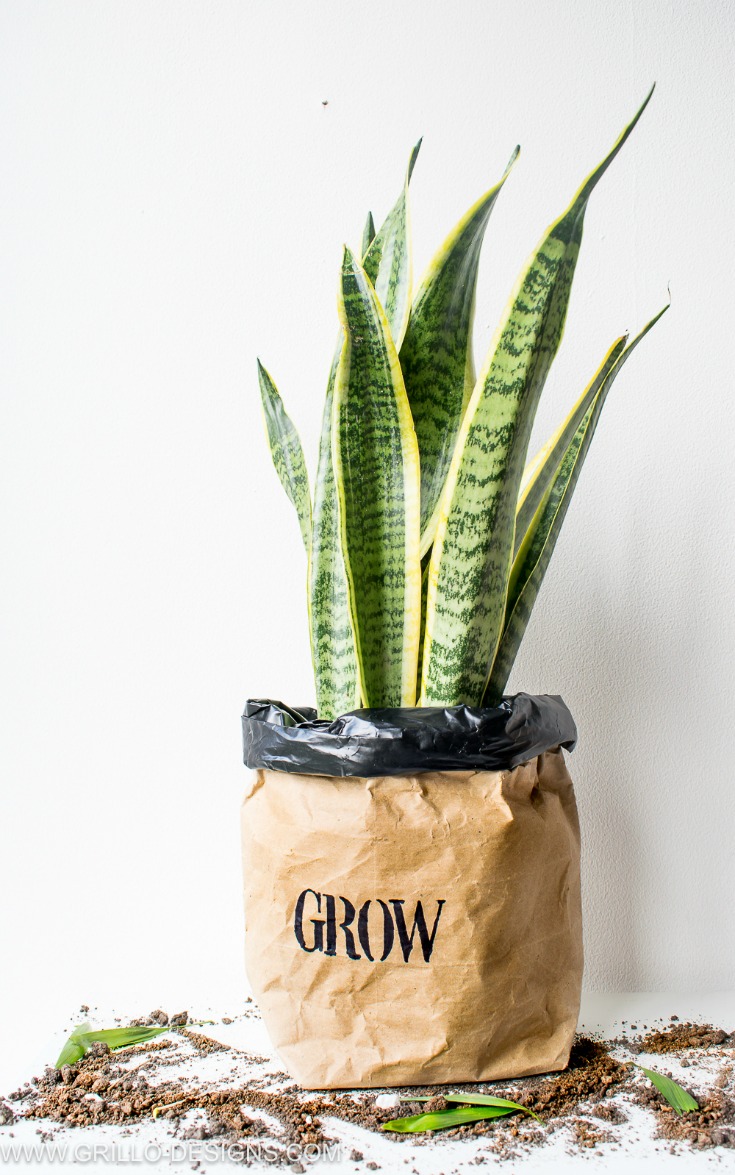
I made a few other bags too.. I mean once I got the hang of it they were quite easy to make.
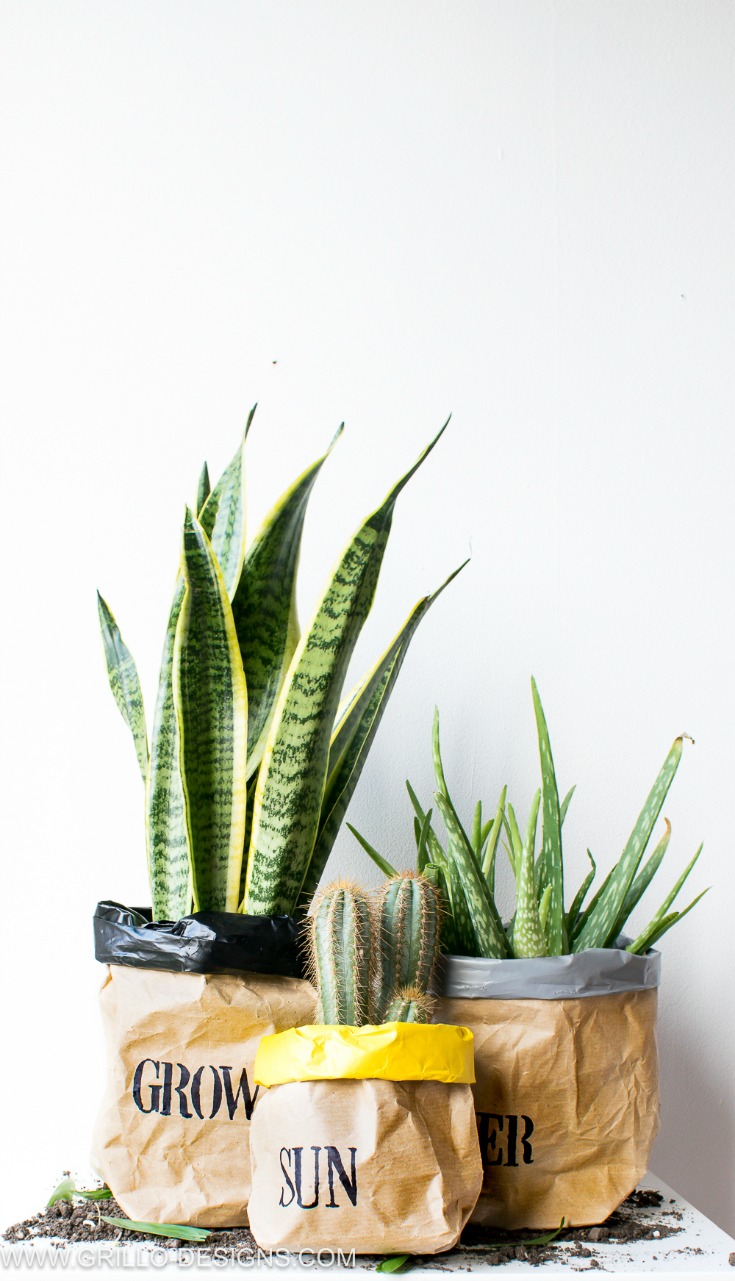
I’m actually glad I have endless amounts of packing paper stored in my garage. I think using this paper to make planter bags might just become a new obsession of mine (aside from collecting vintage baking tins and many other things) . It’s so much fun!
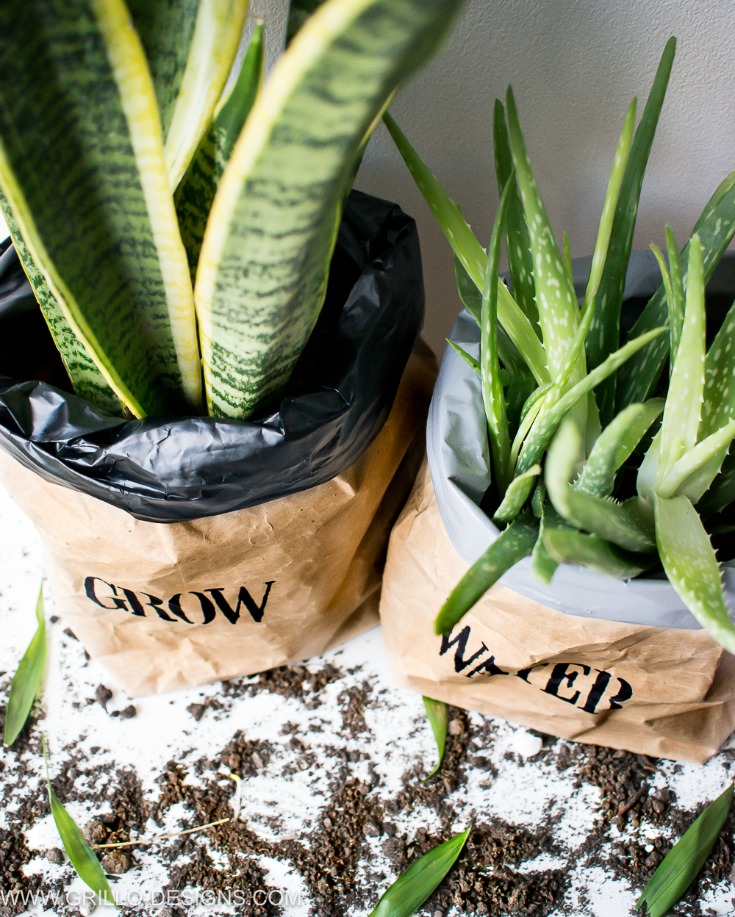
And of course… I tried and tested my bold ‘its waterproof’ statement because no point in talking the talk if you cant walk the walk right? The water from the pot drainage holes didn’t soak through the planter bag. I was even able to take the plant pots out and wipe around the inside with no problems!
Win! I feel like a Facebook Live tutorial is in order….what say you my friends?


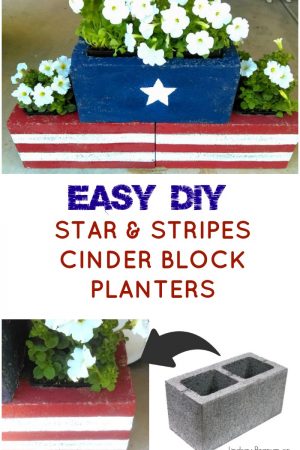
Some of these other green thumb worthy planter posts, like:
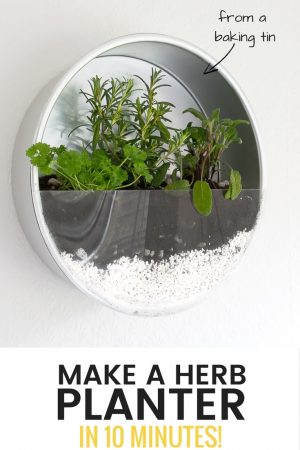
HOW TO MAKE A BAKING TIN HERB GARDEN
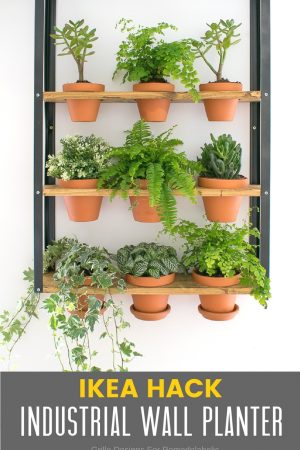
IKEA HACK: INDUSTRIAL WALL PLANTER

Thanks for this great tutorial (with wonderful photography too)! I came across it on Pinterest while looking for a way to NOT use the garish foil wrappers that come on Christmas poinsettias. I am pinning it too.
Ahh so glad you found it helpful!
Fantastic idea and tutorial! I tried it and am very happy with the result – plus, it doesn’t have to look perfect, which suits me and my two left thumbs! hahaha.
I love the paper/contact plastic planter. I’m going to try it. Thank you
Thank you!
Great idea! I may try this and pair it with a macrame type hanging holder. Thank you for sharing!
These are SO cool!! I love the stencils you added, too 🙂
Thank you!
What a cool tutorial! I love different planters and these are just awesome. I’m definitely going to make some, it would look amazing in my home decór!
Thanks Marie 🙂
LOVE this idea- stylish and practical! PS that plant is a great natural air filter too 😉
Love this idea! Wish I could be as creative!
Thank you!
Love this! Perfect for spring.Thanks for sharing your great DIY at the #InspirationSpotlight pinned & shared.
Thank you 🙂
Such a wonderful idea. It looks so nice.
Thank you!
These look really cute! Such a fun idea!
I love exclamation marks too! (that’s what we call ’em here in the UK) I usually go through my writing before publishing and remove some, but I have to leave a few otherwise people might not realise I’m attempting to be funny!
Haha 😀
Wow, love this idea. Thank you for sharing with us at #HomeMattersParty .We would like to see you again next week
Thank you for stopping by 🙂
I use exclamation points a lot too. Most of the time I go back through my posts and take half of them out. And I still have a ton. LOL Oh well, I think it’s just the way I write.
This project is great! My daughter is obsessed with indoor gardening right now and we have plants all over the place. Seriously, when I say all over the place I mean ALL OVER THE PLACE! I’m not sure what I am going to do when she goes to college next year. I don’t exactly have a green thumb. I guess I am going to learn. In the meantime, this might be a less expensive (and fun) alternative to the pots she keeps buying.
Thank you Michelle! My green thumb is getting more greener by the day – used to black.. so there is hope!
All I can say is wow! Just when I think you couldn’t possibly come up with a better idea, boom! You’ve done it again. You are incredibly creative Medina! Love this so much.
Aww thanks BB!
You know what? I use exclamation points too much too!!! And I love IKEA so we must be best friends 😀 Your paper bag planters are wonderful and amazing and unexpected all at the same time. Too smart!
Haha maybe everyone does Toni! Thanks for stopping by 🙂
This is awesome!!! I need to try it!
These have got to be the coolest planters I’ve seen. I just adore the brown paper bag effect and the stencils. I have the same aloe Vera plant from IKEA too!
Thank you claire !