[Psst! Join me on Instagram and Pinterest to keep up with my latest posts and ideas.]
So today I am going to share one of my all-time favorite DIY tutorials with you, a DIY Kids Seating using a (tire) tyre. It was one of my first ever projects and well-received, as seen on my original posting on my Facebook page (back when I thought sharing a before and after picture was ‘blogging’…. turns out it’s not…but that’s a story for another time).
For my US readers, I know you’re probably thinking I spelt the word ‘tyre’ wrong, but I didn’t. Whilst you guys spell it with an ‘i'(tire) we add in the ‘y’ over here in the UK. Ha! No idea why!
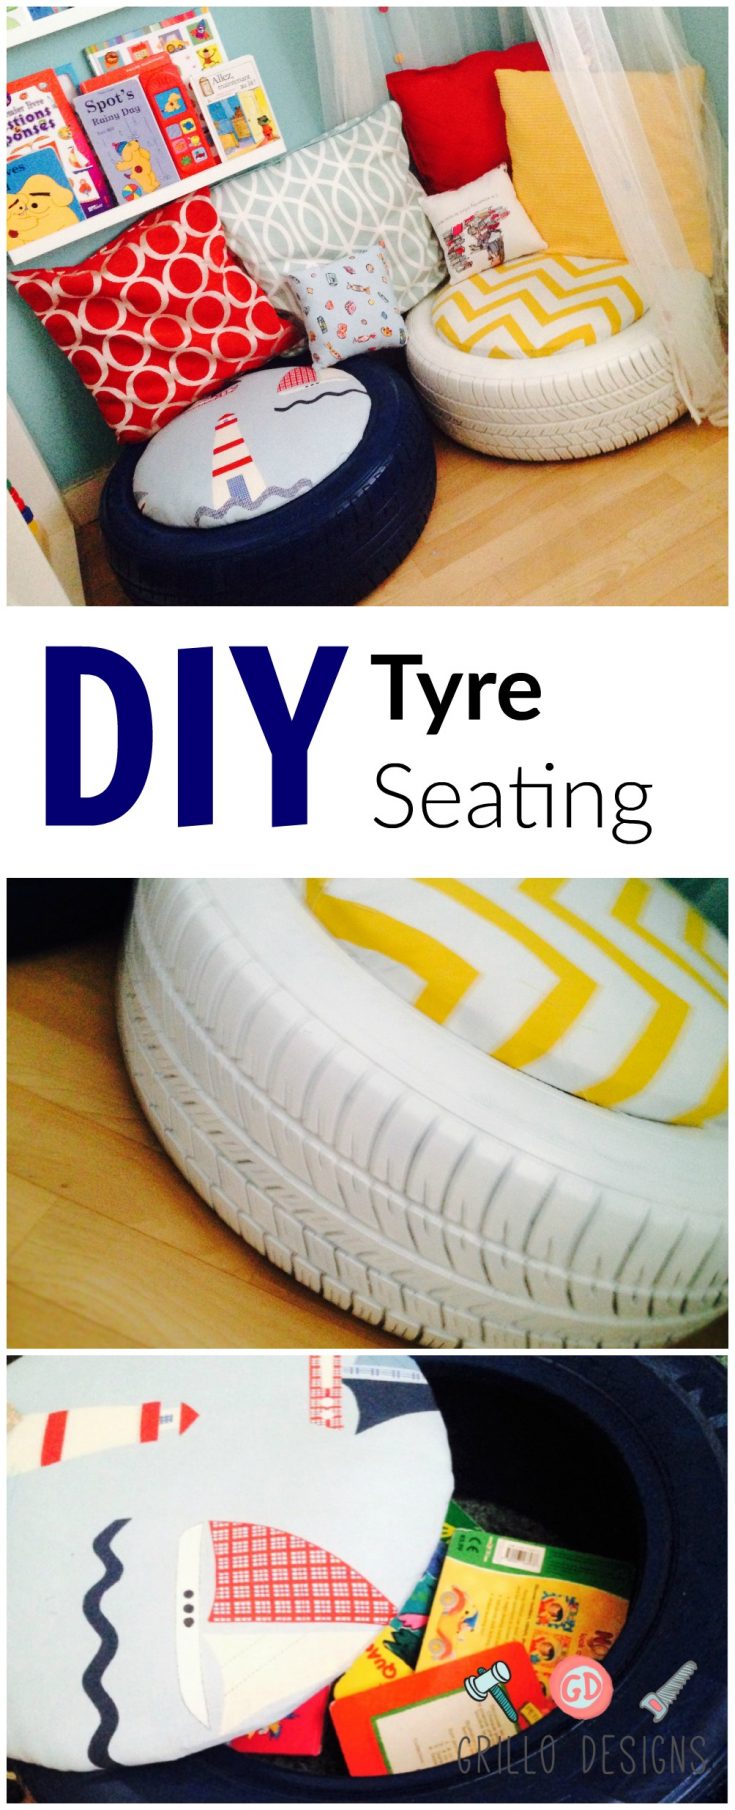
It’s funny because the actual inspiration for these tyres seats came from my very own DIY Facebook group (you need to join!). Someone had shared a google image of a tyre that had been wrapped with string with a seat screwed to the top (edit: This image was from Style Me Pretty I later found out).
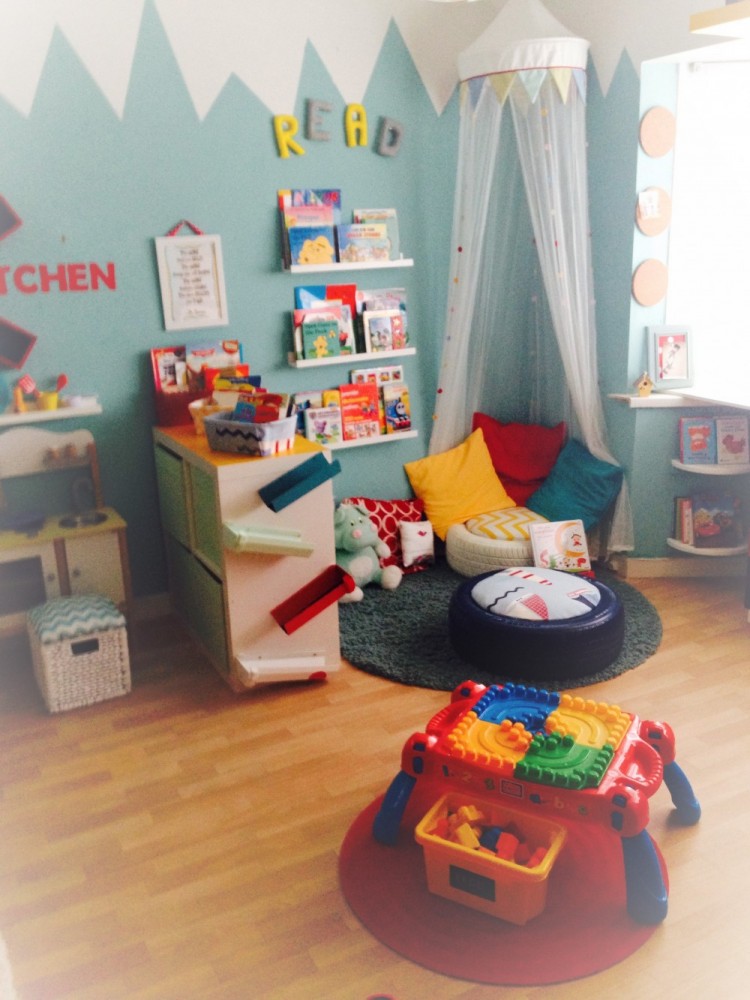
Not only that, but I was also in the process of creating my son’s reading nook for his playroom (see full playroom post for the full reveal) and I wanted something outrageously different and fun!
These two things combined got my mind racing with endless possibilities. It didn’t take me long to put together the materials for this project (and luckily at the time my husband had just changed his car tyres so I had two just laying around) Score.
Here is how my reading nook looked:
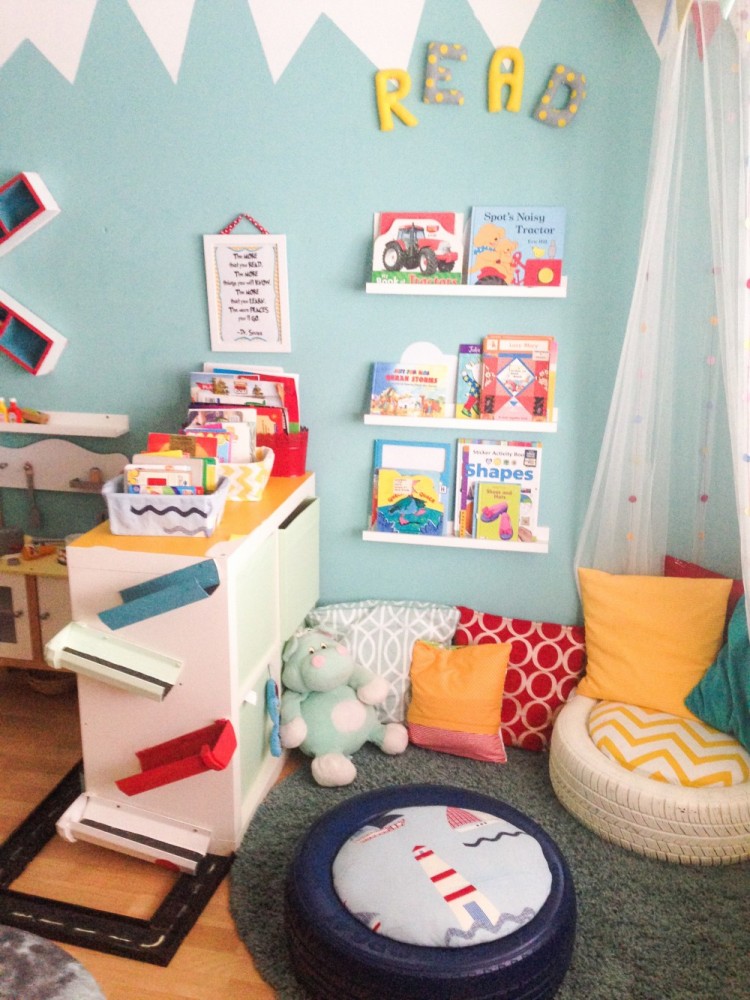
Haha yes, I know it’s all very IKEA inspired (did I mention that I am a serial IKEA Hacker? You can check out all my hacks here) with the RIBBA ledges, EXPEDIT cube, and Canopy, but don’t you think the tyres just make the whole set up look way more inviting??
My son seemed to think so.. and sometimes I’d find him curled up on one of the seats reading one of his books (edit: he now has a new reading nook in his bedroom). This post contains Affiliate Links for your crafting convenience. See full disclosure here.
WHAT I USED:
- 2 x Tyres (tires)
- Interior spray paint
( I really love this Rust-Oleum ‘A painters Touch’ brand)
- MDF/plywood circular wood 45- 50 cm diameter and at least 1cm thick. ( I bought this already cut, but you could just buy a large piece of plywood (1cm thick) and cut using a Jigsaw)
- Glue gun
- Polyester stuffing
- Staple gun
- Yellow and white chevron fabric
(fabric fat quarter)
- Nautical boat fabric (fabric fat quarter)
- Ronseal interior clear varnish
(poly)
HOW I DID IT:
1. As the tyres I used had previously been on my husband’s car, I had to give them a really really thorough clean, inside and out. I scrubbed them down with detergents and bleach in my back garden then rinsed them off with the garden hose.
2. I let them dry out for about 2-3 hours.
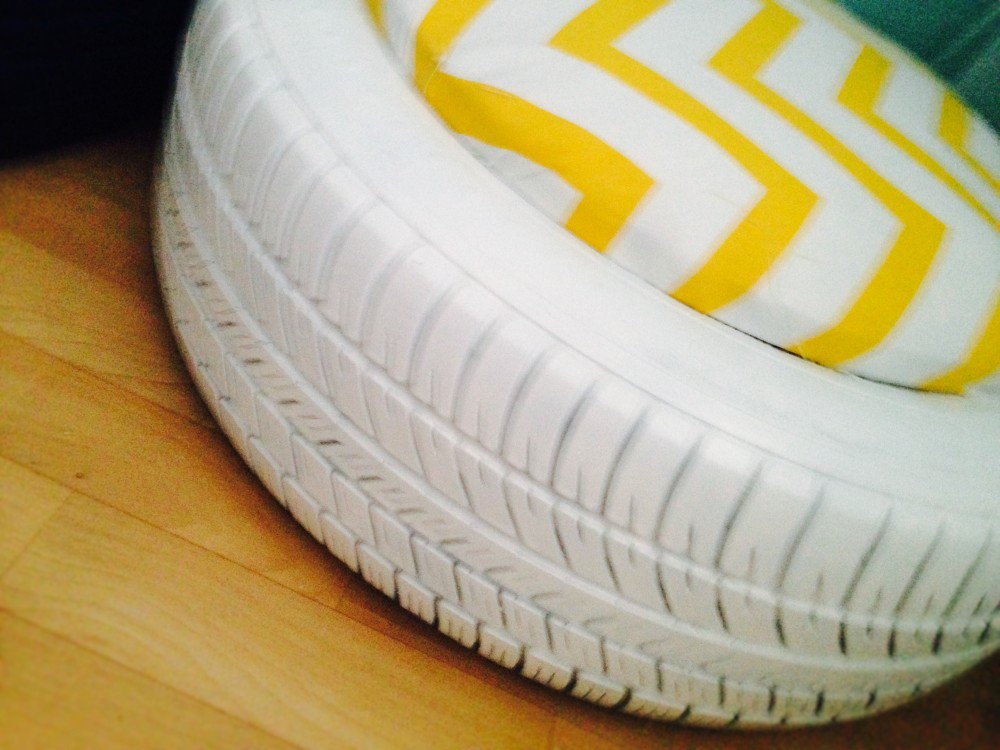
3. Once I was satisfied they were dry enough, I spray painted each tyre. I sprayed on a total of 3 light coats with an hour drying time in between (it was a hot day!). NOTE: Spray painting should be done outside due to paint fumes, as per spray paint can instructions.
4. To seal and prevent paint from scratching off, I painted two layers of varnish on to each tyre with 1-2 hours drying time in between.
TO MAKE THE SEATING:
5. I covered the MDF circle wood piece with lots of stuffing (you can glue it in place with your glue gun if you want), and then placed the stuffing on top to hide the bumps and lumps.
6. I then covered it all with the fabric and flipped the whole thing over.
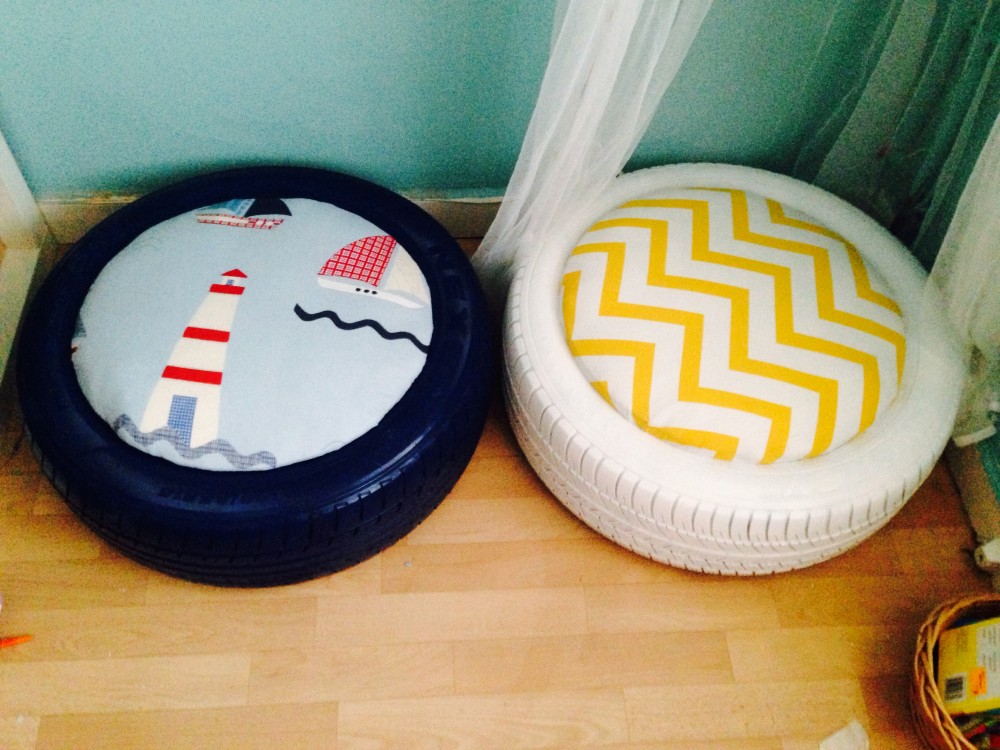
7. I flipped it all around and stapled the fabric in place (folding the edges) around the whole circle with my staple gun. See this Youtube Video if you are uncertain about how to carry out this step. I found it quite helpful!
And that’s it, folks! I plan to make some more for the garden – so watch this space! Don’t forget to subscribe to the blog so you don’t miss out on any of my DIY adventures!
amzn_assoc_placement = “adunit0”;
amzn_assoc_search_bar = “true”;
amzn_assoc_tracking_id = “mywebsi0b7-20”;
amzn_assoc_ad_mode = “manual”;
amzn_assoc_ad_type = “smart”;
amzn_assoc_marketplace = “amazon”;
amzn_assoc_region = “US”;
amzn_assoc_title = “KIDS SEATING”;
amzn_assoc_linkid = “1207f7ca9fcc39f66083de06cacff2ae”;
amzn_assoc_asins = “B00NOO4H30,B00TSVSA7C,B00V6XW9OK,B017AKW97O,B000BPT316,B014V0AZ36,B008L9Z5E8,B005A2IJWE”;


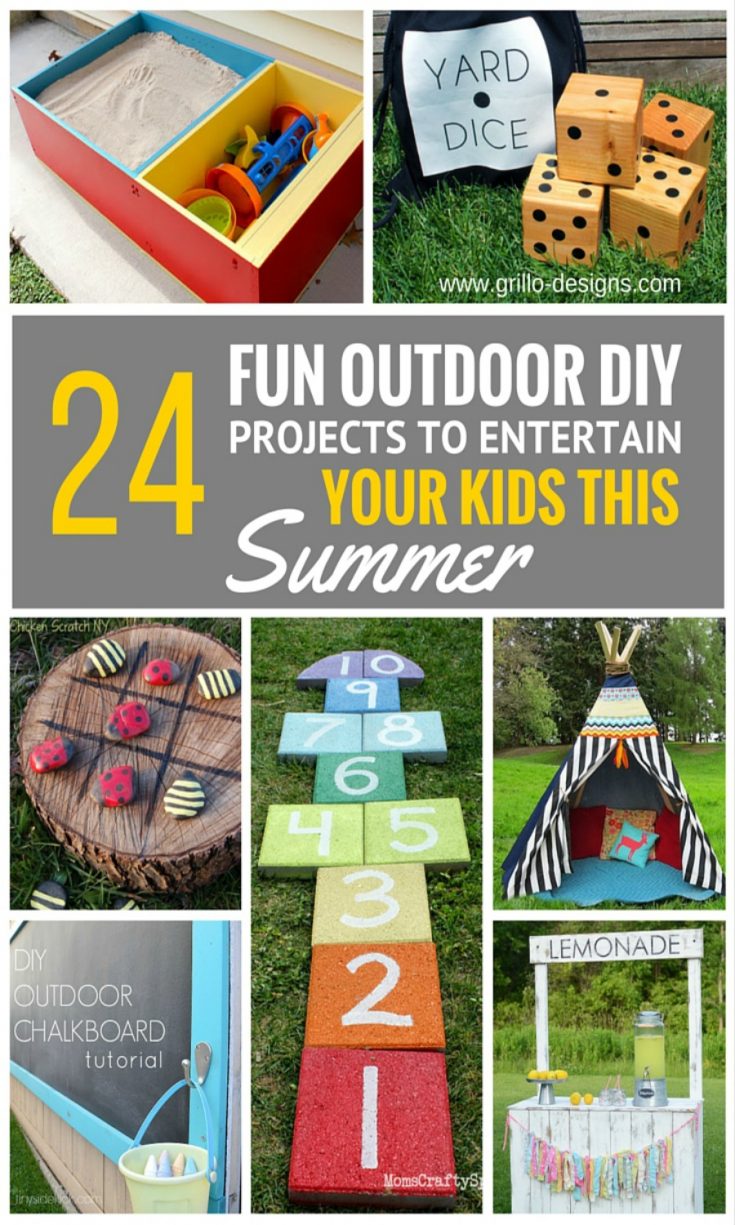
24 Fun Outdoor DIY Projects to Entertain Your Kids This Summer

Thanks
You did a Beautiful job in your son’s room, can’t wait too see some of your other projects. Thanks for Sharing 🥰
Do the tires smell like tires
Wow! So glad I stumbled across your blog! And even happier to see someone that looks like me!!! Fascinating to see such great ideas. I plan on doing these for my two year old’s room AND 4th grade classroom. Thanks for the ideas!
Hi, have you faced any issue with the paint cracking and peeling off on the top surface of the tire??
Hi Loubna. Did you use a sealeant to cover the spray paint? The first time I tried this , I didn’t and the paint did scratch off. The second time I used a primer paint, then spray paint and then finally a clear vanish to seal it all in. Hope that helps
Thank you Medina. No I did not use a sealer.
With the primer and sealer, are you happy with the result? No more peeling off?
I am also curious to know about your first time if you used a primer or not as I am trying to find out what exactly solved the problem for you. Thanks again
Hi, I tried this but I faced issues with the paint cracking then peeling off on the top surface (not the side walls). I contacted Rust-Oleum for an advice and they answered saying that they do not recommend using their paints on rubber. Any advice from your experience? Thanks
I’m going to start using my old tires straight away
Hi Medina,
These look great! I’m getting my tyres changed tomorrow so I know what to do with the old ones now ? Where did you buy the pre cut MDF circles from?
Thanks
Oh you got some awesome projects here on your blog! Glad I found it! Thanks so much for leaving me a sweet comment on my Pulley chandelier, and yes Bunny Broody is a word…..lol!!!!
not a problem..thanks for stopping by 🙂
Just found your blog, you have some awesome idea’s! I can’t wait to look around and get more ideas
Yay! Thanks for stopping by 🙂
I can totally see children sitting there to read! Fun! Thanks for sharing at Merry Monday! I’m sharing this post on my FB page today.
Wow these are amazing. What a fabulous idea! X
So cool
Genius!! I love this idea! Thanks for sharing!
This is adorable! Perfect for my niece! This might be a great Christmas gift for her (and my sister)! Thanks for sharing!
Wow wow – these are adorable!!!! I am going to have to show my daughter who is getting ready to have her first child (my first grandson)!!!!!! You are really talented!
Oh my goodness, those are so adorable! And that whole nook. Very inspiring.
love these!! Such a great idea, super cute and extra storage! Thanks for sharing!
I love these! The storage area in the middle bit is brilliant! His nook is beautiful!
This project is super cool 🙂 I do a lot of up cycling myself- have 20ish projects here http://hapinesswherever.com/thrifty-thurs-repurposing/ – but more for home decor 🙂 your blog looks so established, am super impressed, can’t believe it’s a new blog 🙂 P.S. Hello from FB 🙂
Wow! What an awesome seat! It just shows you, you can upcycle anything! My eldest would love these!
Laura x x x