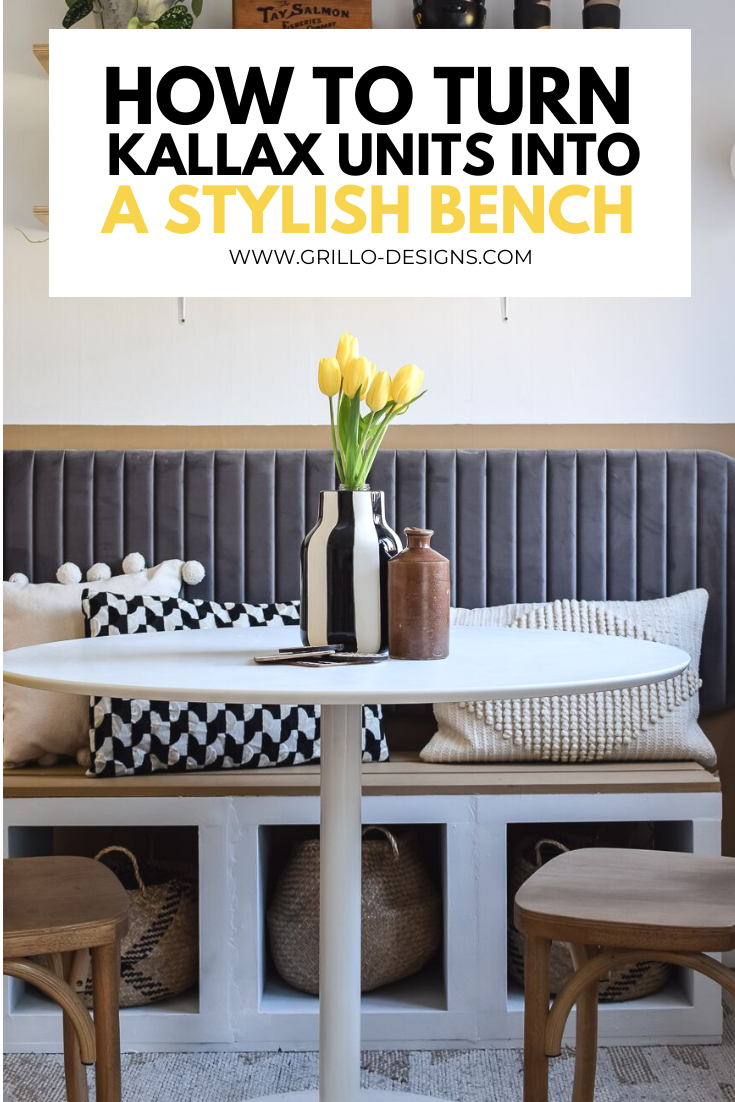
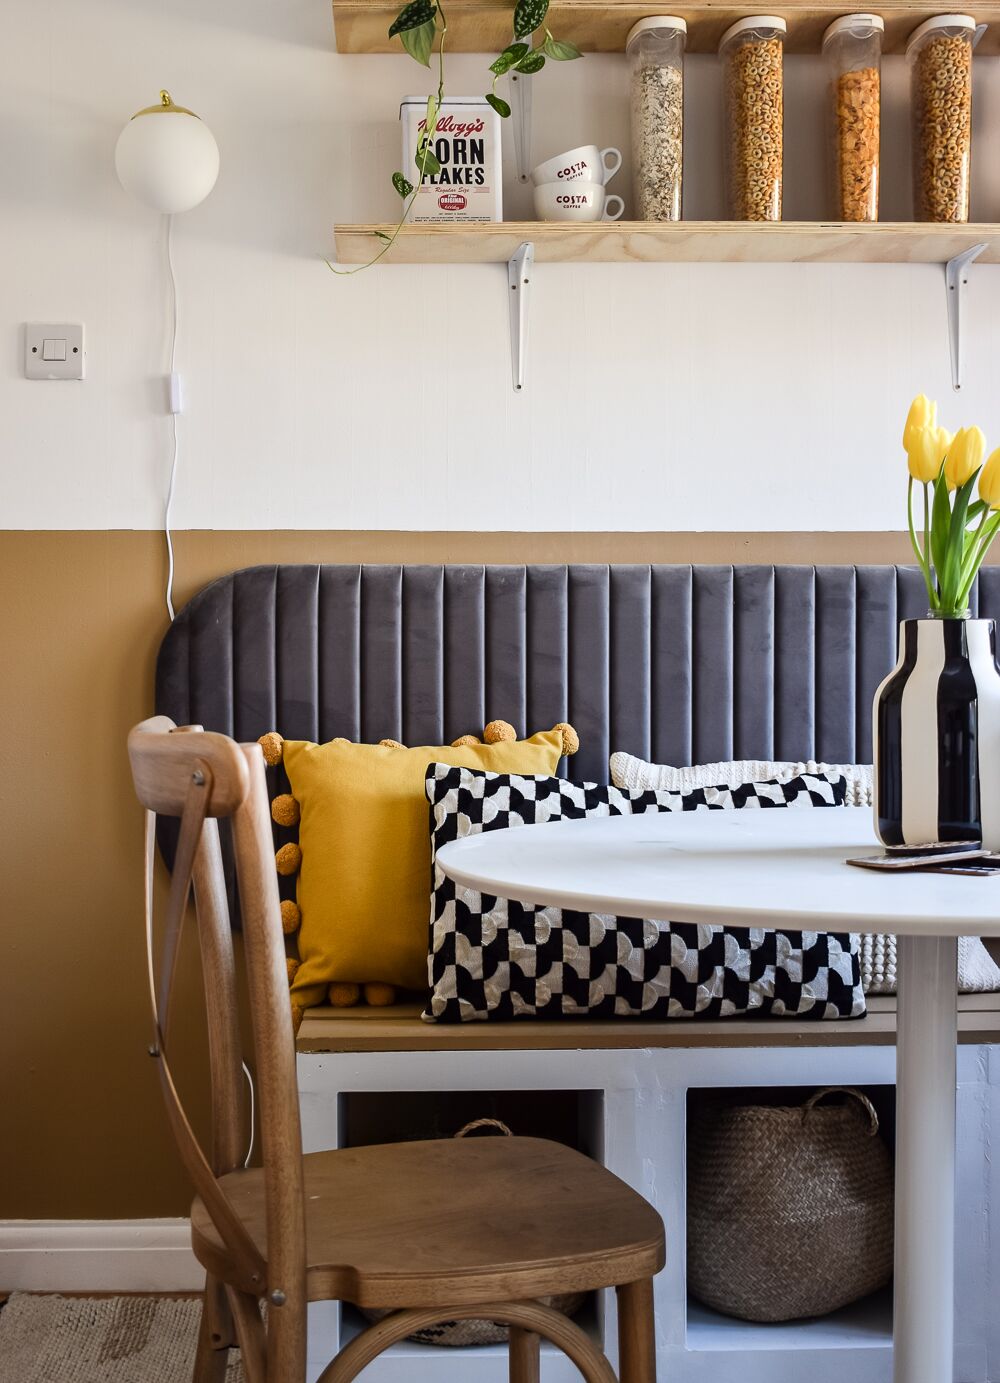
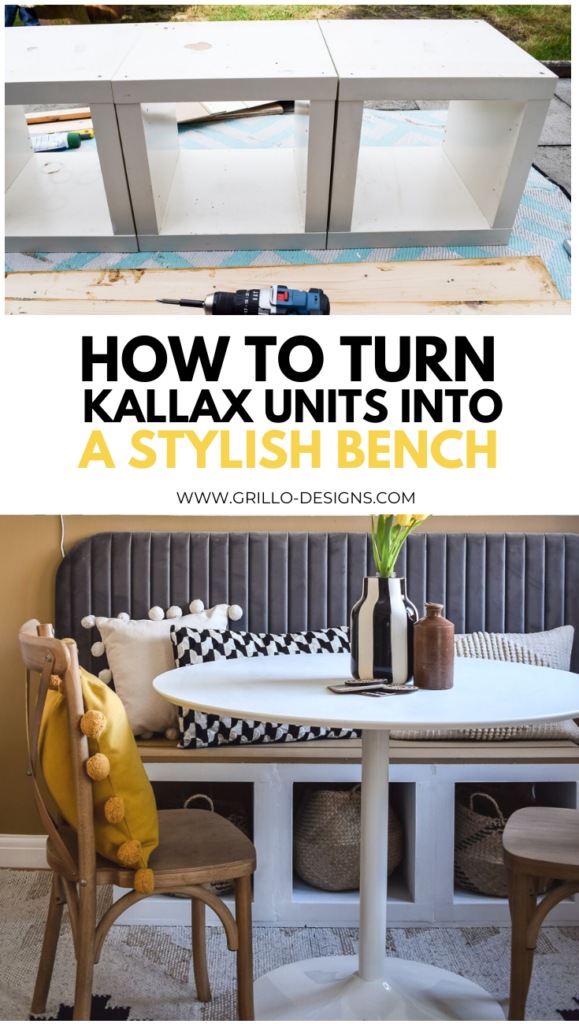
IKEA KALLAX hack tutorial. In this post I’m sharing both a written and video account of how I converted three of the KALLAX shelving units (and a headboard made for a bed) into a dining bench for my breakfast/dining nook.
Disclosure : Some items in this post were gifted to me by Next Home as part of an ongoing collaboration. However this blog post is not part of that paid collaboration. Please see source list at the end of this post for further clarification.
. . . .
As far as tutorials go, this one probably won’t go down in history as one of my best. But before you up and leave in a huff, let me just say, I do have a video tutorial (of sorts) – which might be a little more helpful. You see, these days I fancy myself as a bit of a YouTuber (hilarious I know, considering I only put out videos once every blue moon ha). I’m really starting to like the idea of filming DIYs and talking you through the process.
Of course that’s not to say that I won’t be doing anymore written tutorials in the future, far from it. I just wanted to let you know that I’ll be mixing things up a little here on out!
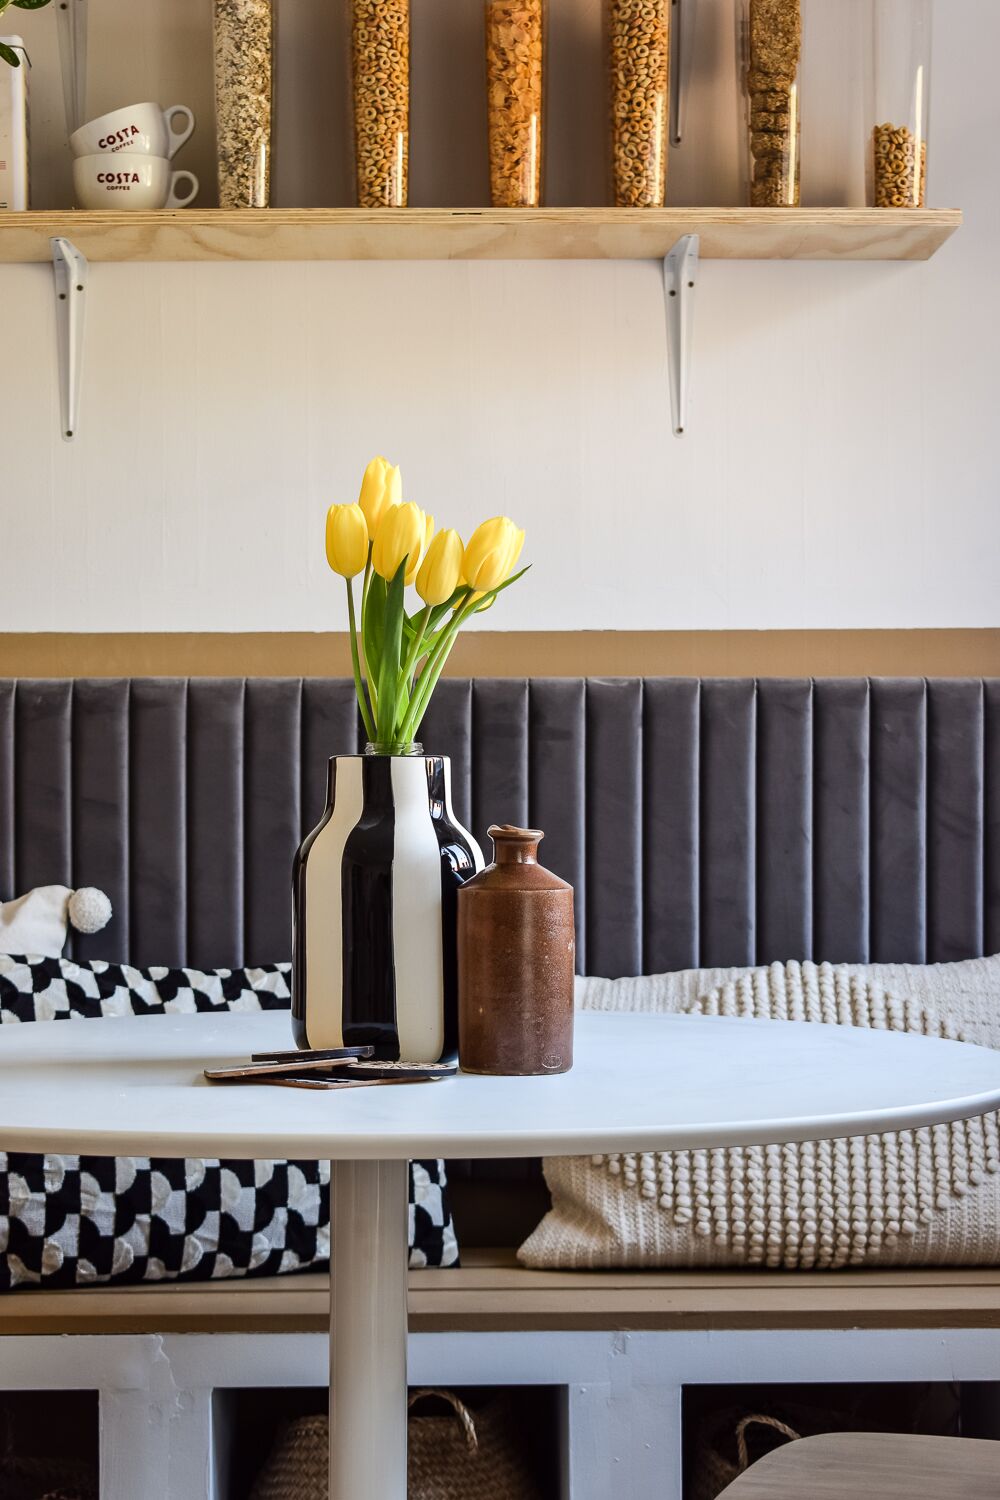
Right, now that that disclaimer (of sorts) is out of the way, on to the topic of the day! The IKEA KALLAX hack. Or more specifically. how to re-purpose the KALLAX units into a stylish cafe style dining bench (a bit more of a mouthful, but is exactly what this post is about!).
This isn’t my first KALLAX hack rodeo by the way- check this one out from a few years ago.
WHY USE THE KALLAX SHELVING UNITS?
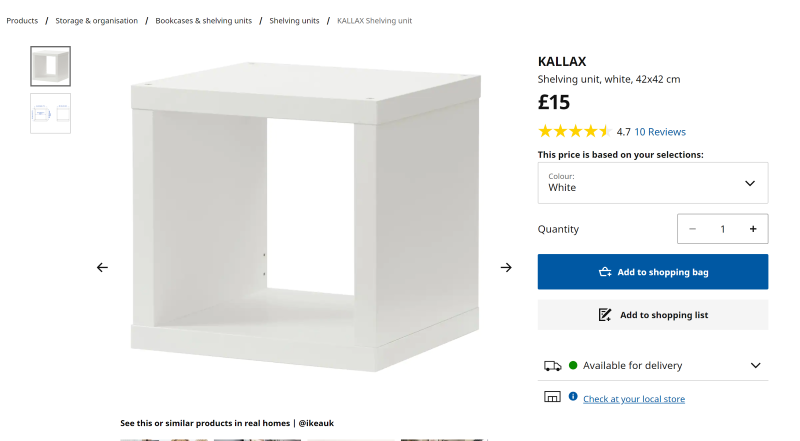
I’ve had these KALLAX units for years! I’m not kidding – so long in fact that at one point they used to be called EXPEDIT (who remembers that?). For anyone who has ever wondered whether IKEA furniture stands the test of time, I can confirm that they do. And even if they don’t, most of their classic designs can be easily upcycled and given a new lease of life.
This month I decided I wanted to refresh my dining nook. It’s the first room I decorated when I moved into this rented house four years ago, but recently I felt it was time for a change. I had outgrown it’s industrial style (more on the actual makeover coming soon) .The first order of business was to build a new DIY seating and saying goodbye to the old seating.
When it came down to it though, I found I couldn’t part with them, and to be honest felt I didn’t really need to. They were sturdy little units that continued to serve a purpose, and well at that!. So I decided to upcycle them instead – which of course was way more easier than building from scratch.
Note: Due to COVID, and isolation guidelines I had to be a little more resourceful than usual with this project. A lot of the materials I used for this hack were items I already had in my garage. I thought I should mention that in case your’re a little baffled by some of the choices I’ve made in this tutorial
MATERIALS USED FOR THIS IKEA KALLAX HACK:
This post may contain affiliate links. Please see my disclosure page here
- 3 X KALLAX single units (or the 4 shelf unit )
- 6 x Timber wood planks 18 x 144mm cut tot the length of the bench (I used left over wood from the DIY outdoor seat)
- Wood filler
- Sanding machine – the orbital sander is my favourite
- Primer – Zinsser all the way!
- Saw tooth picture hooks – you can buy them in sets here
- Headboard (double size)
- Paint – I used left over paint from my built in bookcase project
- Nails and hammer
- Foam roller
- Paint brush
- Painters tape
- Wood Glue
HOW TO:
The first thing I did was give these KALLAX units a good dusting and clean. I then brought them outside into my garden to assess the damage. OK so yeah, I’ll admit in the harsh light of day, they did look a little battered, but that was to be expected given all the house moves right?
Also there was that one time I wrapped them in very cheap fablon (the kind that tears away literally everything when you remove it!)
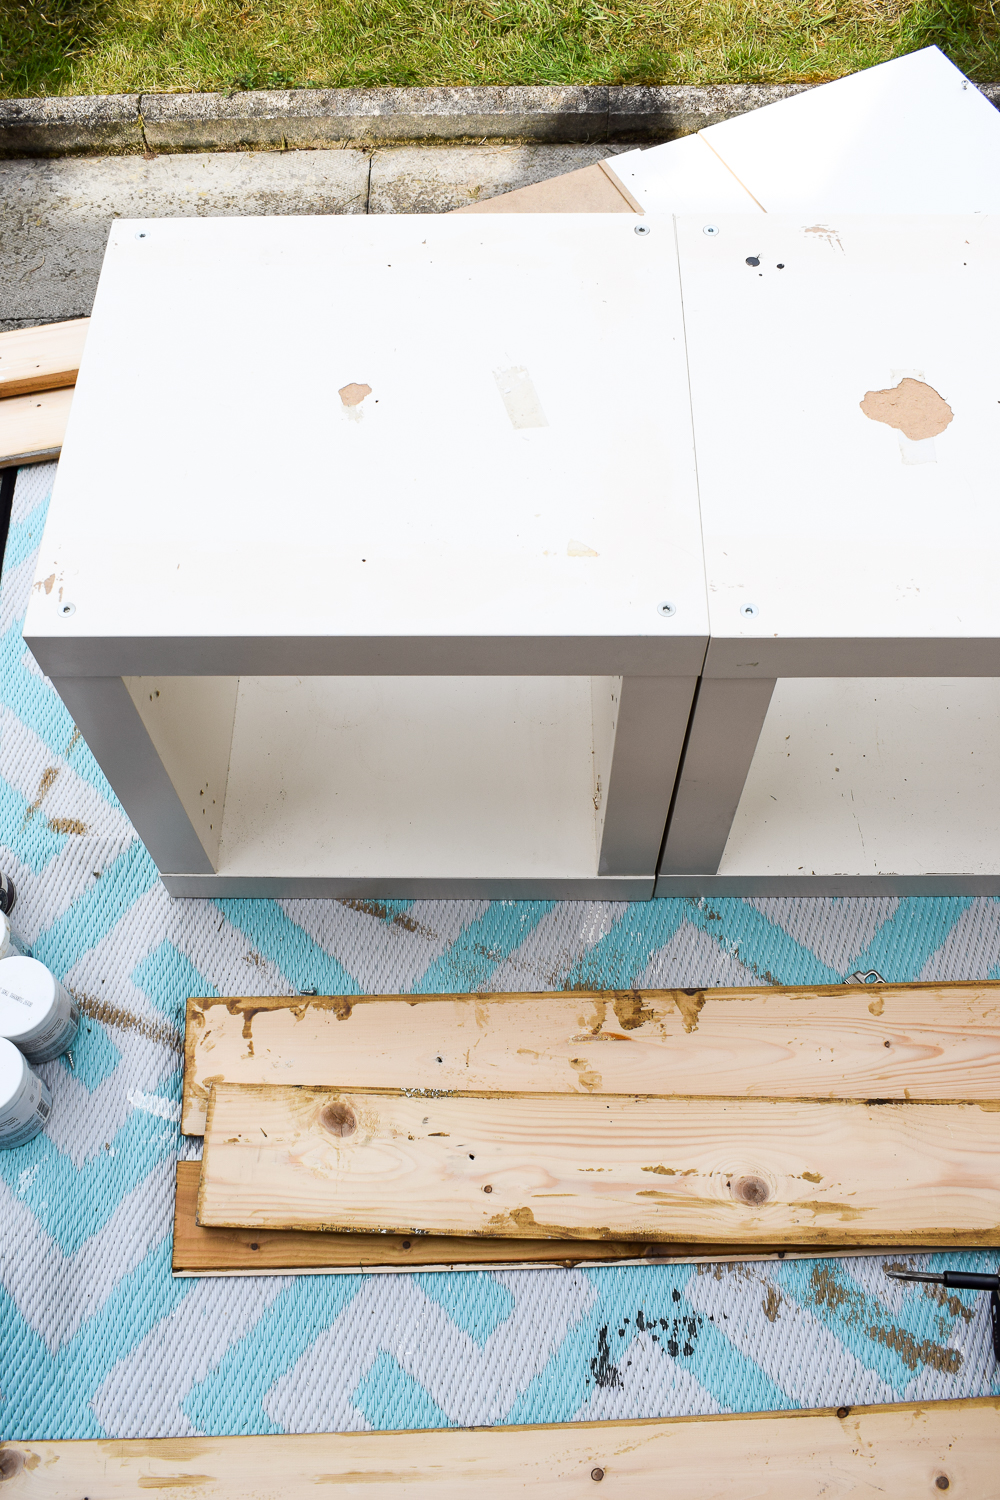
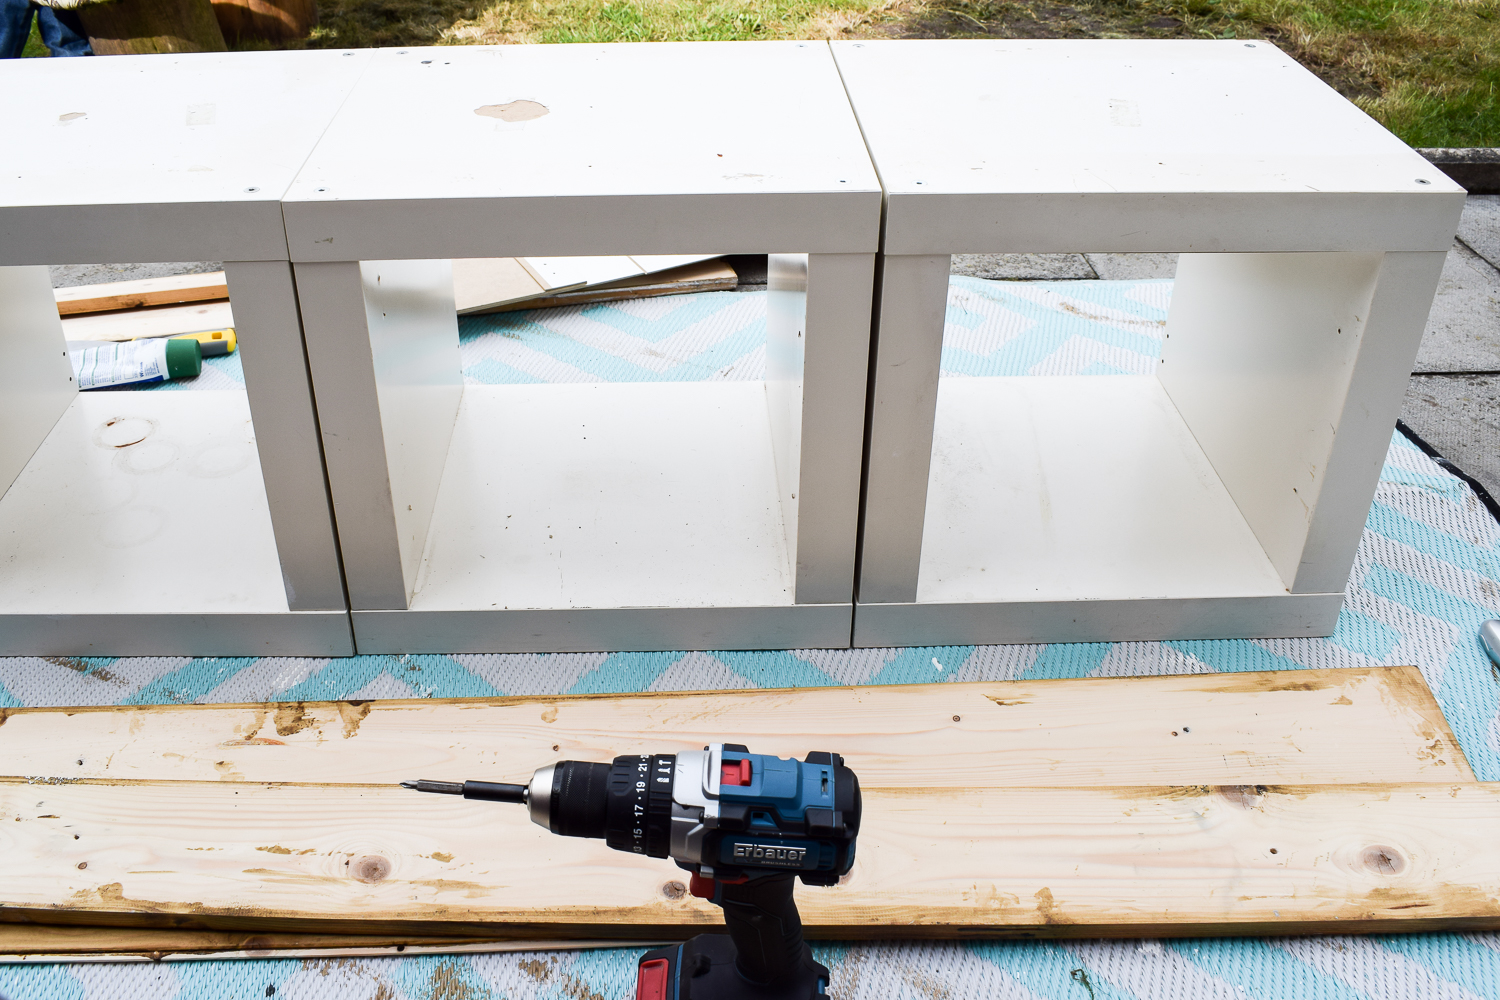
To secure the KALLAX units together and create a more sturdy seating surface (whilst also covering up some of the damage to the tops of the units), I used wood planks. I placed them across the the top of the three connected units and secured each one with wood glue, and nails.
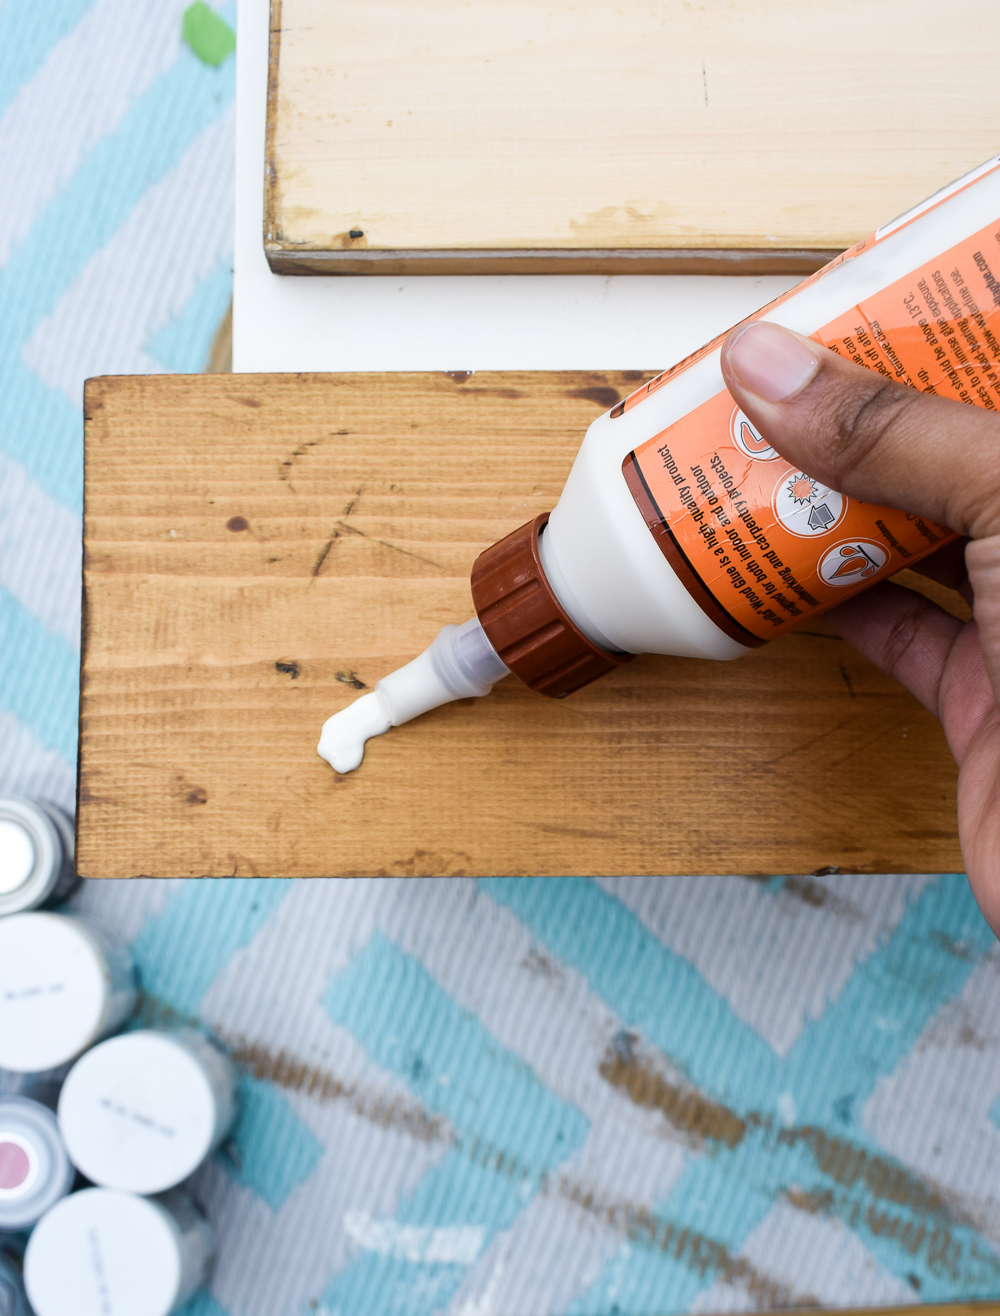
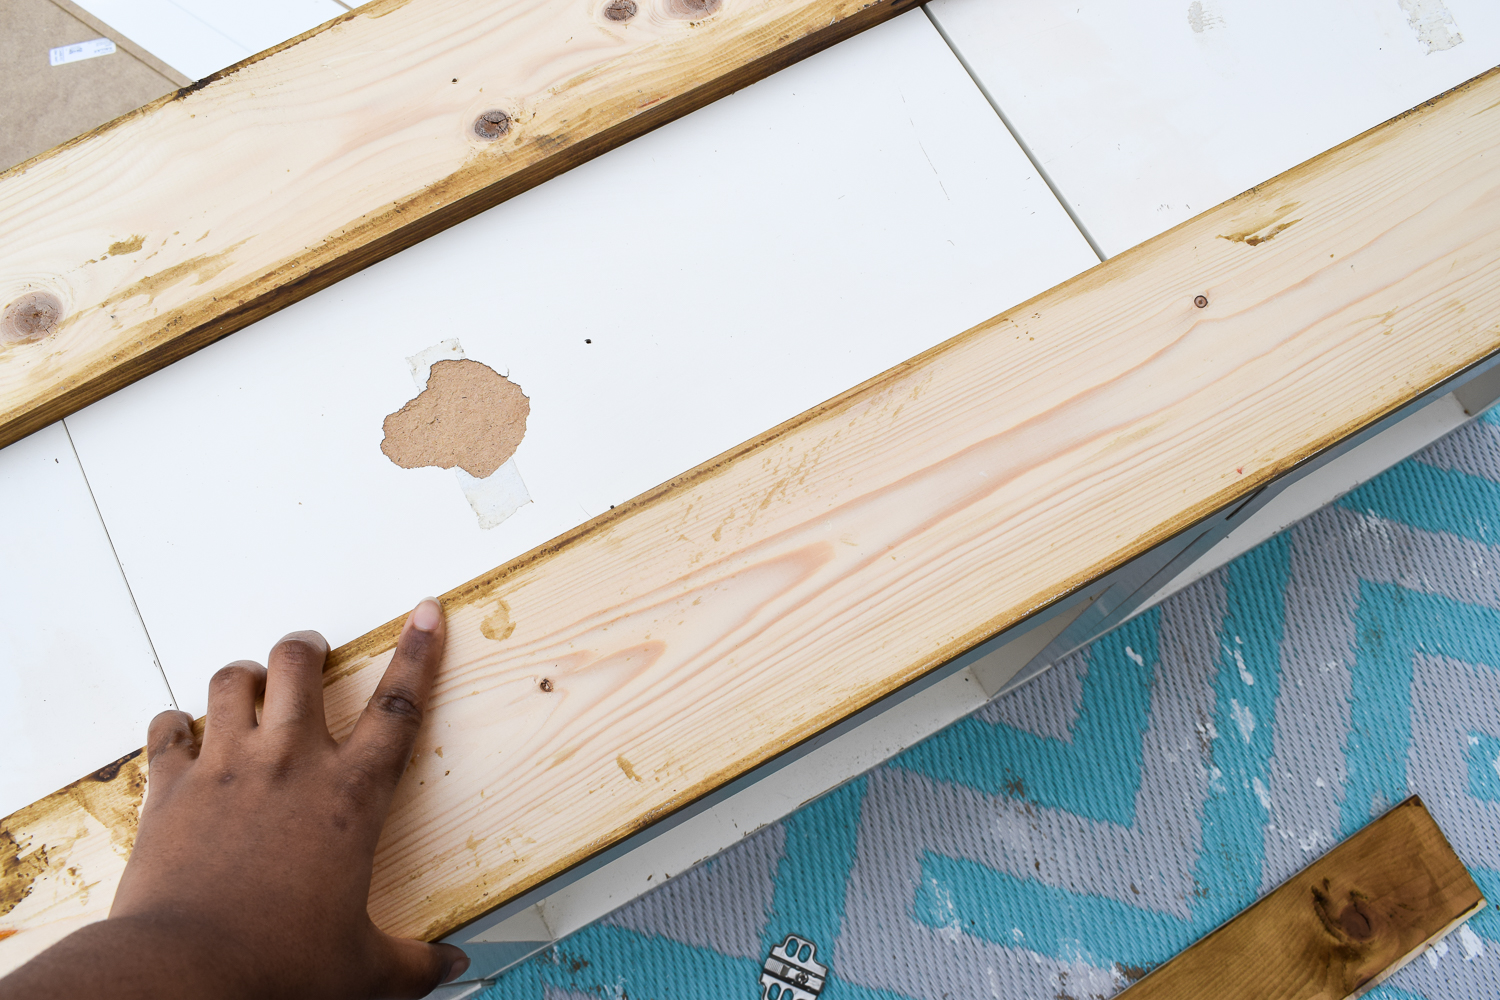
Then I flipped the entire unit over and did the same to the base.
This is what it looked like after. If you are going for a rustic theme, you could stop here and leave the planks natural or stain them . But of course I had been there and done that before! I wanted something a little different this time.
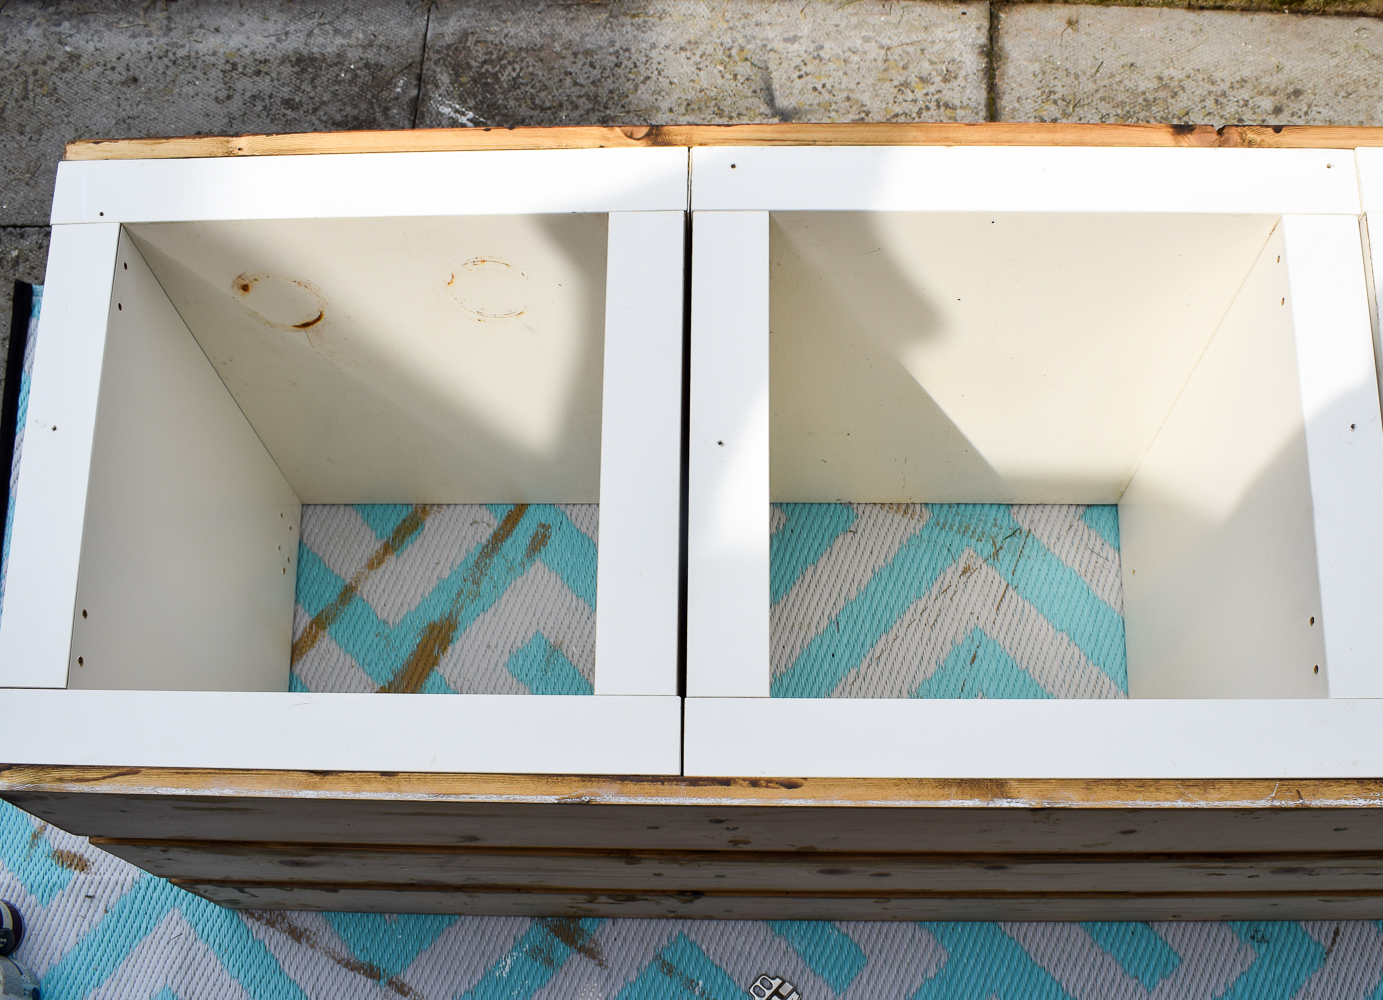
There were lots of holes and areas where the laminate veneer had pulled off. To fix this I applied wood filler using a spatula (I think that’s what they’re called) to smooth it out. I have a post all about how to to do this here .
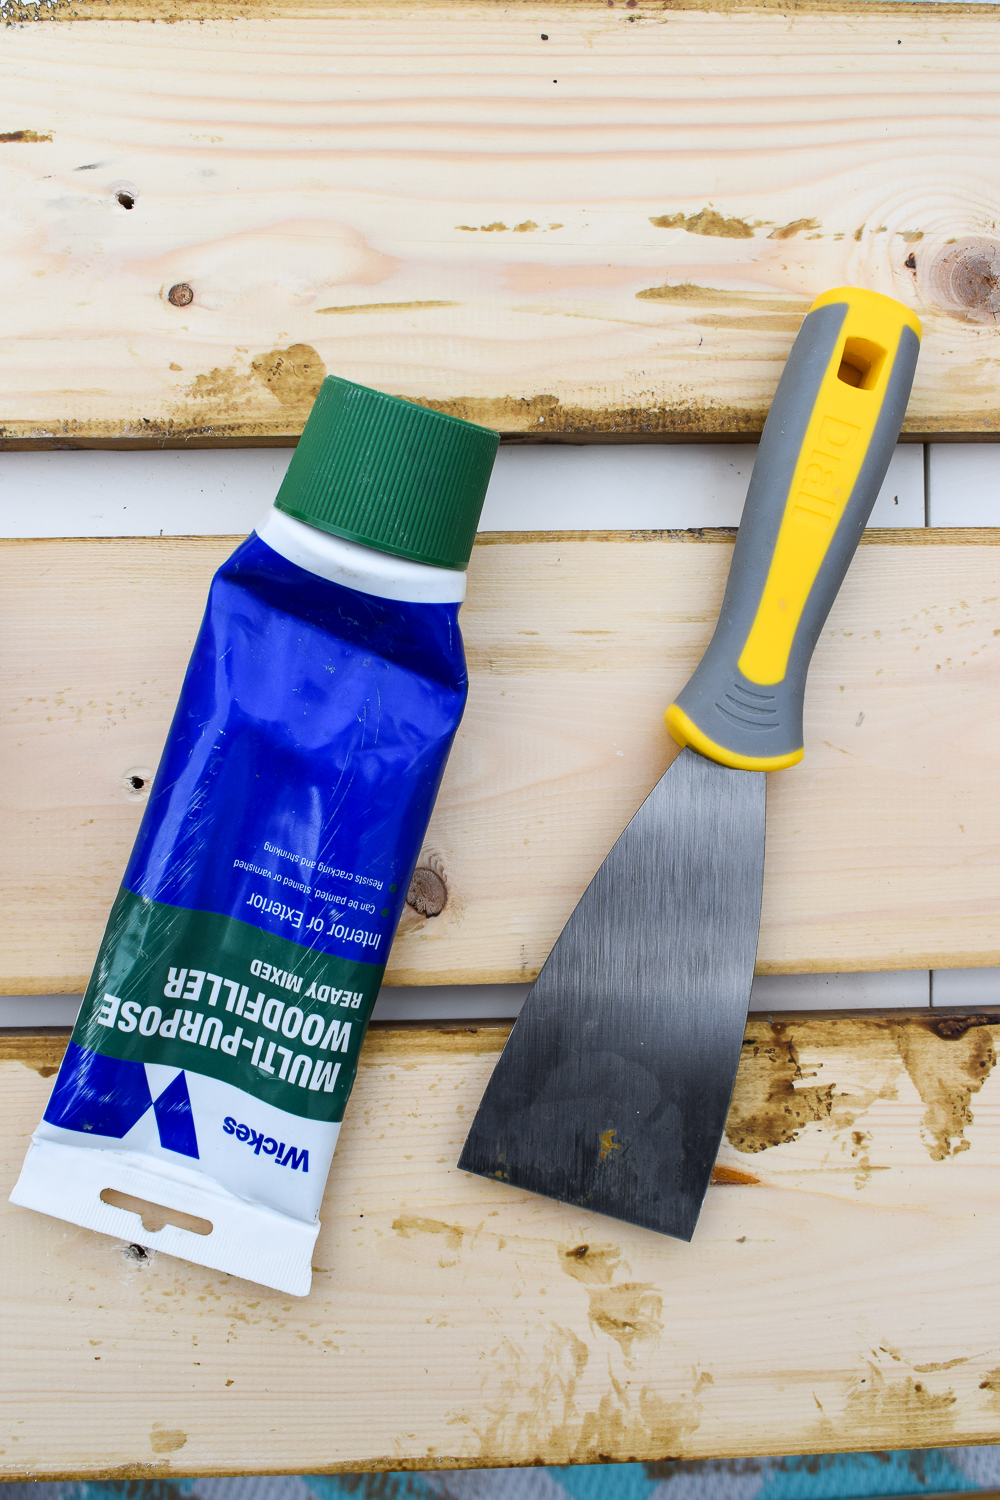
Ideally you should use a wood filler that is the lighter or the same colour as the unit you intend to paint (so in this case white) , but I only had brown wood filler available at the time.
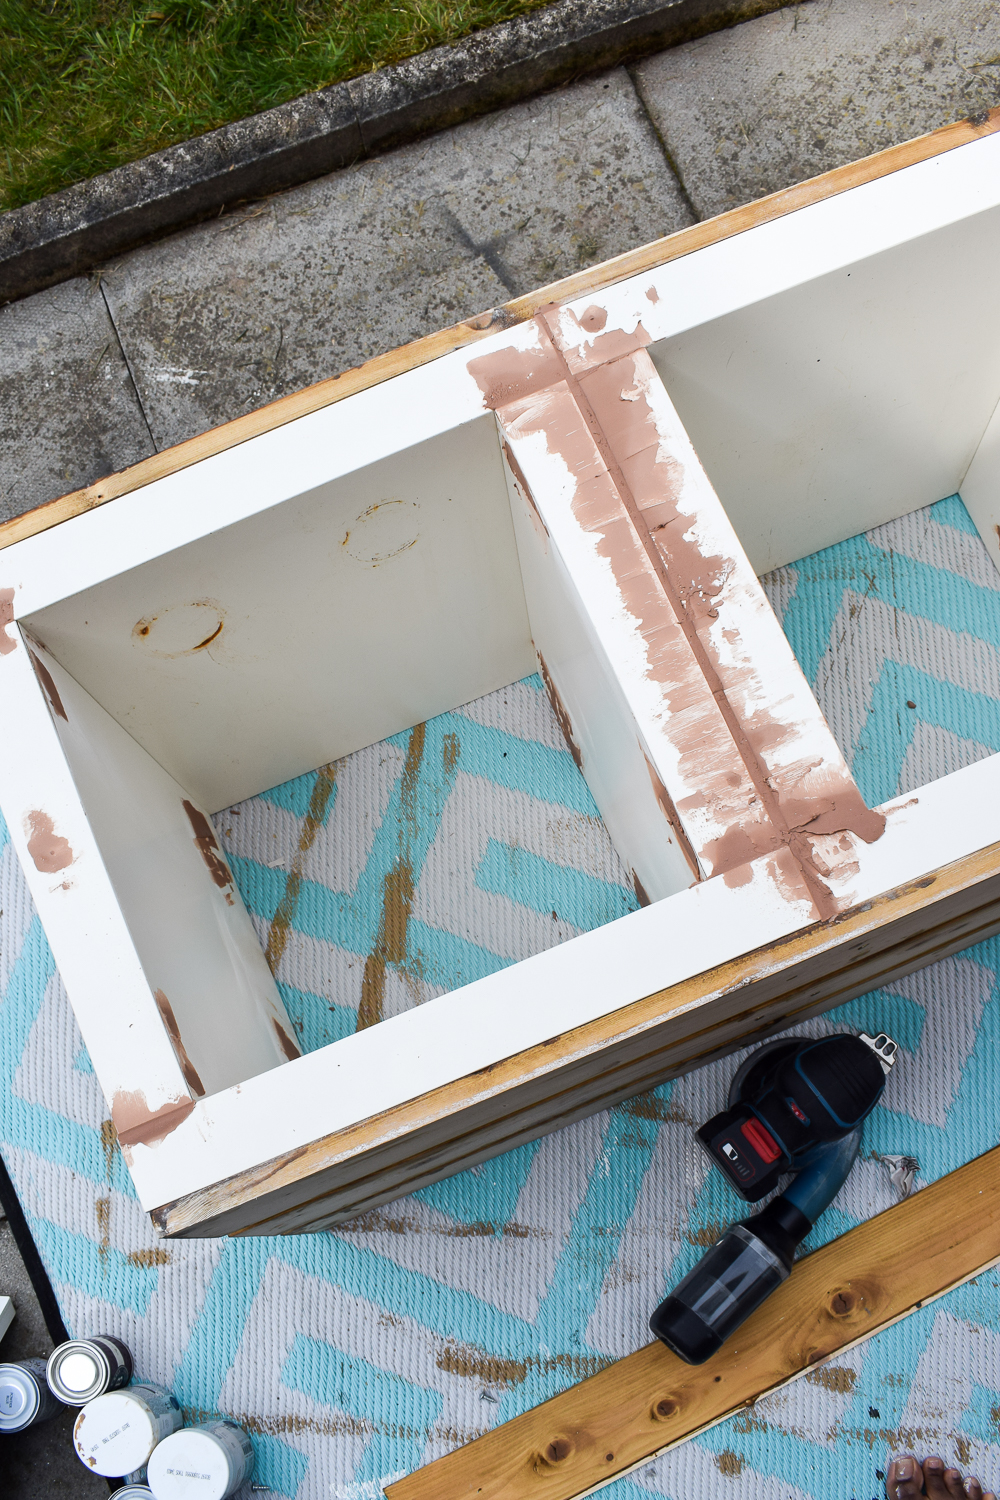
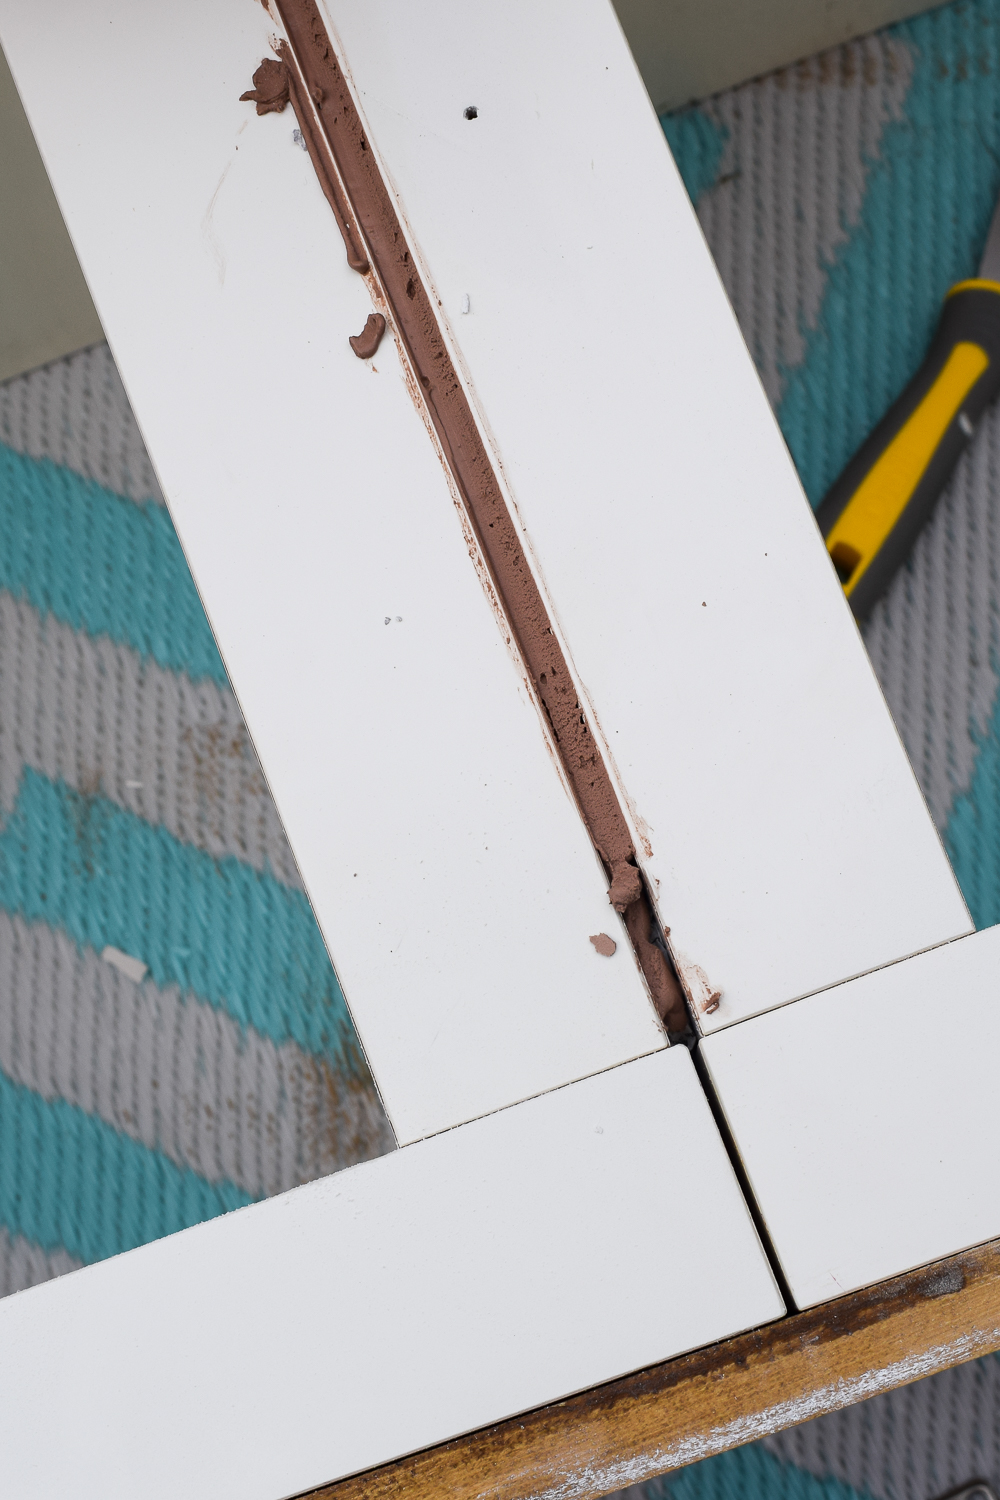
I also applied wood filler to the gaps where each KALLAX unit connected because I wanted the bench to look like once continuous piece of furniture. You won’t need to do this if you re using the 4 shelf KALLAX unit.
Once the wood filler was dry I sanded the KALLAX bench down. In hindsight, I could have done a better job at sanding the wood filler around the gaps as you can see from some of the pictures..
But you live and you learn ey?. And now I find I actually quite like the rough cement look of the bench
When the sanding is complete, it’s time to start painting. I won’t go into too much detail about this step because I have already covered that in this post >>> HOW TO PAINT IKEA FURNITURE IN 5 EASY STEPS.
For choice of paint, I started with Zinsser primer and then finished with Vaslpar Matt Emulsion Char Latte for the top, and Brilliant White for the bottom.
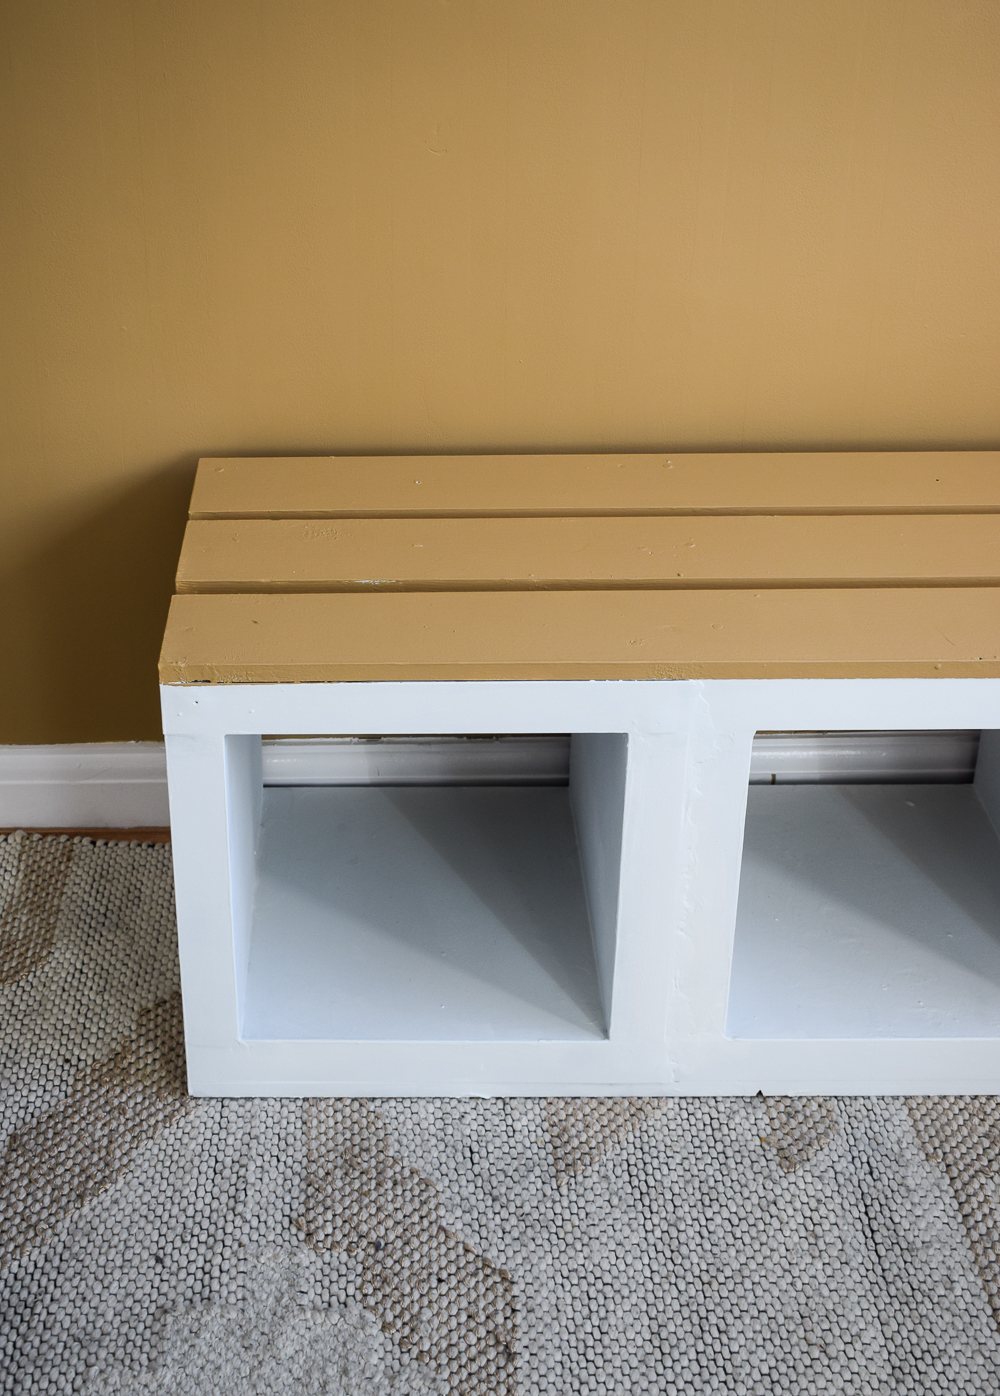
Ideally you should varnish once complete to add another layer of protection. I plan to do that at a later date as I ran out!
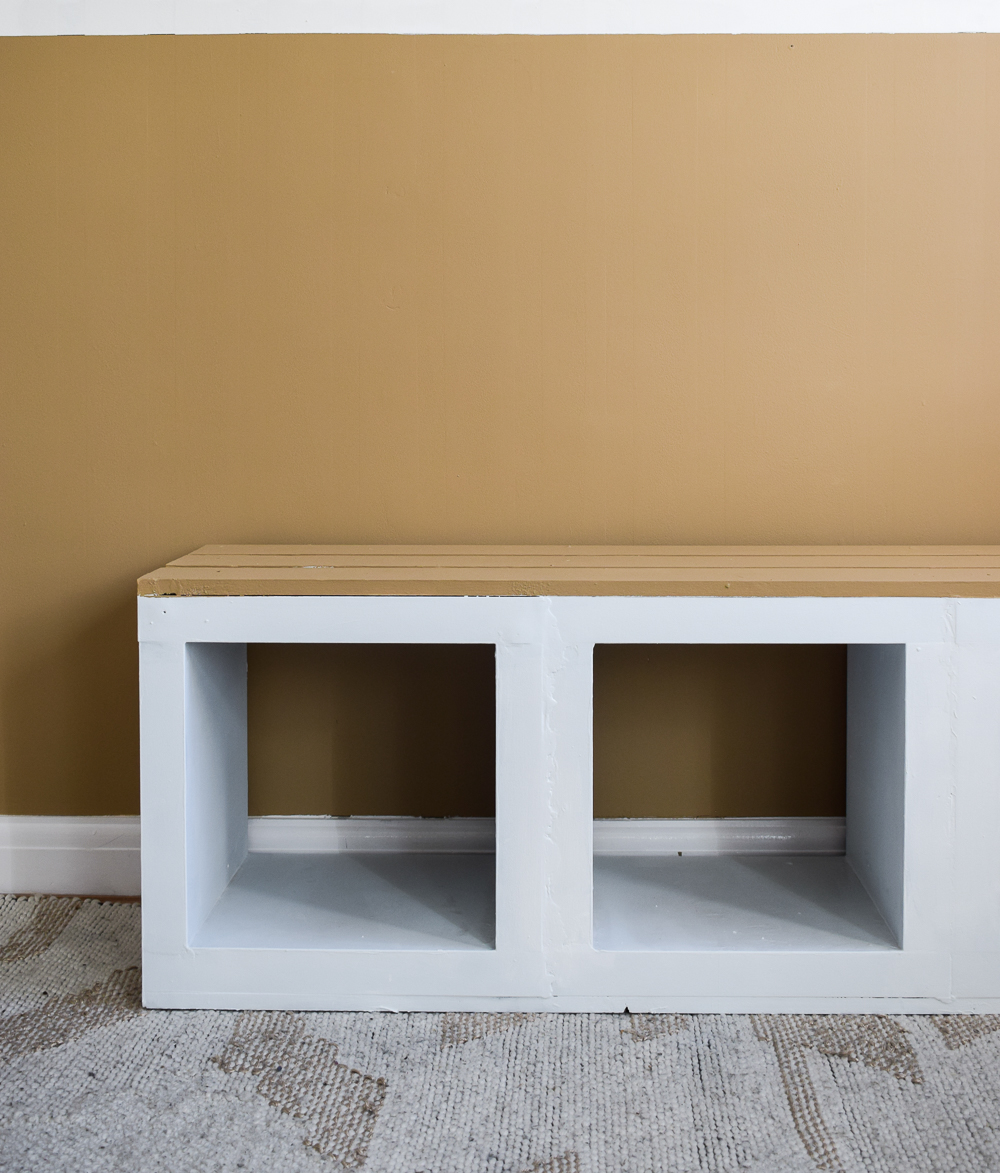
THE FINAL PART OF THIS KALLAX HACK: CONVERTING A HEADBOARD MEANT FOR A BED INTO A BACKREST
I fell in love with this velvet headboard as soon as I saw it! It’s meant for a double sized bed and is from Next. When the headboard arrived, the wooden brackets that would be used to secure it to a divan bed frame weren’t attached to it which made everything simpler .
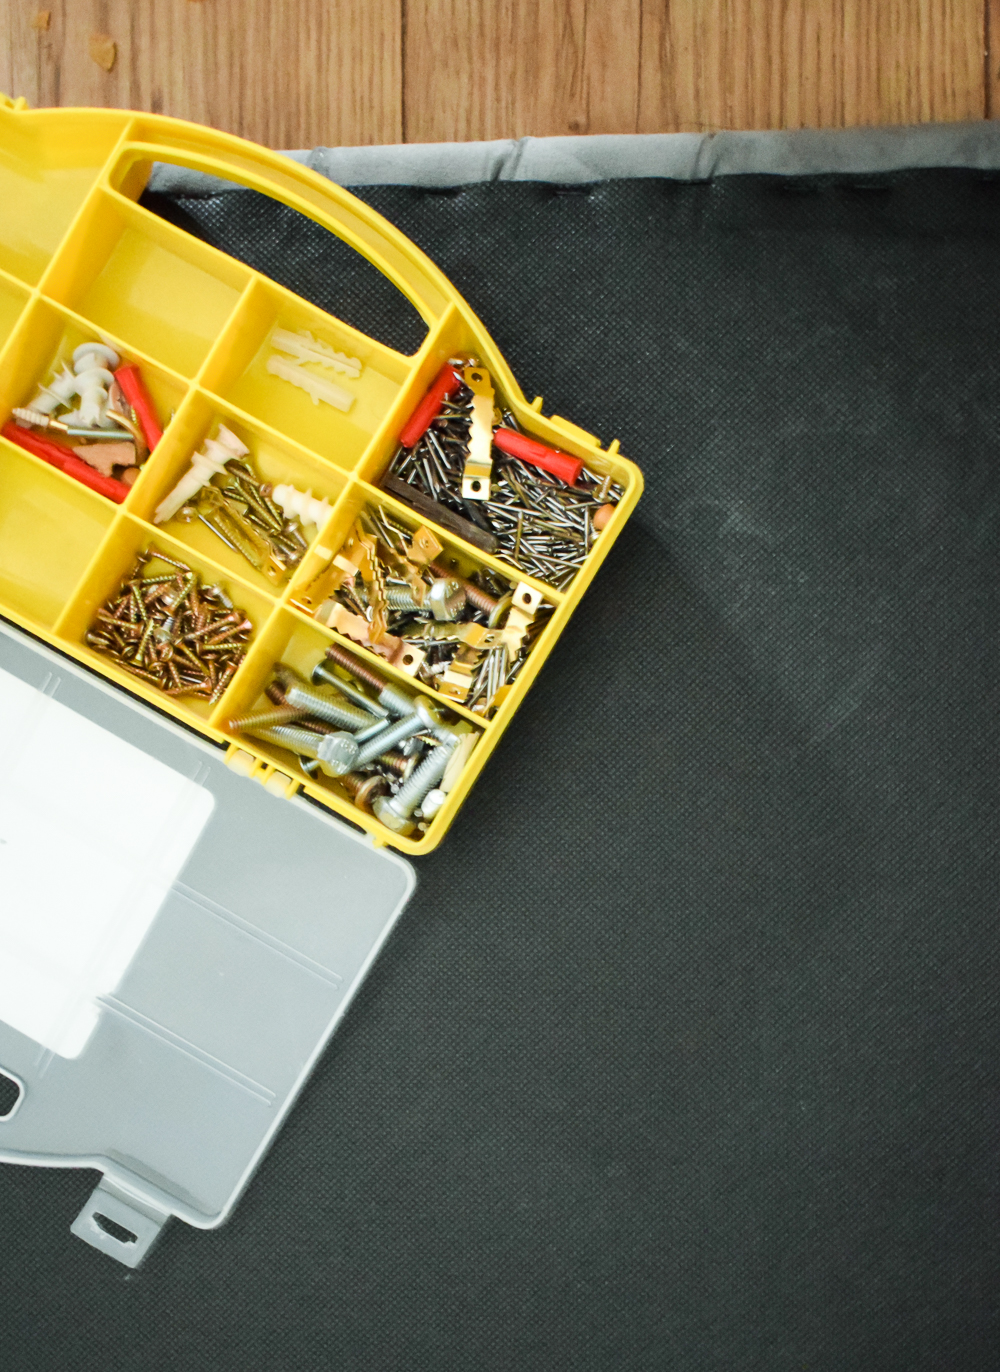
To hang it to the wall, I screwed in three saw tooth picture hangers to the back of the frame (make sure you secure the hooks directly into the wood frame not the upholstery) and hung from three screws in the wall. Sorry for the lack of photos of this step – the video will explain it better!
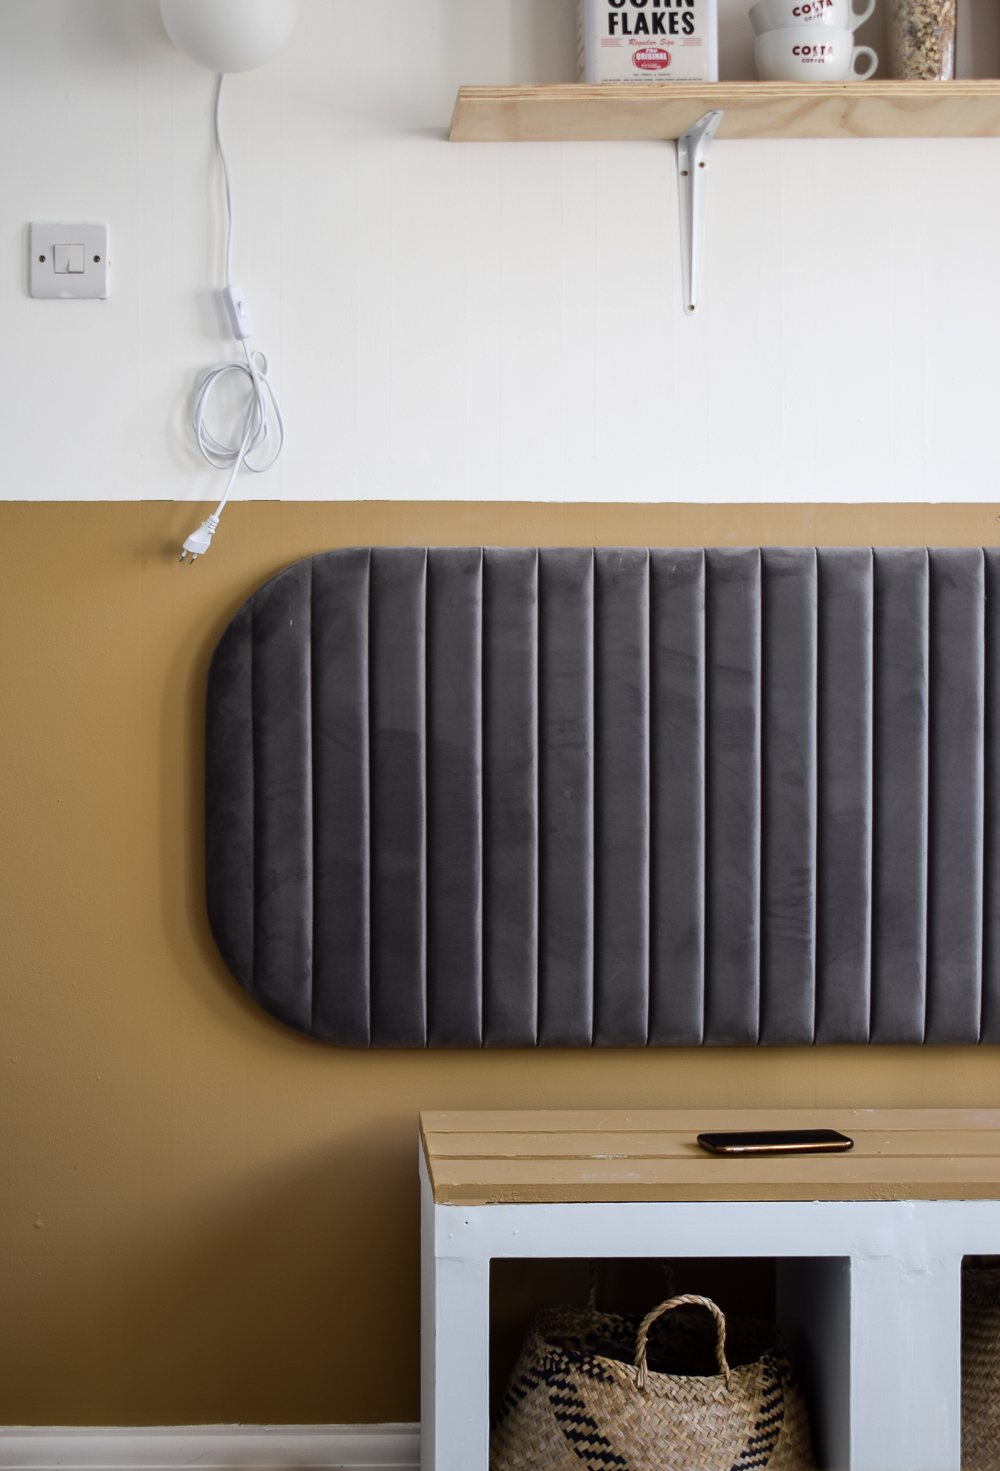
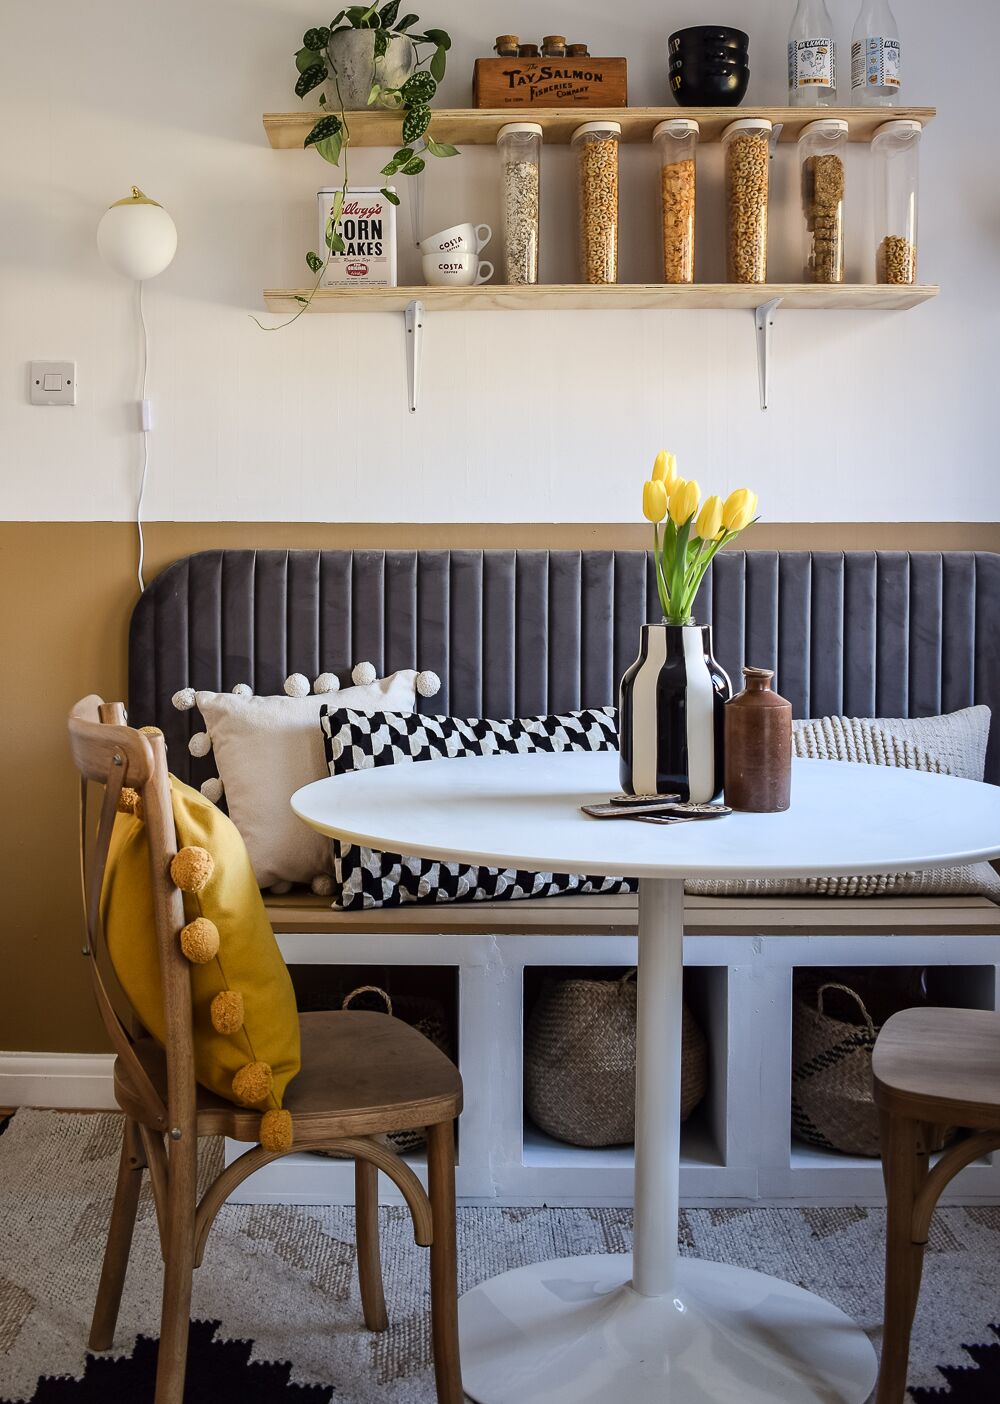
Finally add in some soft cushions – and voila! You have yourself a new and very improved seating bench. How’s that for an IKEA KALLAX hack huh??

**SOURCE LIST:
- Bistro table (gifted) ; Next
- “>Headboard (gifted): Next
- Chairs (gifted): Next
- Baskets: La redoute
- Pom Pom Cushions (gifted): Next
- Plug in lights : Lampsy
- Plants : Beards and Daises
- Striped vase (gifted): Next
- Brown bottle : eBAY
- Cereal containers ; IKEA
Let me know what you think in the comments! Have you ever attempted an IKEA KALLAX hack like this before?


Hello! I absolutely love this and plan on using you guide to build my own nook using IKEA kallax. However, I am concerned about weight capacity. For the two cubes, it says the capacity is 55 lbs. have you had any issues?
I LOVE everything about this!!
Thank you!
Can you let me know where that gorgeous rug is from? Luv the design and colourway suits that nook perfectly!
All linked in the post – its from Next Home
The finished project looks great and is beautifully styled. Good directions! It really looks nice.
Great idea! Thanks for sharing. All the best.
thank you!
I really enjoyed this Ikea hack and you are adorable!!
Thank you!
I love this! You did a beautiful job and I love the storage it provides .
Thank you!
Love it!!
Thank you!
I have two larger Kallax in my bedroom closet I use for loose shoes. I keep my shoes in their boxes. However, I have pairs without boxes. I also store my summer tops and other items like hats. I love them. Your hack was easy to follow and looks good.
Thanks so much sheila and thats a brilliant way to use the Kallax!
Medina
I love your blog you have some great ideas and I love that it is understood of how to do it I have been enjoying it very much !
Thank you so much for stopping by!
Medina:
☆Absolutely fabulous job w/DIY Upcycle° & styling your whole dining nook ◇Looks gorgeous!◇ Love your thrifty spirit & creativity. ♡Crazy mad about Kallax Cube units & adore IKEA hacks to update older or generic big box design.
♡Thx for sharing your inspiring ideas! ♡
°Might tweak your design. As a renter, feel uncomfy about mounting heavy pieces on wall. Might search for a vintage headboard w/legs or a lighter 3-4 paneled screen as the back. Both items can be found pretty cheap ($10) or even as a curbside find in LA. They could also be secured fully to the bench instead. God bless you♡