Learn how to paint melamine wood – and turn any outdated piece of furniture from drab to fab!

Believe me when I say, I never intended for the story of ‘how I painted and wallpapered my extra large melamine wardrobe’ to ever hit the light of day, let alone this blog (hence the lack of progress pics).
After two full days of vigorous painting and an overuse of ‘colourful choice words’, I had just wanted to forget the whole thing had ever happened …

You know…just move on with life.
However, looking back, I realise there are a few things I can share about my wardrobe makeover that might be useful to you guys…
Because lets face it, I’m sure we can all recall a time in our life when we owned a melamine monstrosity and had persistent thoughts about painting it
So here goes.
A month ago, operation bedroom makeover commenced (update: the bedroom is done! Take the tour here)
First on the agenda…. find a way to update the look of this beast of a wardrobe.

And oh what a beast it was!
It had been built in by the previous tenants (god, what were they thinking??). Upon moving in, we had removed its even uglier outdated doors, leaving the very unattractive melamine wood exposed for all to see.

To put it bluntly, I hated it. The very sight of of the reddish fake grain burned my eyes.
What choice did I have? I had to paint it.
(Just a note: our landlord is quite chilled about us painting, but there are some who might not be, so always make sure you check first. Read more here)
MATERIALS NEEDED TO PAINT MELAMINE:
This post contains affiliate links for your convenience – please see full disclosure here
FOR PAINTING:
- Foam rollers and paint brushes
- Fine grit sandpaper (150 grit paper)
- TSP diluted in water (for cleaning) and old cloth
- Wood filler
- Varnish (Polycrylic) – for sealing (heres a UK brand I like to use, and here’s a US one)
- Primer – for all my UK readers, this stuff is the BOMB! This primer from the US is also really really good
- Furniture paint of your choice – I used the Wilko cupboard paint
FOR DECORATING:
- Wallpaper – this one I bought off ebay Uk!
- PVA or Elmers glue
HOW TO PAINT MELAMINE WOOD:
Last year I wrote a post about how to paint IKEA furniture – and the same rules apply when painting melamine.
Melamine is similar to laminate in that it has no natural wood grain, making it hard to sand back, and even harder to get paint to stick!
Don’t despair though, it can be done. It just takes a little more time.
1. SAND
I used my palm sander to sand the inside of the wardrobe. I also used 150 grit sandpaper for some areas like the edges, bottoms and detailing to ensure I got into all the nooks and crannies.

Alternatively you can use a DE-GLOSSER to dull the shiny surface rather than sanding , but this is quite a strong chemical and needs to be applied in a well ventilated area.
I skipped this step, because I didn’t fancy getting high on even more fumes that day (not that there is ever a day that I want to of course)

2.CLEAN
I used an old rag to remove all the sanding dust , then TSP diluted in water for a more thorough clean.
Now might be a good time to add wood filler to any areas that might need a little TLC. You can read more about the repair process here
3.PRIME
The Wilko brand primer I used is actually targeted for melamine and laminate type wood. Consequently it was quite thick and bonded really well to the wood .
You can use other brands for this step, but I would suggest sticking with oil based ones like Zinsser or rustoleum spray paint

I initially applied the primer with a paint brush to all the edges and corners I knew the roller wouldn’t reach. Everything else was painted with the roller .
You then have to wait..for each coat to dry (sanding very lightly in between each one) – this is how it looked after the second coat of primer

I’m not gonna lie, watching the paint dry was the hardest part for me (impatience is my middle name). That and the multiple layers of primer I had to apply due to the sheer size and type of wood I was prepping.
As always, I took to facebook to moan all about it!

4 FINAL PAINT:
Once the primer had dried, I plastered on the final coat of paint. I chose to use Wilko furniture white paint but again you can use any brand, type or colour for your final coat.
It really depends on the type of look you are going for.

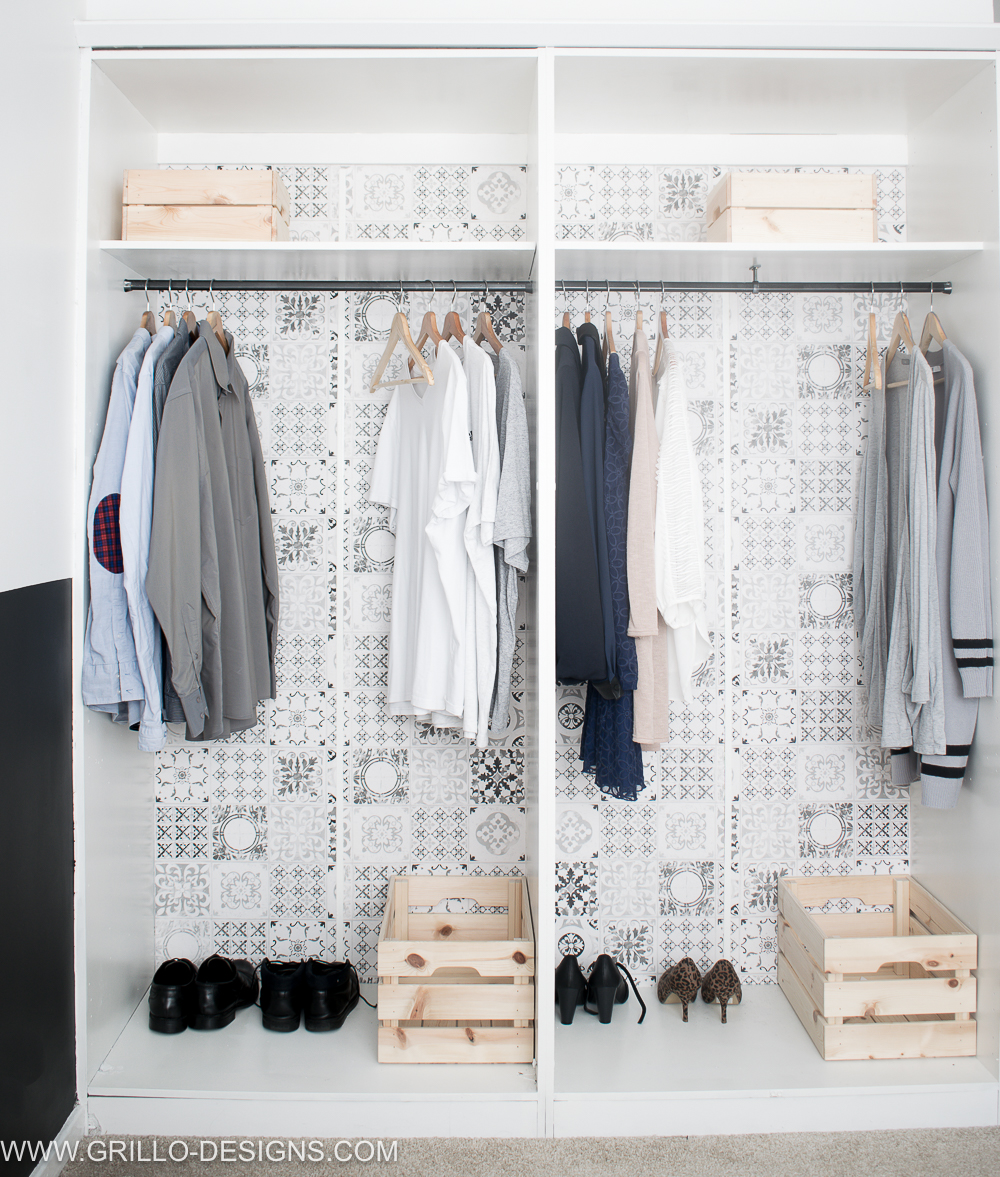
Notice the backing of the wardrobe still looked very patchy? I planned to cover it with wallpaper so I wasn’t too bothered about the coverage in this area

This is the wallpaper I chose..isn’t it gorgeous?? (you can also buy it from the US here) I used PVA glue and a foam bush to apply it to the back of the wardrobe.
5 SEALING
This was the final step! I used clear Ronseal varnish to seal the wardrobe (US version here) .

AND THATS IT… seriously… everything you need to know about how to paint melamine
Transforming this melamine wardrobe took about two days to complete, but bear in mind, I spent a good portion of that time feeling a little sorry for myself at what seemed like an almost impossible task.

Turns out it was more possible than I thought, but would I do it again?
Most likely not.

The open closet concept was only meant to be a temporary idea while I figured out what to do in terms of wardrobe doors.
Ahem!….

Clearly the open closet concept isn’t working for me..
Does an open closet work for you? Let me know in the comments below
UPDATE: CHECK OUT MY NEW WARDROBE DOORS HERE!


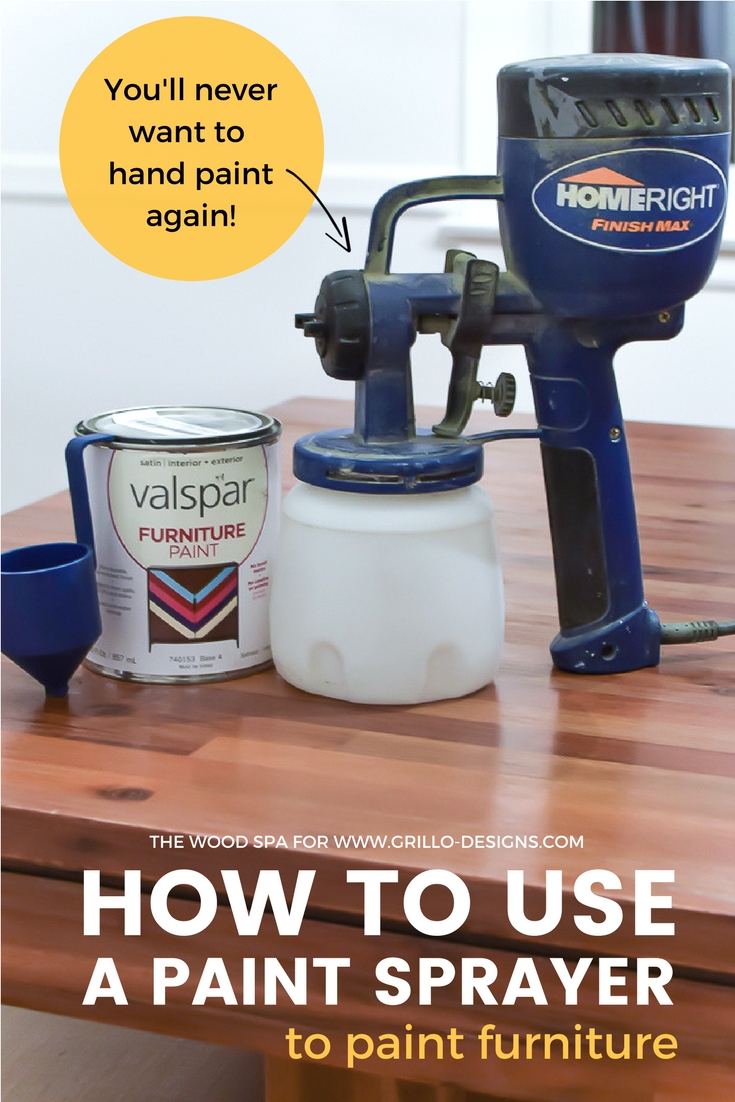
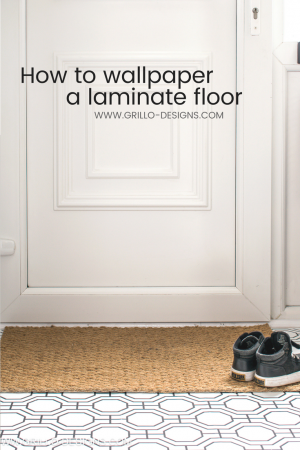
We’ve got quite a few other on this blog.. check them out below!
HOW TO PAINT WITH A PAINT SPRAYER
HOW TO WALLPAPER A LAMINATE FLOOR
HOW PAINT AND STENCIL CONCRETE


OMG!! it is like night and day. I have been using these last 3 weeks to DIY the heck out of all my old furniture including the very ugly non-wood pieces lol. This looks so good!
Thank you so much!
Thanks for sharing the ‘real life’ picture of your closet. My husband and I would never be able to have an open closet. (Imagine yours, times fifty 🙂 ) The closet itself looks amazing though. Soooo much better than the original.
Haha yes it looks even worse today but thankfully we now have closet doors.. I’m not sure if you saw my newest bedroom makeover post? Thank you though, I’m so glad you like it
I recently took the doors off of my closet. I had an idea, but when I started, it didn’t have the look I wanted. I planned on hanging beads. Well they were very sparse and you could see everything. Not the look I was going for. I ended up using a tention rod on the inside and hung up some black shear curtains that have glitter on it. Now I’m having issues with hanging the beads. One is too small and two are too big. I tried a tention rod for that as well but the beans are too heavy. My next move is to drill small holes on the inside of the door frame and put hooks us. I’ll send you a picture of my finished project when it’s complete. which I hope is soon. Anyway, thank you for you post and awesome ideas.
Sorry for the mis-spellings.
I love the sound of that Kathleen! I would love to see your finished pics – look forward to it! Thank you also for taking the time to share this with me 🙂
Looks really good. I’m in the process of painting our fitted wardrobes using the same primer and furniture paint. Did the varnish make a significant difference to the end result? Would you say it is worth the extra effort of applying it?
Yes I would def recommend it, the varnish just helps to protect the wood from any scrapes or bumps that might cause the paint to come off. And thank you!
What a fantastic idea, I love the look and you wouldn’t know it was the same wardrobe!
Thank you so much!
That is fabulous! Well done.
I LOVE this Medina! I would never think to sand down melamine! But now I may need to try. Love the wallpaper too – I thought you had painted the stencils!
Thank you so much Lindi 🙂
Wow, this project is STUNNING! I love the stencil you chose, so pretty! Love your imagination!! Sharing today on @Snazzy Little Things, thanks so much for linking up last week. Look forward to seeing more of your posts during my next round up! <3
Thank you so much!
Nice space & DIY. Thanks for sharing at the Inspiration Spotlight party. Shared & Pinned
Amazing make over. I love the wallpaper you chose.
Thanks for sharing at Waste Not Wednesday.
I love that wallpaper you chose And its so much better white. It looks lovely! I painted our laminate desk and used primer and acrylic and it’s holding up nicely over two years later.
I thought maybe you were clothing minimalist in your initial photos and the closet looks good! Haha but your actual closet looks like mine. I wanted to keep the doors off after we replaced our floors but some things just need to be covered ?
Medina what a gorgeous piece! But you’re right! It’s probably not super practical to have an open wardrobe . I absolutely love the wallpaper.
Wow, what a transformation. Loving that Morrocan tiled wallpaper. I’ve got a thing about Morrocan tiles, I’ve been stenciling them but didn’t know there was a wallpaper.
Thanks claire.. me too! Im gonna do my stairs next!