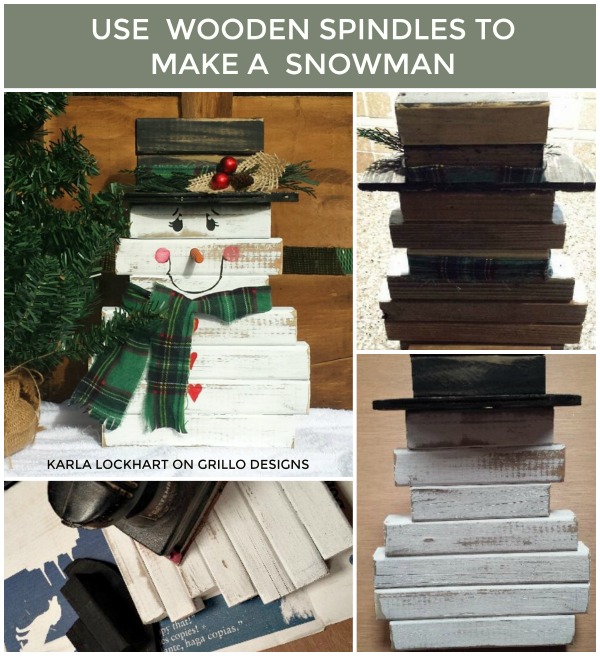
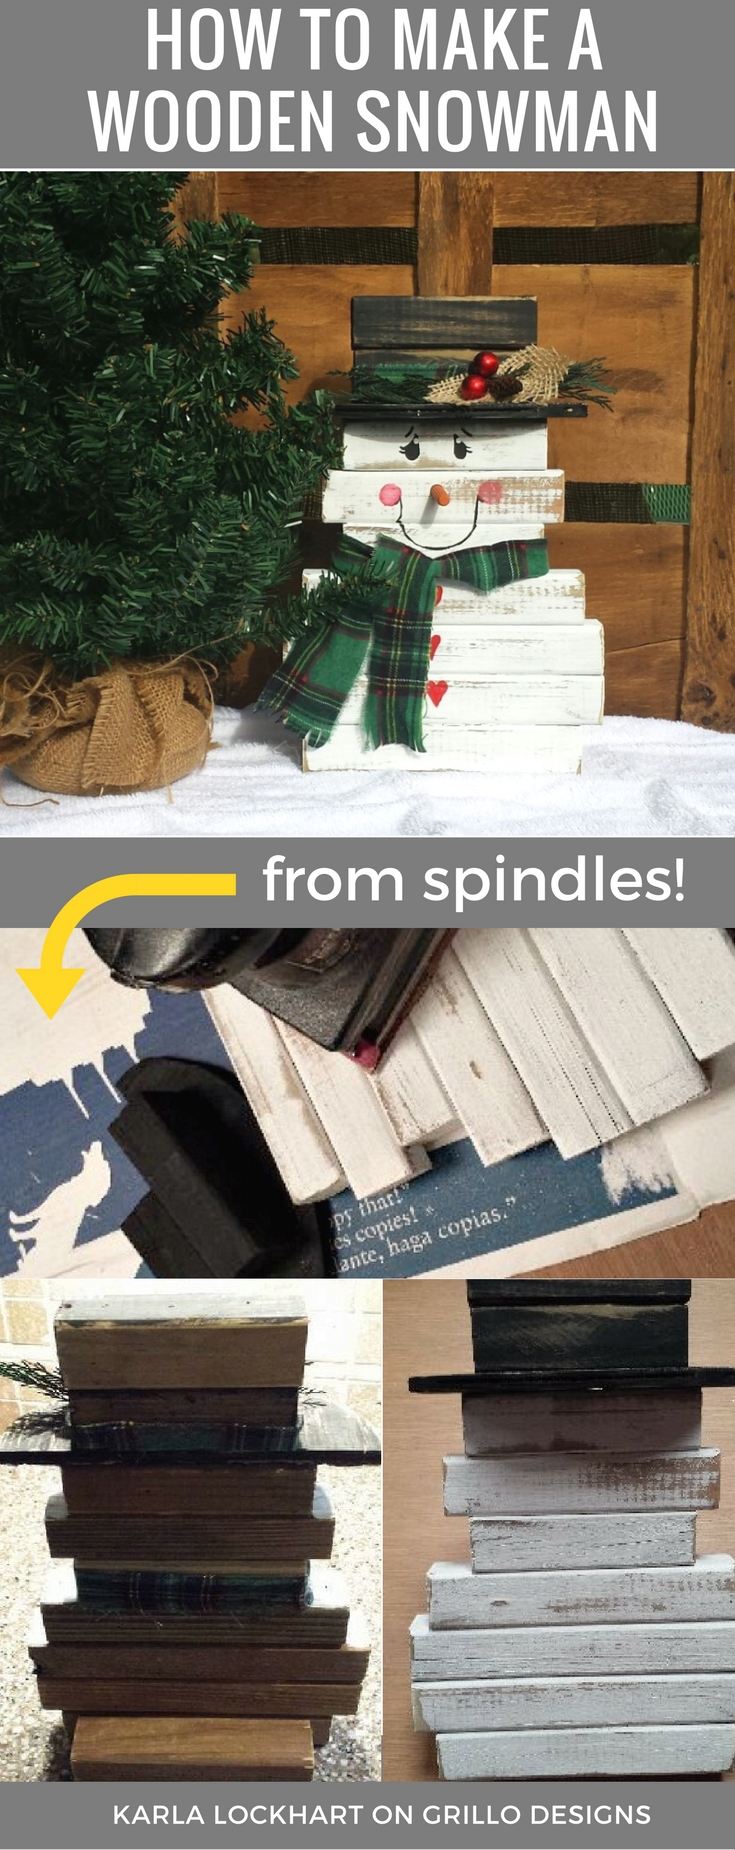
This DIY wooden snowman was submitted by Karla Lockhart from our Home & DIY group. This rustic snowman is a great crafty project to try this winter especially if you have wooden scraps or left over spindles you need to use up. It can be displayed both indoors or outdoors as beautiful winter decor. Keep reading for the full tutorial from Karla – Medina Grillo

Materials needed to make this DIY wooden snowman:
TO BUILD :
- 60 in. of 1-1/4 in. by 1-1/4 in.* square spindle (non pressure treated)
- 8 x 3 in (or larger) of 1/4 in. (or thicker) scrap piece of plywood (hat brim)
- Tape measure
- Pencil
- Wood Glue
- Circular saw,
- scroll saw,
- pneumatic nail gun,
- sandpaper and sander
- 2 in. and 1 1/4 in. brads for nail gun
- Safety glasses, ear protection
TO DECORATE:
- Scrap fabric, burlap
- Black, white and red craft paint
- Various ornamental greenery bushes and berries
- Polymer clay nose approximately 1 1/2 in. long
- Hot glue gun and glue
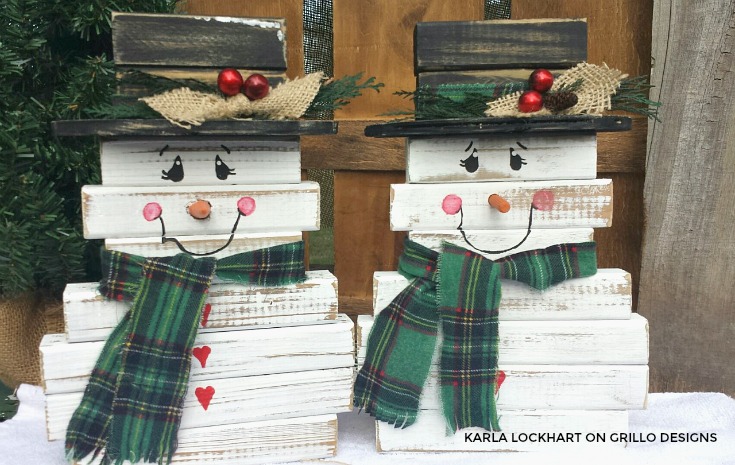
How to make this wooden snowman:
STEP 1:Measure spindle and cut to these exact length sizes below using a circular saw.
- two 8 inch pieces
- two 7 inch pieces.
- one 6 inch piece.
- two 5 inch pieces.
- two 4 1/4 inch pieces .
Sand the cut edges of each spindle.
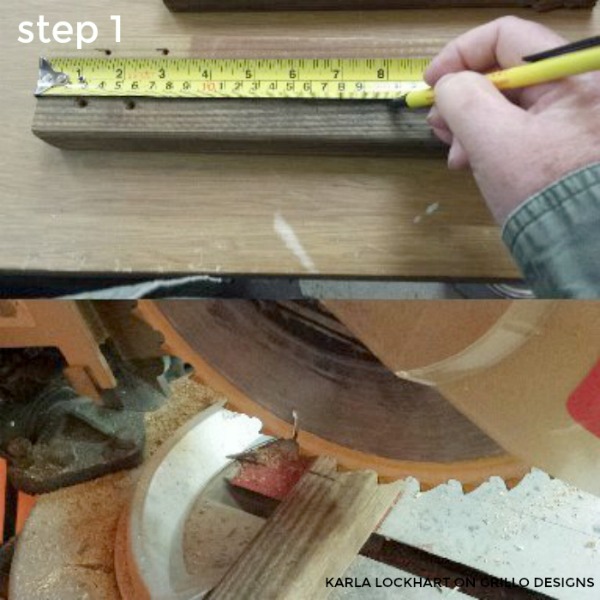
Step 2. Measure the plywod scrap for the hat brim.. Draw on one long side an oval type semi scroll. Use a jigsaw or scroll saw to cut the shape out, Alternatively you can also use large circular shapes of wood and cut in half.
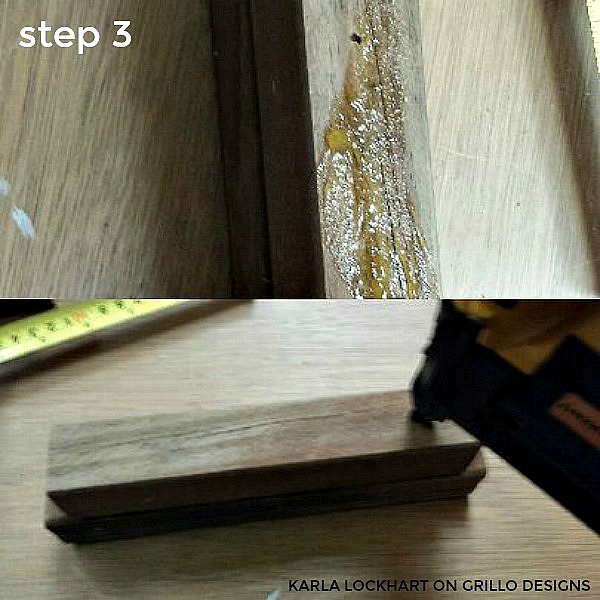
STEP 3: . Assemble the body
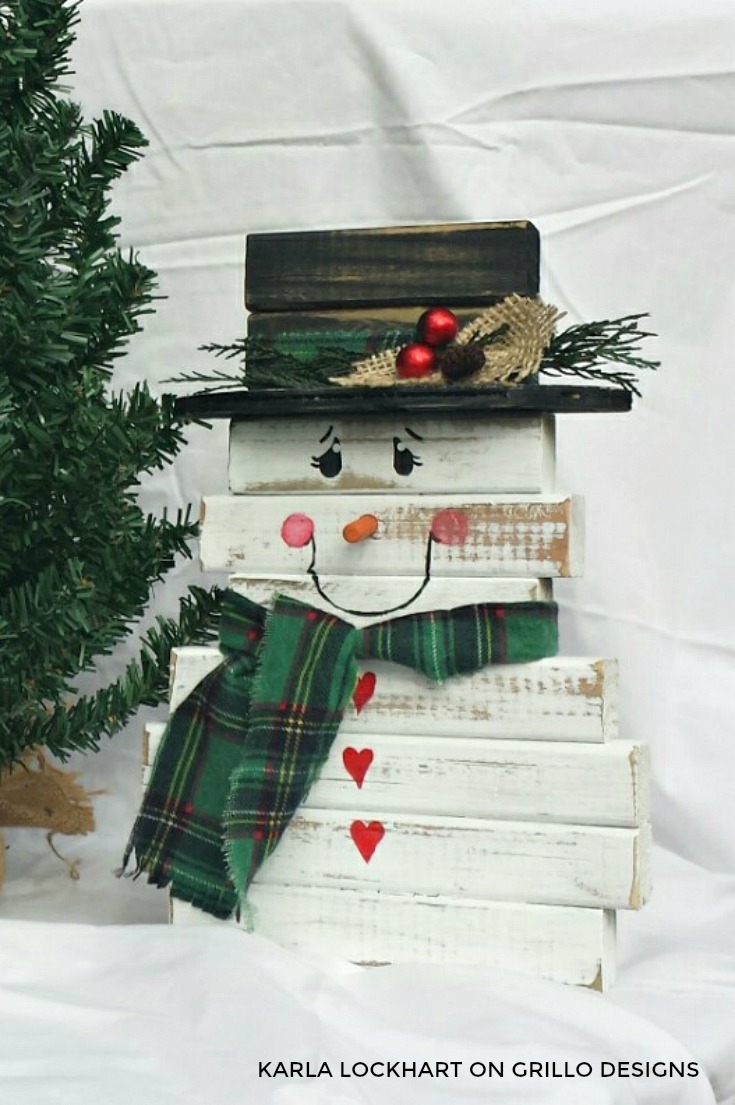
To get a similar shape as the wooden snowman shown in my picture you need to assemble the spindles in the following order:
- 7 inch spindle.
- two 8 inch spindles
- 7 inch spindle.
- 5 inch spindle.
- 6 inch spindle.
- 5 inch spindle.
- hat brim
- two remaining 4 1/4 in pieces
Start with a 7 in. piece, spread a small amount of wood glue on “top”. Take one 8 in. piece and center it on top of the 7 in. piece. Using the 2 in brads, nail in 2 or 3 brads across the top of the 8 in. piece.
Repeat these steps as you “build up” your wooden snowman.
Center and Attach one 4 1/4 in. piece to the hat brim using glue and the 1 1/4 brads.
STEP 4 Paint body white and hat pieces black (make sure to do the front and back for a finished look)
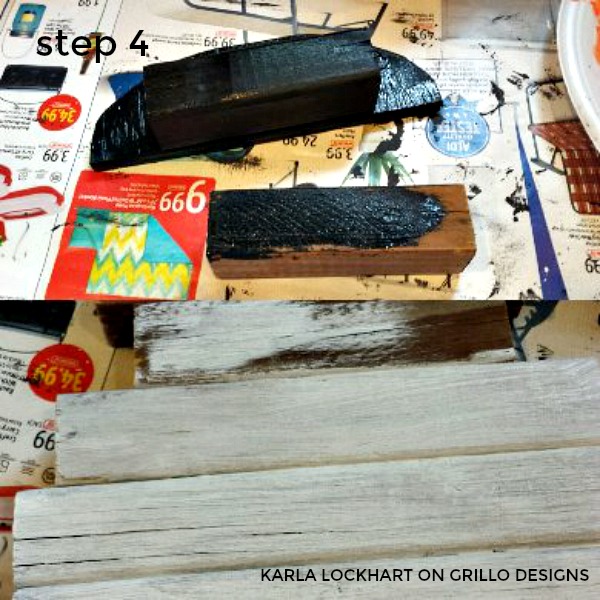
STEP 5. Once the body is dry attach the hat brim with glue and 2 in. brads. Next attach the remaining 4 1/4 in. pieces in a similar fashion.
If want a worn look, sand the front of the snowman to the desired effect
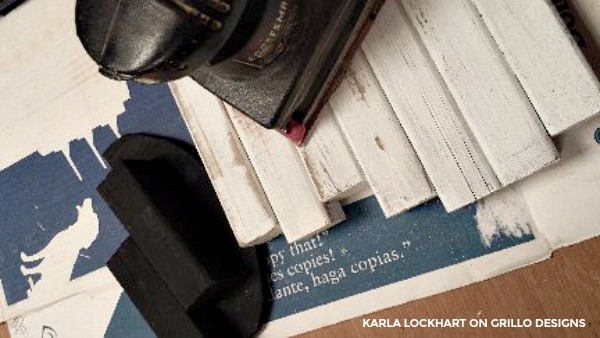
STEP 6: Place a brace on the back of your snowman at the bottom. You want the snowman to tilt back just a little. Use a scrap piece of the spindle and nail with brads.
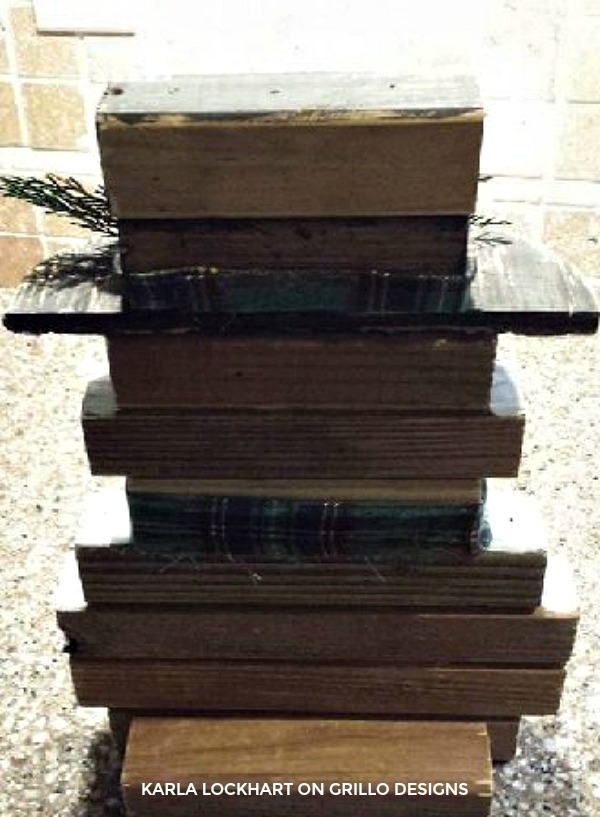
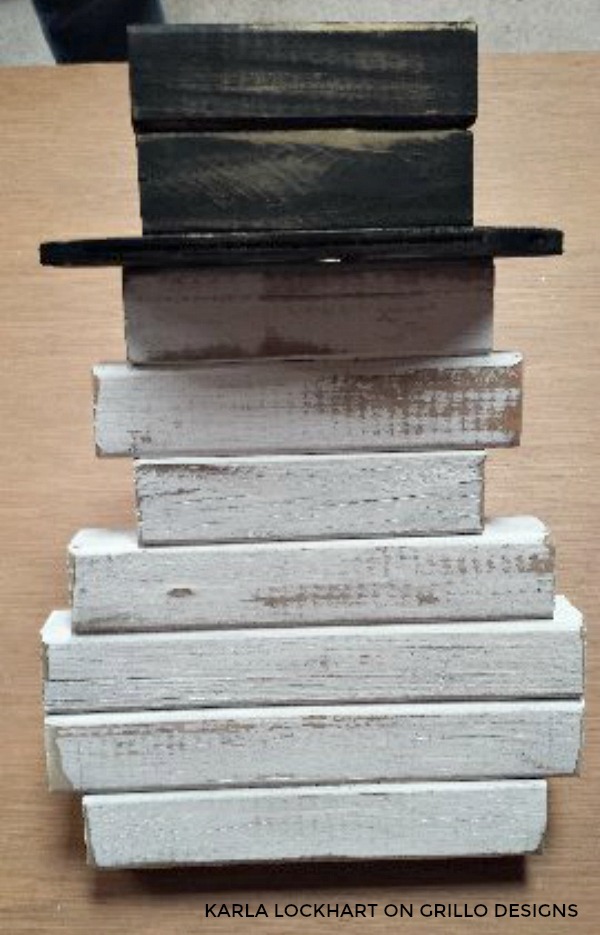
STEP 7. Paint face, (if sealing with varnish do so now.) Hot glue on nose, scarf, greenery and berries. I drilled out a shallow hole for the nose and used hot glue to secure.
NOTES TO REMEMBER:
You can also just paint the entire face, no drilling!
Hand tools can be used in place of power tools. Pre drill holes if using nails or screws. If just using glue, use clamps and dry completely. Furniture tacks can be used in the front on the bottom to help from falling forward.
If you have any questions about anything please leave me a comment below! Dont forget to share 🙂
Karla Lockhart
THIS IS A MEMBERS PROJECT. YOU CAN READ MORE ABOUT THE AUTHOR BELOW:
I am Karla Lockhart from Oklahoma, USA. Born and raised in Montana and will soon be back there once my husband retires in a couple more years. I have 2 daughters and a daughter from another mother.
I so enjoy crafting, DIY projects and recycling. My days, of late have been filled with house building dreams for our Montana property and I love that these sites share so many “projects, ideas and problem solving”. It is a go to place for inspiration and fun! Gotta have fun!
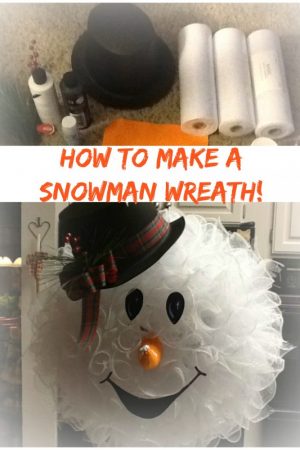
IF YOU’RE LOOKING FOR MORE CRAFTY SNOWMAN IDEAS, YOU MIGHT ALSO LIKE THIS EASY DIY SNOWMAN WREATH TUTORIAL. WATCH THE VIDEO HERE!
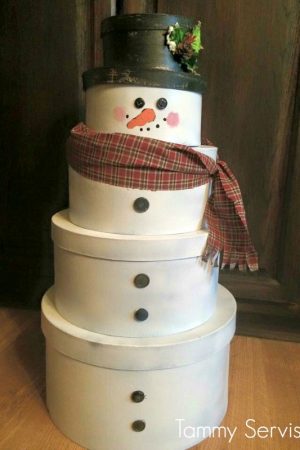
OR THIS POST ON ALL THE DIFFERENT WAYS TO MAKE A SNOWMAN – WITHOUT USING SNOW


You don’t say what are the measurements of the hat brim. Can you send this to me? Thank you.
Nancy
Thank you for posting this awesome article.
I’m a long time reader but I’ve never been compelled to leave
a comment. I subscribed to your blog and shared this on my Twitter.
Thanks again for a great article!
Can you glue each piece and clamp it?
Yes you can do that too 🙂
Sweet! Too bad Christmas is so far away 😉 Working on my Easter DIYs for the blog now, how about you?