Today I’m sharing an easy tutorial on how to build an outdoor rolling bar cart from copper pipes (and Rust-Oleum spray paints). Summer might almost be over, but there is no reason why this drinks cart can’t be rolled inside during the colder weathers and used as a serving trolley for your guests!

*Thanks to Rust-Oleum UK for sponsoring this project.
One of the great things about building your own furniture, is that you have the freedom to decide the exact dimensions, the design and the materials.
Let’s say you see something you like in a store, but the size is all wrong, the price a little shocking, or the style just a touch too generic.
Well…. you don’t have to walk away feeling too disheartened because you can just build it yourself – exactly the way you want it!
I’m still pretty much a beginner when it comes to woodworking and building (and also still very much have my heart in my throat whenever I have to use a power tool of any kind), but I’m learning everyday. You have to start somewhere right? (See my basic builds here)
This month I teamed up with my friends at Rust-Oleum for a sort of outdoor summer challenge.
Lucky Plot 13 and myself were asked to build/upcycle something for the garden using Rust-Oleum Paints. If you’ve been following me for a while, you’ll know that Rust-Oleum is one of my top favourite brands to use when paining furniture or upcycling, so of course I jumped at the chance to work with them
As you can see, I decided to make an rolling bar cart for the garden.


(which FYI can also be used indoors!)


And let me tell you guys – this bar cart was really easy to build, and I mean super easy!! As long as you have a fairly decent idea of how to use you a power drill – you are pretty much good to go!
(apologies for the overuse of exclamation marks in that last paragraph, I’m just really excited ha!)
MATERIALS USED TO MAKE A ROLLING BAR CART:
This post may contain affiliate links. Please see my disclosure page here
PLEASE NOTE : You can use this online measurment converter if you are visiting from outside the UK.
- 2 x copper pipes (2m x 22mm)
- 4 x copper pipe corners (22mm)
- Rust-Oleum Primer spray paint
- Rust-Oleum Hammered black spray paint
- Rust-Oleum Clear laquer
- Rust-Oleum Gold spray paint
- Timber Wood 2.4m x 2
- MDF Wood
- 8 mm Screws
- Stem Castor Wheels x 4 (I really liked these)
- Super Glue
- Wood glue
- Duct tape
- Wallpaper Sample (optional)
TOOLS NEEDED:
- Mitre saw
- Sanding Machine
- Pipe cutter 3- 22m
- Power Drill
- Clamps (optional)
- Jigsaw

HOW TO BUILD A ROLLING BAR CART:
1. BUILD THE WOODEN TRAYS:
Lets start with the rectangle trays. These are fairly easy to build as far as boxes go (and I’ve made similiar boxes before).
Measure and cut your timber wood to the desired lengths with a mitre saw (use treated timber wood if you plan to keep this bar cart permanently outside). You should have 4 longer sized planks (75cm) for the lengths of each tray and 4 smaller pieces for the sides (44cm).
Give all the pieces of wood a quick sanding with your sander.
Apply wood glue to the edges of the wood (note we didnt use screws here to connect the box together as we were going to be screwing them directly to the copper frame)

and connect all the wood together ito make a rectangular shaped box.

If you have clamps to hold everything in place, even better!

Leave the wood glue to dry for at least 4 hours
Then create the base.
I used MDF wood (as that was what I had in my garage). Place the rectangle box on top of the wood and draw an outline. Cut with a jigsaw.
Secure the bade in place with screws (or heavy duty nails)

2. BUILD THE METAL FRAME FROM THE COPPER PIPES:
I bought 2 sets of 2m pipes and cut to size. This is where a new tool discovery came into play – a pipe cutter.
Ok where has this awesome tool been all my life – and why am I just finding out about it now?!
The pipe cutter was really straight forward to use. Clamp the pipe over a flat surface so it doesnt move, measure and mark, then attach the pipe cutter and rotate to cut.

To make one side of the frame, you should end up with 2 x long length pipes (75cm) and one smaller pipe (40cm)
Connect these together with the copper corners to make a U shape . Applying superglue to the inside of the pipe corners will help to make the frame even more secure.


The glue is really quick acting and dried within 3-4 minutes!

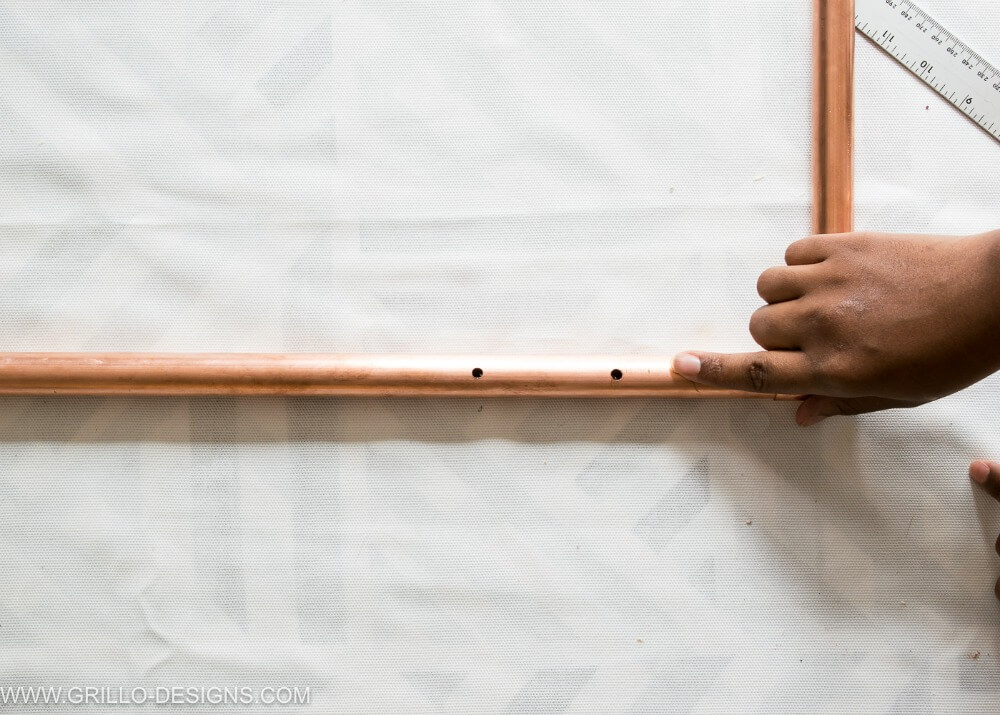
Next using a sharpie and a ruler, mark out the position of your holes on the frame (this will hold the boxes you’ve just built -use the height of your boxes as a rough guide on how to space your holes. The height of the boxes I made was 10cm).
You need to be make sure the holes are in the exact same postion on both of the metal frames to ensure everything is straight and level.

Drill holes where you have marked with your power drill. Place a peice of wood underneath to avoid surface damage. Also watch your fingers, this part can be slightly awkward as the pipe is a little slippery.

Remember your holes, need to big enough to fit your chosen screw size.
3 PAINT THE COPPER FRAME AND BOXES:
I chose Rust-Oleom spray paint primer in white – I love that this paint can be used on all surfaces, wood, plasdtic and metal! Also, spray painting on a primer is much easier than physically painting it on with a brush or roller!


Spray on thin even coats – to avoid drip marks!
Next prime the boxes!

For the top coat, I had originally planned to use the Rust-Oleum Canary yellow that you might have see in previous photos. However, I quickly changed my mind after trying it out on a scrap piece of wood. It was a lovely colour but just too bright for my subtle tastes!
I decided on the RusT-Oleum Hammered Black Paint – which was a total breeze to apply! I loved the easy flow of the spray valve – and one tin covered much more surface area than the standard spray paint containers

I also painted the metal pipe frames too – and left them outdoors to dry.
Finally, to protect both the painted wood and metal frames , I applied 2 coats of this Rust-Oleum Lacquer with a brush (they also do a spray paint version of this) . It dried quite quickly and left a matt finish.

I added wallpaper to the base of the drawers for a little added texture but this is totally optional
4 ATTACH THE CASTOR WHEELS:
The stems of the castor wheels were slightly smaller than the 22m width of the pipes so I wrapped each of the wheel stems in ductape for a more secure fit (see image below)

Apply glue to the end of the pipe and stick directly on to the base of the castor wheel! Maybe there is another way to do this – but this worked best for me!

5 ASSEMBLE THE BAR CART:
Pre-drill holes into the side of your trays and then screw them directly to the holes you previously made in the frames.
6 ADD ON ACCESSORIES
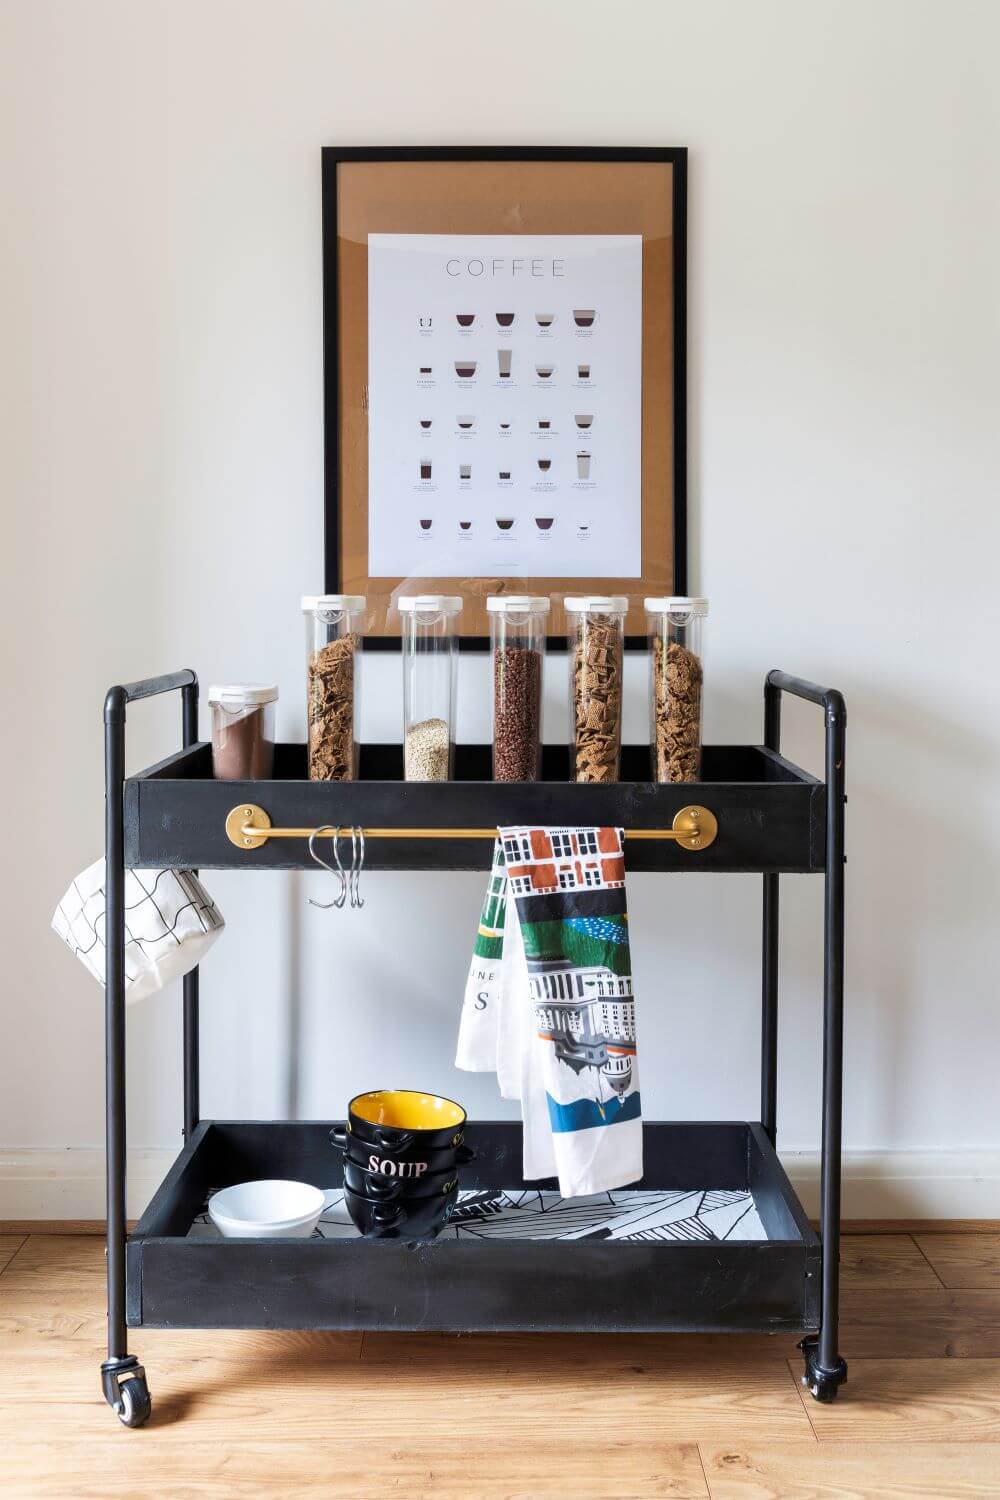
I spray painted a metal IKEA rail and some hooks with Rust-Oleum Gold spray paint and attached to the sides of the top tray.

And thats it! All that’s really left to do is style your bar cart and enjoy!


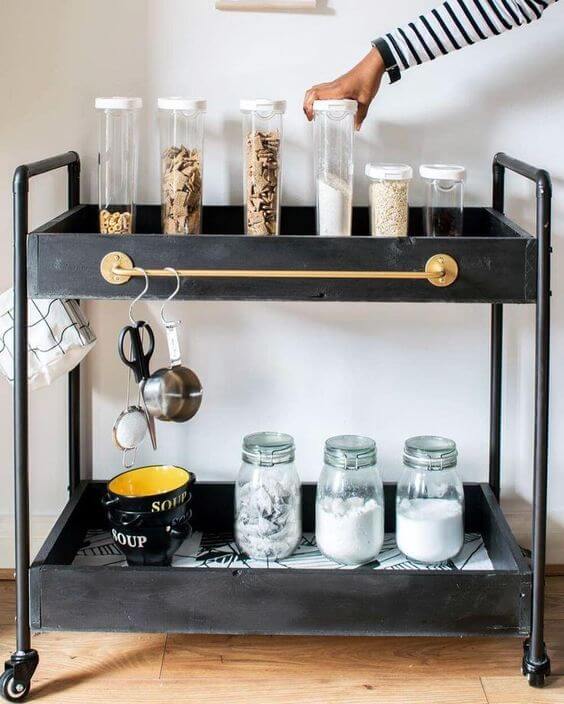
I’ve also used this bar cart as a cereal cart!
***This post was sponsored by Rust-Oleum UK. I received products and payment for my time creating this post. I only partner with brands I LOVE and think you will LOVE too! All ideas, photos and opinions are 100% my own.


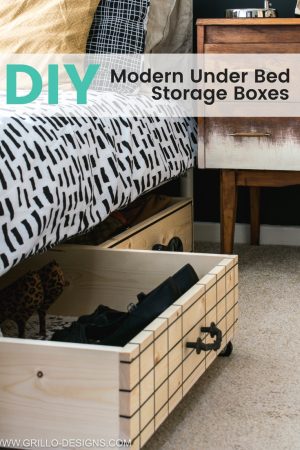
UNDER BED ROLLING STORAGE BOXES
I am SOOOOO filled with glee over your blog! I can never ever find a DIY that has everything step by step, including pictures AND materials! OMG. I am so excited. I hate when someone describes something assuming I am not starting from clueless. You are specific, detailed, and clear. I teach college writing classes, and I am sending my students to your blog to see how an Exposition is done properly! Thank you!
Ahh this makes me so happy to hear. Thank you!
I just found your blog and am so excited! I have a great bar cart, which adds infinite style and convenience when I have people over. H & M is a great place to find interesting accessories. I haven’t been able to find too much inspiration on how to style it for a party that doesn’t involve alcohol. Would love to see you do a post on that!
I’m wondering why not use some other pipe that is cheaper if your just going to paint it? Copper would have also been nice to let show. Towel bar is also not on the list, what is the length on it?
Good question – I think because pvc would have been too light weight and steel would have been too difficult to drill into and cut. You can of course leave the copper pipes exposed but im not a huge fan of copper. Copper is lovely to work with though and cut 🙂 The rail is from IKEA and is the 50cm length one. Hope that helps
Excellent DIY! This turned out great.. you do realize it’s making me want to make one.. lol.. got it pinned and saved
I’ve missed seeing your projects at Talk of the Town! I hope you’ll start linking up again every Tuesday at 18:00 (6pm Central) at Knick of Time.
Ah thanks Angie – will do 🙂
What a great DIY! Love how polished it turned out. Pinned!
Thanks so much!