Today’s contributor is Patricia from The Wood Spa and she is sharing this Nail Head Trim Dresser makeover. She is a member of the Home Decorating, Upcycling and DIY Facebook group. All posts submitted by Patricia for Grillo Designs can be found HERE.
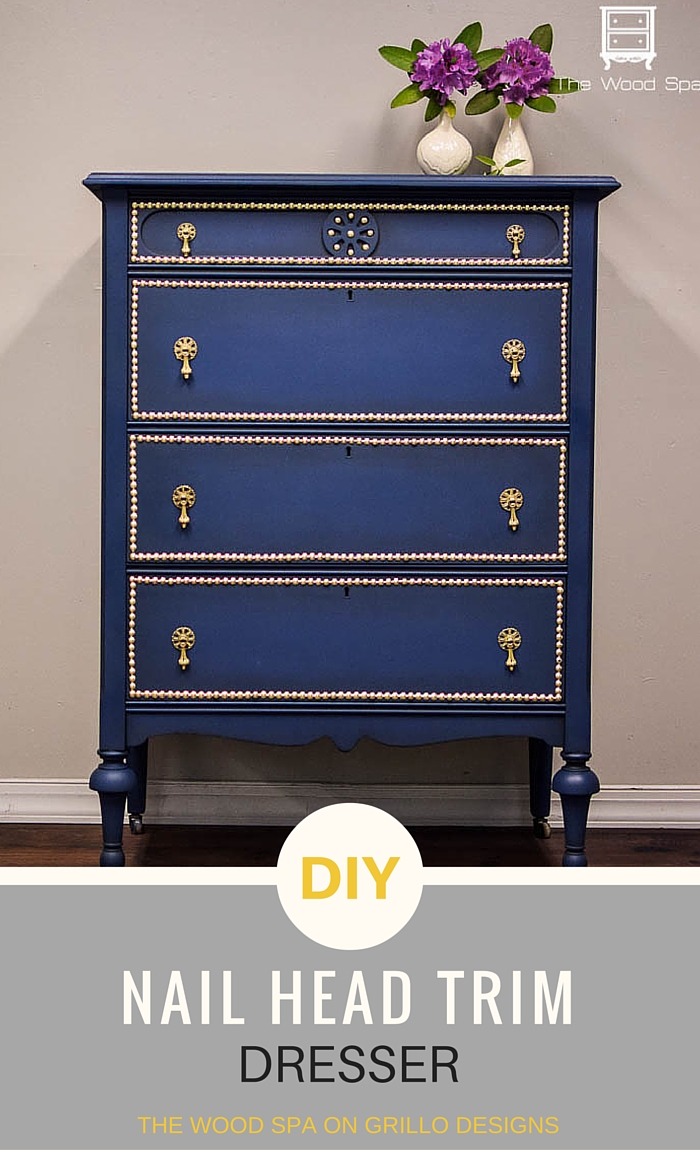
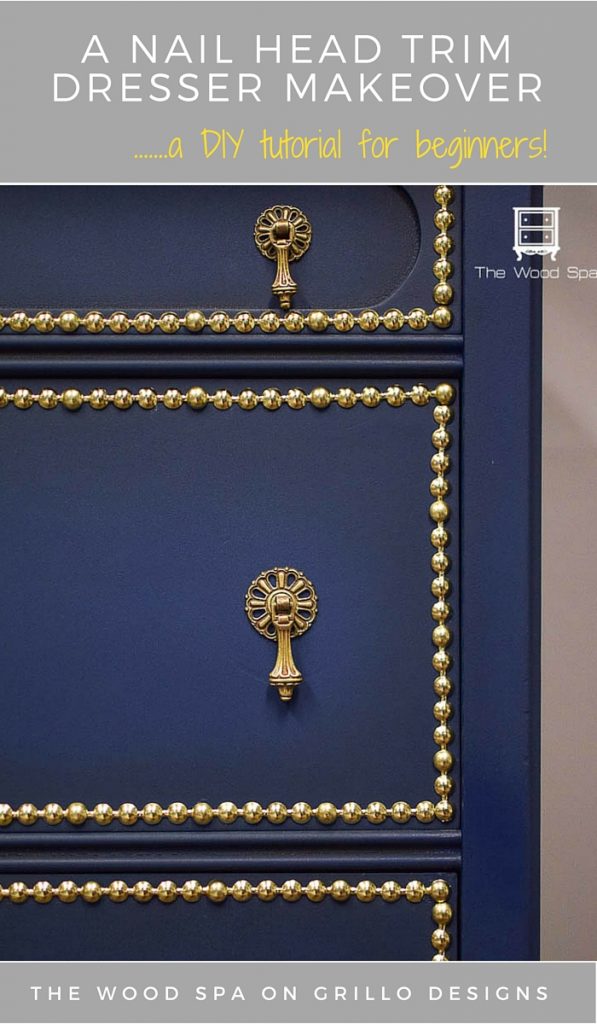
DIY NAIL HEAD TRIM DRESSER – SO GLAM!
Hi there! It’s Patricia from The Wood spa!
Of all the beautiful things I see every day on Pinterest and Facebook, this chest with nailhead trim was one of the projects I promised myself I was going to try one day.
It is laborious and at times tedious, but not at all hard to do, so I hope this tutorial will encourage you to try!
These are the supplies I used:
This post contains affiliate links for your convenience – please see full disclosure here
- Mini wax high performance wood filler
- Sandpaper (120 and 220 grit)
- Water with TSP for cleaning
- Rustoleum Primer Spray, gray
- Marine Blue Shabby Paints
- American Paint Company dark wax
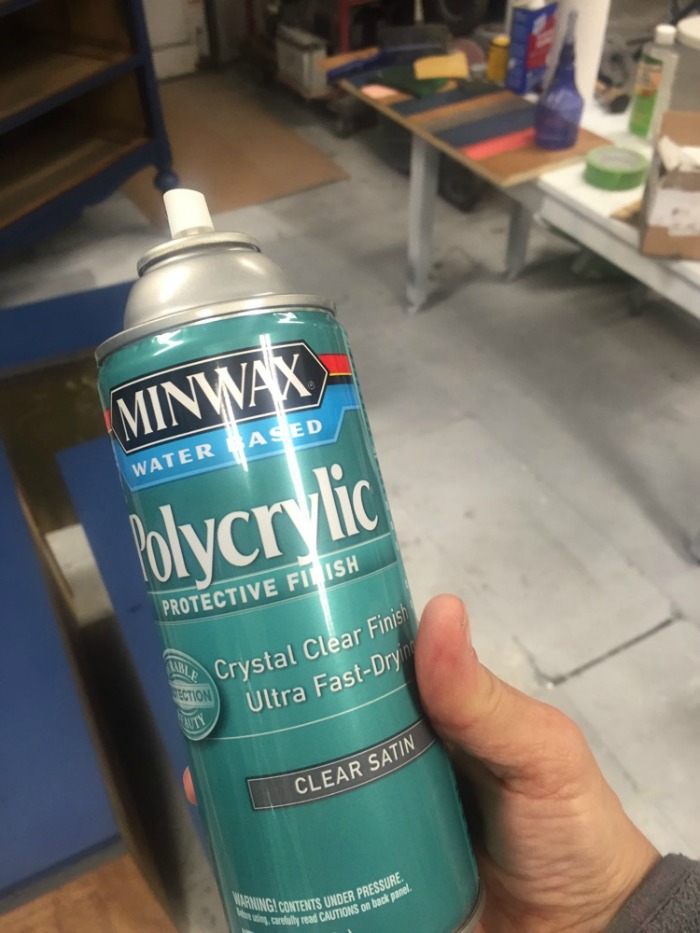
- Minwax Polycrylic Spray, satin
- Brasso (for drawer knobs)
- Miss Mustard Seed Hemp Oil (optional)
- Nail head trim
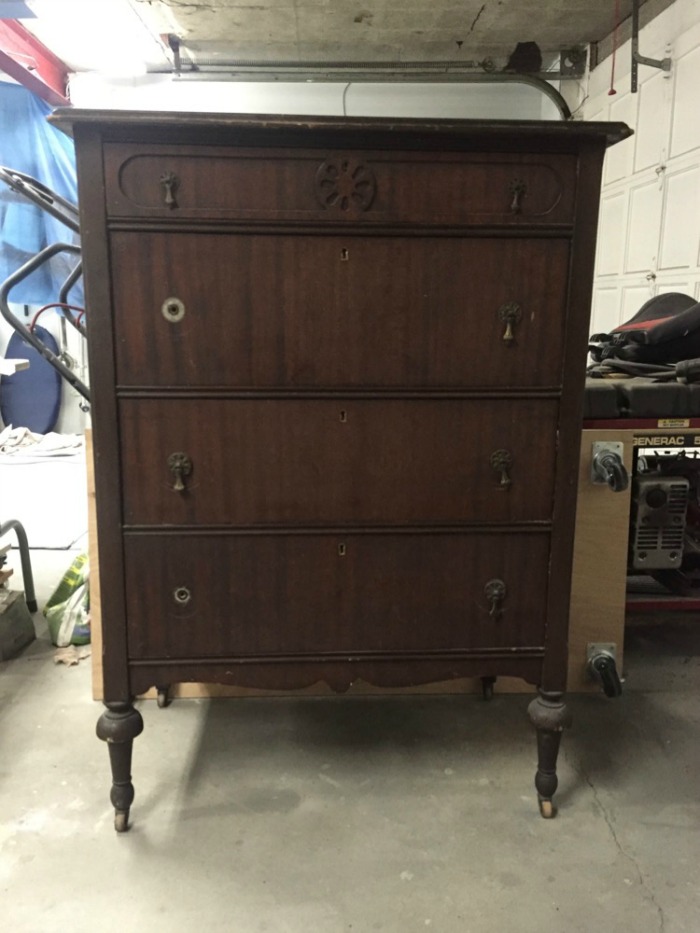
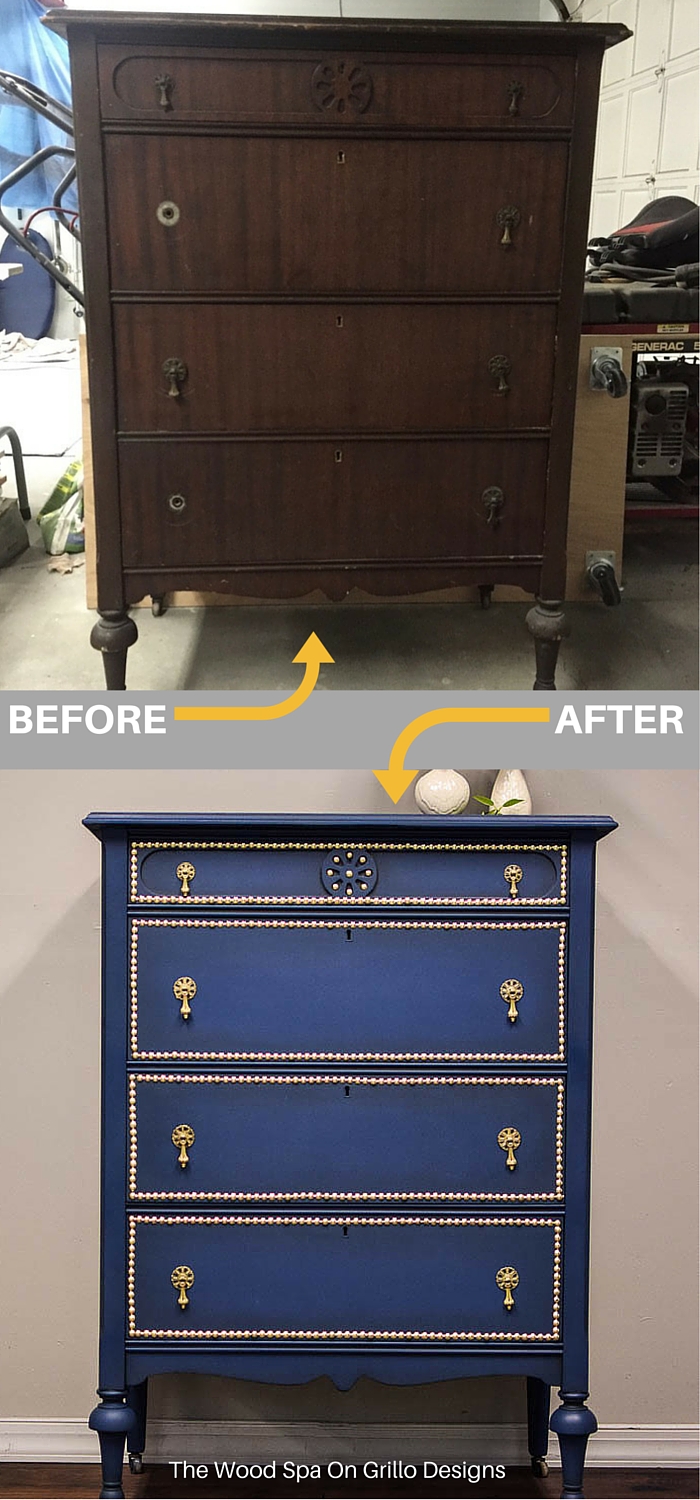
This is the before picture.
Here are the steps:
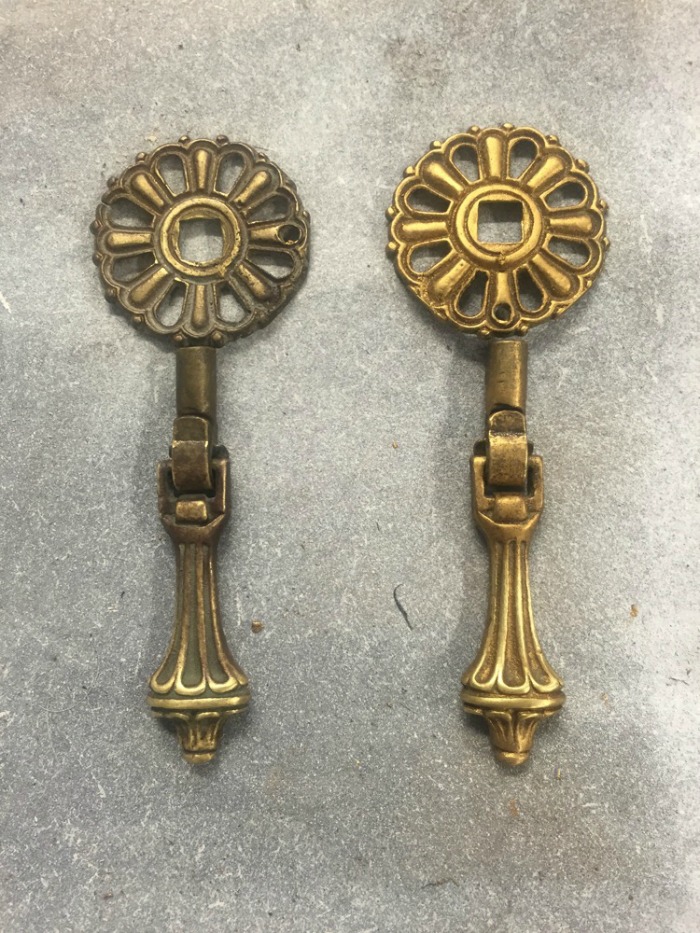
Knobs. I brushed all knobs with warm water and an old tooth brush and polished them with Brasso.
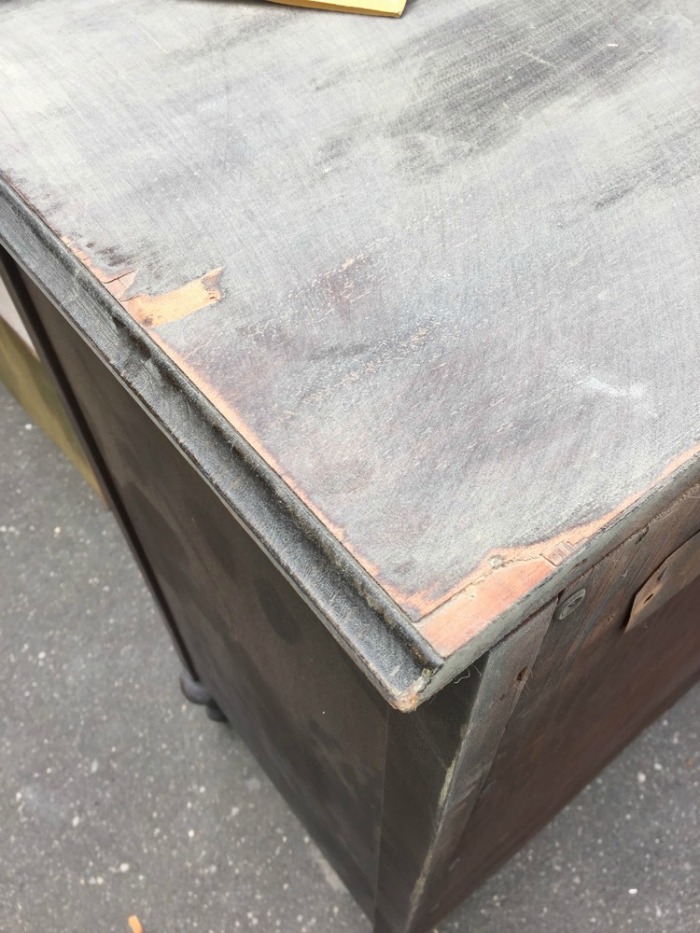
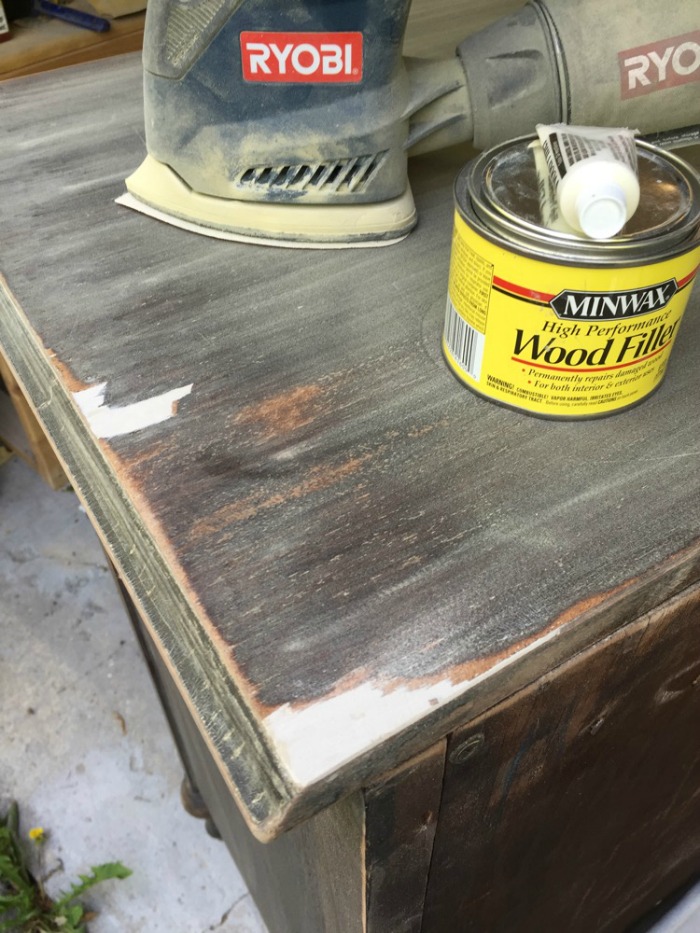
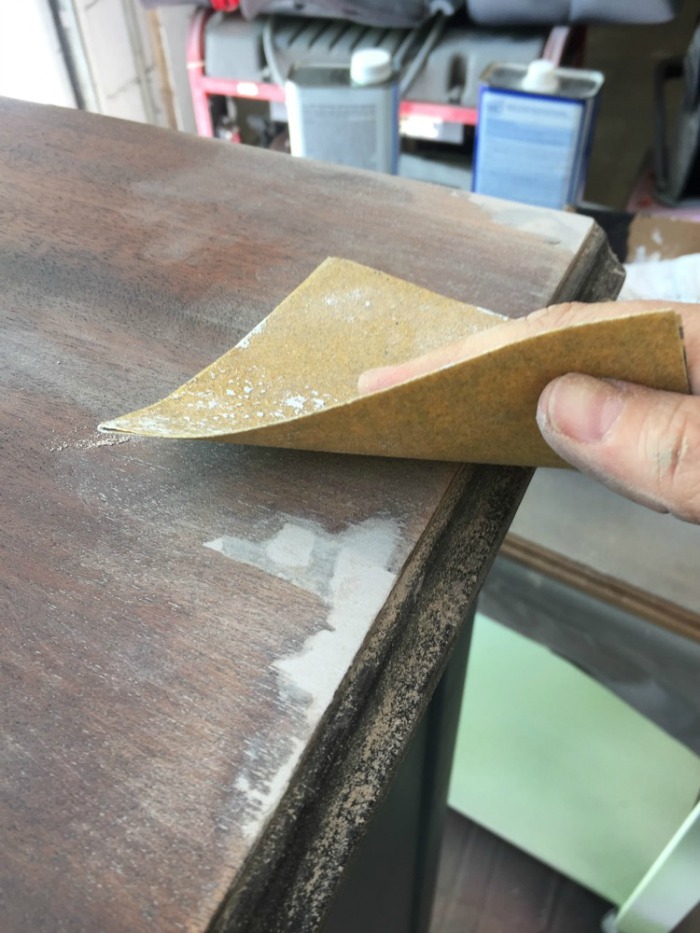
Parts of the veneer were damaged or missing so I applied Minwax High Performance Wood Filler with a putty knife and sanded it with a 120 grit sand paper.
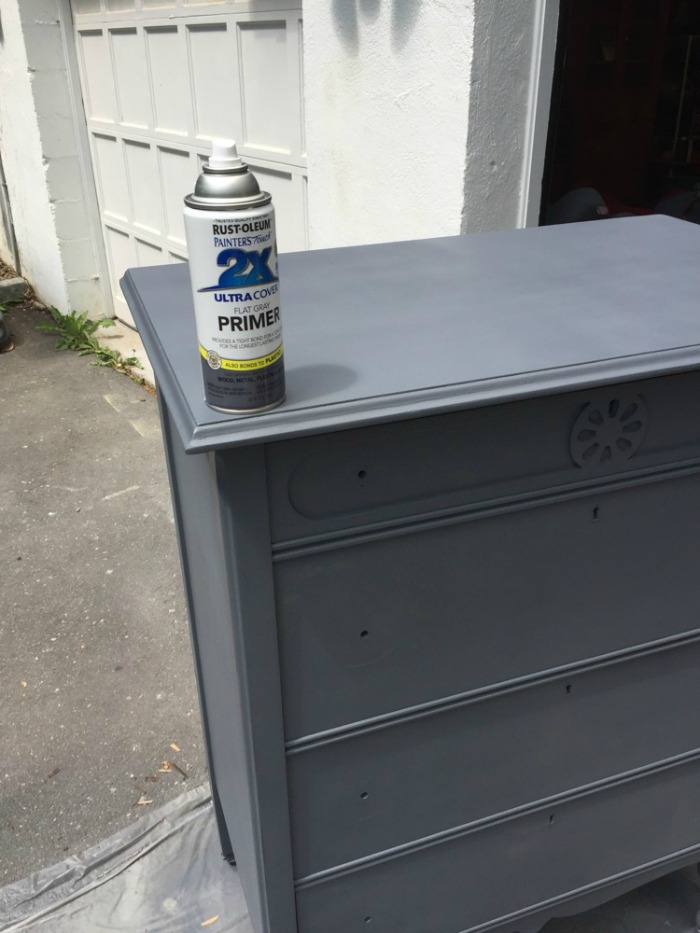
After cleaning the whole piece really well with TSP diluted in water, I sprayed it Rustoleum gray primer.
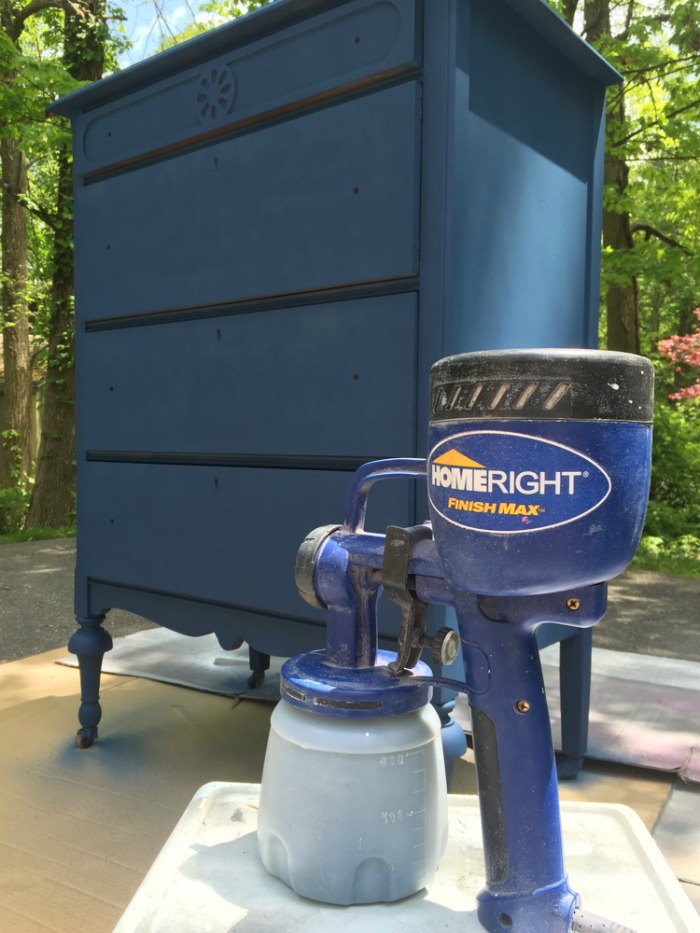
I light sanded the chest and drawers with a 220 grit sand paper, cleaned it again, then applied the blue paint (Shabby Paint Marine Blue) with my paint sprayer. **Please note that you don’t need to use a paint sprayer for this project. A sponge roller and/or a good quality paint brush work perfectly well and also give you a beautiful finish!
Before applying the dark wax, I sealed the chest with Minwax polycrylic (I use spray, but you can brush it if you prefer). It’s a good idea to seal your piece before applying glaze or dark wax if you don’t want a drastic change of the original color.
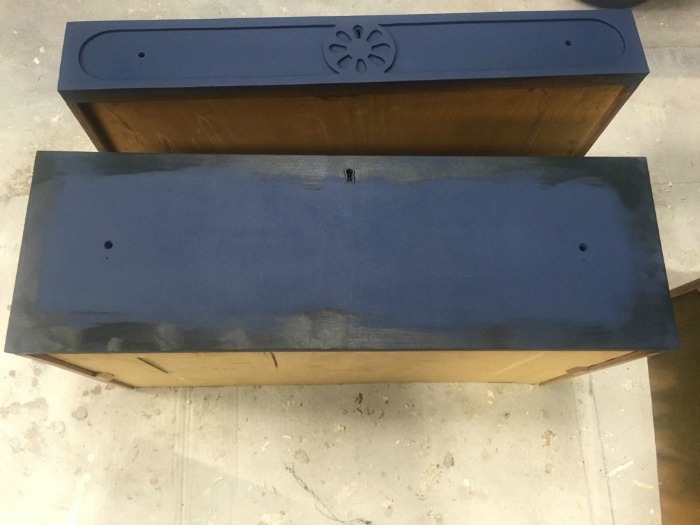
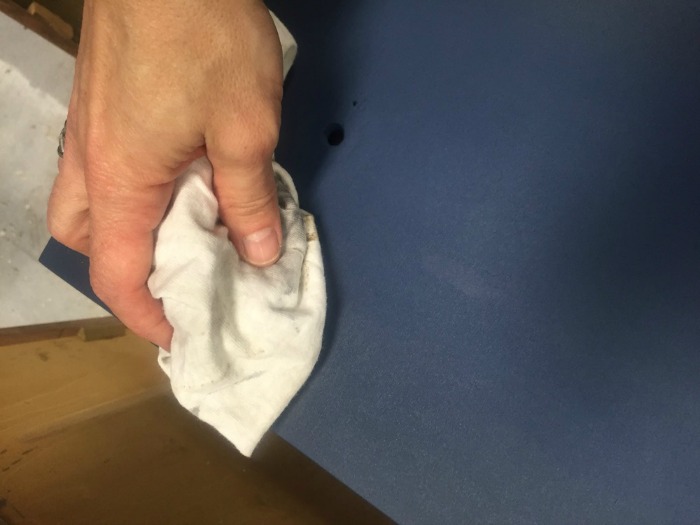
Time to antique with dark wax. I love to give my pieces a “vignette” effect by applying dark wax only on the edges then rubbing it with a clean cloth in circular movements until it gets a subtle smoky look.
This picture shows the wax before I rub it. See? No wax in the center.
And this is how it looks after I rub it.
Next the nail head trim…
I waited until the next day to do the nailhead trim to give the paint and wax some more time to dry.
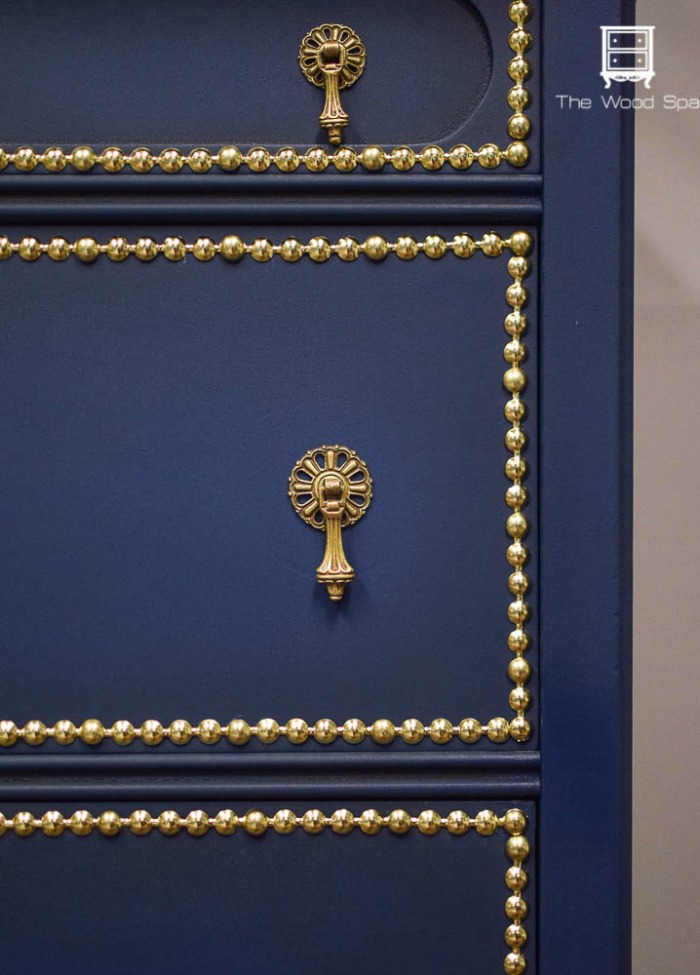
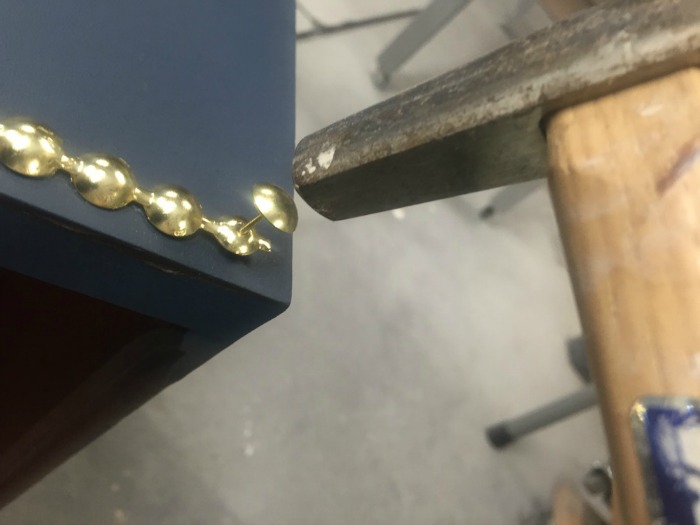
This is the nailhead trim I bought from Amazon. This project took about 7 yards, so I needed to get two packs.
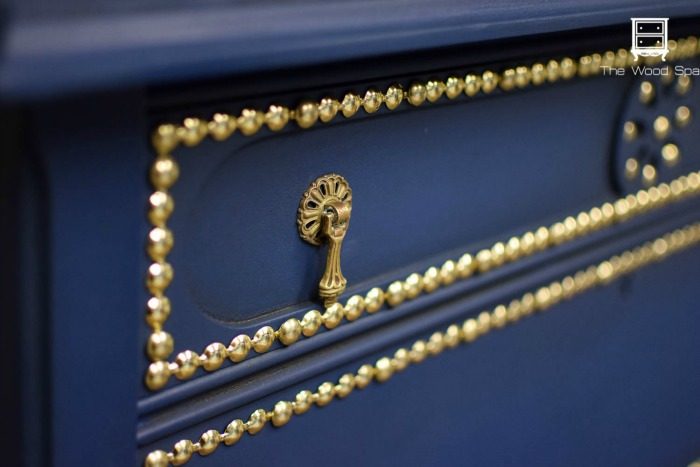
All instructions on installing the trim are on its pack, and the process is pretty straight forward. You measure, cut and place it where you want it to go, then hammer the tacks to the bits of the trim that have a little hole. This is when your job gets tedious, but it also means you are approaching the end of your hard work!
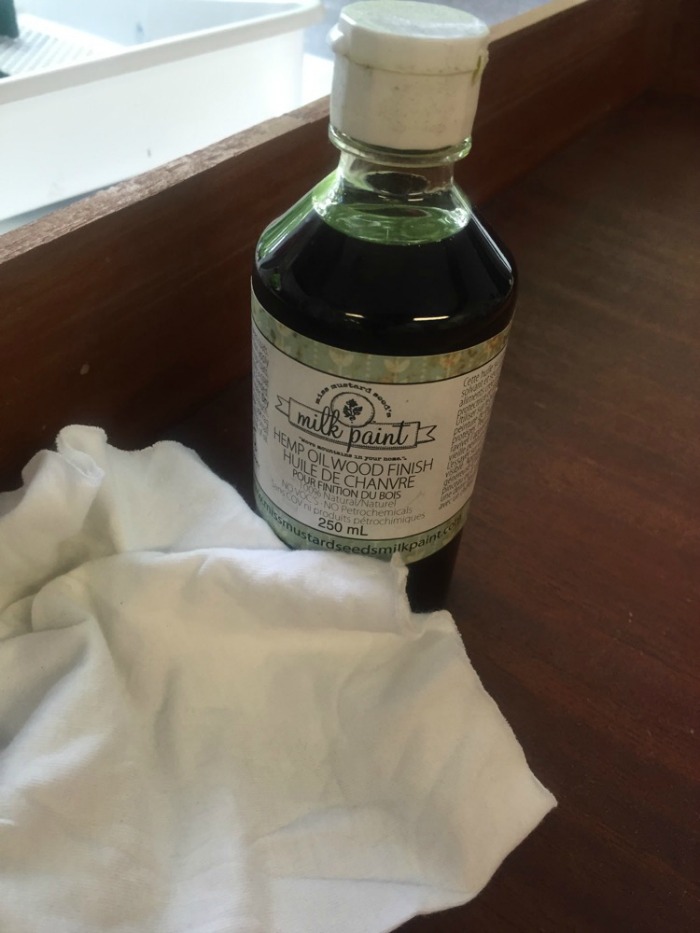
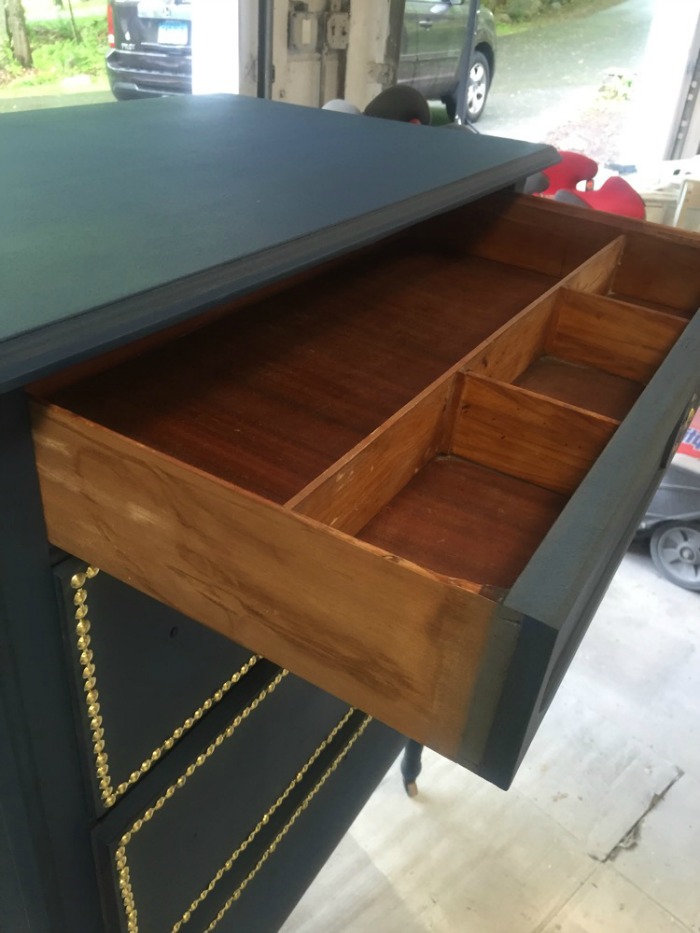
This last step is optional and it will depend on the condition of your piece. In this chest, the inside of the drawers were in decent shape but the wood looked a little dull and worn, so I applied some hemp oil to give them a fresh beautiful shine.
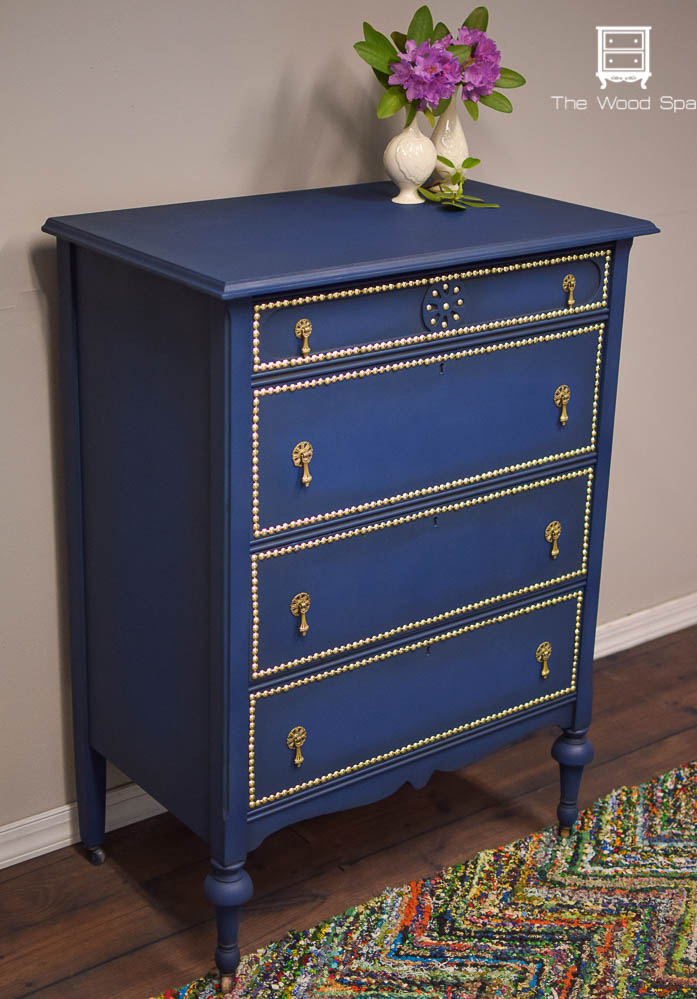
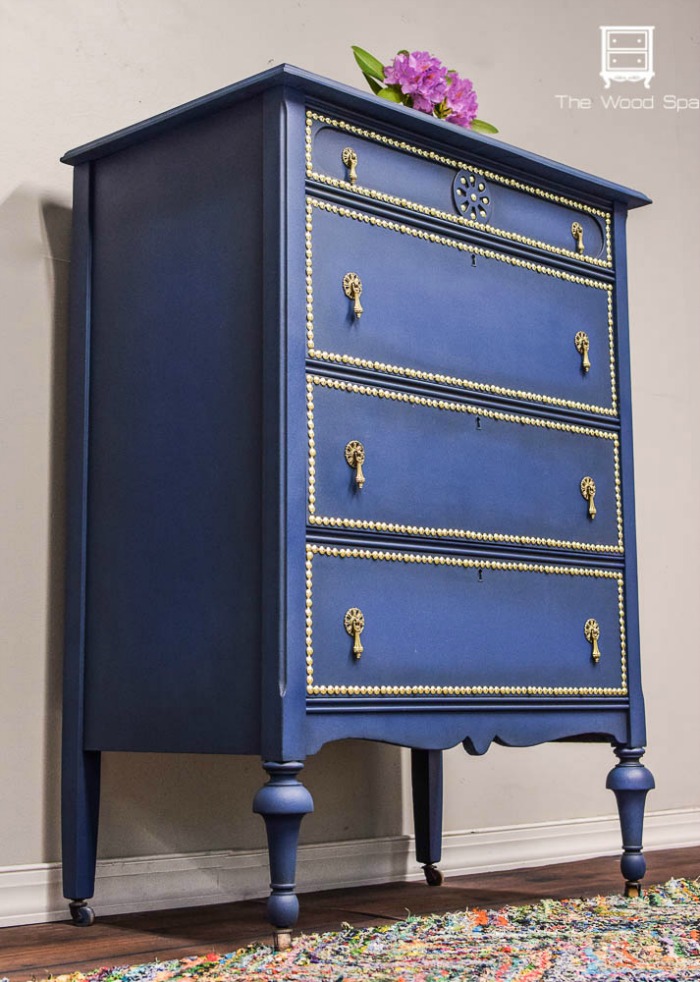
I replaced the knobs and this beauty was ready for the pictures!
Let me know if you have any questions!
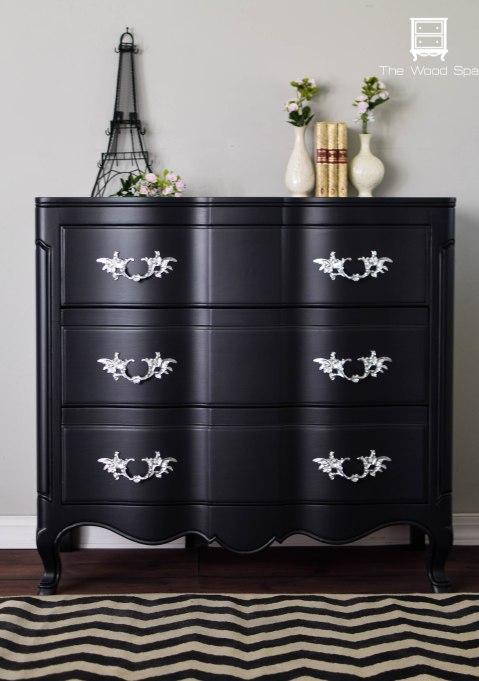
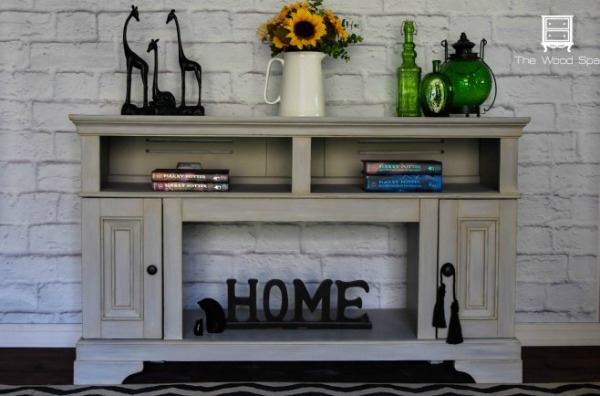
You are welcome to visit my blog The Wood Spa and check out my other projects like these ones!
PRESSED WOOD FIREPLACE – FROM CHEAP TO CHIC
Thanks for reading my tutorial for this Nail Head Trim Dresser
You can follow me on all social media here:
PINTEREST / INSTAGRAM / FACEBOOK
Patricia.

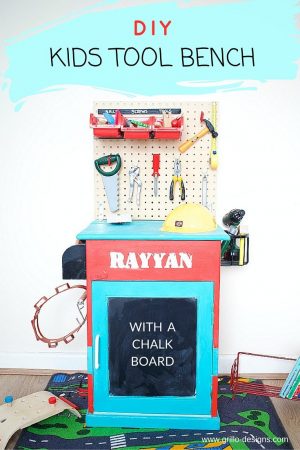
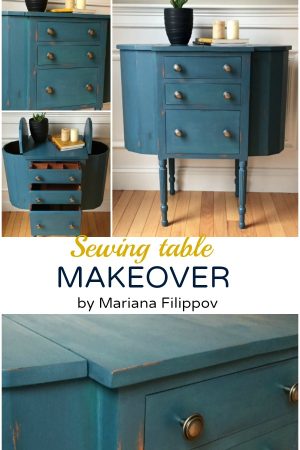
 ARE YOU AFTER MORE PAINTED FURNITURE IDEAS? CHECK OUT THESE PROJECTS BELOW

Beautiful! Thanks for the tutorial.
This is sooo beautiful! Thank you for sharing at Dream. Create. Inspire. Link! Pinning!!
Thank you!!
Wow, you do beautiful work! I have no idea why you haven’t come under my radar sooner but I’m here now and your newest follower. Pinned this sweet nail head dresser to share 🙂
Thank you, Marie! Your work is beautiful too!
Patricia, thank you for sharing your gorgeous Nail Head Trim Dresser with us at the DIY Sunday Showcase Party this week. I will be featuring it this weekend at the party!
Beautiful stuff at the party! Thanks for sharing it.