
OK. So this might actually be one of my favourite DIY projects to date! And there’s been quite a lot to fall in love with over the years, so that’s really saying something. Everyone . . . meet my new DIY kitchen pantry!

Seriously, I am in LOVE! I can’t stop staring at it!
I also still can’t quite believe it’s mine!
But I should probably show you how this cabinet started out though, just so you can appreciate the absolute GLOW UP!

I bought this cabinet off eBay at the beginning of the year… right at the end of our final UK Lockdown . The shop I bought it from was based in London – a little too far out for me to collect, so I got it delivered to my home via a really handy shipping service called Shiply . Even with the extra cost of packaging and delivery, it was still a total bargain price wise.

I intentionally forgot to tell my husband that we were expecting a large delivery so on the day that it arrived, I could see some of the veins in his neck bulging ever so slightly. Followed by ‘what has she bought now?’ mutters under his breath as he and the delivery guy carried it into the dining room.
After 11 years of marriage, we both know our roles in this scenario. He pretends to be annoyed /disgruntled about the things I buy, and I pretend to ignore him. To the outside eye, it might not look like the most harmonious of relationships but it actually is. We love it really. It’s our thing ha!
The cabinet was stained a brownish reddish colour and truthfully didn’t really match any of my existing decor. It had so much potential though – all it needed was a mini face lift to restore it to a newfound glory!

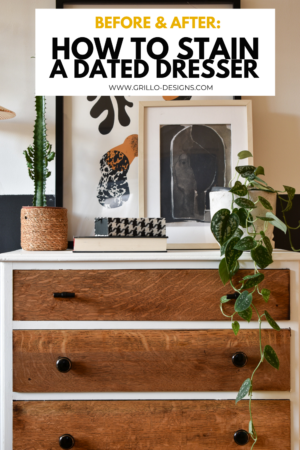
And we all know how much I love giving furniture mini face lifts right? It’s kind of my thing. Remember this ombré effect dresser, and this rustic chest of drawers makeover ?
MATERIALS NEEDED FOR THIS DIY PANTRY MAKEOVER:
This post may contain affiliate links. .It is a way for this site to earn advertising fees by advertising or linking to certain products and/or services. Please read my full disclosure Please see disclosure page here.
- Sandpaper – this packet has a mixture of grit
- Foam paint rollers with tray
- Paint brush
- Wallpaper
- Wallpaper adhesive
- Valspar White primer
- White furniture paint – this is the brand I used
- Valspar coal tipple paint
- Frog tape
- Orbital sander – this is the one I have
HOW TO TURN A CABINET INTO A DIY KITCHEN PANTRY
View this post on Instagram
The process took three days in total to complete (I’ve just had a baby so I had to do most of my painting at night while he was sleeping). Whenever I paint furniture – I always follow these steps I’m about to share with you below. This 5 step (sometimes 6) process hasn’t failed me yet.
1. SANDING
Because of it’s size, sanding something like this needs to be done in a space with lots of ventilation (you can expect lots of sawdust flying around). Thankfully I have a garden, which makes sanding a lot more easier – there’s less clean up for a start!

Don’t forget to whip out a sanding face mask for this step.
To remove the heavy layers of stain, I started off with a 160 grit and slowly worked up to 80 grit with my orbital sanding machine. This is the packet of sandpaper I used .

I felt very tempted to do a really thorough sanding to expose the wood rather than paint, but decided against it after some thought. I felt there was already a lot of wooden textures in my kitchen (which for those who might know is still undergoing a very slow renovation that I will be blogging about soon) .
This is how the cabinet looked after 20 minutes of sanding. Very uneven, but that didn’t matter as I knew all I needed was a rough surface for the paint to go on smoothly.

I also sanded the shelves. I intended to keep them natural so this time sanding process was a little more thorough.

2.PREPPING
Remember that post I wrote a while back about how to paint glass panel doors… well that’s what I used to guide me through this next step.
I chose the frog tape method because …. well I remember just how mundane scraping the paint off after was. But if you don’t have frog or masking tape to hand, or maybe would just prefer to be a little more environmentally conscious and use less plastic tape, you can skip straight to the painting step and scrape off any excess paint on the glass after.

3.PRIMING
To prime the wood before painting, I used Valspar Wood Primer (I have also used this one in the past) . FYI, If you’re painting with a brand that already has a built in primer like like Frenchic for example- you can skip the priming step and just start with the top coat. That’s what I did in this tutorial.
I applied the primer with a foam roller to both the inside and outside of the cabinet, using a paint brush for all the corners.

Here is how the cabinet looked after one coat.

4. PAINTING
I originally planned to paint the outside of the cabinet yellow, but later switched to ‘coal tipple’ because I wanted more of a contrast. It’s the exact same colour that I used to paint my bedroom walls and internal doors of my home. Again this all needs to be applied with a roller for a more smooth finish.

For the insides of the cabinet I used a white chalk paint. Note I didn’t paint the backing of the cabinet because I intended to wallpaper it.

5. WALLPAPERING
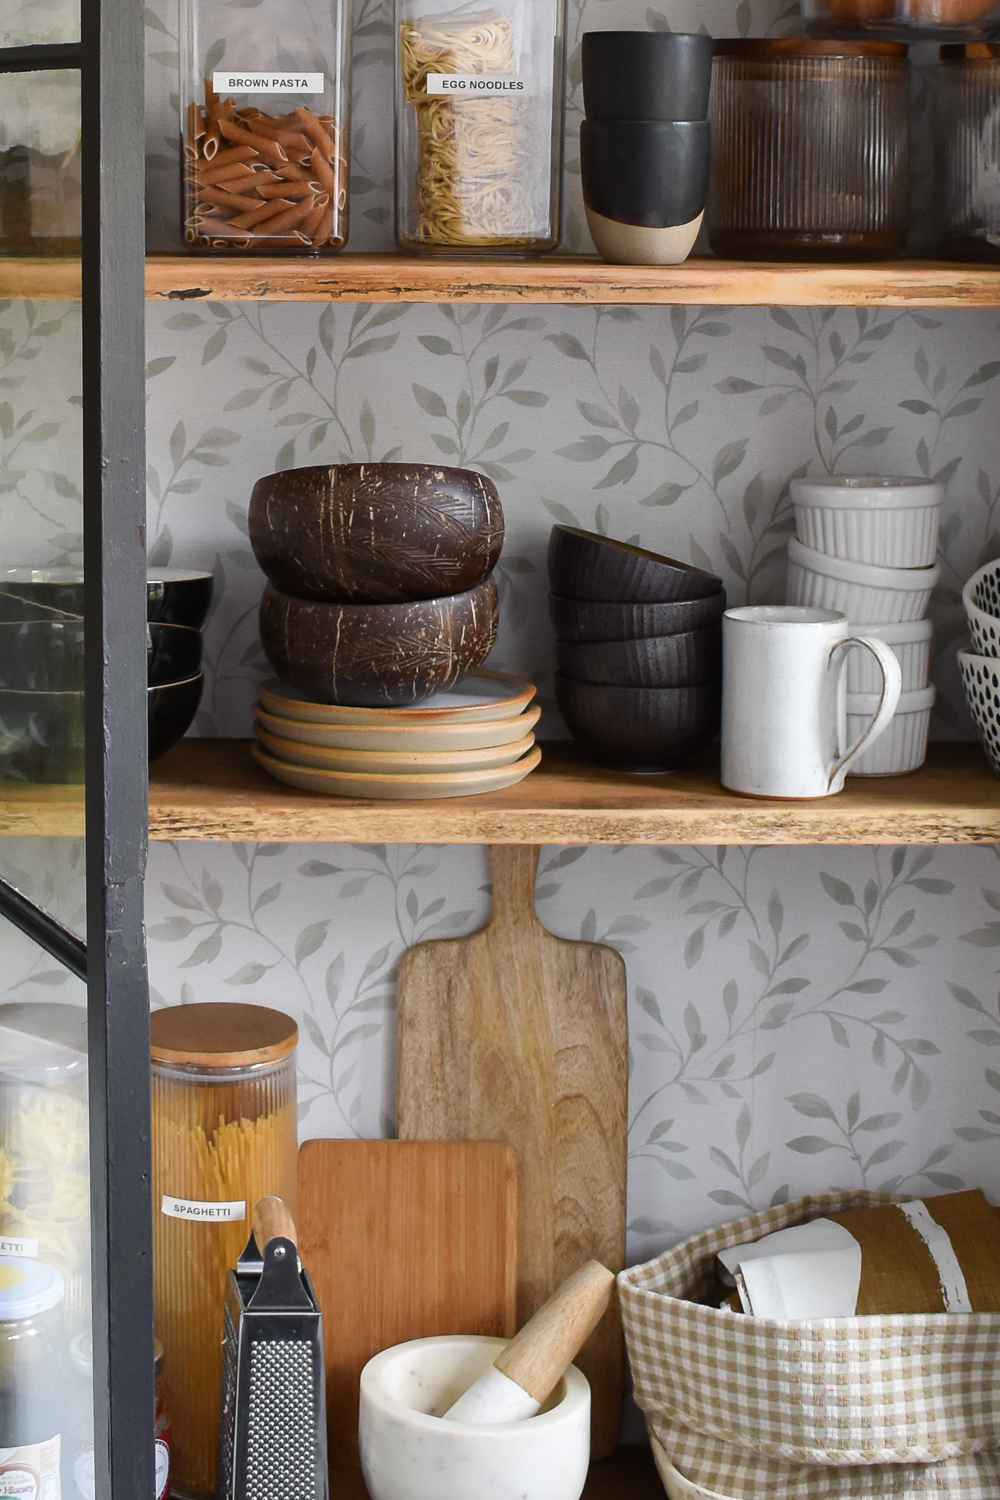
I fell in love with this wallpaper the moment I saw it. It has a modern, yet farmhouse feel to it that just draws the eyes in.
I applied it to the backing of the cabinet (covering over that horrendous red paint) with the ready made wallpaper adhesive paste , and trimmed the edges with a sharp knife once it felt dry.

6. SEALING
All the painted woodwork was sealed with my favorite indoor matt varnish (to prevent any future scratching or chipping).
Finally I peeled off the frog tape from the glass panels and used a wallpaper scraper to remove any excess paint that had gotten onto the glass. I then placed the shelves back inside and gave the doors panels a good clean!


And that’s it! A unique looking DIY kitchen pantry!
Although I’ve styled the pantry for the sake of pictures, I don’t intend to keep it like this. I’ll probably add in a few more baskets, shelves and maybe some curtains to the bottom to hide the not so pretty looking food i.e the canned food.

What do you think of this makeover? Do you think this has given you enough inspiration to makeover a DIY pantry of your own in the future? Let me know in the comments

I love when you share my projects on Pinterest! Save this DIY PANTRY MAKEOVER for later by pinning the below photos to your boards!


HOW TO PAINT GLASS PANEL DOORS (LIKE A PRO)

HOW TO REPAIR DAMAGED VENEER BEFORE PAINTING FURNITURE


OMG! What a transformation! I was asked by a friend the other day how they could create a larder for their kitchen diner! I’ve just sent her the link to this blog! Incredible work!
Ohh thank you!
I, too, have been considering a large display case — though cost is an issue. Thanks for sharing your creativity with us! You’re inspiring.
Congratulations on your long awaited new born!
Stunning! Congrats on another gorgeous project and of course the new baby!
Thank you!
Absolutely stunning. In my mind I have already completed project and it is now in my kitchen. Thank you. Xx 💕
Ahh thank you so much!
It’s gorgeous! Love the transformation.
oooh lovely. when i was kid in the 90s i had a Martha Stewart design book where she used old wardrobes in various ways – a contained office, a baby’s closet, & a pantry were among them. so i’ve been drawn to the idea of a cabinet/wardobe pantry for a long time and your piece is simply beautiful!
Love it! Great job.
Thank you!