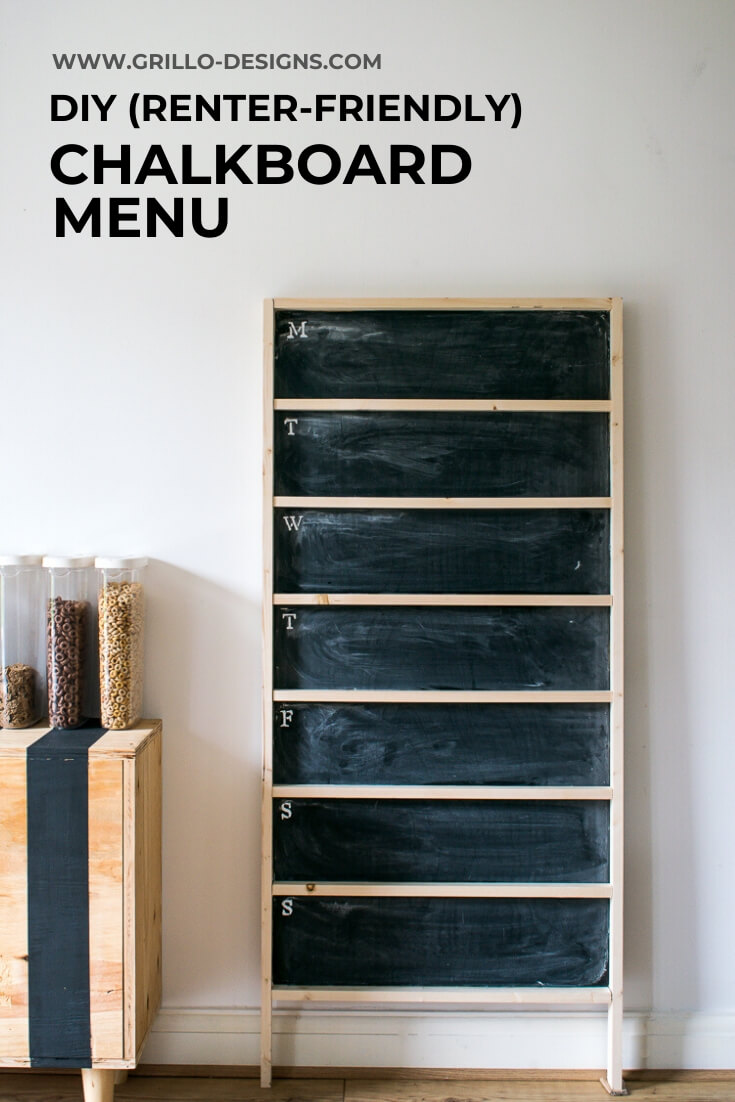
*AD | Are you looking for ways to organise meal times a little better? Learn how to build this easy DIY chalkboard menu (without using power tools!)
‘I’m Hungry. Whats for dinner?’
Can’t tell you the amount of time I’ve heard that question. What I can tell you though, is that 10 out of 10 times that question is usually directed straight at me. You see, not only must mums be omnipresent in all things, but they also need to be top notch cooks too. It’s a pretty demanding job description but for the most part, I do OK.
Up until the moment I get asked that question . And suddenly I don’t want to do ‘the job’ anymore. ‘What ARE we having for dinner?” I think to myself. That’s right . . I don’t know either. “Oh to be the kind of mum who plans meals in advance” I also think. But hey, maybe I can be? This DIY chalkboard menu board I’ve created might just be the prompt I need to get a little more organised with the cooking.
See how to make this striped cabinet here
What I Love most about this chalkboard menu is that
- Its freestanding , so it doesn’t need to be drilled into the wall (perfect for those who rent like myself)
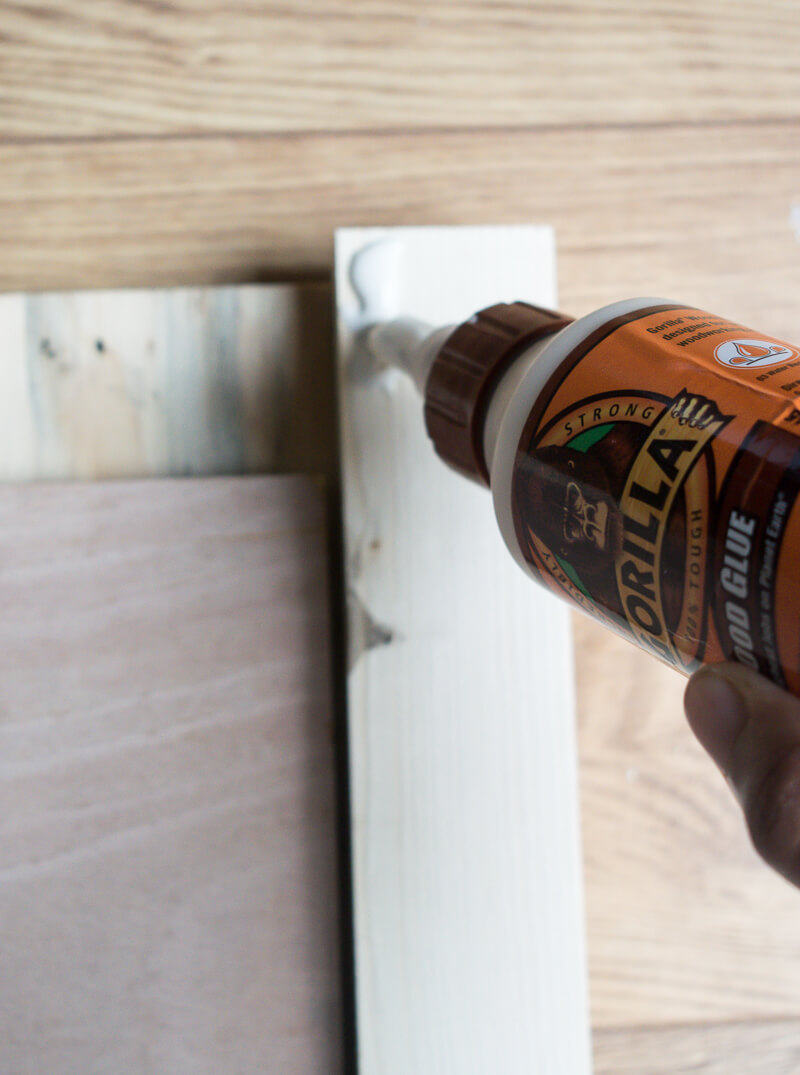
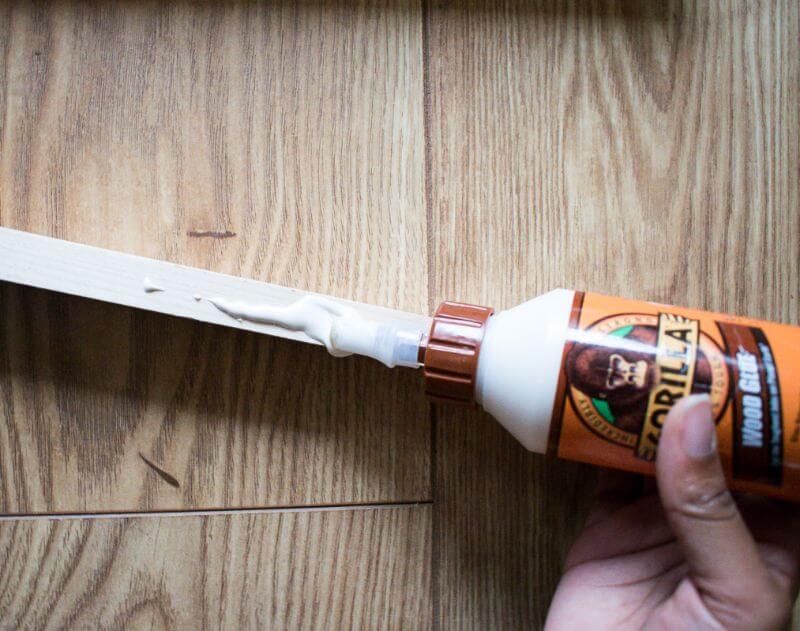
- It’s super easy to build. No power tools required – its made completely from glue (Gorilla Glue to be exact)
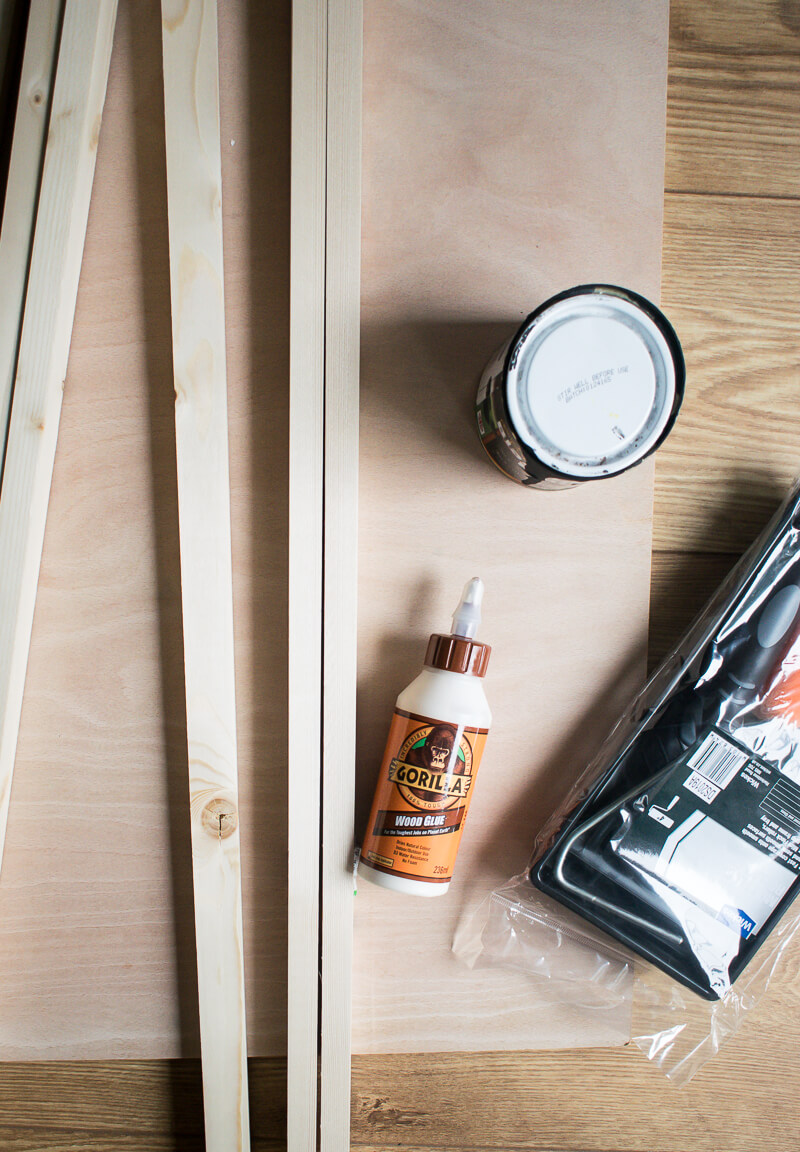
Materials needed to make a DIY Chalkboard Menu
This post also contains affiliate links for your convenience, see full disclosure here
- Gorilla Wood Glue
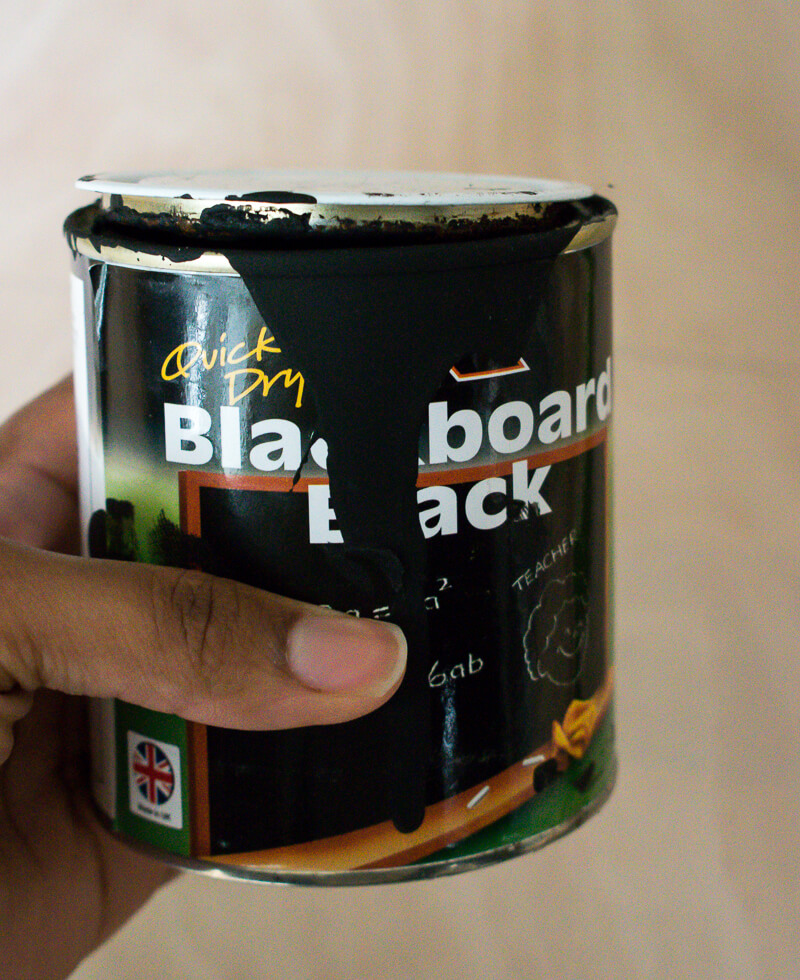
- Chalkboard paint – I like this brand
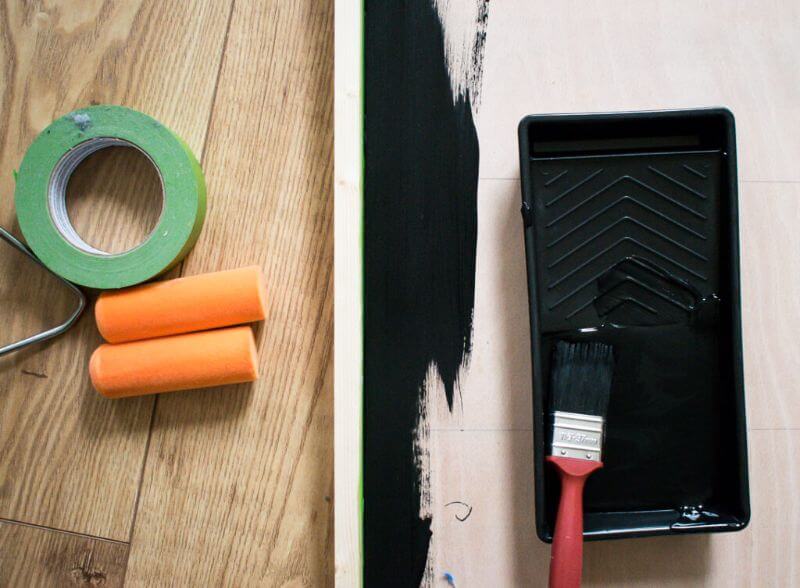
- Paint roller and tray
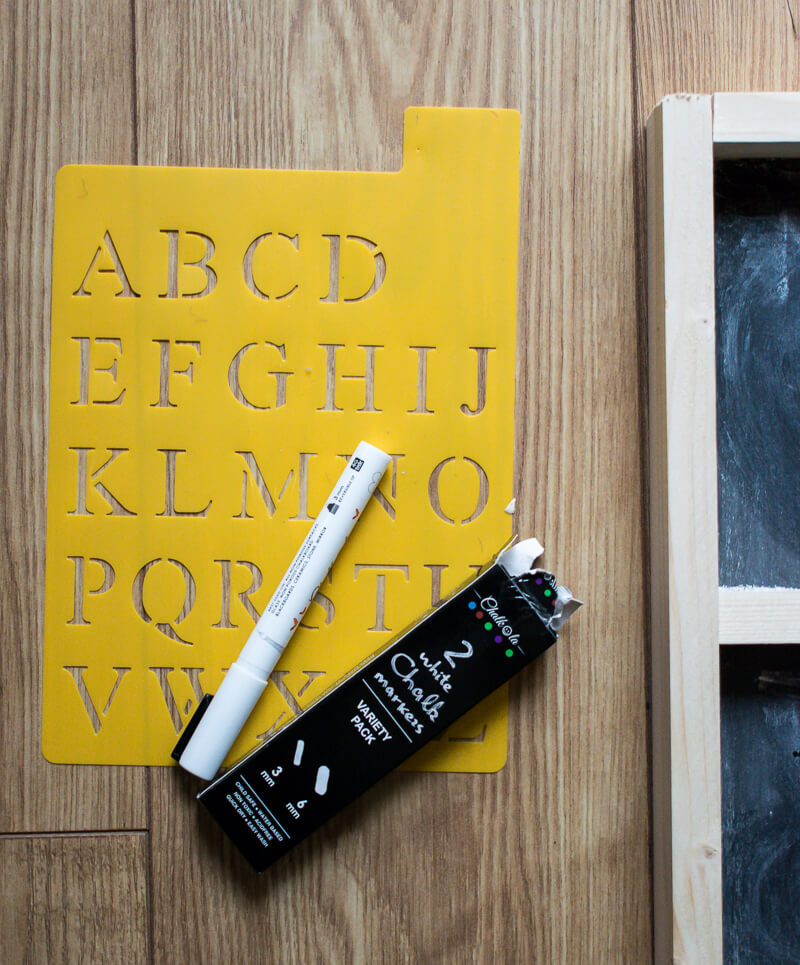
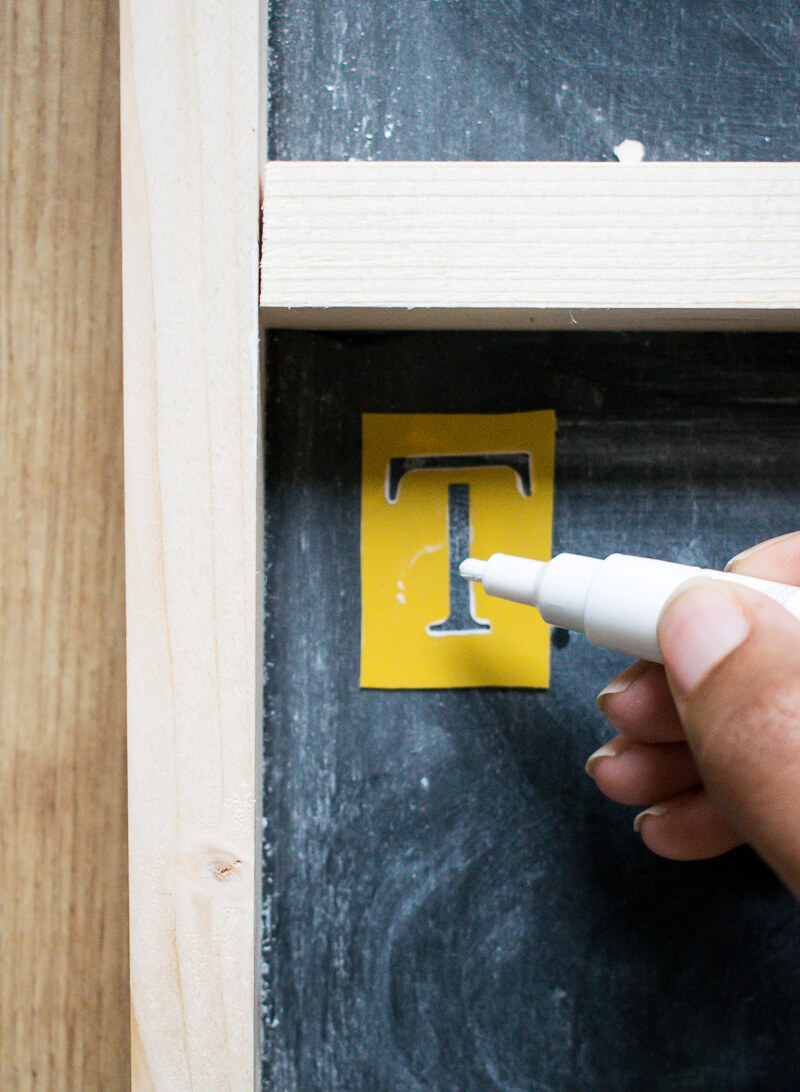
- Letter Stencil
- Chalk and chalk pen
- Cloth
- Pencil and ruler
- Hardwood Plywood sheet 1200mm x 606mm
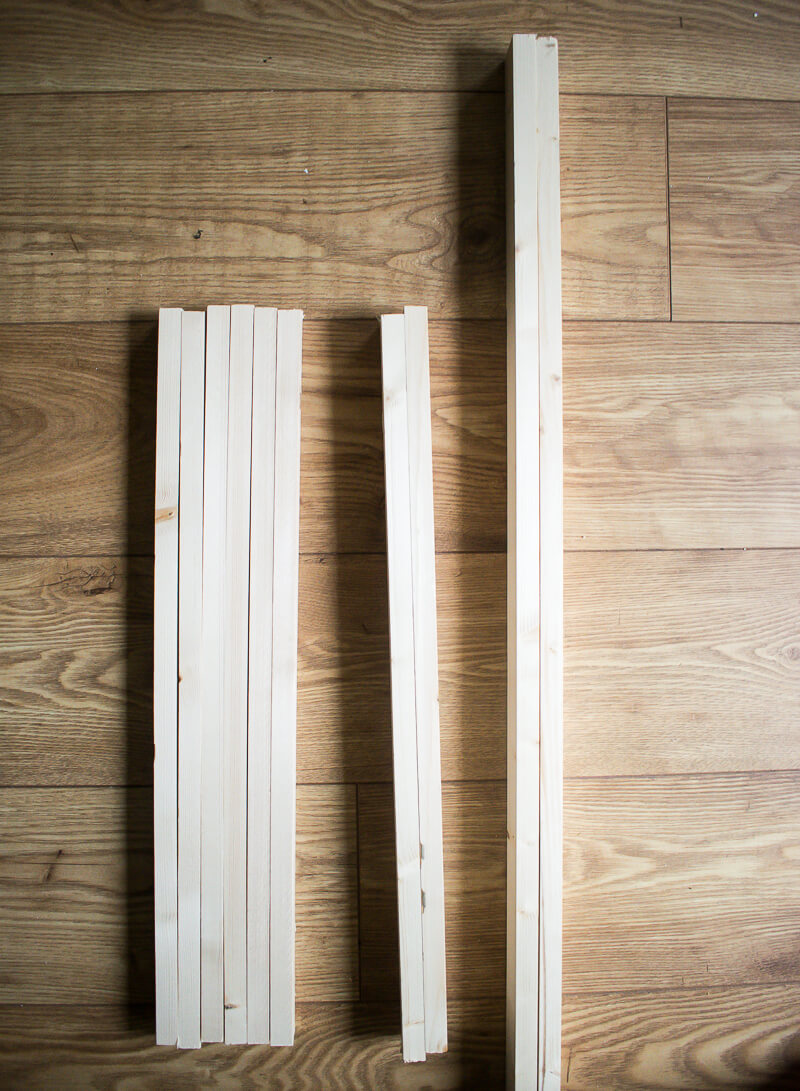
- Whitewood PSE 18 x 44mm x 1.8mm
- Sawn Kiln Dried Timber 19mm x 32mmmX 1-8m (cut to size) – I buy my wood from Wickes
HOW TO MAKE A FREESTANDING DIY CHALKBOARD MENU
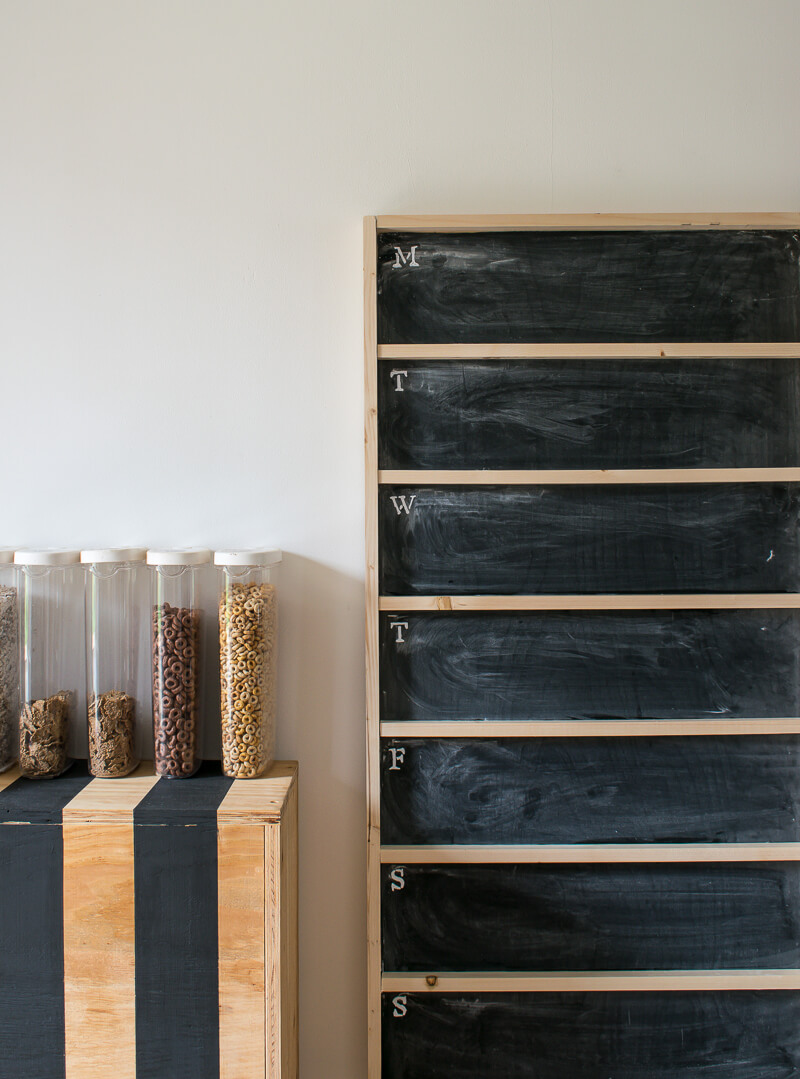
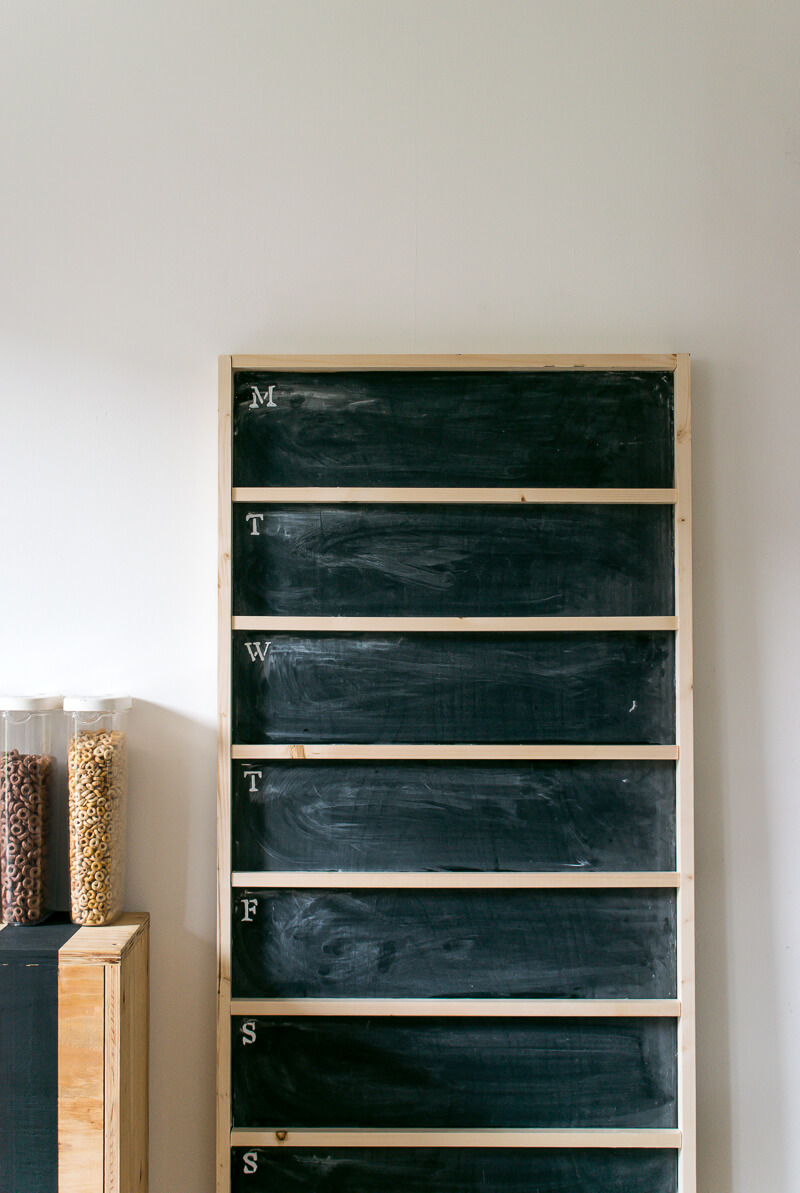
1 . Using a pencil, divide your plywood sheet into 7 equal sections. (approx 16cm apart if we’re being exact) 2. Cut your wood to size with a manual saw.
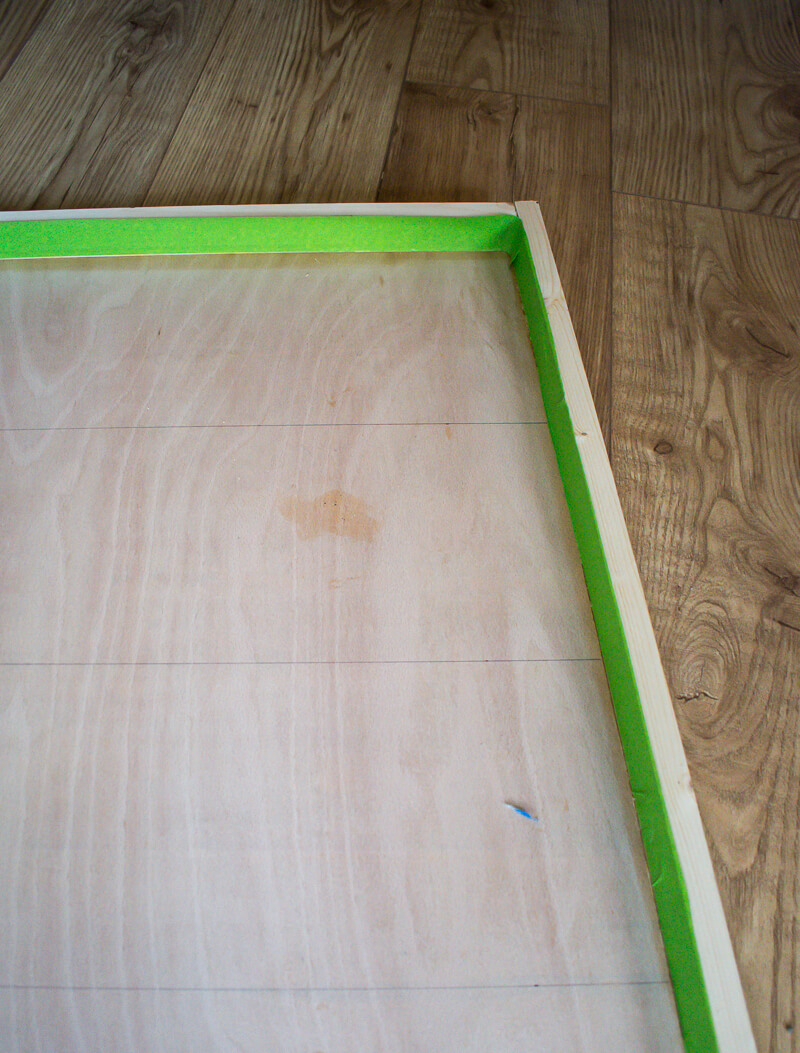
- Whitewood PSE (18 x 44mm x 1.8mm) : will be used to frame the plywood sheet. Cut 2 x 1420mm (for the sides) and 2 x 610mm
- Sawn Kiln Dried Timber (19mm x 32mmmX 1-8m): it will be used to create divisions on the plywood shelf. Cut 6 pieces to a length of 610mm
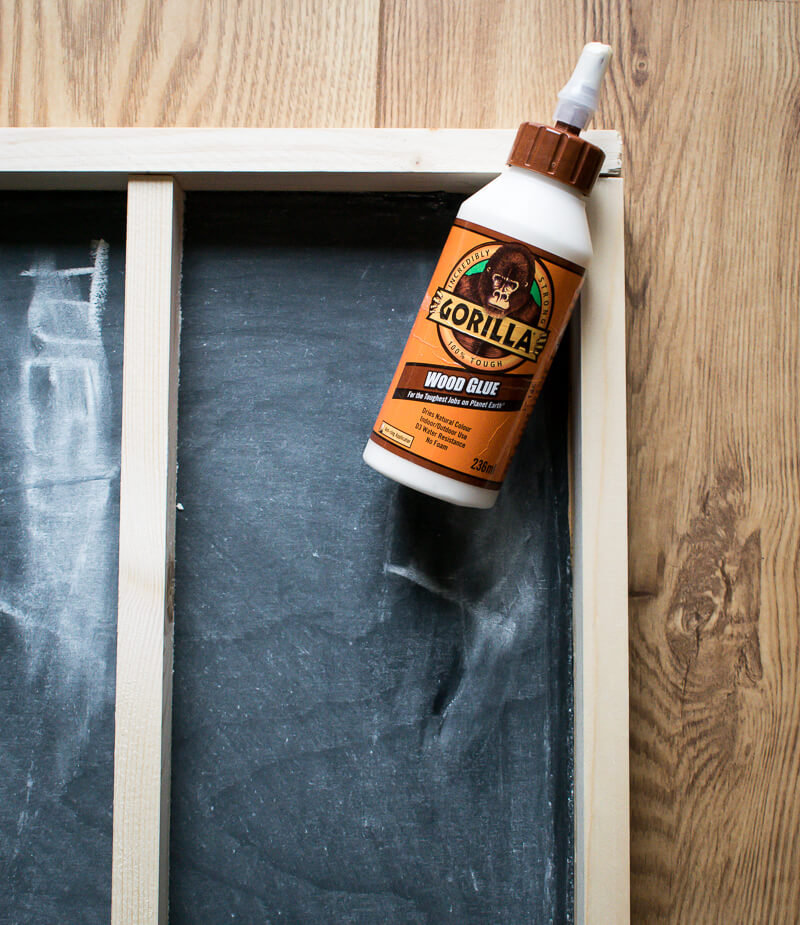
2. Create the border and legs for your chalkboard menu. Attach the two longest pieces of wood (1420mm) vertically to the sides of the plywood sheet. Secure in place with the gorilla wood glue (apply it to one edge of the PSE wood).
Next apply the smaller pieces of wood (610mm) to the top and bottom edges of the plywood sheet. Leave to dry on a flat surface.
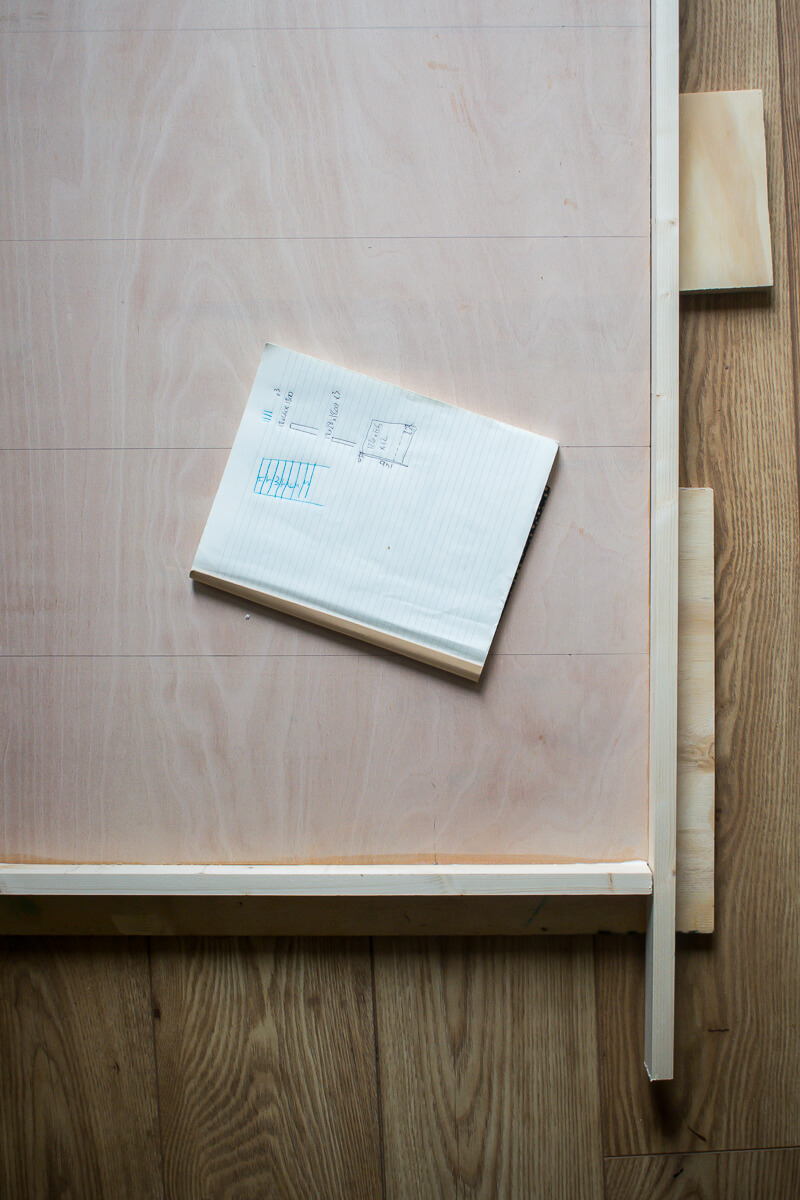
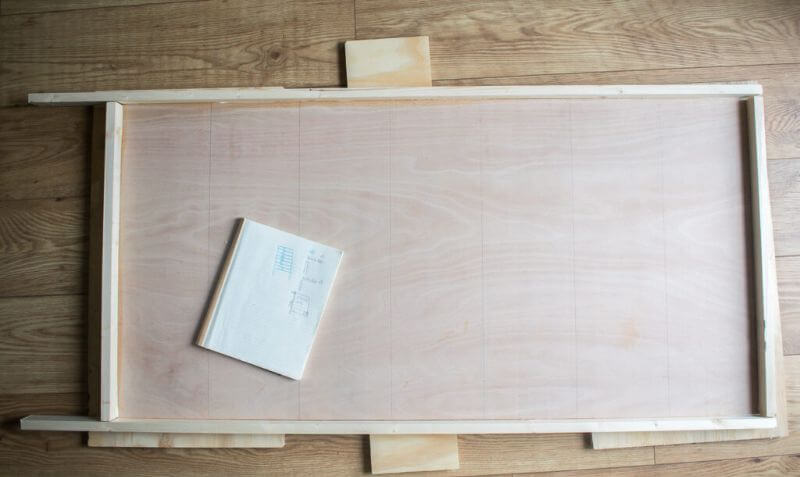
3. Once dried, apply painters tape to the edges of the frame. Make sure that you have marked the sides of the frame too as this will be a guide when fitting the smaller wood to create the six divisions
4. Paint the plywood sheet with chalkboard paint. Use a paint brush for the sides and the roller for the middle for best results
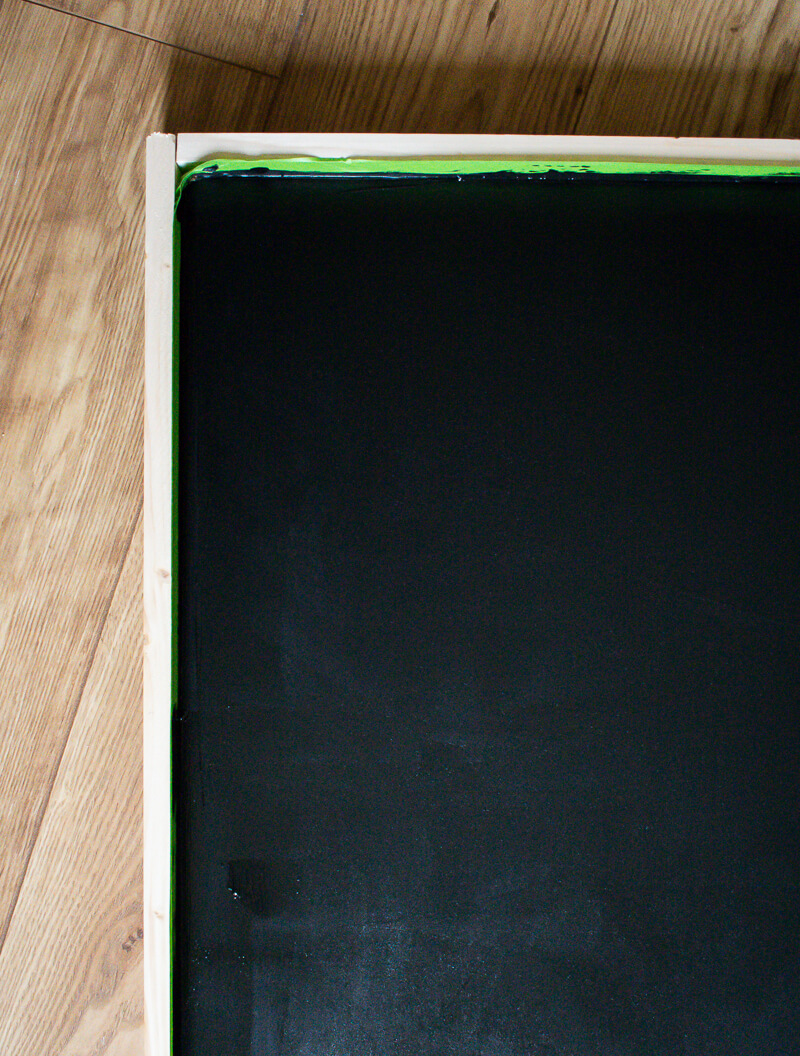
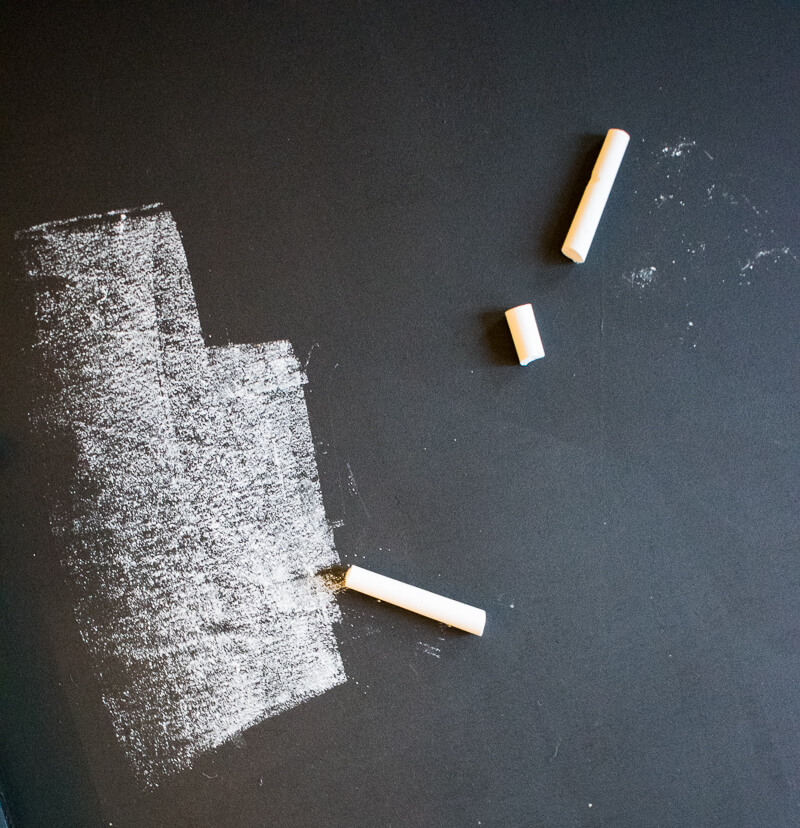
5. Paint on at least two coats of chalkboard paint. Remove the tape. Once dry – season the board with chalk. See how to do this here
6. Next create the sections using the smaller wooden pieces. Apply glue generously to one side of the wood before joining and gripping for 20-30 mins at marked positions on the plywood sheet.
Repeat this step 6 times . . . and leave 24 hours for full cure.

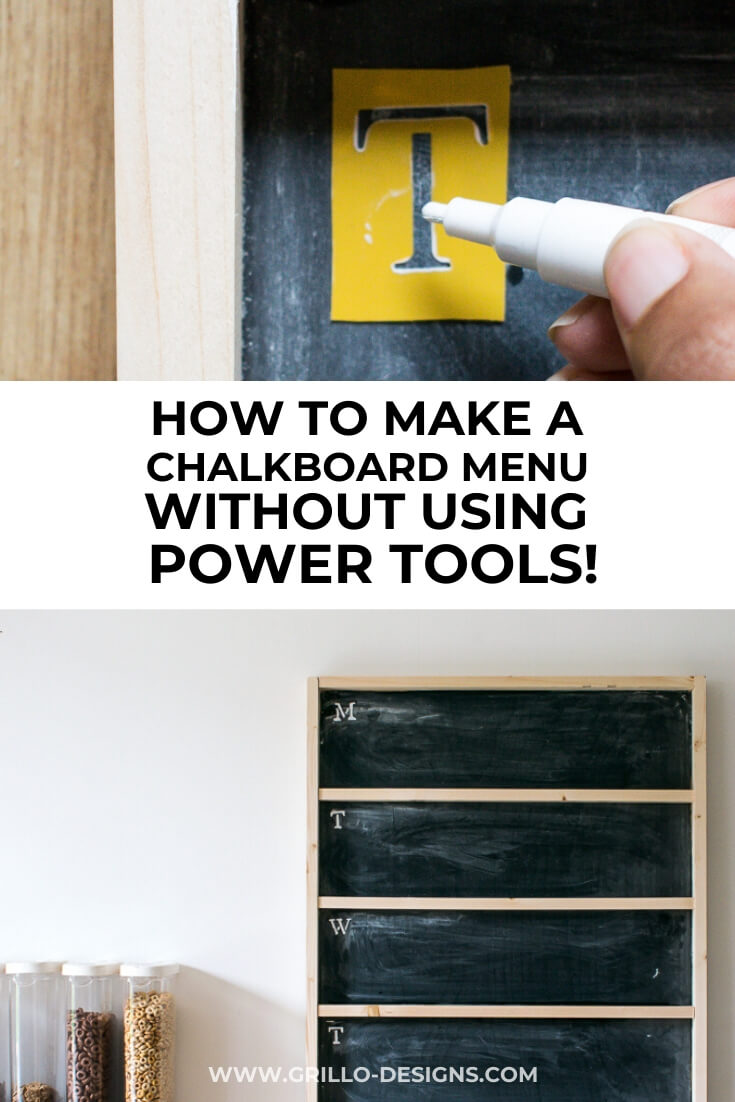
7. Finally stencil on the day of the week to each section using a chalk pen. Note: I only printed the first letter of each day, but you can do the whole word if you want.
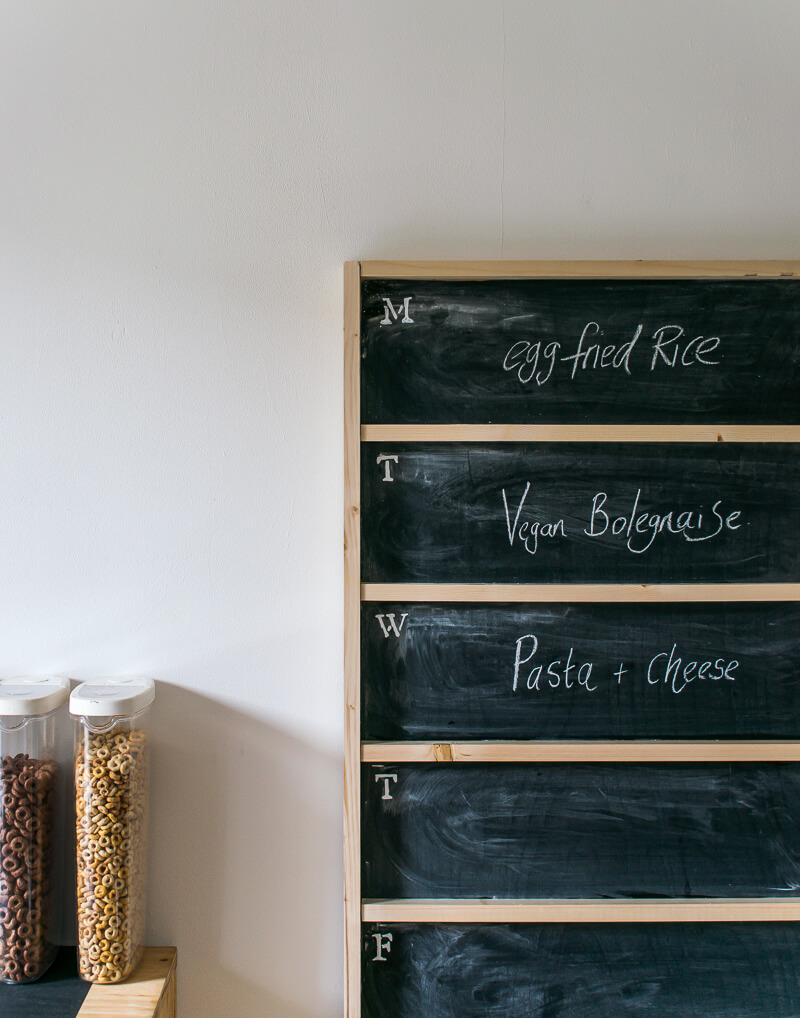
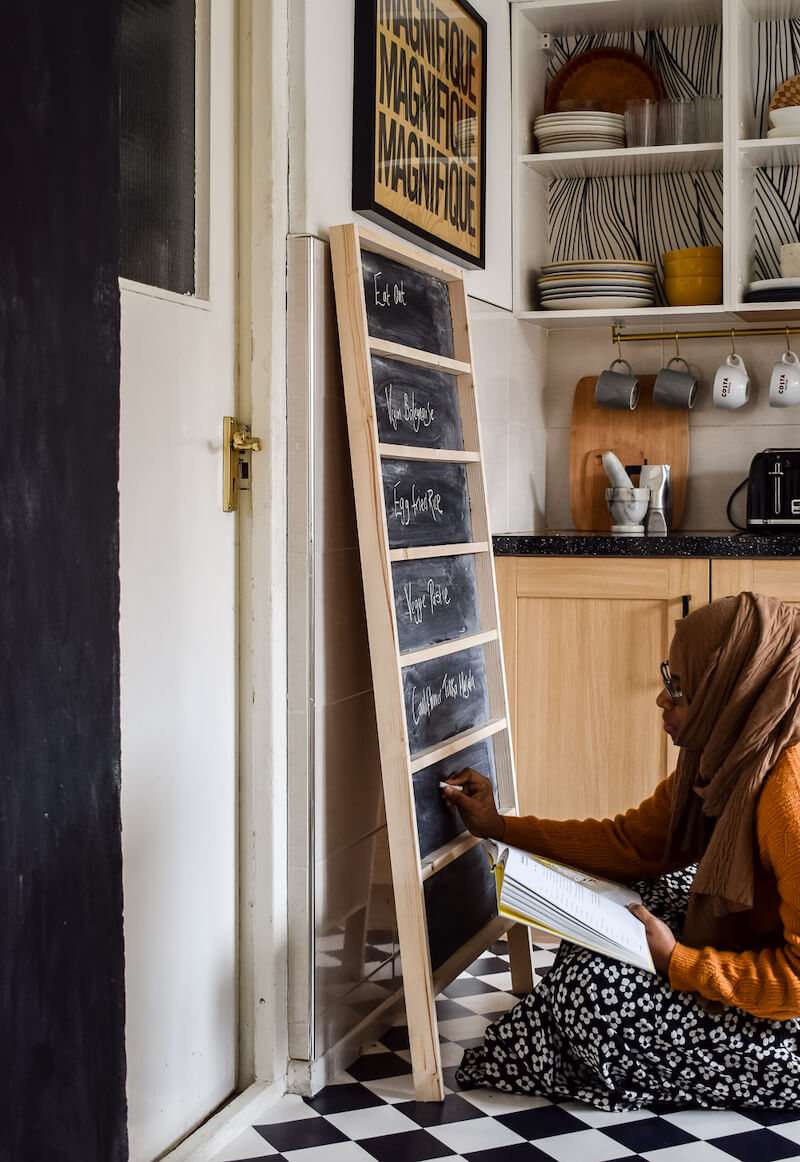
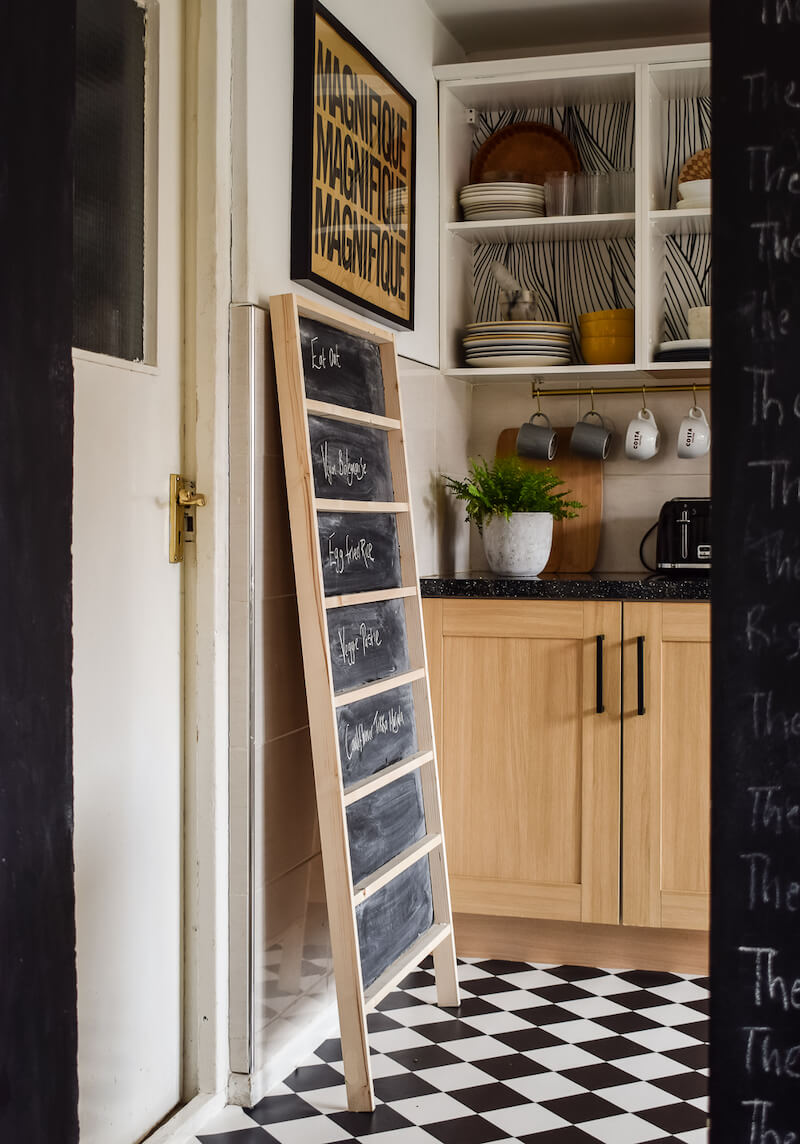
And you are done! Now get meal planning. I placed this chalkboard in my kitchen .
I’ve recently purchased the VEG book by Jamie Oliver for my husband who has decided he wants to be a vegetarian , and I’ve got to say, it’s absolutely brilliant! I would highly recommend!
***This post is a paid advertisement with Gorilla Glue UK. I received products and payment for my time creating this post. I only partner with brands I LOVE and think you will LOVE too! All ideas, photos and opinions are 100% my own.


HOW TO PAINT A CHALKBOARD WALL