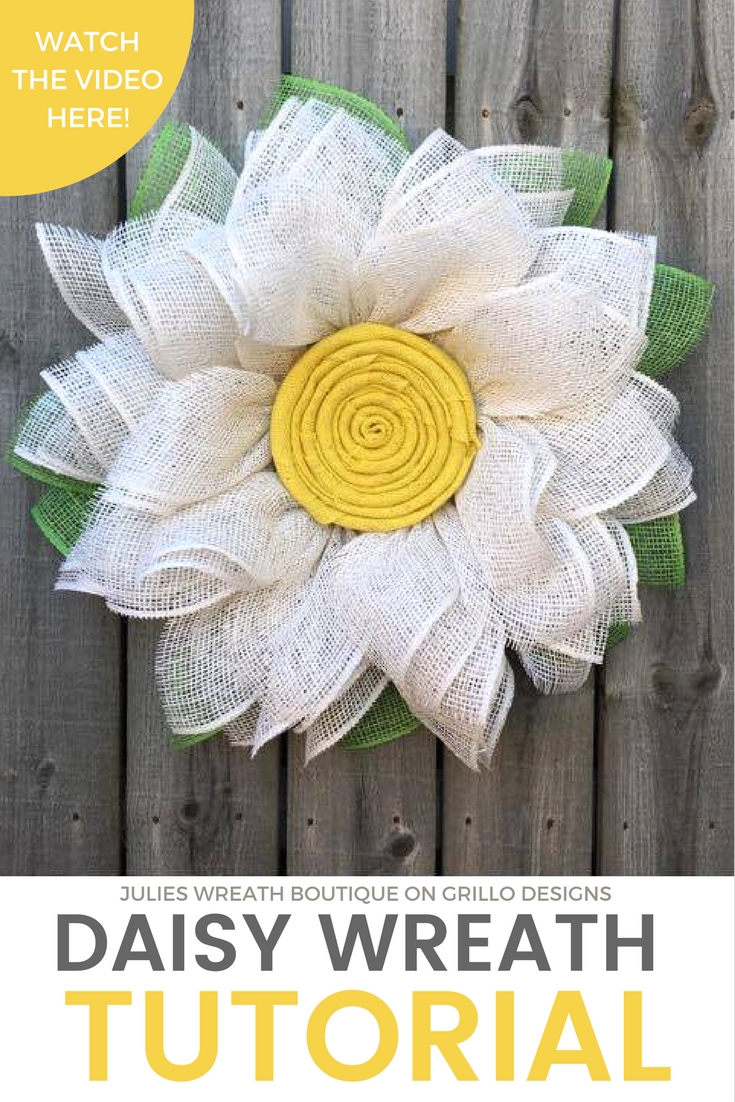
Learn how to make this one of a kind burlap daisy wreath for your front door this spring (or summer)! Get all the DIY details, including a video tutorial below.
[Psst! Join Grillo Designs on Instagram and Pinterest to keep up our latest posts and ideas. Got a question? Join the discussion in the new HOME & DIY chat forums]
……………..
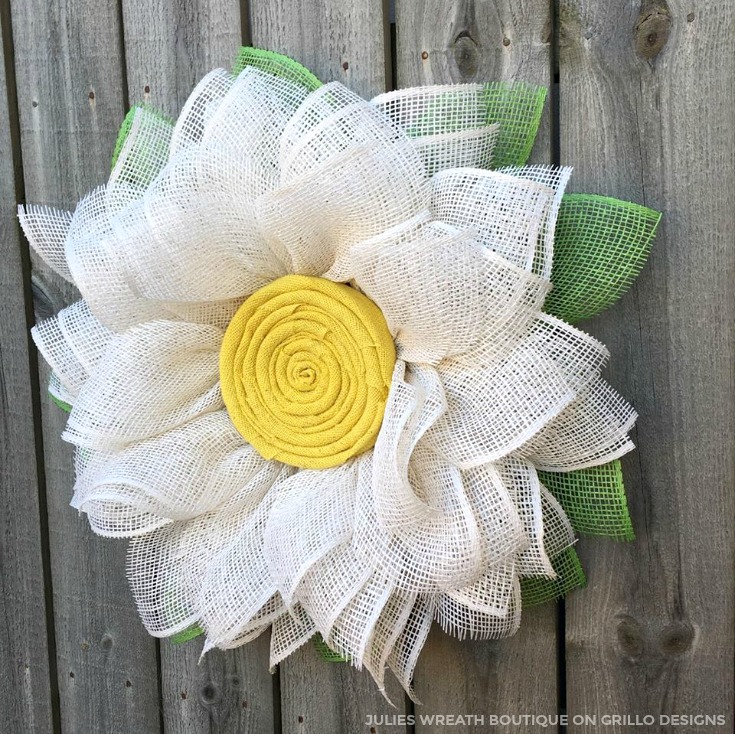
Hi Everyone! It’s Julie from Julies Wreath Boutique. I’m back again with another fun wreath tutorial! This time I’m going to be showing you how to make a daisy flower wreath from poly burlap for your front door.
If you missed my previous wreath tutorials – CLICK HERE TO SEE THEM ALL.
Right, lets get started! If anything doesn’t make sense, please leave me your questions in the comment section below.
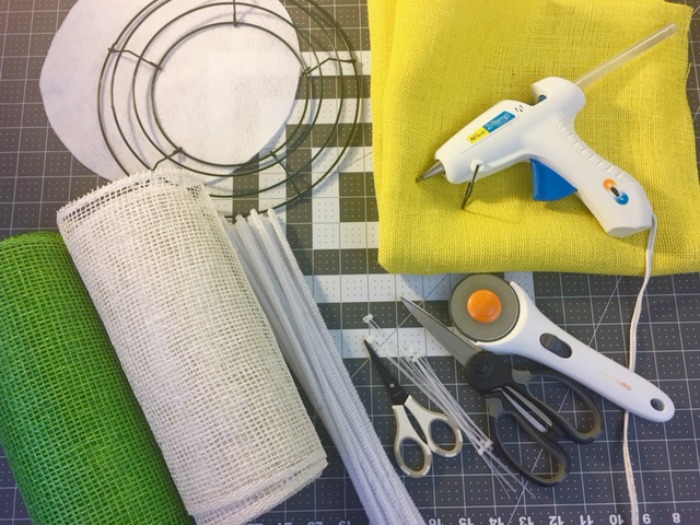
MATERIAL NEEDED TO MAKE A DAISY WREATH
This post contains affiliates for your crafting convenience, see full disclosure here
- 1 – roll of 10 inch white poly burlap (or whatever color you want for the base of the flower)
- 1 – roll of 10 inch green poly burlap for the leaves, you will not use the whole roll
- 1 – 10 inch wire wreath frame
- 15 – white chenille stems
- 1 round 10 inch felt circle to cover the back of your wreath
- 3 inch zip ties
- 8 inch zip ties
- 1 yard of natural jute burlap
- Rotary Cutter and Mat
- Glue Gun and Glue Sticks
- Scissors
NOTE: You can also purchase some of these supplies from my Etsy shop and purchase the kit from my boutique. You will not find poly burlap at most craft stores nationwide.
NOW HERES HOW YOU MAKE A BURLAP DAISY WREATH….
STEP ONE: First you will cut 5 pieces of green poly burlap at 11.5 inches long
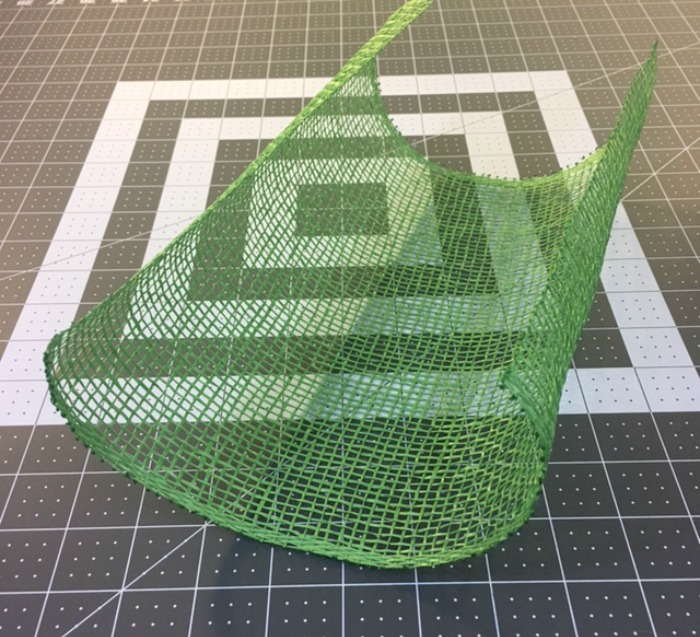
It’s important when cuting your poly burlap that you take your time and cut between the squares of the burlap weave to reduce the amount of fraying you may occur while assembling your wreath
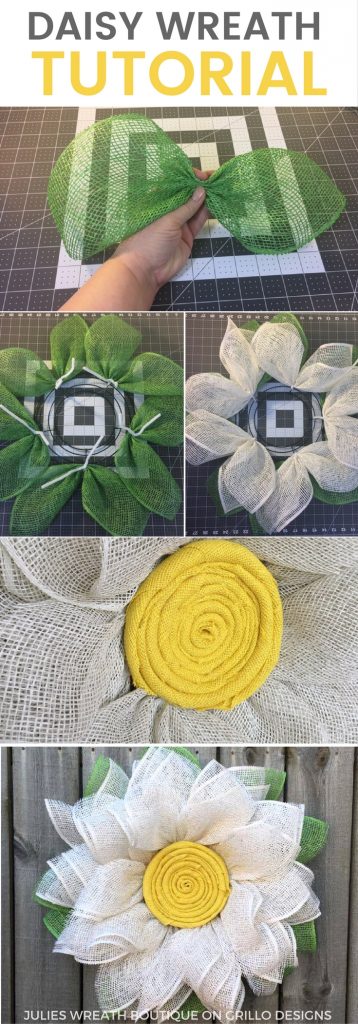
STEP TWO: Lay your cut burlap with the curled edges facing up take two opposite corners, fold them inward, and then gather in the middle until you form a bow tie looking leaf
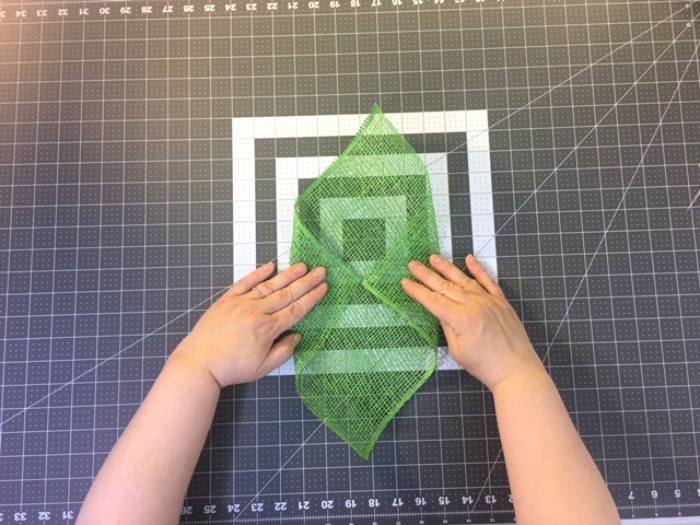
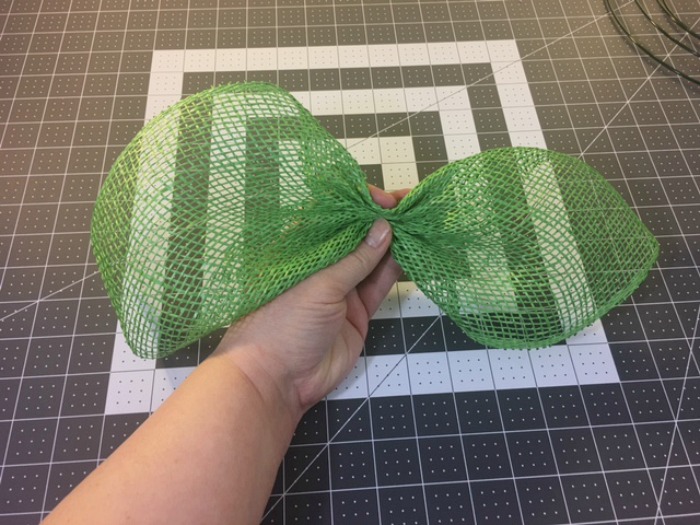
STEP THREE: Flip the ‘bow tie’ over and attach to the outside layer of the frame of your wreath frame, they should all attach where the crossbar meet.
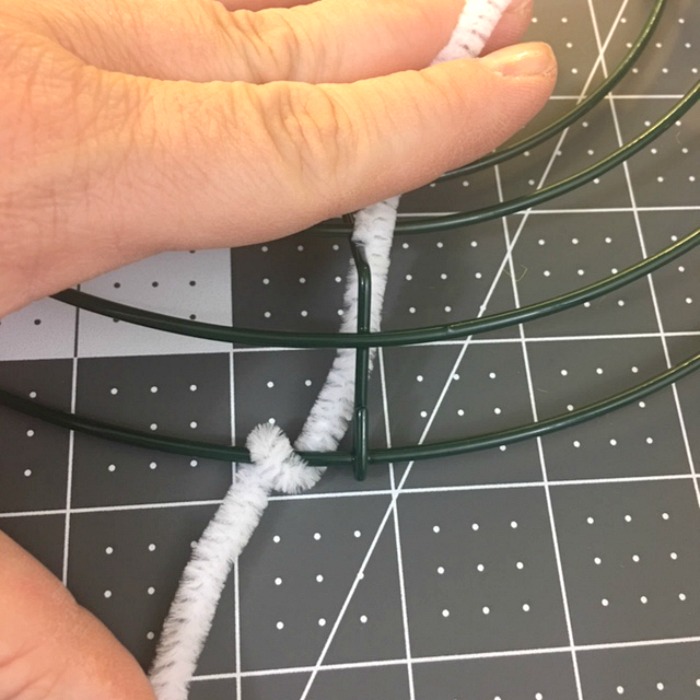
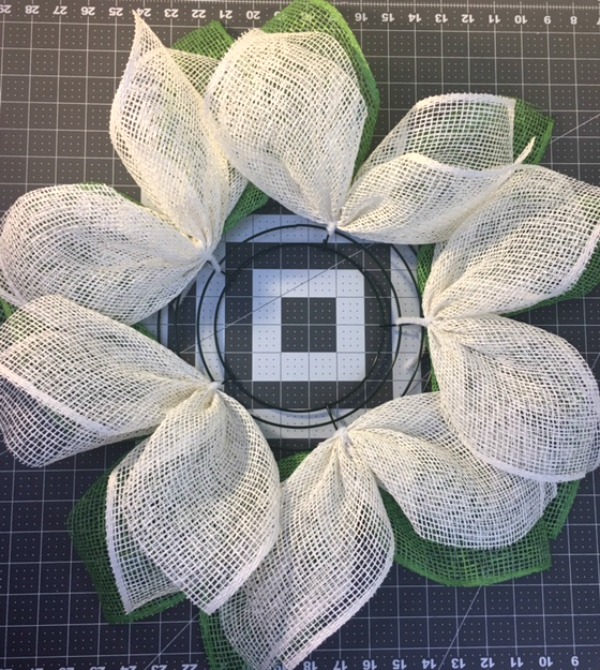
Once all your green leaves are attached it should look like this
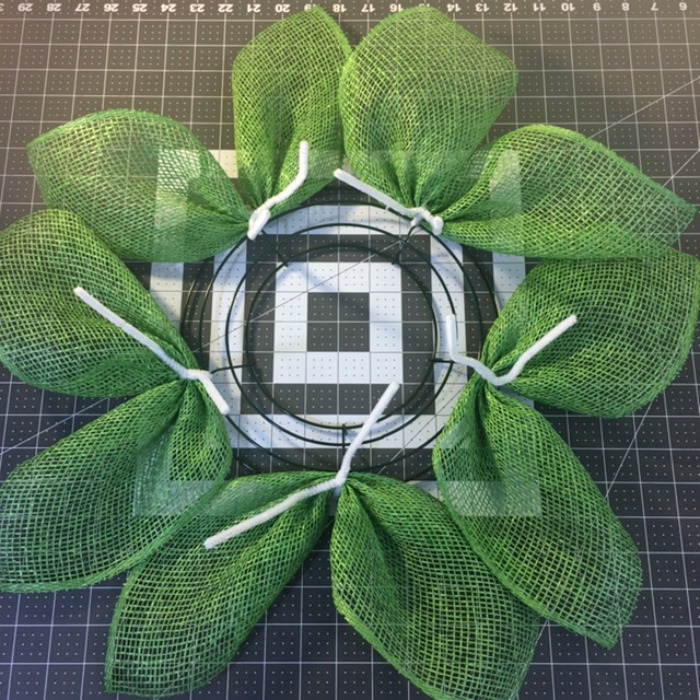
STEP FOUR: Now cut 30 pieces of the white burlap into 10 inch pieces. Use the flatter pieces on the outside of the wreath and the curlier pieces towards the inside to give more definition to your petals.
CLICK ON THE ARROW TO SEE PART 2 AND WATCH VIDEO TUTORIAL!
CAN I PURCHASE THIS DAISY WREATH?
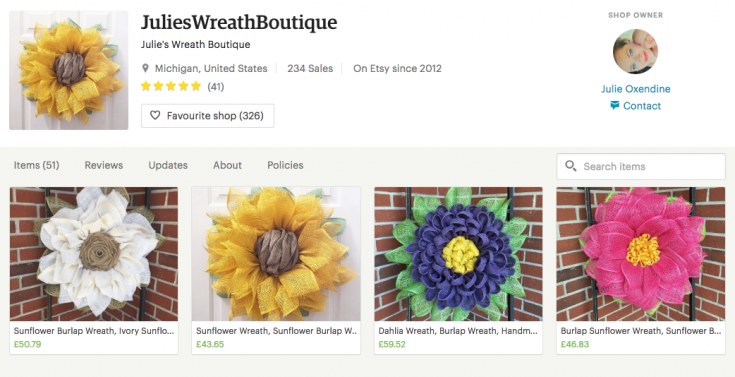
YES! You can visit my Etsy store to PURCHASE this wreath! You can also find me on my Facebook page HERE . I hope you enjoy your wreath!


Browse some of the other awesome wreath tutorials on this blog!
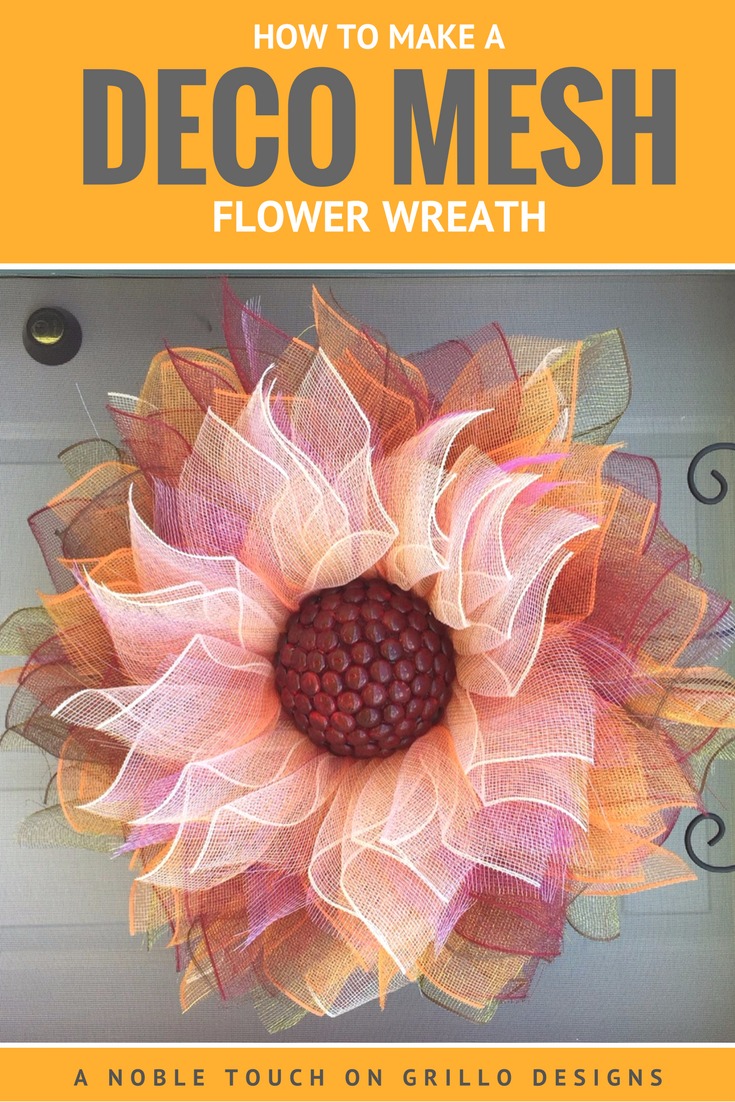
DECO MESH FLOWER WREATH TUTORIAL

Home and DIY
Organizing
Cleaning
Crafting
Introduce yourself!


Hi julie love your wreaths we can’t get burlap in scotland using decomesh but not the same result.
I love the daisy/flower wreath💕💕 I’m not normally a big wreath fan but these are unique & not the traditional wreath. Thank you so much for sharing this tutorial❤️😊💕
Would it be a disaster to use 14” for the flower part? I’m new T wreath making. Thank you for sharing
How many wreaths can I get out of a roll of burlap
I’m trying to figure out how many wreaths you can make out of one roll of burlap, trying to organize a crafting party for 6!!
I wanted to know where I can buy the poly burlap in northern indiana. I was looking for blue
Where are the first four steps?
They are all there click the arrow at the bottom back to the previous page
J aime vos décorations
So pretty! Love it!
How do you stop the fraying and rows coming off?
Watch this video, I use a wood burner and it minimizes a lot of the fraying. https://youtu.be/CooBDFvsTwg
Can you please tell me where you find poly burlap I’ve been to hobby lobby, Michael’s and Joanns and can’t find it thanks
You can only purchase poly burlap online at places like trendytree.com
I am going to be making this daisy wreath for my front door. I think it’s really charming. Thank you for sharing!
There is no arrow to go to the second part.
Sorry working on it!
where is the arrow for the second part?
It should be there now 🙂
I don’t see one either
Still no arrow for 2nd part
Sorry will get it sorted today
I am having trouble finding the 10″ roll of poyl burlap , could you please point me in the right direction ?
Hi, head over to jULIES WREATH BOUTIQUE, she shares all the kits for her wreaths 🙂
I found them at TrendyTree.com. Price was good and shipping is reasonable
Craft outlet online
What a fun and easy burlap wreath! The daisy is perfect for summer. I love it. Thanks for sharing your tutorial with us at Merry Monday this week!
Thank you, so glad you enjoyed it!
This is a very pretty wreath — just right for summer. It looks complicated, but (thanks to your instructions) it seems like it would be easy to assemble. It can be modified with different colors of burlap, too. What a nice project!
Thank you so much!
would love video of any thing u make
Hi carolyn there is youtube video by julie for this wreath on the second page 🙂
How can l get the kit
You can purchase it here: https://www.etsy.com/listing/517246726/daisy-wreath-kit-burlap-wreath-kit-diy
Your spring wreath turned out really pretty! Love your DIY.
Pinned & sharing Thanks for joining the Inspiration Spotlight party.
You’re quite welcome!
Oh my gosh, I just love this! I’m going to have to try and make one too. Beautiful! thanks for sharing this.
Thank you!
Love all the burlap flower wreaths. Great tutorial.
Thank you!