Thanks to RyobiEU for providing me with some of the power tools for this repurposed crib project. All opinions expressed are my own.
OK, so I don’t have to be a mind reader to know what’s going through your head right now. You’re thinking… ‘oh no, not another upcycled crib idea?!’ Am I right? Hey I’m sorry to be the cause of Pinterest induced deja-vu in this instance but believe you me, its for very good reason. Stay with me now…
You see, this crib (we actually call a crib a cot in the UK, but I feel using the term crib might be more relatable to most of you) has sentimental value to me.
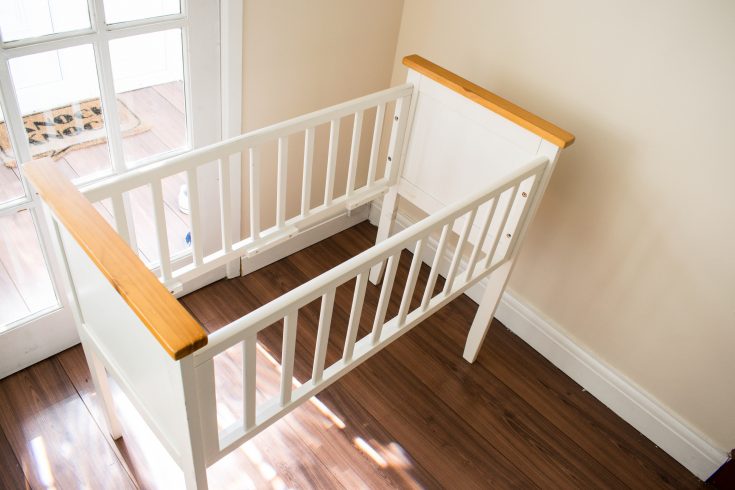
I know that’s something most mothers would say, but its the truth! This crib had been in our family for years and was passed on to my son who slept in it until he was about four months (he’s four years old now). I’ve had no else to pass it on to, so it’s just been sitting in our attic all this time.
It wasn’t until we started packing up our things to move homes, and it was thrust into my face by the husband asking wether I wanted to throw or keep, that I thought …. no I felt that rush of ‘awwww I remember you!’
‘Keep of course!’ I almost screamed. Insert horrified emoji.
Long story short, sentimentality mixed with the fact that I can’t throw stuff away is the reason why this crib is now a bench.

Usually these type of projects take us such a long time to complete because of a lack of equipment and tools, but thanks to RyobiEU this was not the case this time! We knocked this project out in an afternoon..high five moment for sure!
Materials Used:
This post may contain affiliate links for your convenience – please see full disclosure here
- Ryobi Palm Sander
- Saw
- Ryobi multi-tool
- Ryobi Drill and Screw driver
- Measuring tape
- Pencil
- C clamp
- White primer
- Paint (of your choice)
- Clear Poly (Varnish)
- Dark Oak Varnish
- Old cloth
- 2 x 4 hard wood
- 2 ” Screws
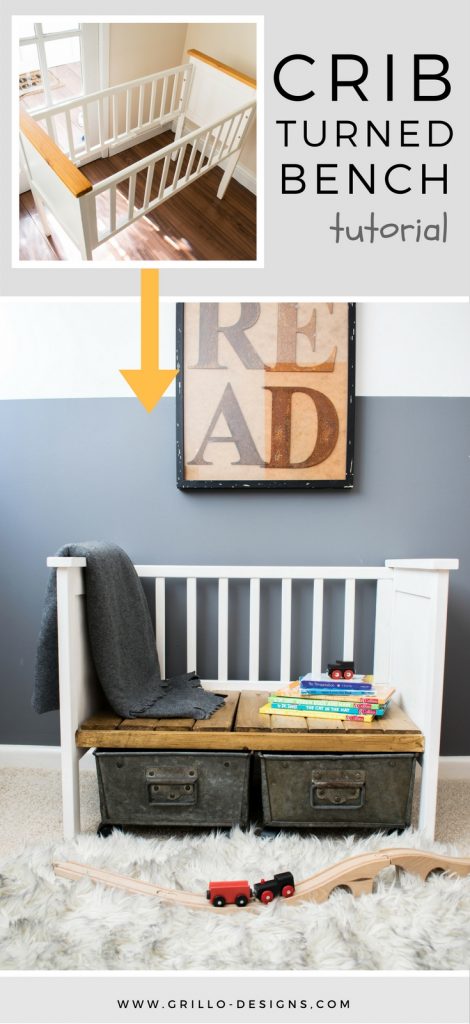
Repurposed Crib Turned Bench Tutorial:
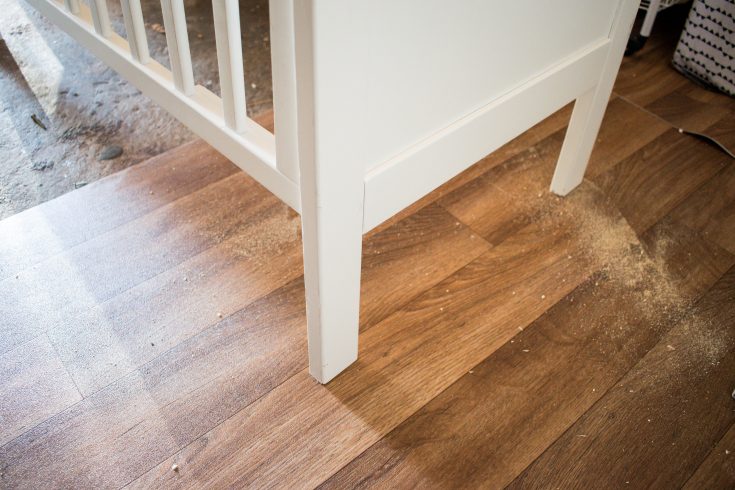
We planned to turn this crib into a kid bench by reusing and modifying all of its original frame. However, the height of the crib was quite high, so first we had to saw about 10 inches off each leg to make it more kid friendly.
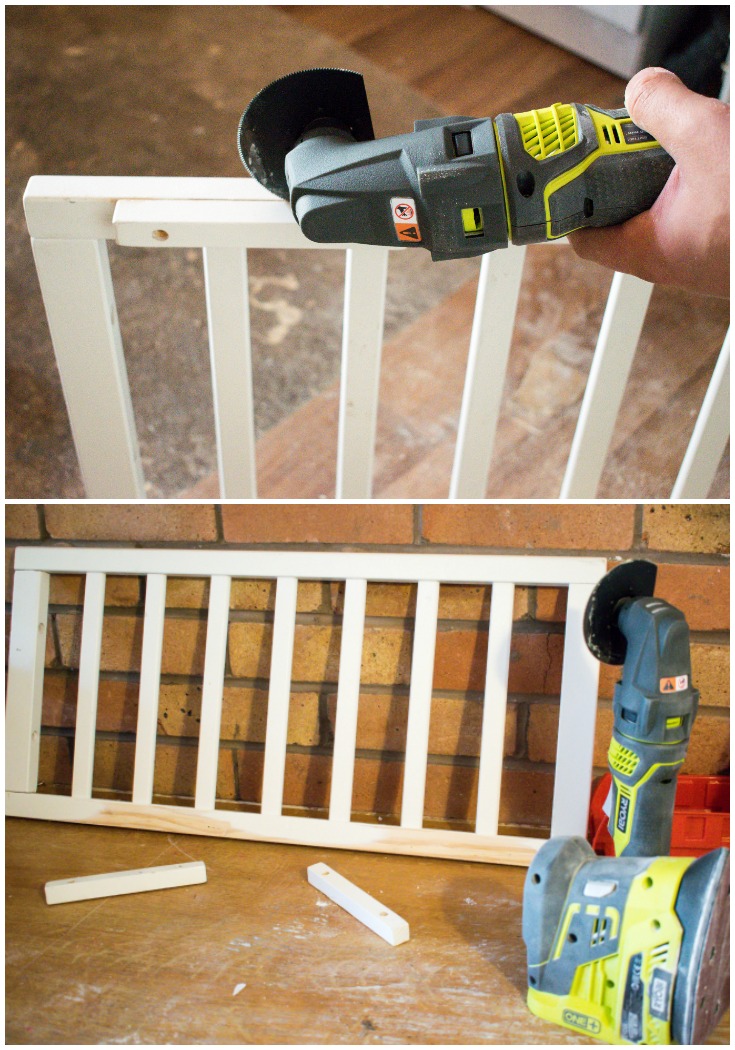
We also decided to reduce the overall width of the cot. To do this we cut through 3/4 of the cot panel side and removed the last spindle with this nifty Ryobi multi-tool.
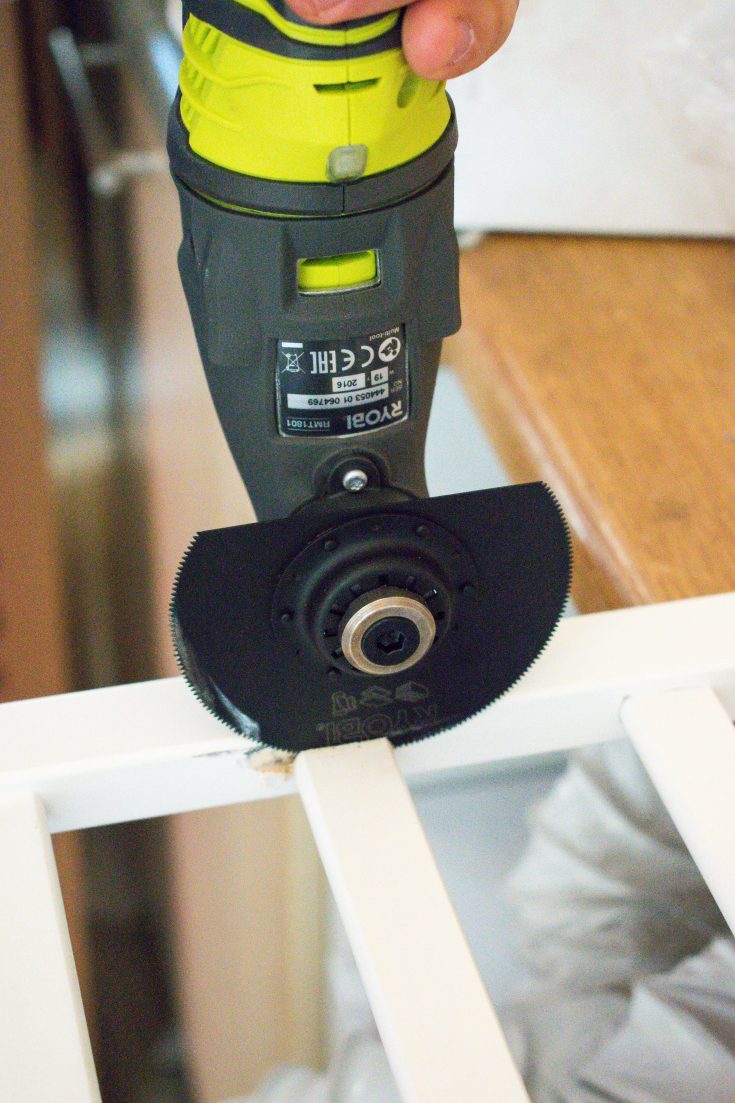
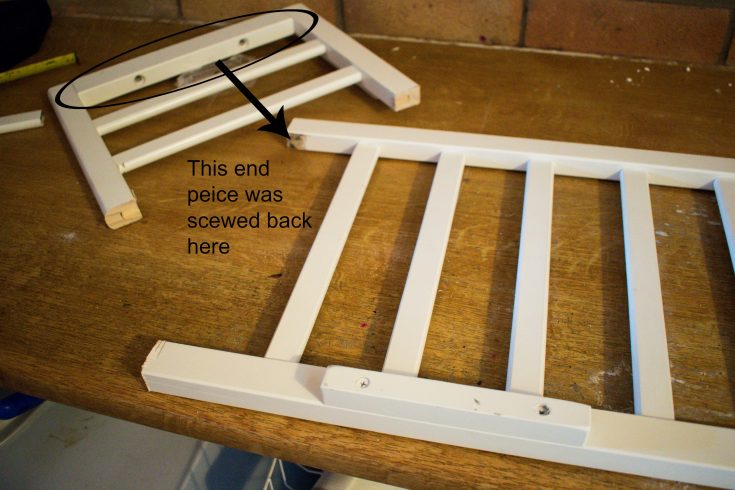
To ensure we kept the overall symmetric look of the panel, we then removed the end piece from the other side of the panel and screwed it back into the panel we wanted to use.
Sounds confusing huh? I’m hoping this picture will make a little more sense!
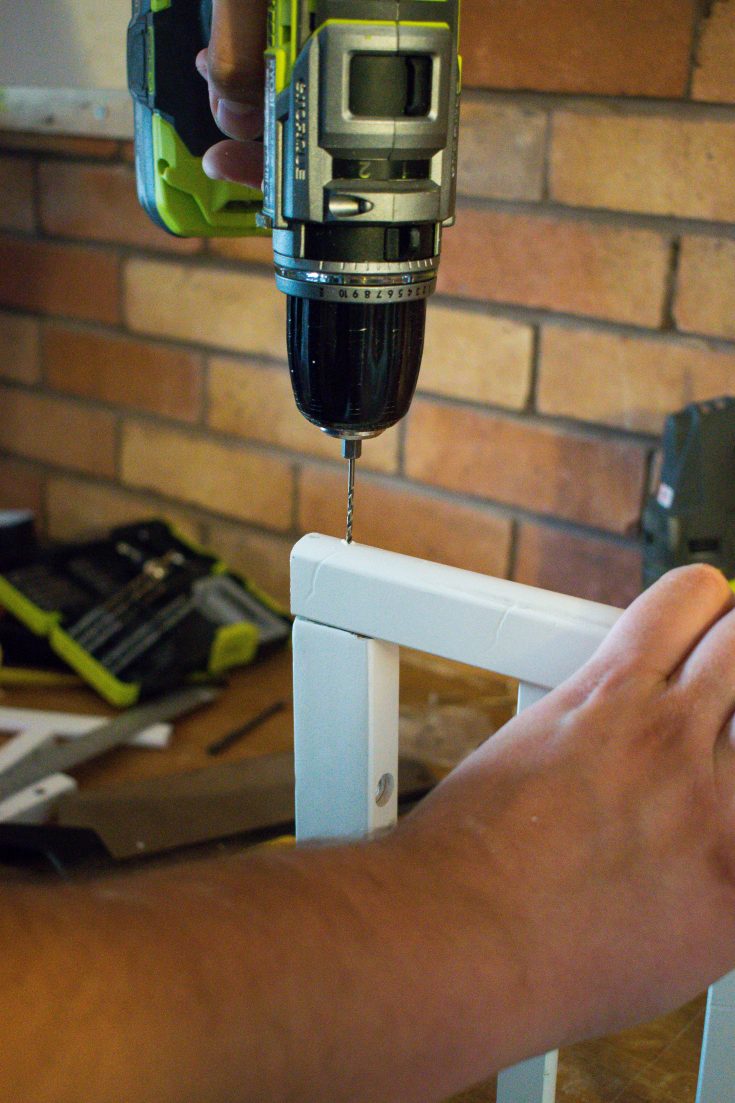
NOTE: We pre drilled holes using the Ryobi drill before screwing the end spindle into place to avoid the wood cracking
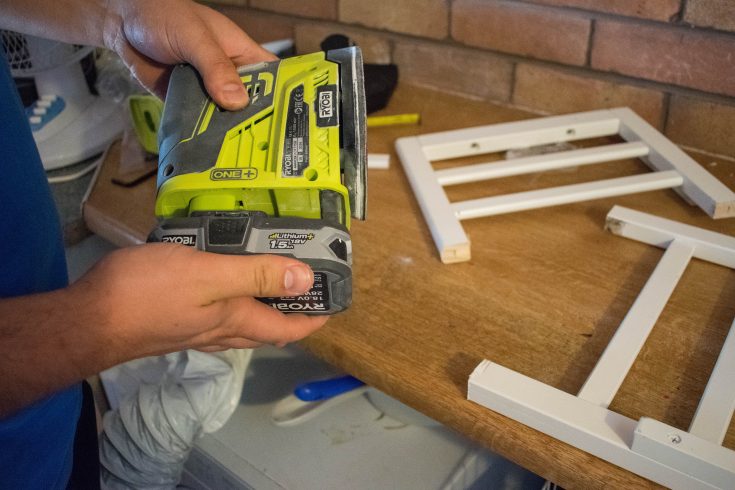
It’s always a good idea to sand the wood between sawing as it makes the surface smoother and removes any unwanted sharp bits. Thankfully we were able to switch between the different Ryobi tools very easily because they were all battery operated – and that one battery fits all!
We also removed 2 of the bottom ledges previously used to support the crib mattress – we planned to replace them with another longer piece of wood for a more evenly distributed support.
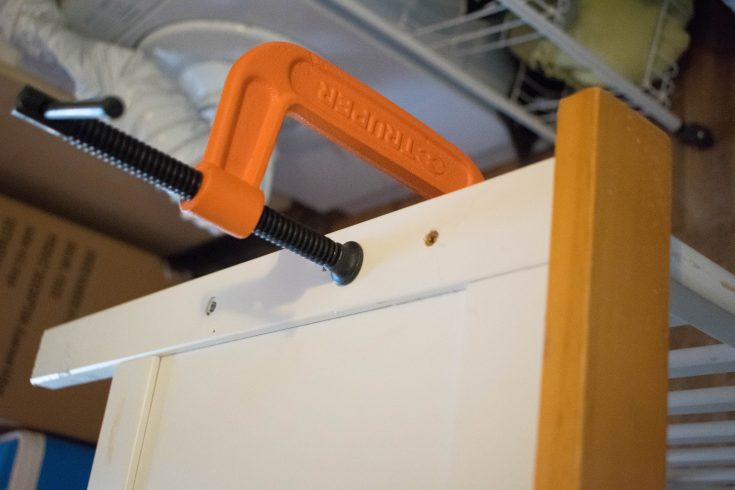
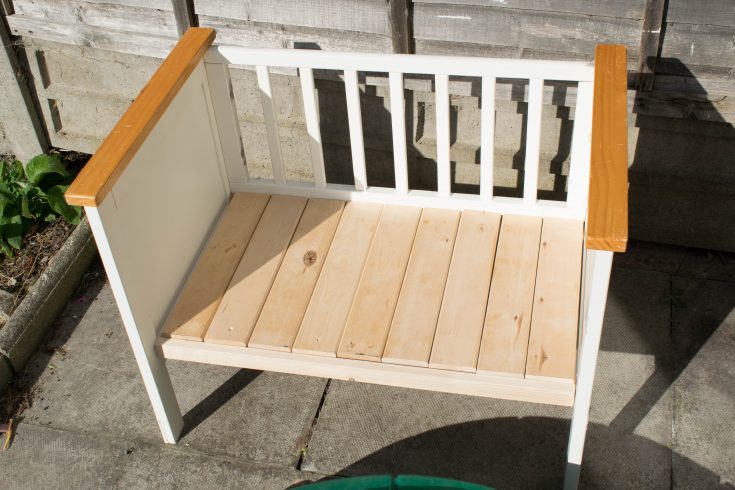
Next, we assembled the shortened side panel to the head and the footer of the cot. We found using a clamp at this point very useful in keeping the right angle whilst screwing. Are you thinking this clamp looks familiar? Haha too right – I also use it as a book holder on my sons bookshelf. It can be bought from here
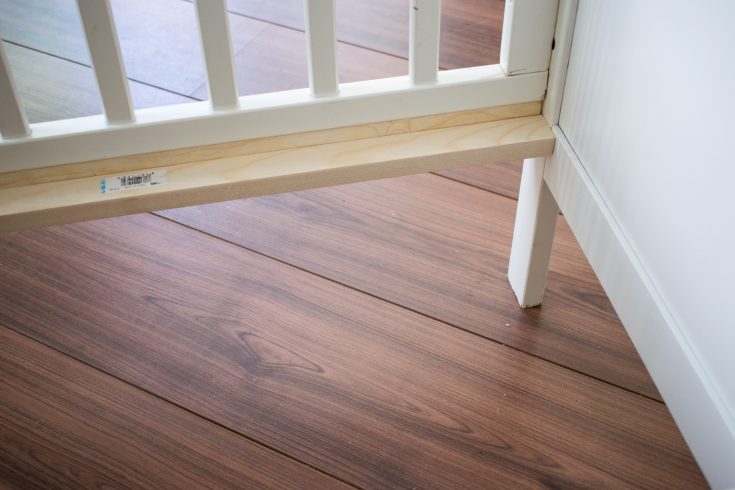
We decided on re-using old bed slats for the base of this bench, but we needed support in place for that. We used the 2 X 4 wood, cut into 2 pieces for the back and 2 pieces at the front.
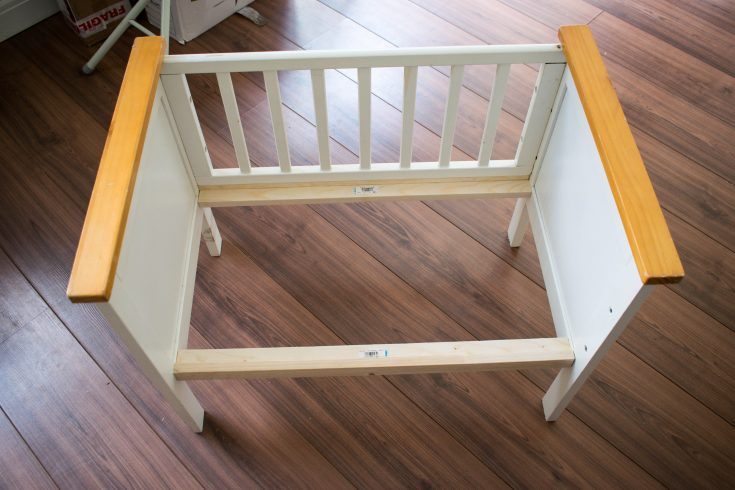
They were attached to form an L shape bracket that the bed slats could rest on. See below picture for a close up of this.
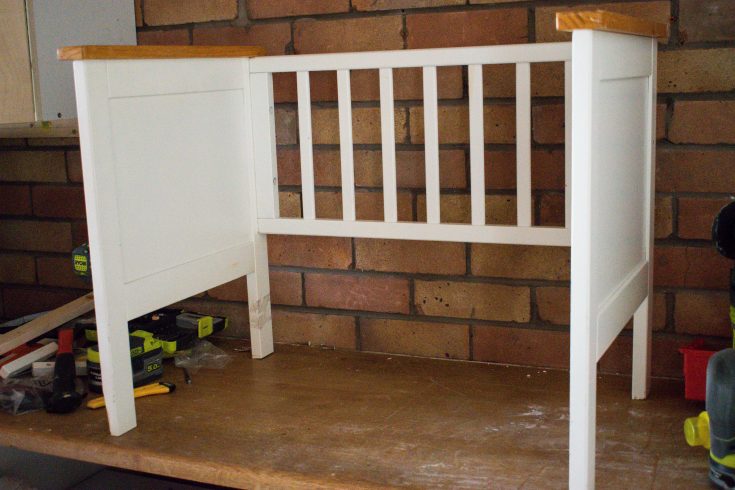
Modifications now compete – it was time for the cosmetics! Wood filler was used to hide some of the holes from the cot as well as holes from the new screws we made putting the bench frame together.

The bench was then left to dry for one hour and then sprayed with white primer spray paint (just so you know this primer is pretty amazing stuff you can buy it here). Some parts of the frame was painted over with white latex (emulsion) paint and finally everything was sealed with a clear poly spray
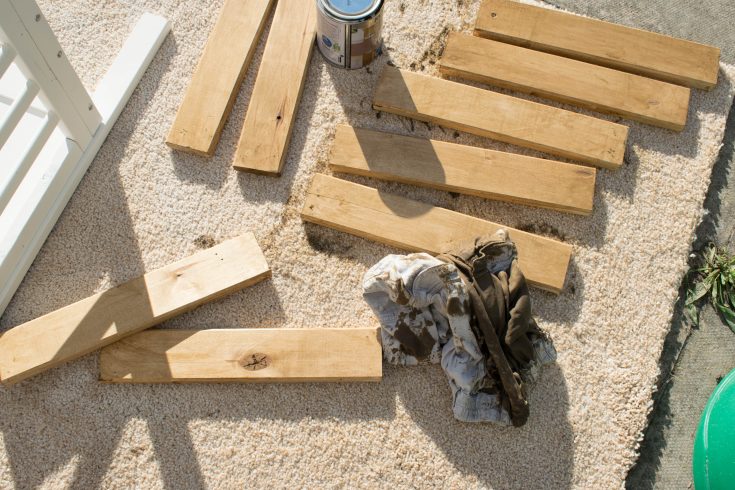
To make the seating we used old bed slats from a broken bed cut to size.
Each plank was stained with the dark oak varnish. I like to use this brand because it seals and stains at the same time
DONE!
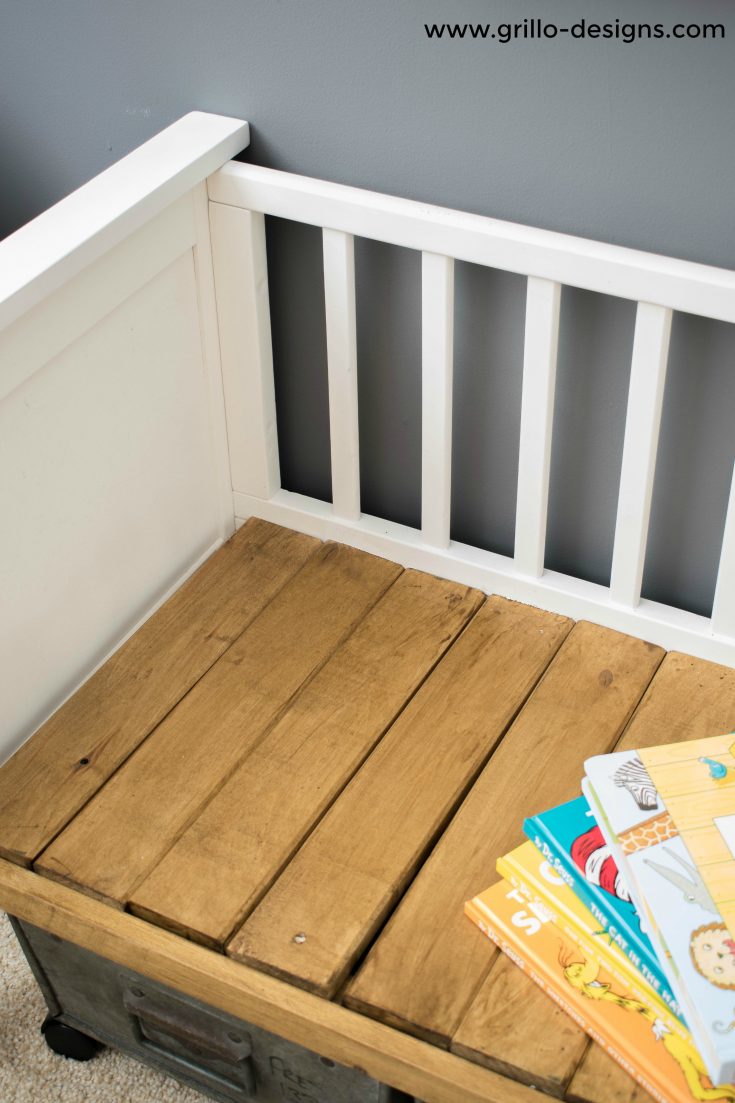
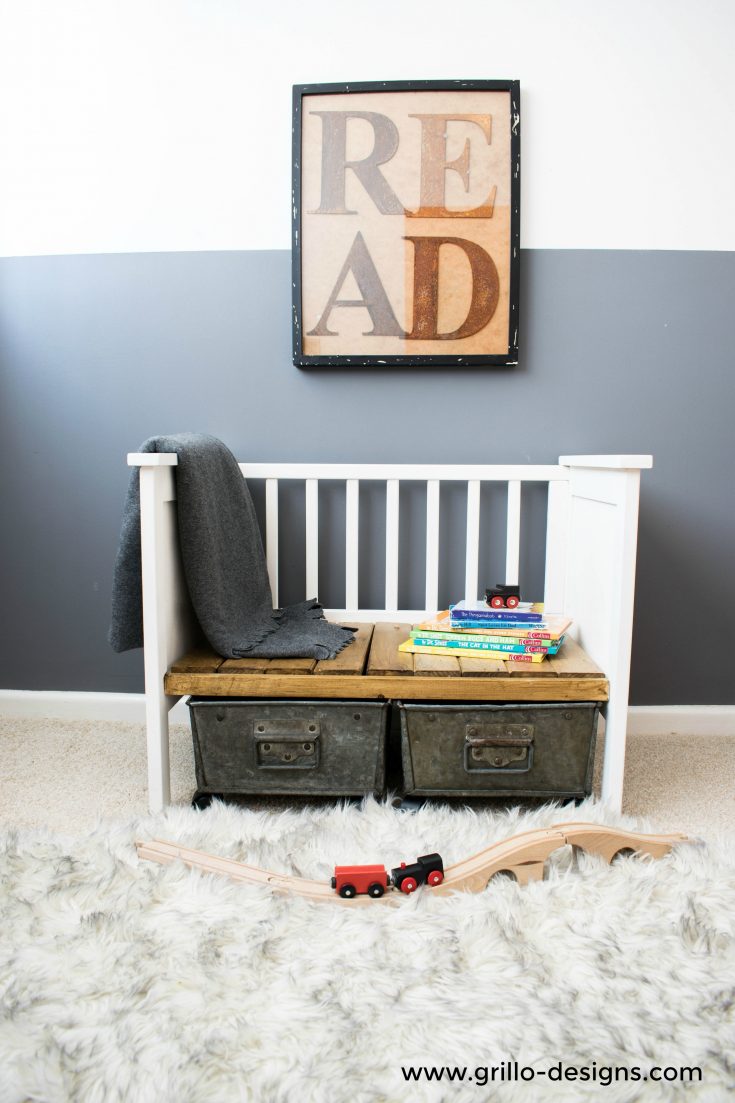
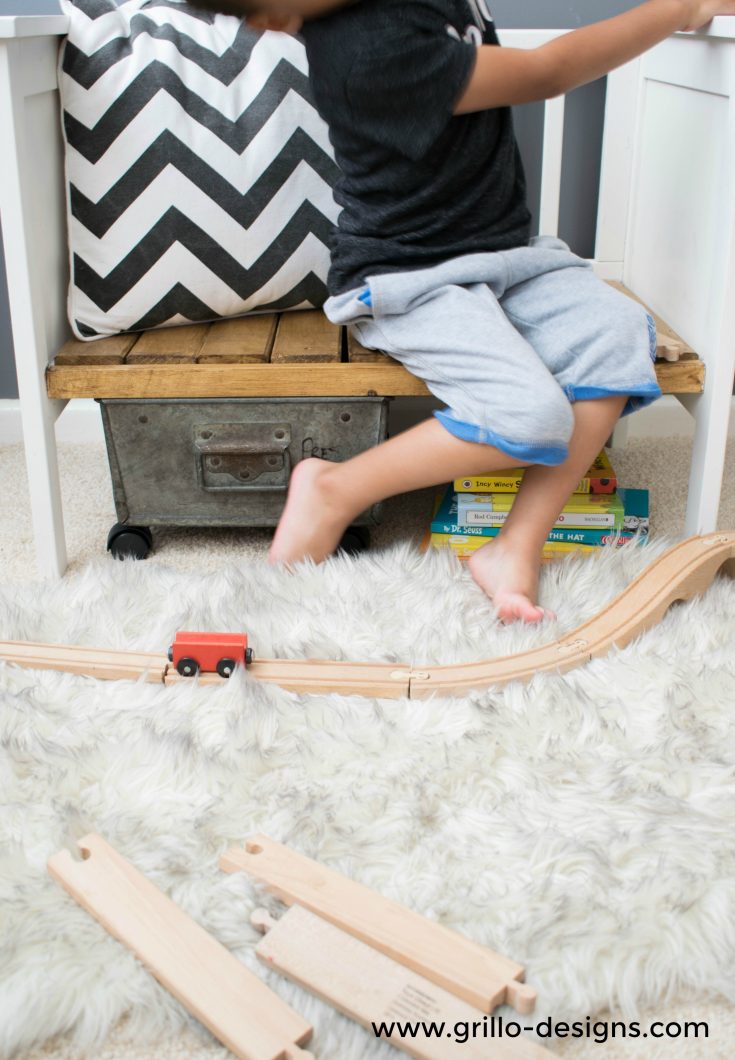
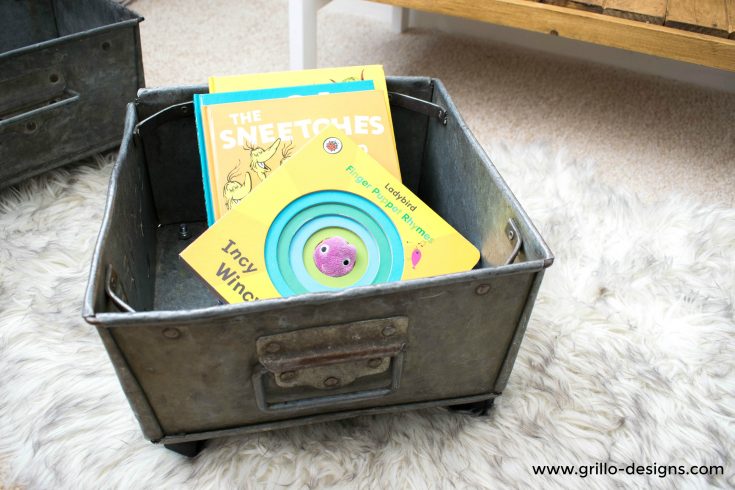
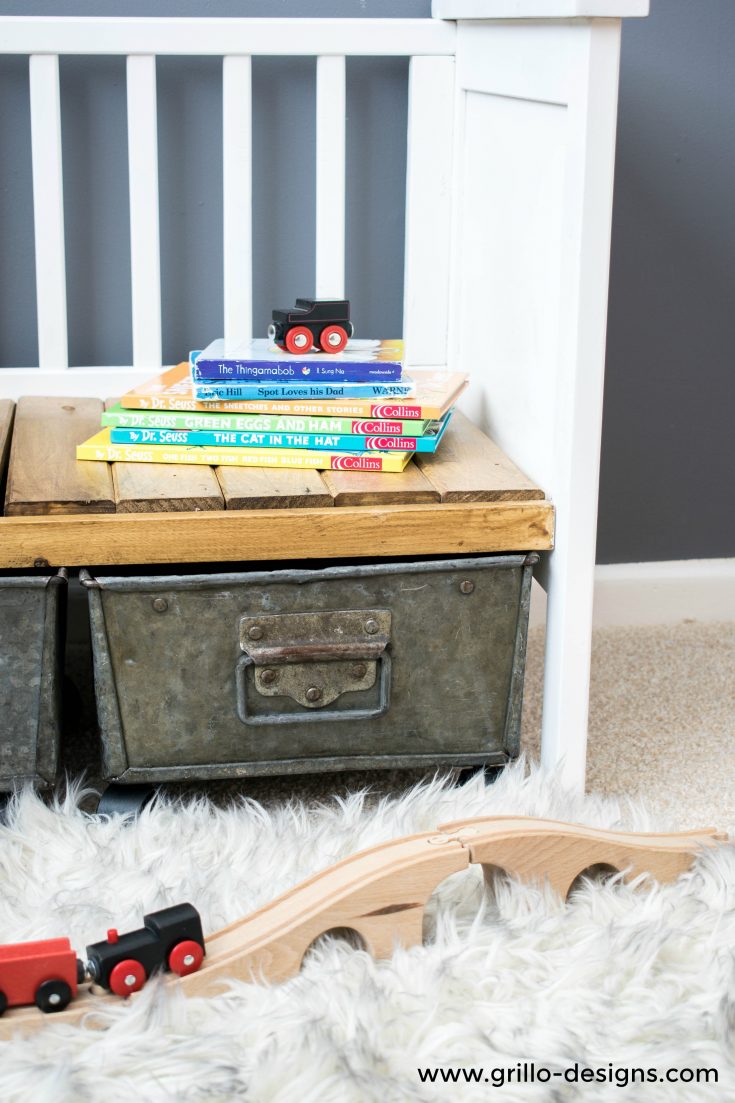
I bought some industrial tubs quite a while back now and used them under the bench as storage. With added castor wheels, how cute do they look?
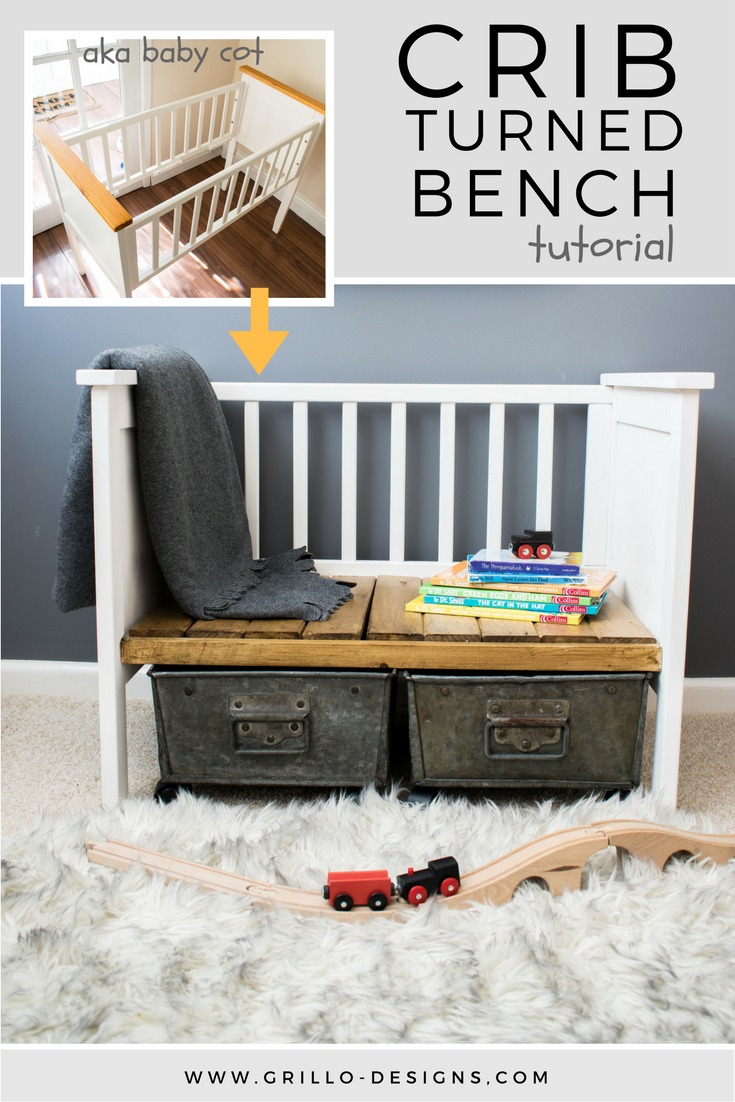
THINKING OF TRYING THIS LATER? DON’T FORGET TO SAVE IT TO PINTEREST!
I would also love to hear about your own crib (baby cot) upcycles in the comment below!
WE ARE ALL ABOUT UPCYLCING AND REPURPOSING ON HERE SO WE HAVE LOADS MORE SIMILAR IDEAS YOU MIGHT LIKE! CLICK ON THE IMAGES BELOW TO FIND OUT MORE!


Major crib throwback when I see those pics! hehe
Thanks for joining my linkys party. Dont forget to hashtag with #WhatMadeMeSmile for a retweet.
http://www.mycitymylondon.me
So cute! Ok, now my mind is creating a ton of crib projects. Shoot, I wish I held onto our old cribs! Great post!
Hehe! Thanks 🙂
Wow, I love this, what a perfect little bench for the bedroom now! I also can’t throw much stuff out, it sure comes in handy later on. My husband is finally starting to understand me 🙂
Haha! Thanks Toni 🙂
I’m glad you added a pillow at the end. Though your repurposed crib looked sturdy and useful, I myself would not spend much time reading there without a cushion to sit upon and/or lean against! Beautiful workmanship!
Thank you! I tokay agree with you on that one. My son added a few pillows and also gets his blanket and really cozies up on there hehe. Feel like I need to make an adult sized one too for me!
Great upcycle. I also have two metal industrial tubs. How did you attach the caster wheels?
Thank you! We drilled holes into the metal and then pushed the castor wheels screw through securing with bolts on the inside 🙂
Super Cute! I can only imagine a slice of pain stringing through you as you started sawing your family crib. The end result is quite lovely and I must be unusual because I have never seen this done before! So cheers to that.
Haha it felt wrong at first but once I saw the end result and how happy my son was with it…. I just thought ‘glad I did this!’
That’s a great diy upcycle of an crib when you can’t use it anymore. Good job!
This makes a fantastic bench! I think you were smart to hang onto the crib & repurpose it! Thanks for linking up with Merry Monday this week.
Thank you for having me!
OMG this is amazing. How haven’t I seen your site before now??? I love it! Thank you so much for linking up to #ablogginggoodtime ? I’m super excited to check out all your other projects. We have an under stairs cupboard to design and I need inspiration. ❤️
Thank you so much!
Thank you so much Catie!
What a great idea! We have an old crib that isn’t worth giving to someone else, but it would make a great bench. Thanks for the tutorial.
love this, especially with the storage underneath!
b
Thank you!