Hi there. Join Grillo Designs on Instagram and Pinterest to keep up with our latest posts and ideas. If you’re on Facebook, why not join our Home decorating, Upcycling and DIY group too – inspiration is guaranteed!
When I gave my kitchen a bright funky retro makeover, I decided my rubbish bin was not exempt from getting a bright face lift of its own too (for all my American readers, a Rubbish Bin, is what you would call a ‘Trash Can’).
So when I told my husband my intention of giving the bin new life, he did raise an eye brow or two…. after all he reasoned, why not just buy a new one? ‘That bin is ancient!’

Yes I agreed, the bin was indeed ancient but it also had sentimental value!
Ok that may have been a slight over exaggeration on my part, seeing as I couldn’t quite remember how and when the bin came into our care never mind sentimentality. I’m almost positive it might have been given to us as a wedding/house warming gift…. I think? Yup, thats right! I cant remember who from or why they felt it appropriate to bless me with a bin on my wedding day, but certainly not complaining here!
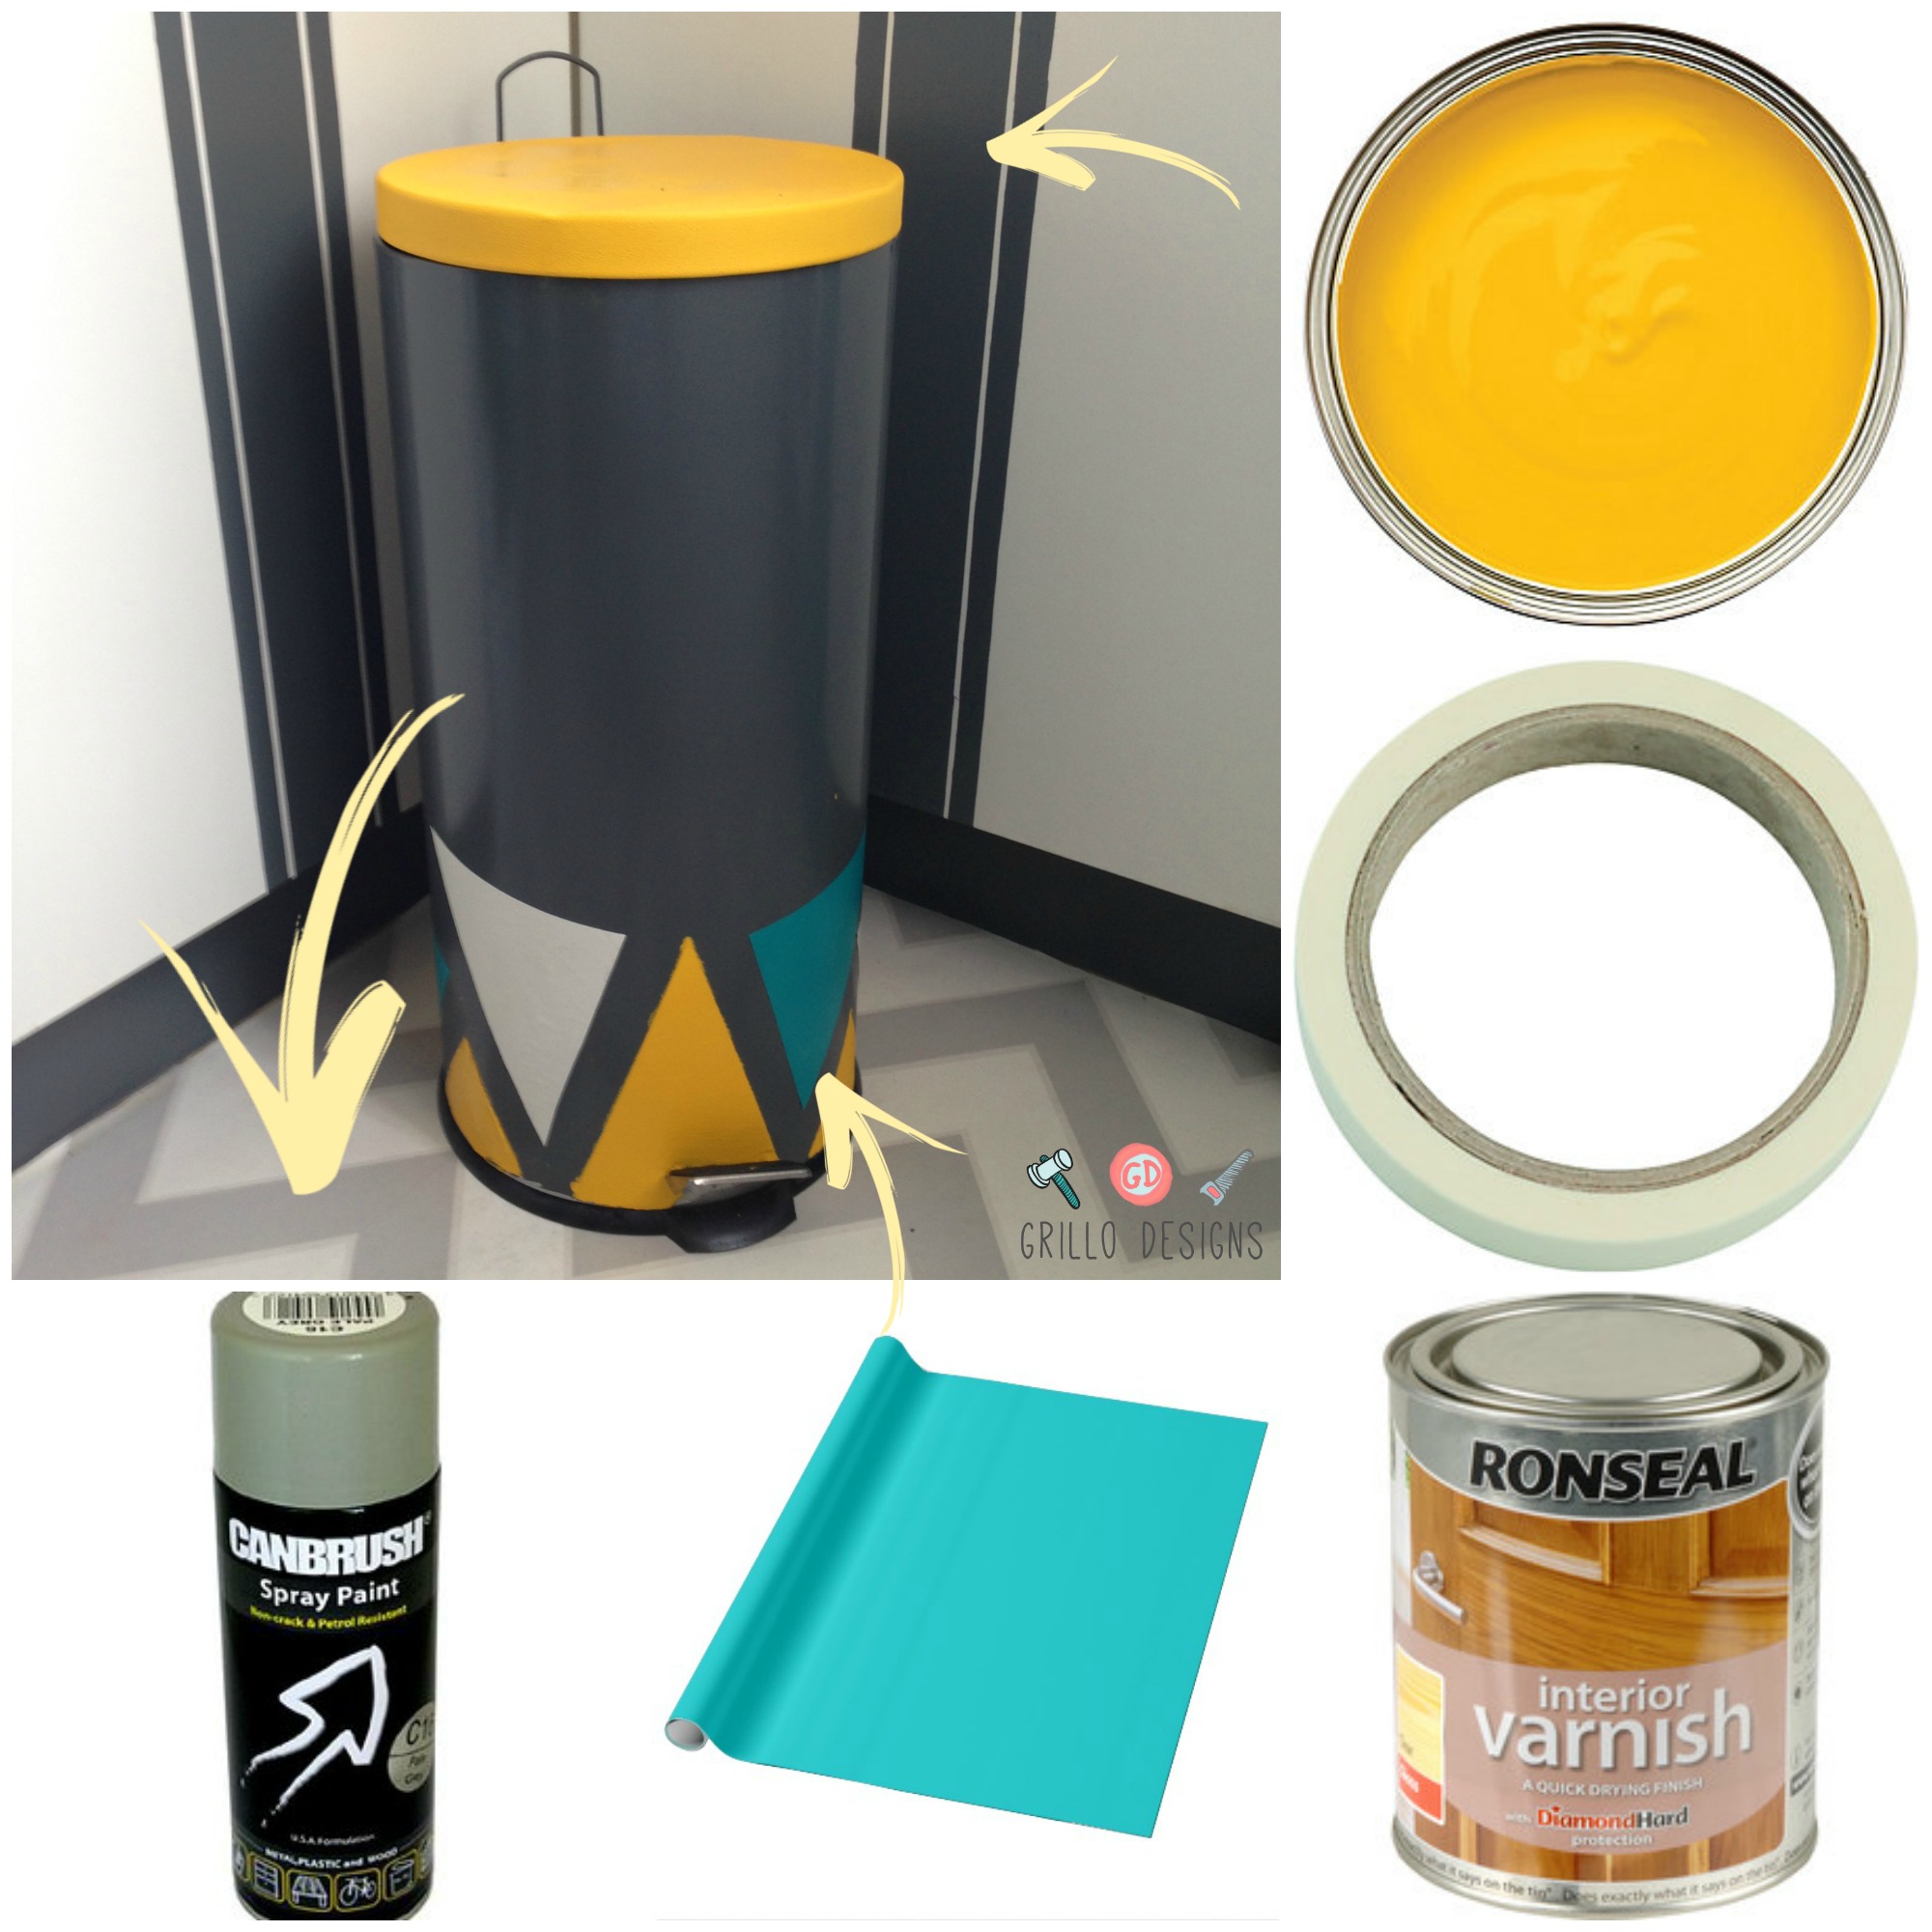
Materials Used
- Grey spray Paint
- Yellow latex paint
- White and Teal contact paper
- Paint Brush
- Painting tape
- Spay on Varnish
- Sand paper
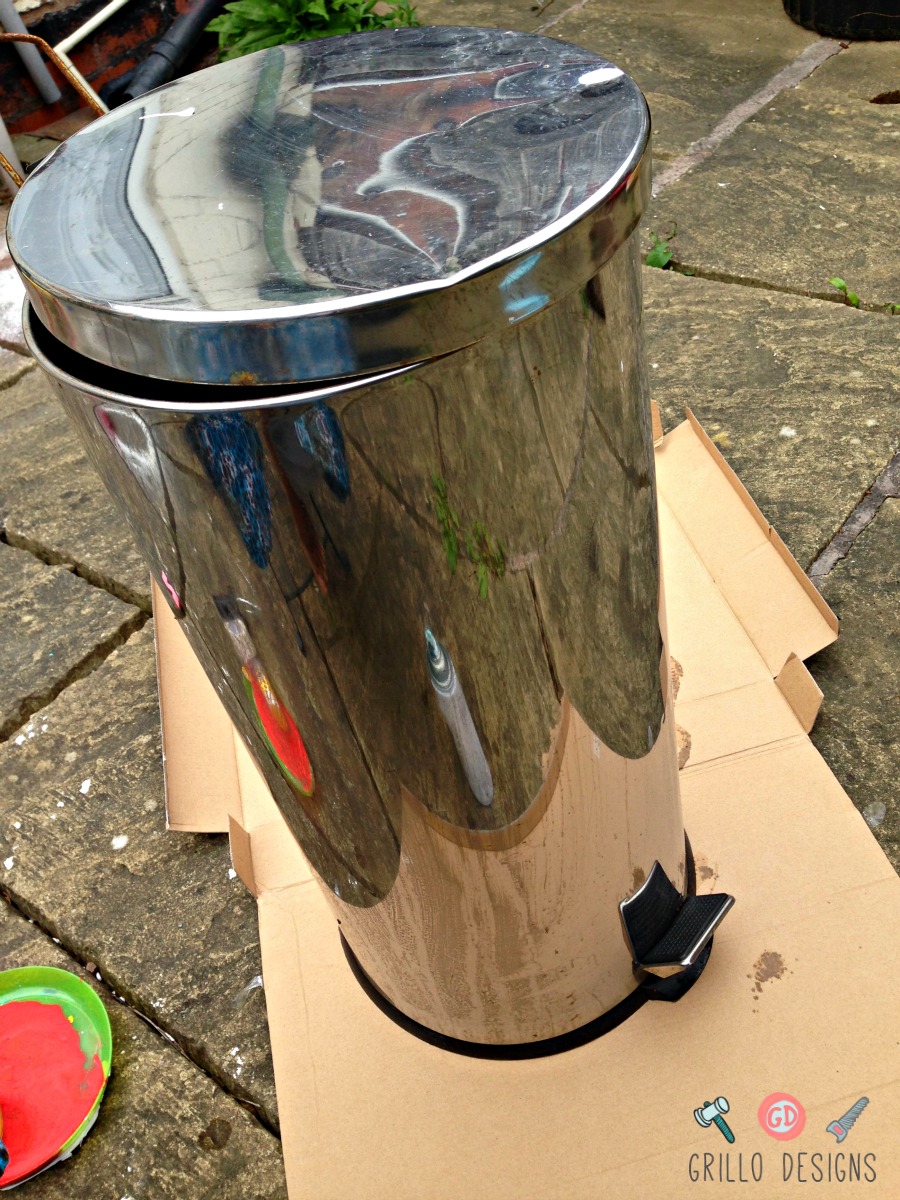
How to:
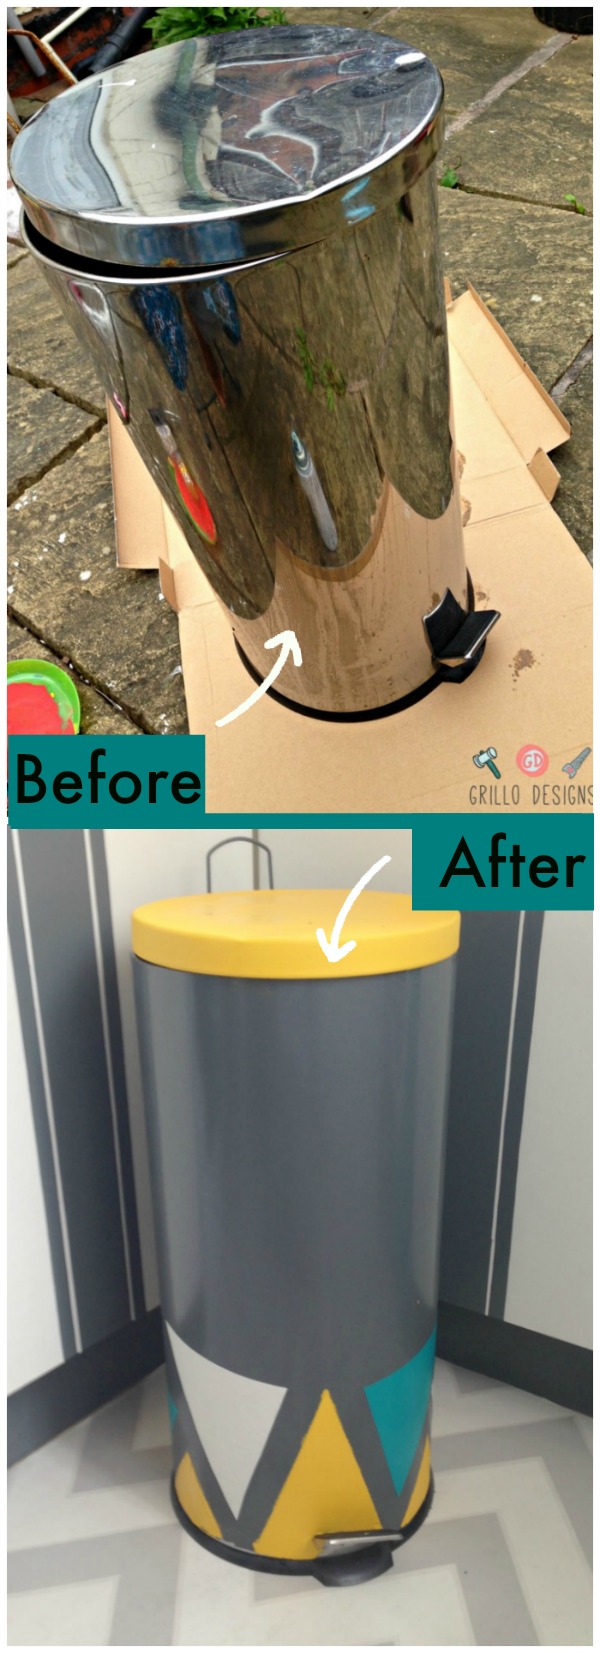
I cleaned and then sanded the bin with this old thing. I find sanding helps the paint to adhere!
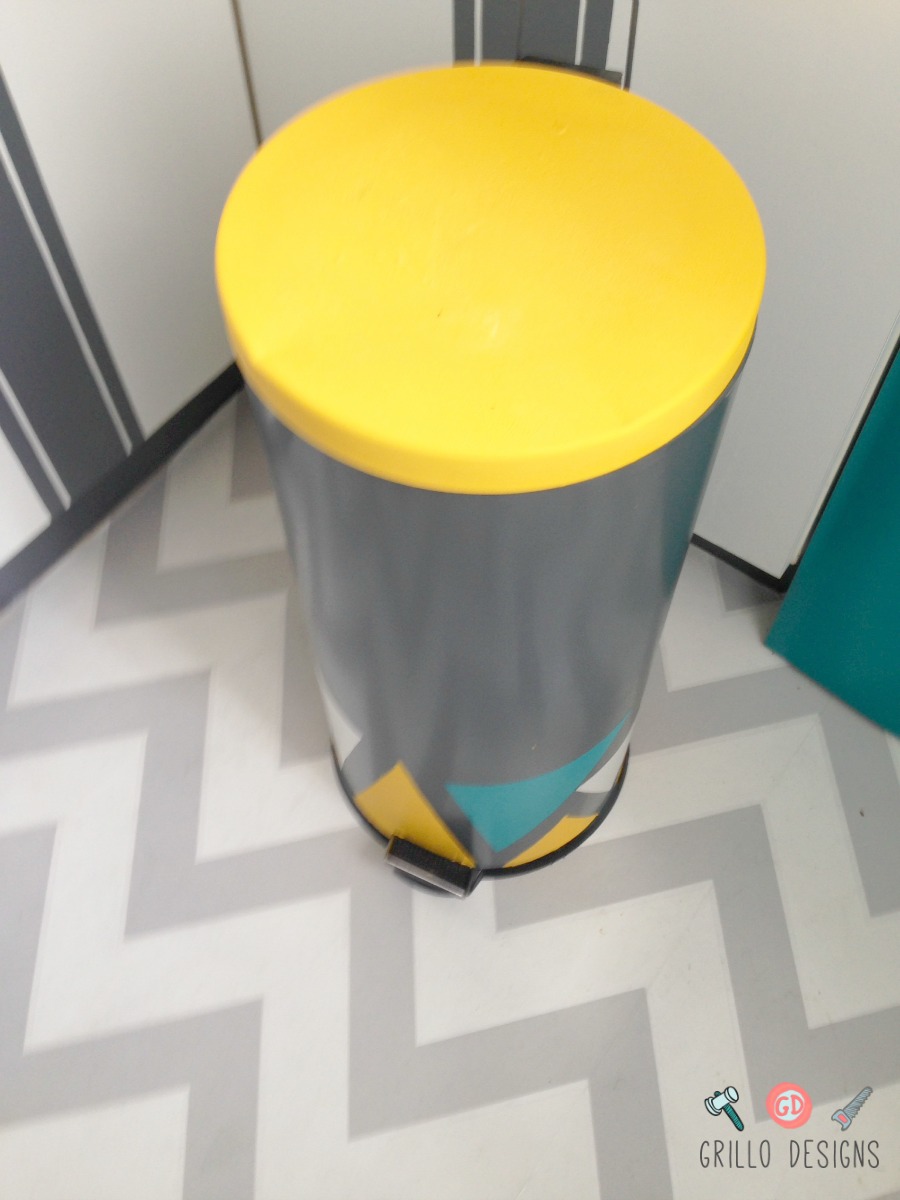
I covered the areas that I didn’t want to paint in masking tape (i.e foot pedal), and spray panted with the grey spray paint. I made the silly mistake of painting the lid yellow first and then spray painting the bin.
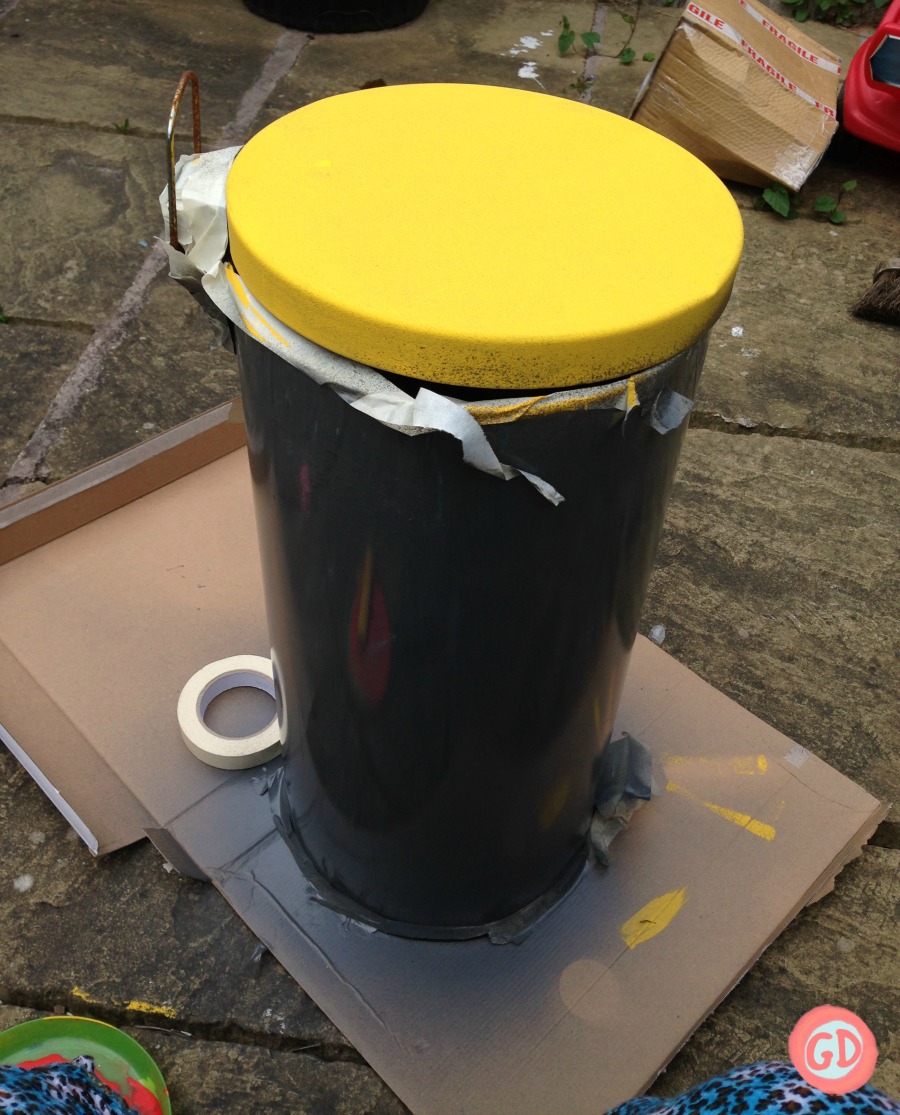
I realised it would haver been wiser to have painted the lid AFTER spray painting as I ended up having to paint over grey splatters on the lid from the grey paint.
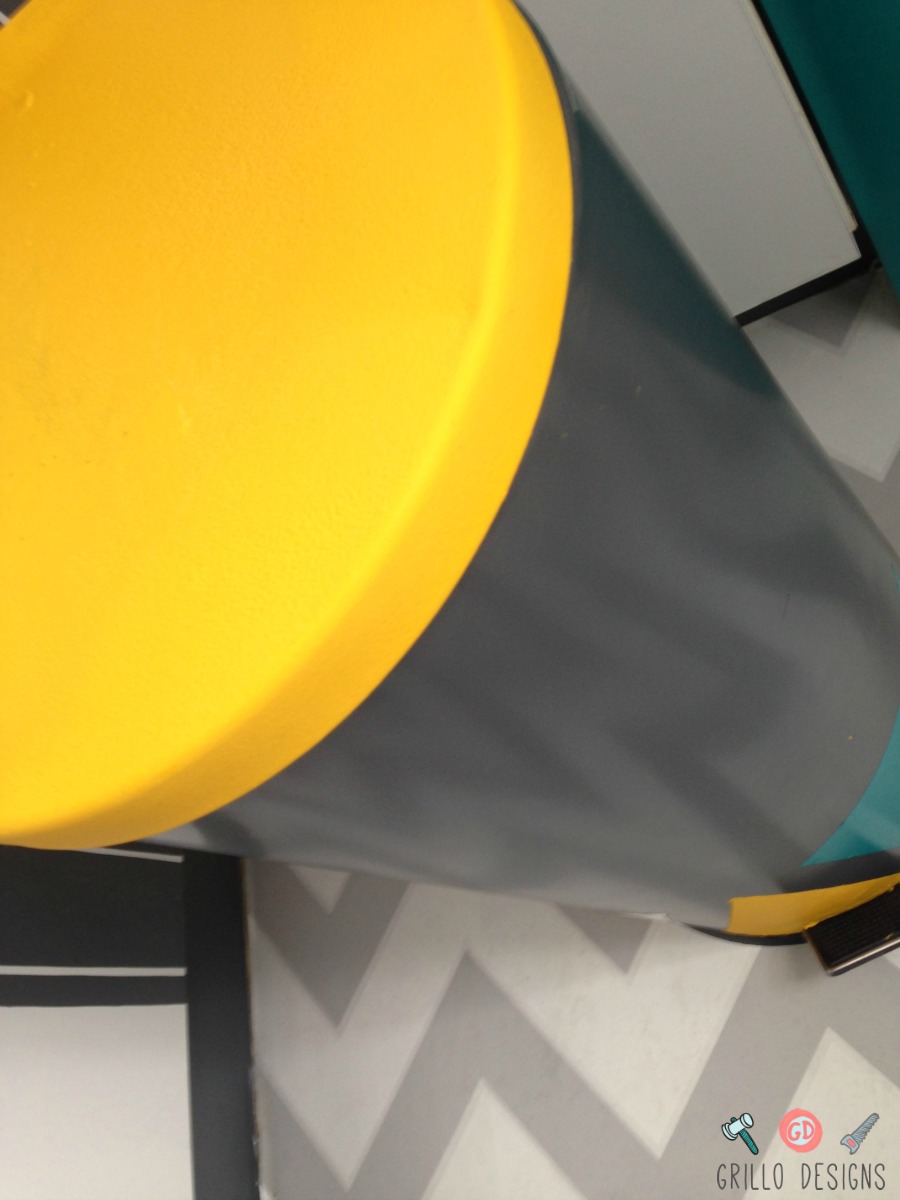
Once it was all dry, I cut out different geometric shapes from the contact paper and stuck it to the base of the bin
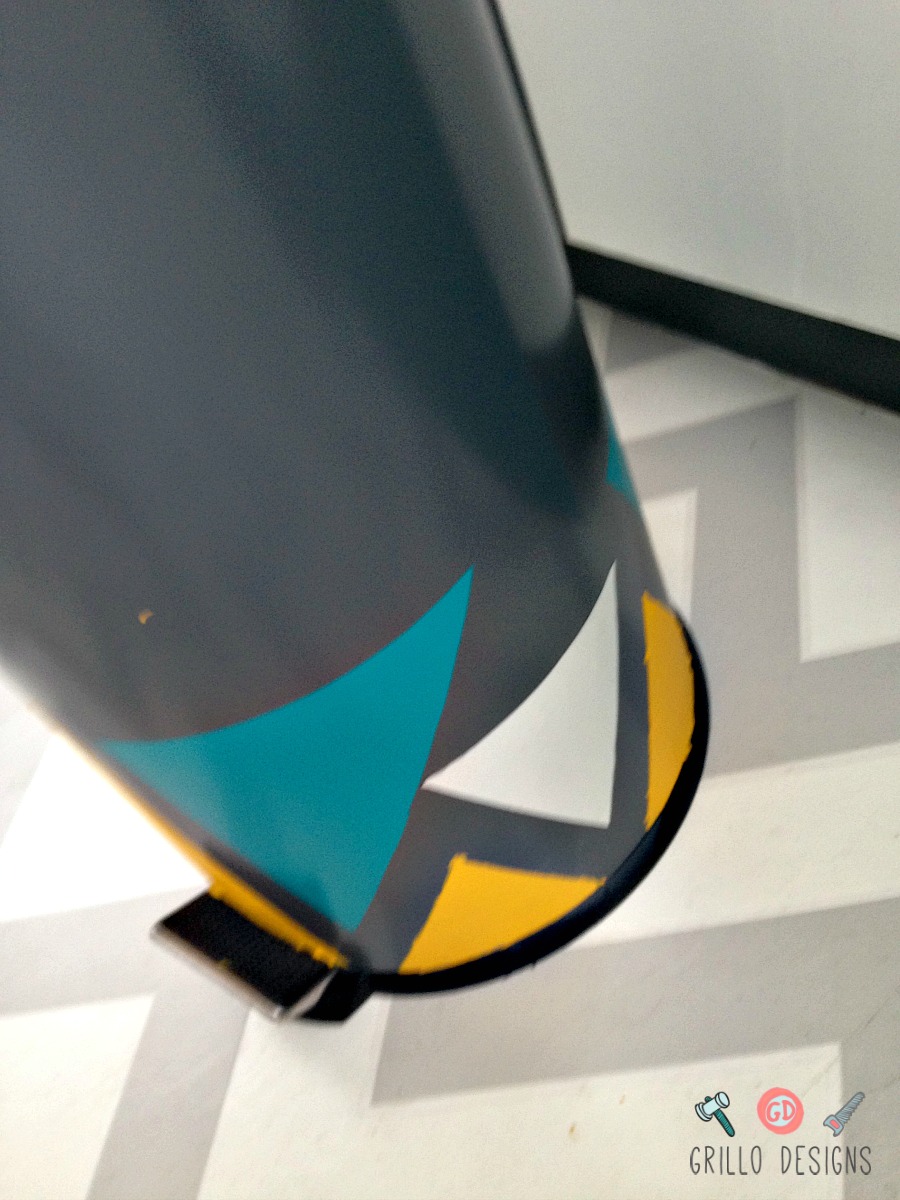
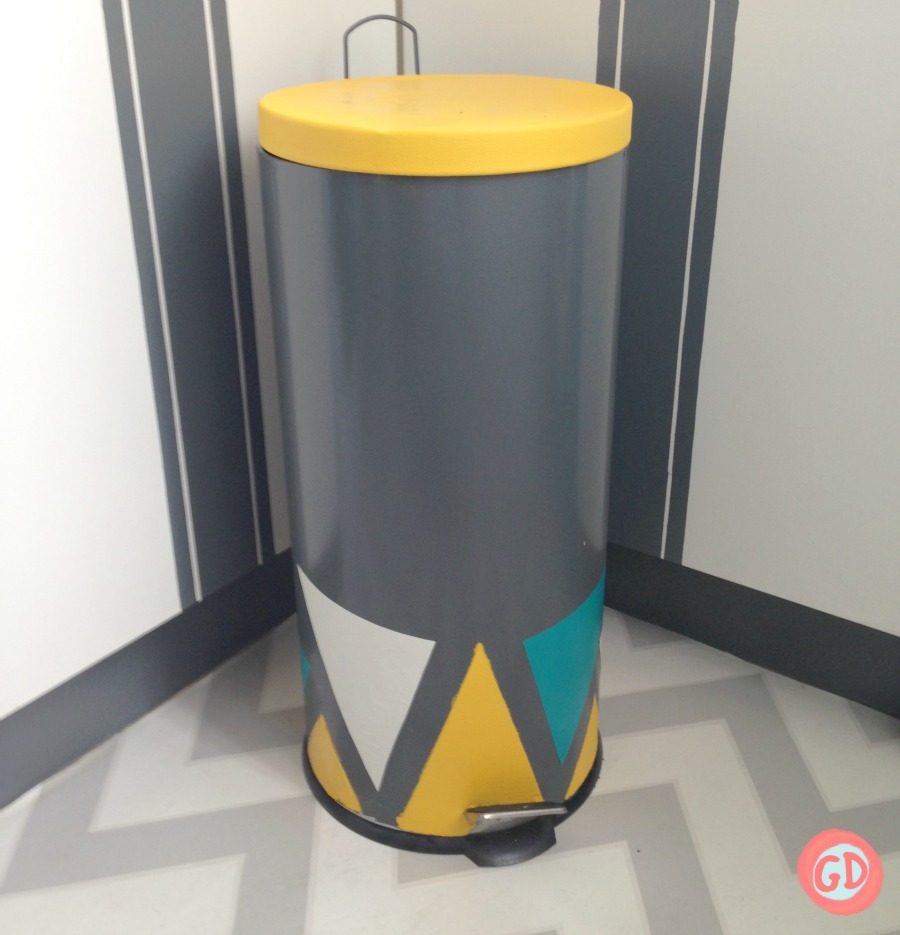
Finally I sealed the whole bin with indoor varnish and can you believe the transformation?! It looked like a different bin! It really also set off the look of my wallpapered floor too!
Its amazing what a lick of paint can do!
PIN IT FOR LATER:
YOU MIGHT ALSO LIKE THIS POST ON HOW TO MAKE HOMEMADE CHALK PAINT SO YOU CAN PAINT ALL THE THINGS!

OR HOW TO PAINT KITCHEN COUNTER TOPS... THE EASY WAY!

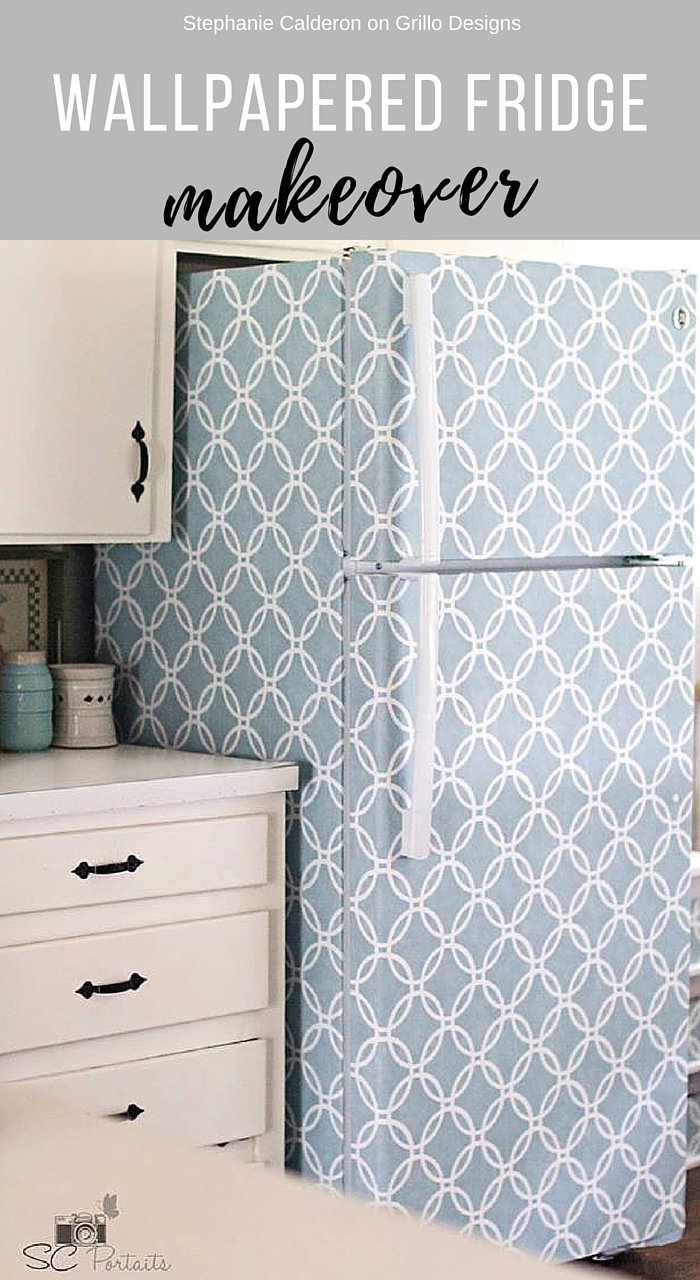
SPEAKING OF WALLPAPERED FLOORING, DID YOU KNOW YOU COULD WALLPAPER YOUR FRIDGE?!
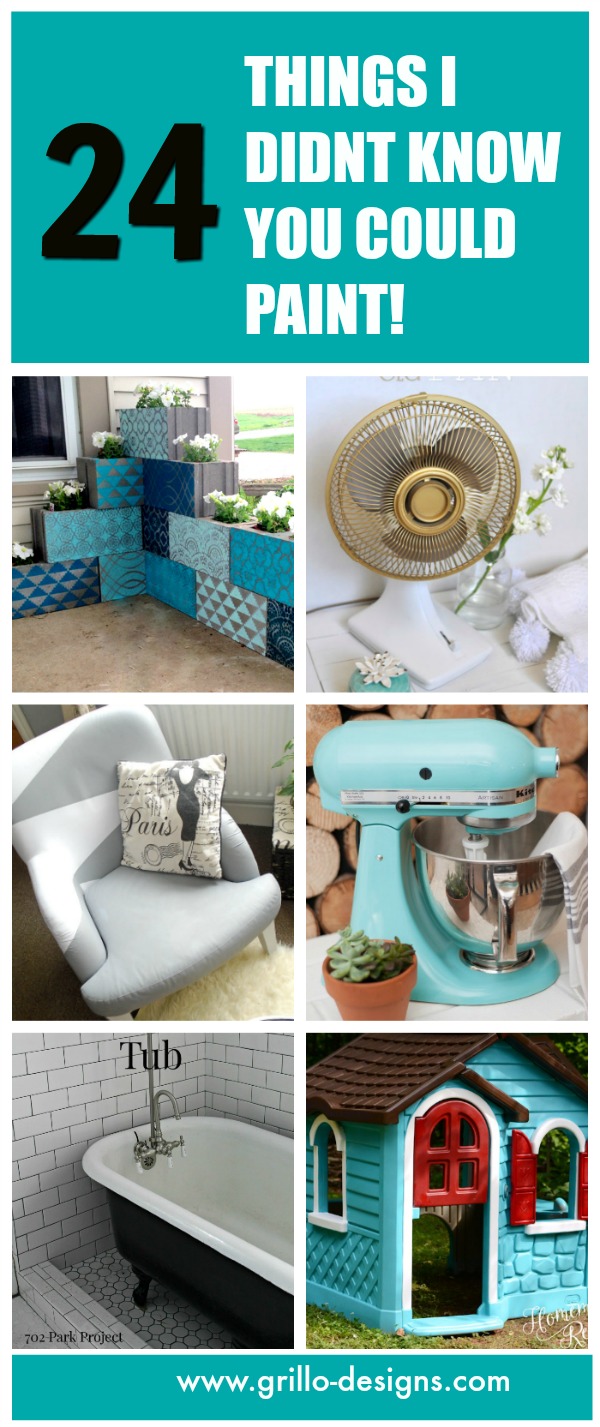
OR THAT YOU COULD PAINT ALL THESE THINGS!?
Go Eagles 🦅 The gray would be beautiful with a green lid and our Eagle on it….maybe Steelers written on the peddle🤣Gotta love how we do. I’m interested in how long that play house can last after painting…it’s ingenious cause they get dull quickly from the sun. Thank you for the inspiration!
Hi there~
What type of paint brush did you use to paint the lid?
Deanna
I used a foam roller to prevent paint brush streaks 🙂
Hi Medina~
My name is Deanna and I love trash can makeover. Regarding the trash can, what kind of paint brush did you use to paint the lid? I tried to spray paint my trash can and ended up with the paint running and the color wasn’t dark enough because the stainless steel shows through. I would now like to sand it and hand paint it. What would you recommend? Thank you in advance.
Also Denanna this tutorial is a little old. Now I would suggest spraying on a primer before painting directly
I would love to see what these things look like a few months later. Does the contact peel off? Does the paint chip? If I ever did something like that I’d want it to last a long time, since I’m not a fan of re-doing things.
That is quite the transformation! Love the grey and yellow combination.
I love ideas like this. I have that can! The BEFORE :). It is bright, modern and happy and still maintains its purpose. Great post.
Oh, you have no idea of the idea you have given me. I love, love, love the Pittsburgh Steelers Football Team. Their colors are black and gold- can you see where I’m going with this? People would go CRAZY over this in my area.