Hi there! Join Grillo Designs on Instagram and Pinterest to keep up with our latest posts and ideas. If you’re on Facebook, why not join our Home decorating, Upcycling, and DIY group too – inspiration is guaranteed!
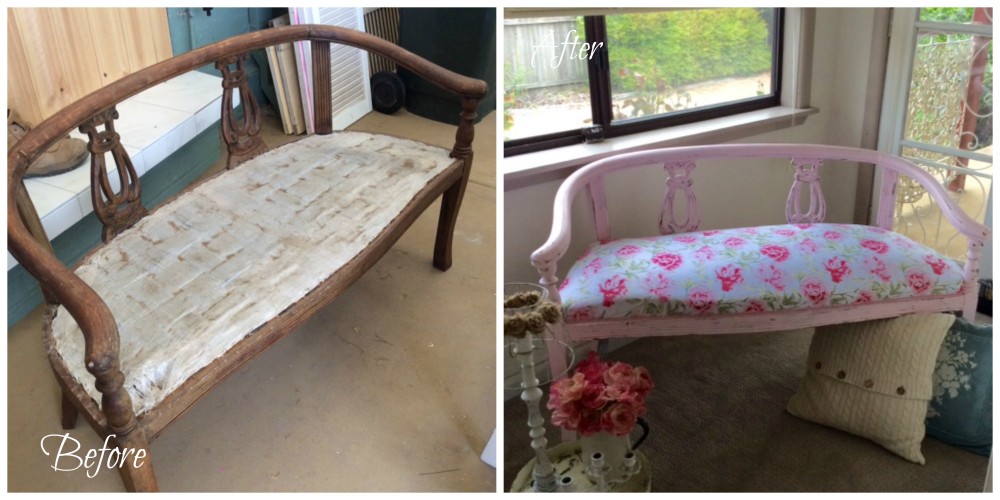
Submitted by: Julieanne Milne
Member of: Grillo Designs Home Decorating, Upcycling, and DIY group.
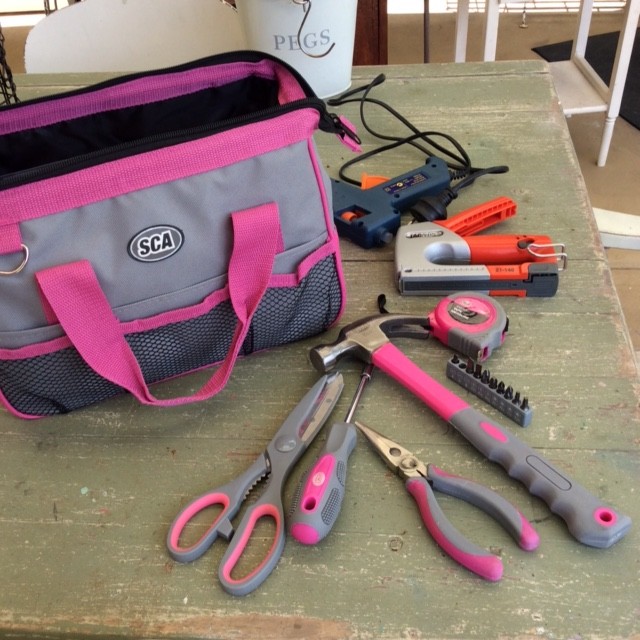
Materials used
Flathead screwdriver
glue gun
electric sander
scissors
fabric and beading
staple gun
pliers
hammer
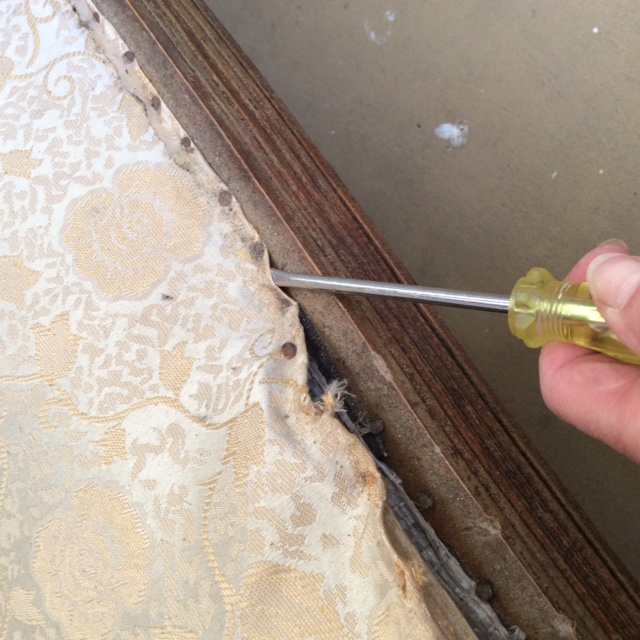
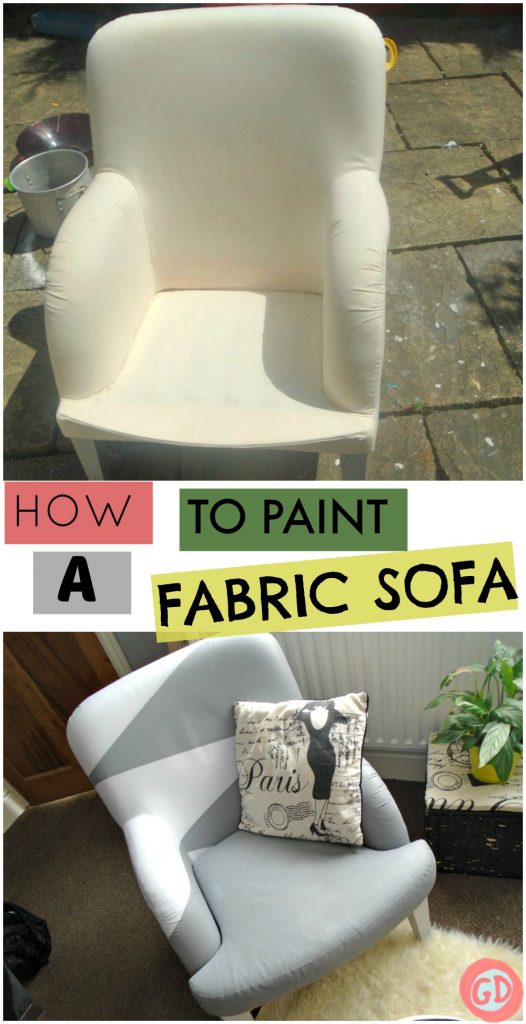
How to
1. Remove the old staples with a small flat head screwdriver and pliers
2. Remove the old fabric
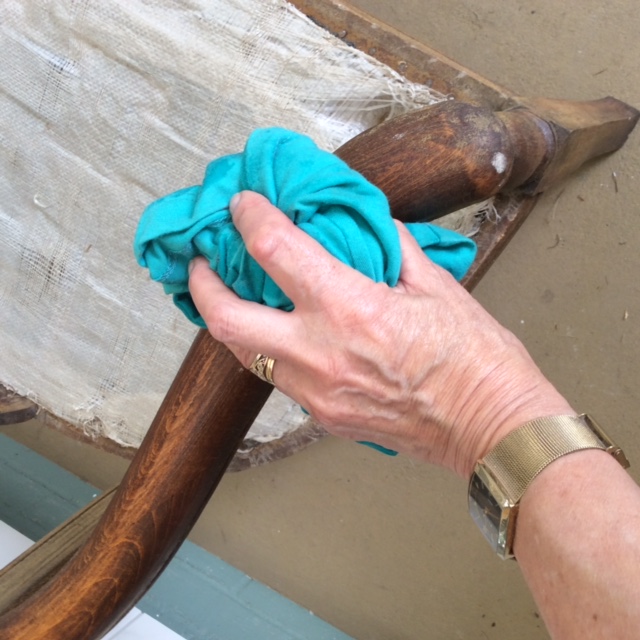
3. Wipe your furniture over with a damp cloth to remove all the dust
4. Paint on a coat of primer/undercoat
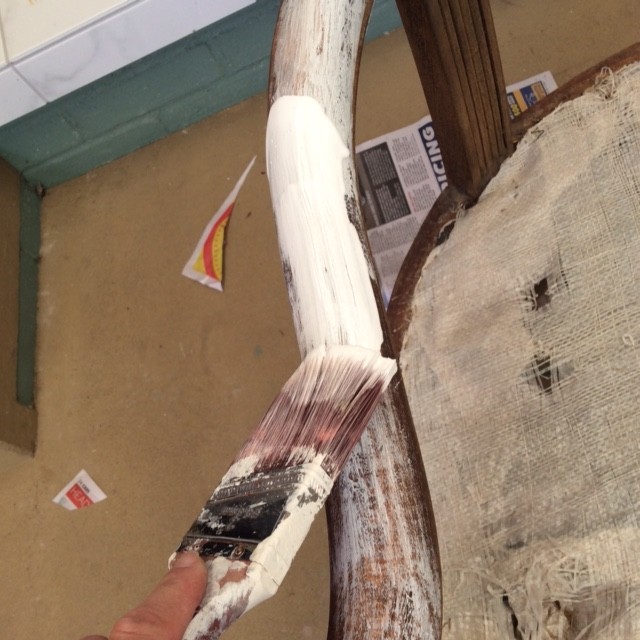
5. Paint on your main colour…you can add several coats depending on preference.
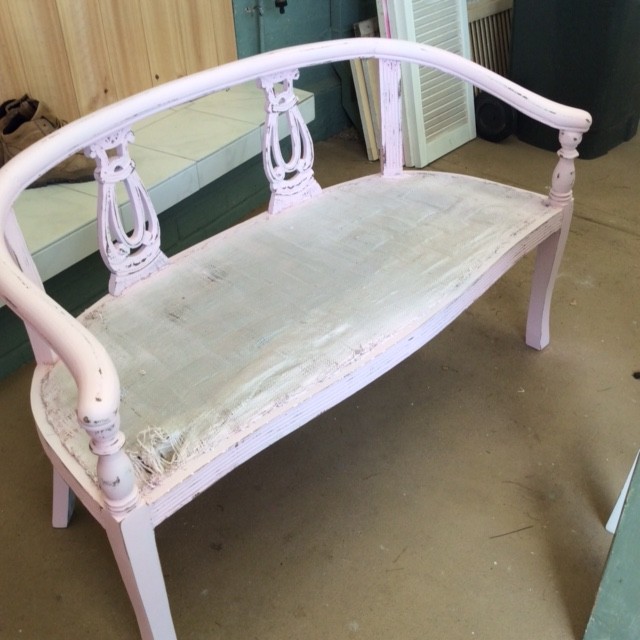
6. Use an electric sander and lightly sand all the edges to give your piece a shabby chic look.
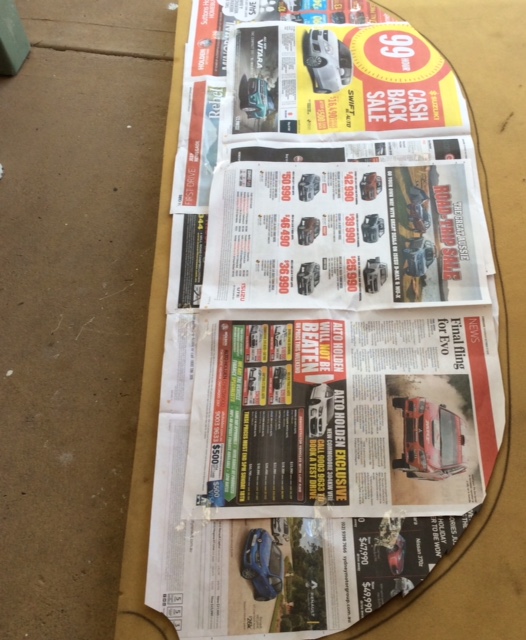
7. Make a newspaper template to make a new seat if your foam/rubber needs replacing. Lay the template on your rubber and trace around the outside.
9. Cut out your new rubber seat with an electric bread knife if you can get your hands on one..they are brilliant!
10. Sitthe foam/rubber on your seat to make sure it is the right size..trim if needed
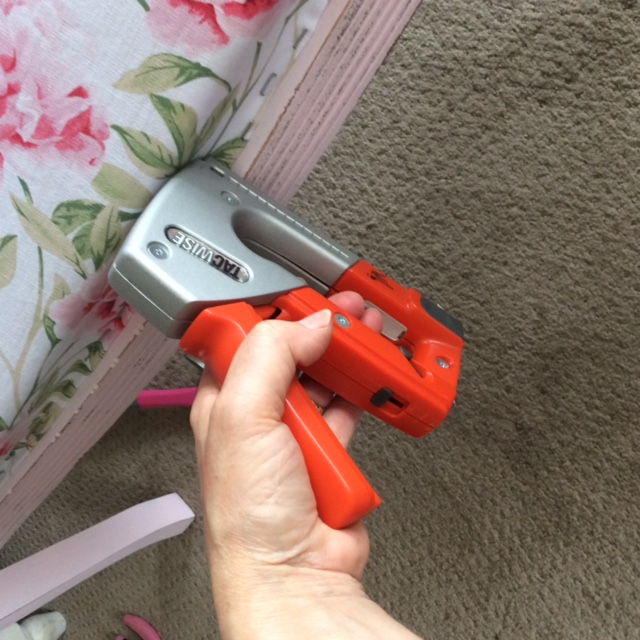
11. Lay out your fabric and cut to the required size. Pull the fabric tight folding the edges under for a neat finish…then staple around the edges. (See here for a similar method in KIDS TYRE SEATING post)
Julianne has a Facebook group called Jams Shabby Chic Junk Australia – I’m sure she would appreciate the visit so go check it out. If you have any questions for her, please leave them in the comments below. If you have enjoyed this post, please don’t forget to click on the above tabs to PIN, SHARE, and/or TWEET.


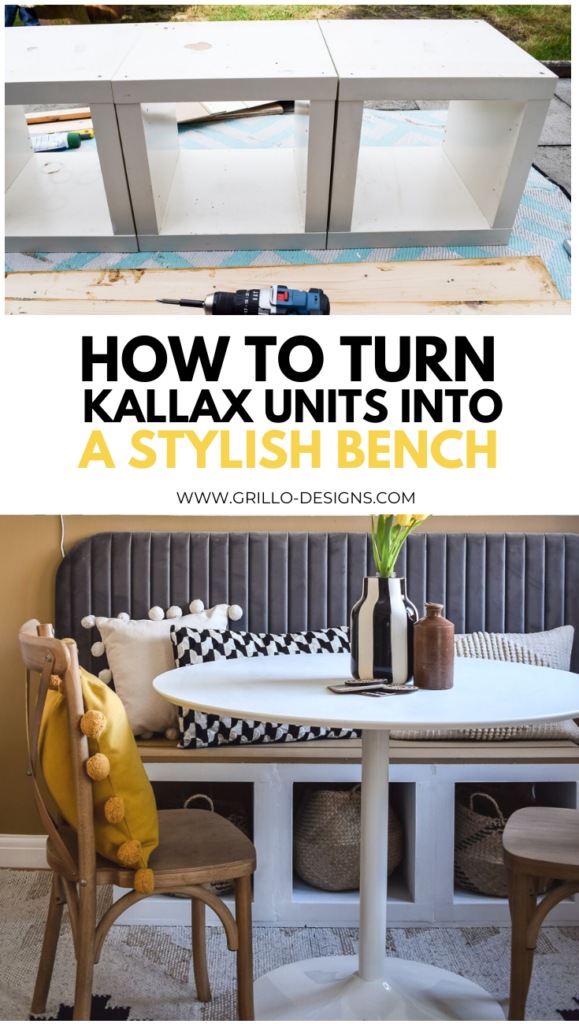
How to Turn Kallax Units Into a Stylish Bench
Make a DIY Vintage Candle Holder

To see more projects from our group members, click here.. To submit your own project click here.
What an excellent idea and it looks super cute too. I remember upholstering chairs in the days when they were so expensive
Love it! Great work!