Hi there. Join Grillo Designs on Instagram and Pinterest to keep up with our latest posts and ideas. If you’re on Facebook, why not join our Home decorating, Upcycling and DIY group too – inspiration is guaranteed!
Submitted by: Jen Holz
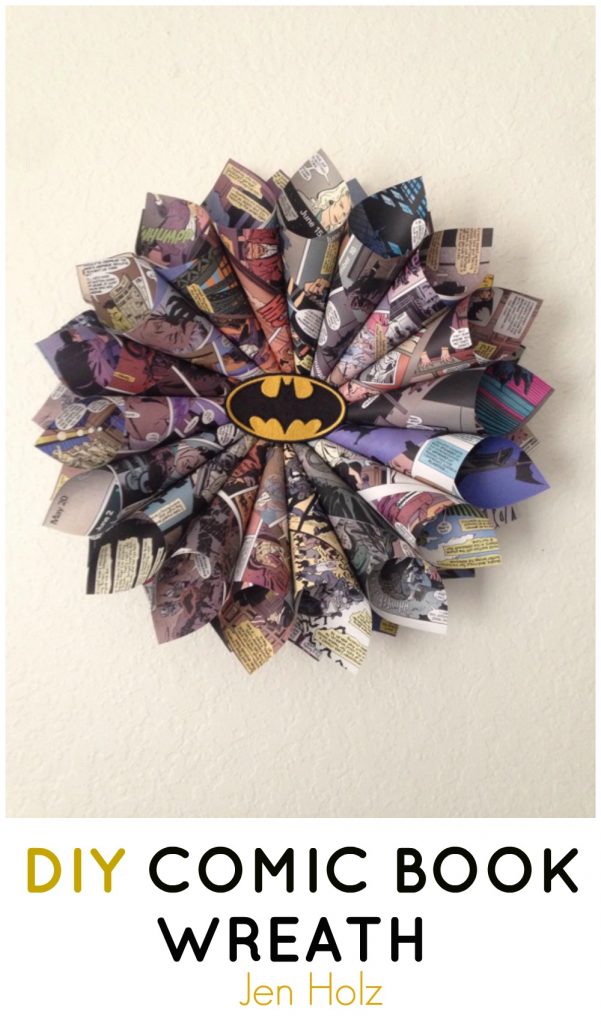
Materials used: Comic book, scotch tape, hot glue, foam core
How I made it:
I started by taking a old Batman graphic novel I spilled coffee on and separating the surviving pages :). You can also use comic books if you prefer – graphic novel pages are thicker and the colors are a little more vibrant. The easiest way to remove the book pages is to take an exacto knife and cut in between the pages. You can separate the pages one at a time, but I separated them in groups of 5 or 6 and it worked well. You may need to repeat a few times to remove the pages from the spine of the book. You’ll need about 40-45 pages for a 17″ wreath (as pictured).
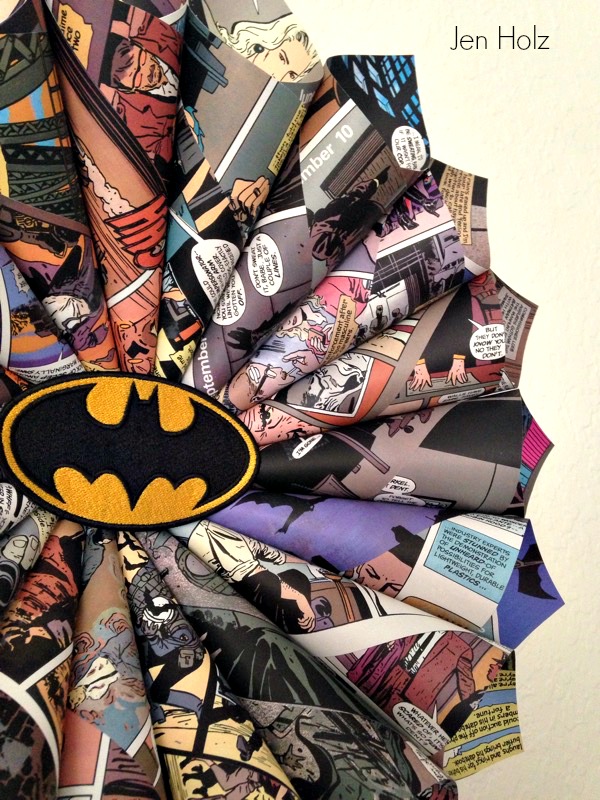
Start with stacking the pages into groups of 5 or 6, and cut the frayed edge so all edges have smooth lines. Once you have your stack of pages ready, take one page and hold it landscape in front of you. With your left hand, take the top left corner and bring it towards the bottom, folding the corner inwards.
This will create the cone shape, with the opening of the cone facing you. Hold the right side of the paper with your right hand, and after creating the cone shape, wrap the right side of the paper around the bottom of the cone. Secure the bottom of the cone with a piece of scotch tape – you can also use glue, but tape is faster and holds the paper together well. Repeat until you have the desired amount of cones.
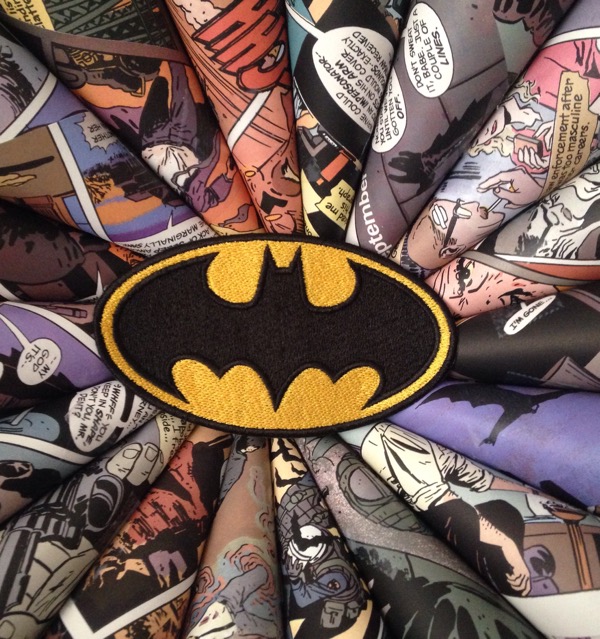
Cut a 4″x4″ square of foam core (cardboard works well, too) for the base of the wreath. Get your glue gun ready, and apply about 1″ of hot glue to the bottom of your cone with the opening facing away from the wreath. Stick down onto the base – start by placing the cones at 12pm, 3pm, 6pm, and 9pm (along each edge). Continue putting glue on each cone and placing them around in a circle until you have a complete bottom layer. For the second layer, place cones on top of the bottom layer into a complete circle. I usually put 2 layers of cones on my wreaths, but feel free to experiment with more layers.
To finish the look of the wreath, I glued a Batman clothing patch in the middle. You can purchase them at most craft stores – I’ve also experimented with bows and ornaments. I attached picture hanging hardware to the back of the foam core for easy hanging.
Jen makes other handmade items to sell, you can view her Etsy page here
Great way to use up old magazines too 🙂