Hi there. Join Grillo Designs on Instagram and Pinterest to keep up with our latest posts and ideas. If you’re on Facebook, why not join our Home decorating, Upcycling and DIY group too – inspiration is guaranteed!
Hi guys!
Well I have a confession to make…. I’ve been secretly delaying this post for quite some time now. Firstly, because my son – in all his three year old wisdom, decided to delete most of my ‘progress pictures’ I had planned to use for this tutorial off my camera (a real bummer!). And secondly, I’ve had a mega ultra huge creative block (yes its as real to me as Man flu is to my husband!) ) which has lasted about three months now!
Honestly I’ve walked around with a sort of cloud over my head for weeks, but a recent comment from one of my closest friends tactfully implying that she wanted to see some new stuff from me (in other words she was getting bored of my re posts already!) I think might have done the trick!
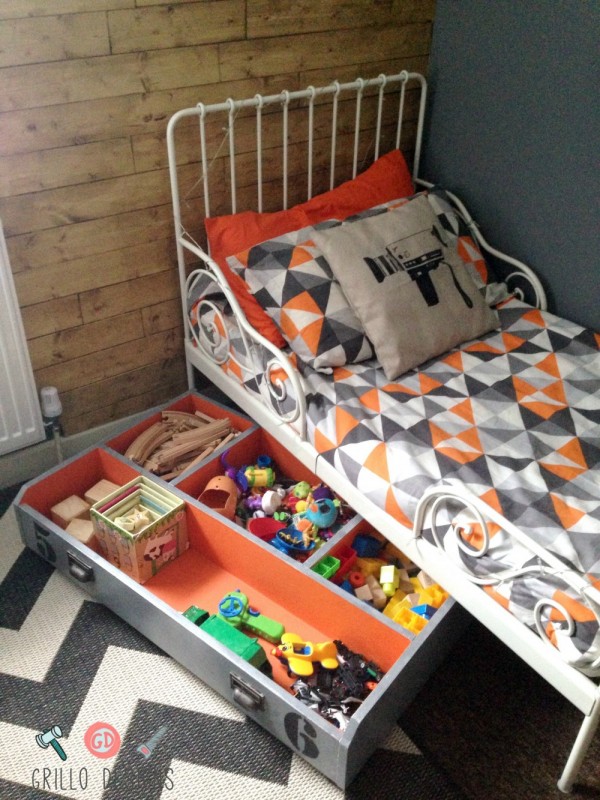
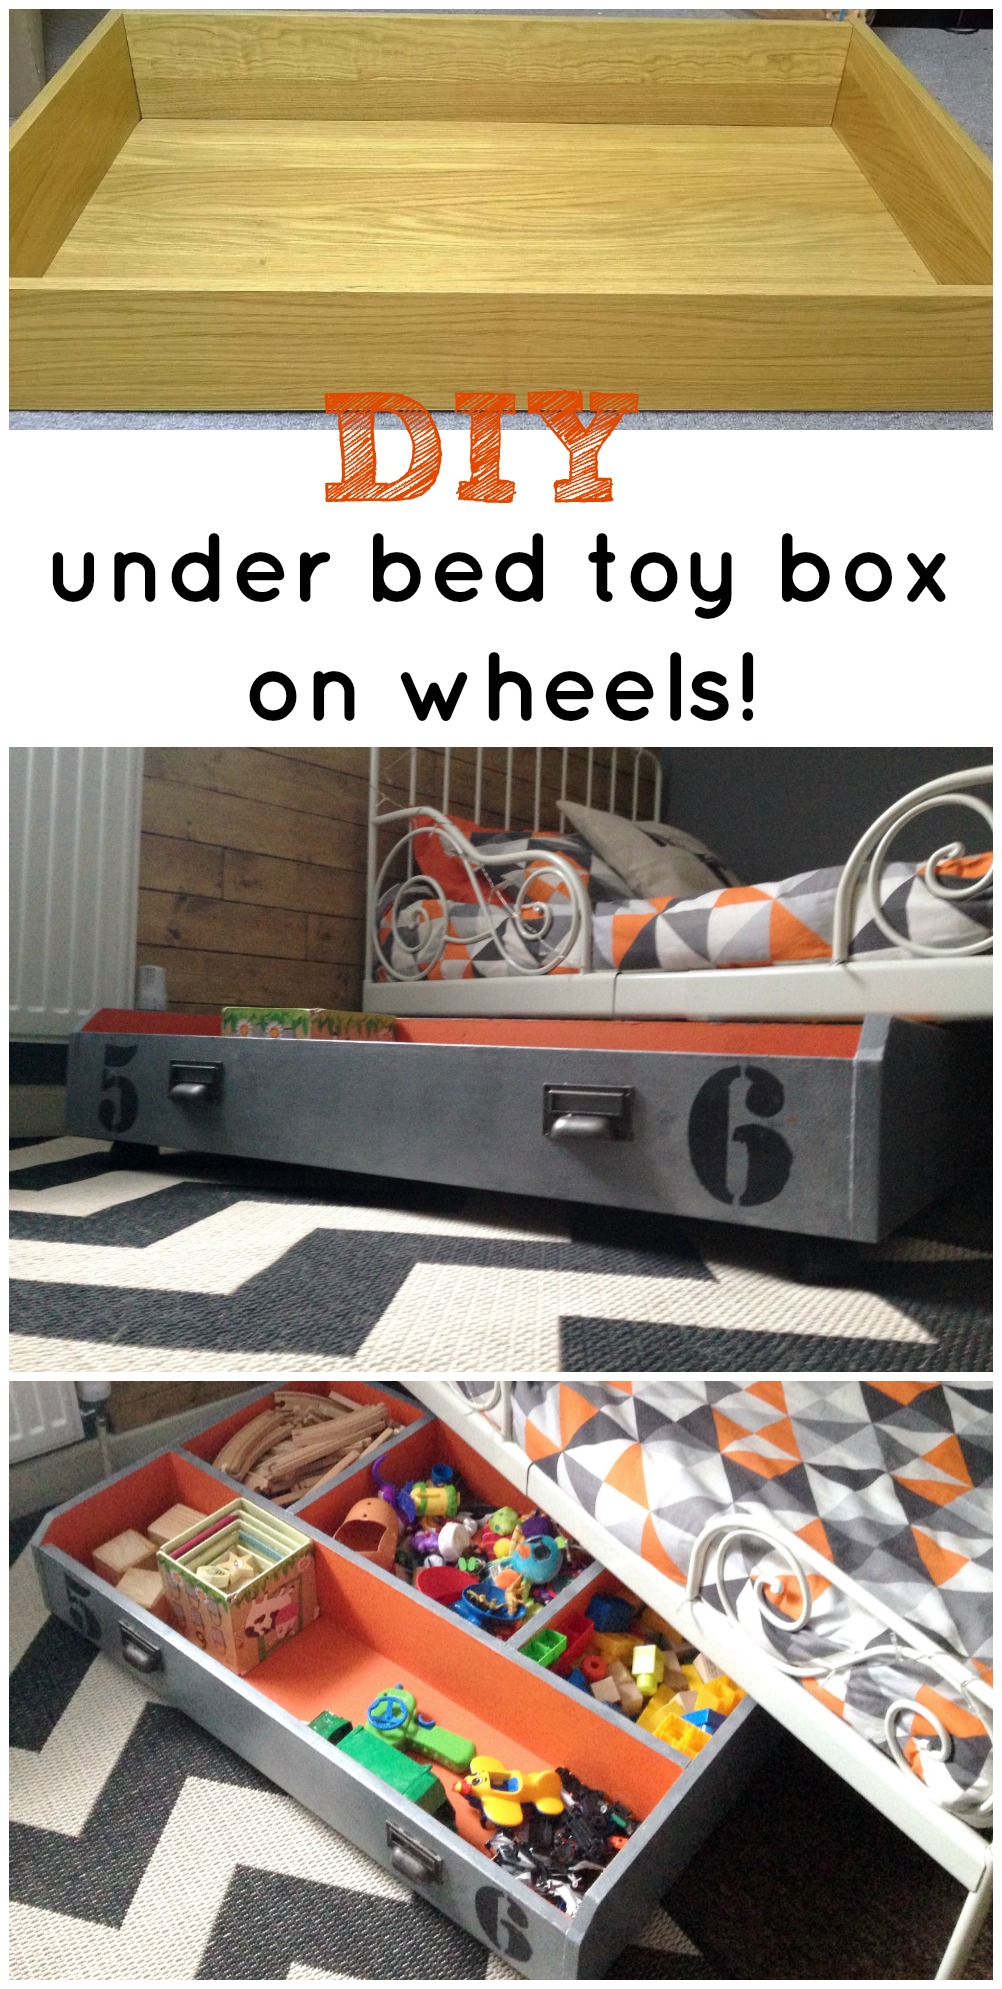
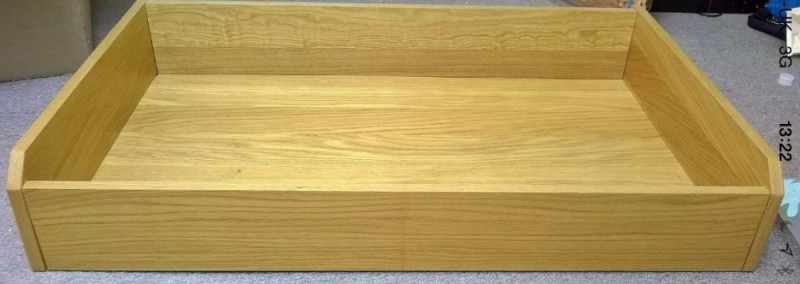
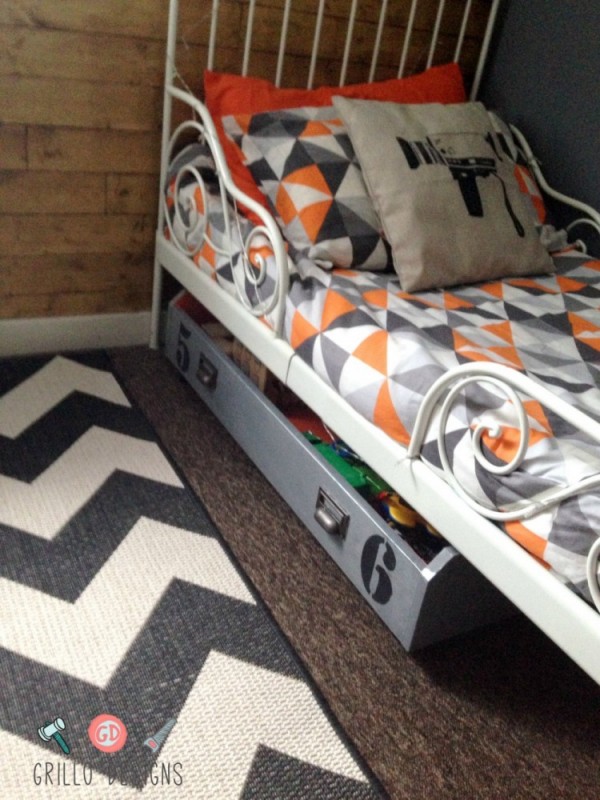
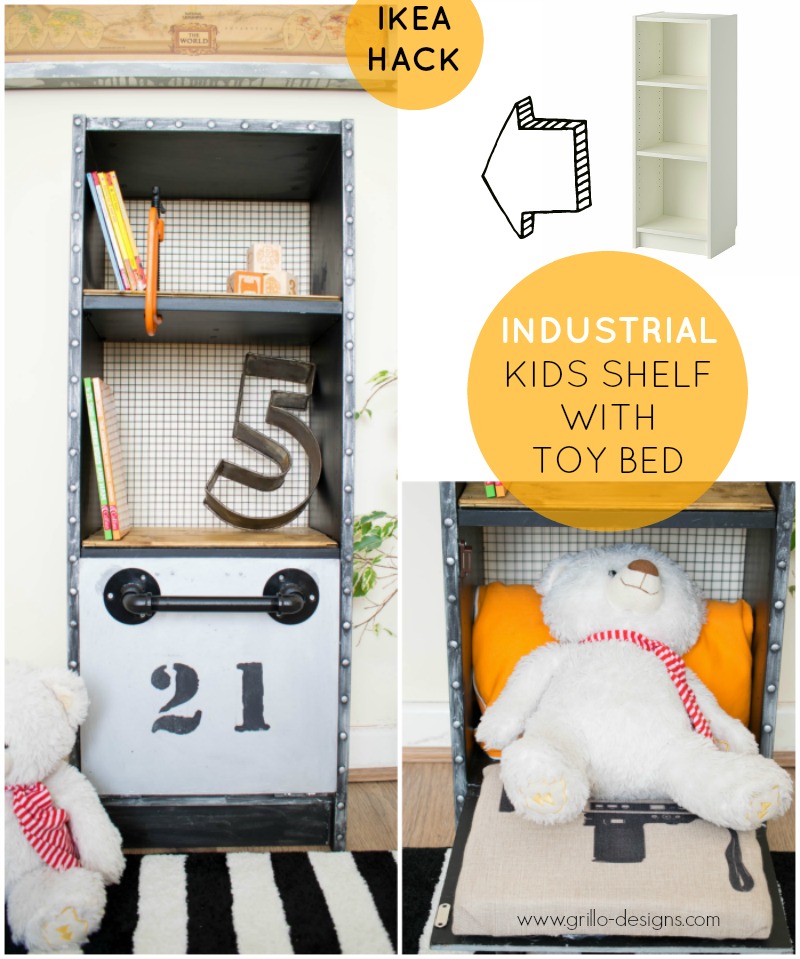
So here it is….. an under bed toy storage box I hacked for my son, using an old IKEA PAX drawer. It has little caster wheels and handles to allow my son to pull on the box to access his toys. A huge check on practicality – a must component where my three year old is concerned.

Follow Grillo Designs’s board Grillo-designs.com on Pinterest.
I like to think this box matches his industrial and rustic themed room. Its really easy and simple to do provided you have a drawer lying around and the best part is: NO SCREWING REQUIRED!
This post contains affiliate links for your convenience – please see full disclosure here
Materials I Used
- The IKEA Pax drawer
- 4 caster wheels
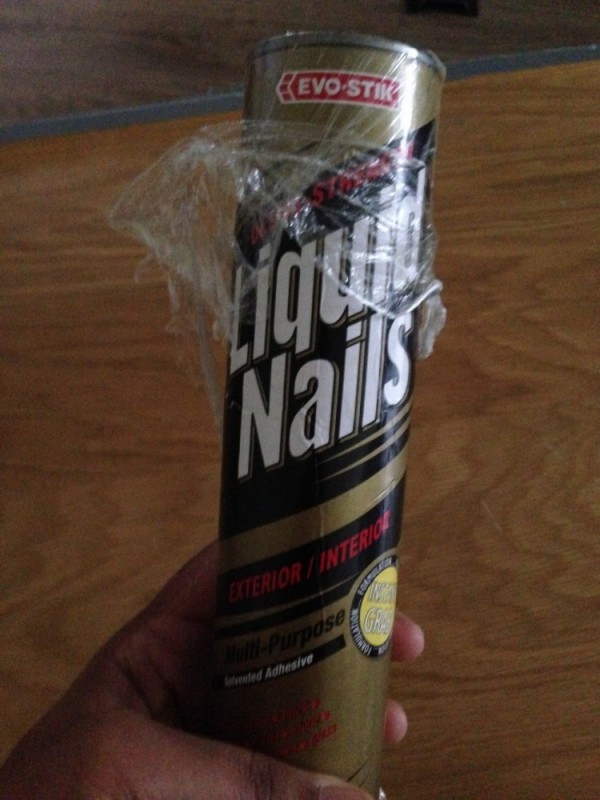
- Liquid nails
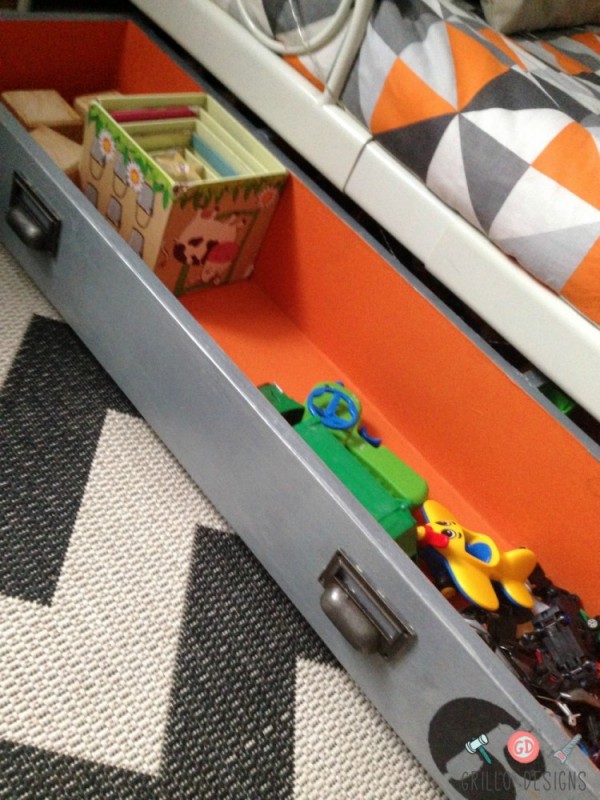
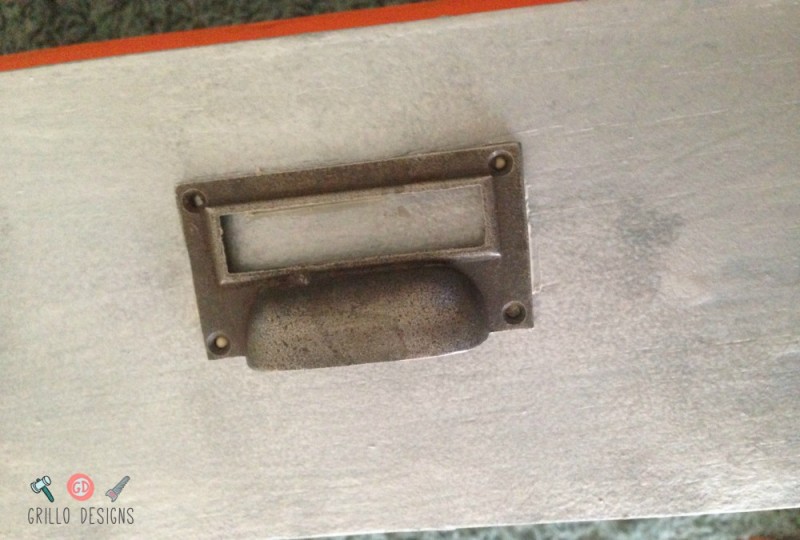
- 2 cupboard handles
- Authentico Wax
- Orange, grey, and black Paint (Emulsion/latex)
- Saw
- Silver metal paint or spray Paint
- Sand paper or sanding machine
- Foam roller
- Industrial number stencils similar found here
- pine timber wood
How I Did It
Psst! I have a great tutorial on how to paint IKEA Furniture.
I gave the whole drawer a once over with my Black and Decker sanding machine, wiping off the dust on completion.
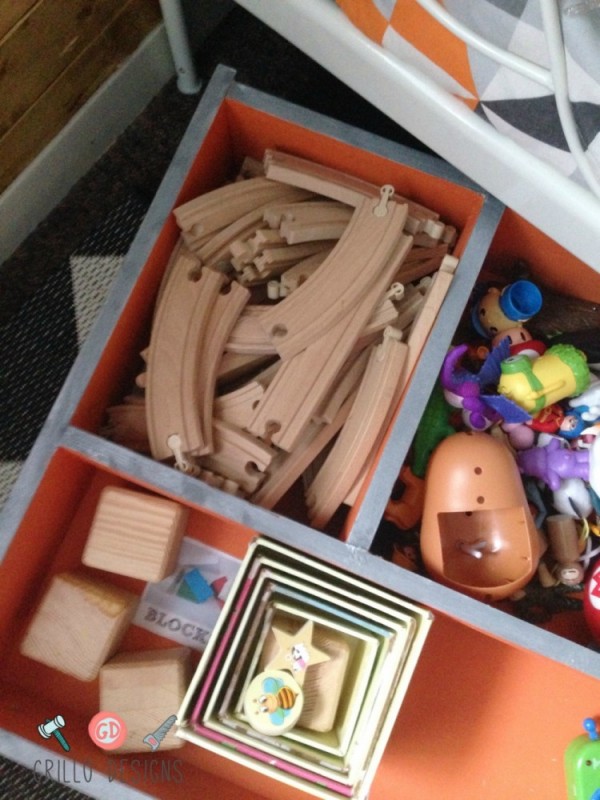
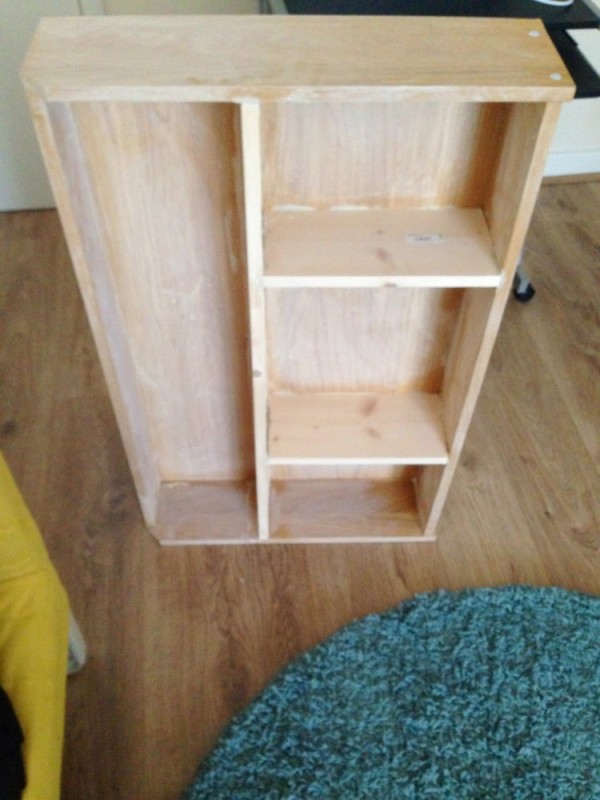
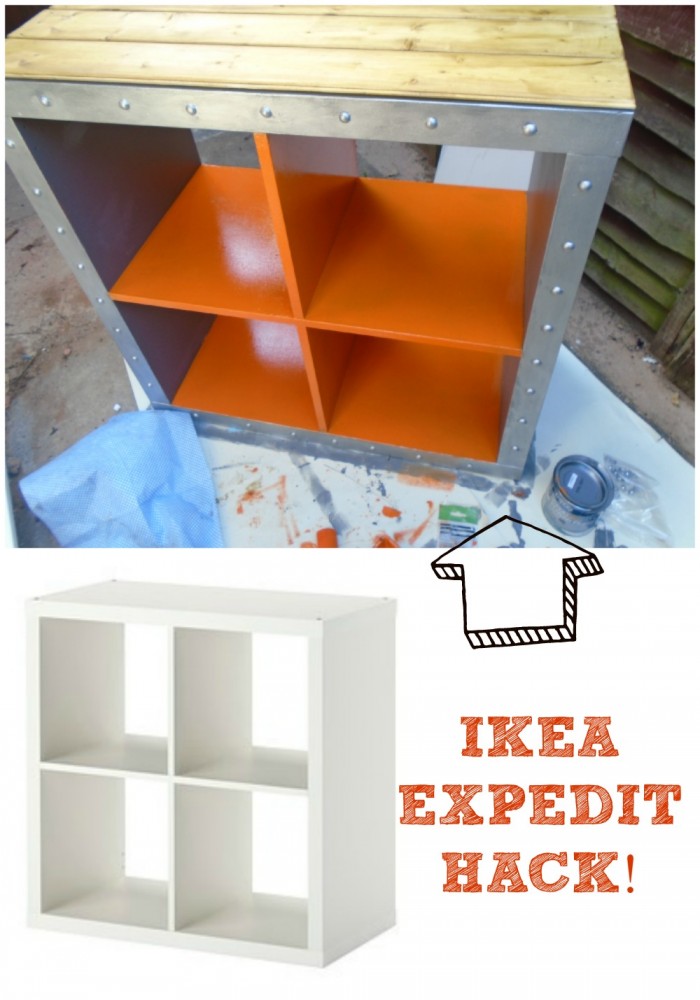
I measured the length and width of the drawer. I decided I wanted 4 compartments – 3 at the back and one at the front of the drawer. I used Wickes Pine Timber wood to create these segments in the drawer – sawed to the exact required measurements.

I placed one piece of the wood across the length of the drawer and two smaller pieces across from the length of that wood to the back of the drawer. I secured it all in place using Liquid Nails and left to try for 6 hours.
This is how the drawer looked once it was all dry.
Next to paint! I used silver, grey and orange paint (to match my sons room decor) but you can get creative here and use any colours you want!

I painted the inside of the drawer orange, and the outside of the drawer gray with the foam roller. Once the grey had dried I painted over with silver (it was quite a thin constituency so I had to do three coats of this paint).

Once it was all dry – I added on the two handles. The wood wasn’t thick enough for screws so I used the liquid nails to attach them to the outside of the drawer.
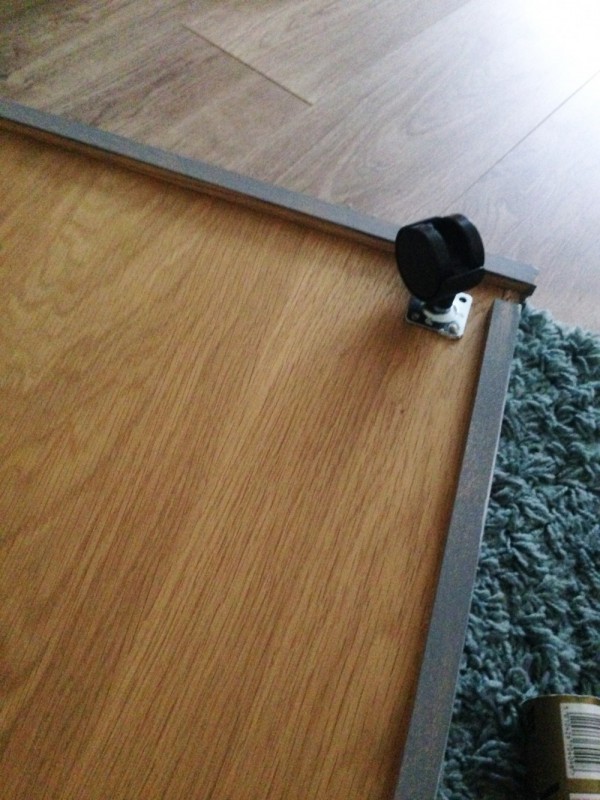
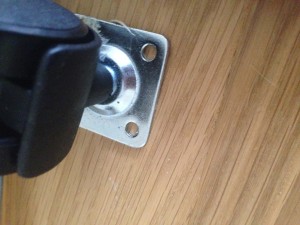
Next attach the wheels. Again because the underside of the drawers wasn’t thick enough I used the Liquid Nails to attach them as seen below.

I placed the wheels on each corner of the drawer’s underside and left to dry for 6 hours.
I painted on numbers using the black paint and stencils. Once that was dry, I waxed the whole drawer including handles and left to cure for a day.

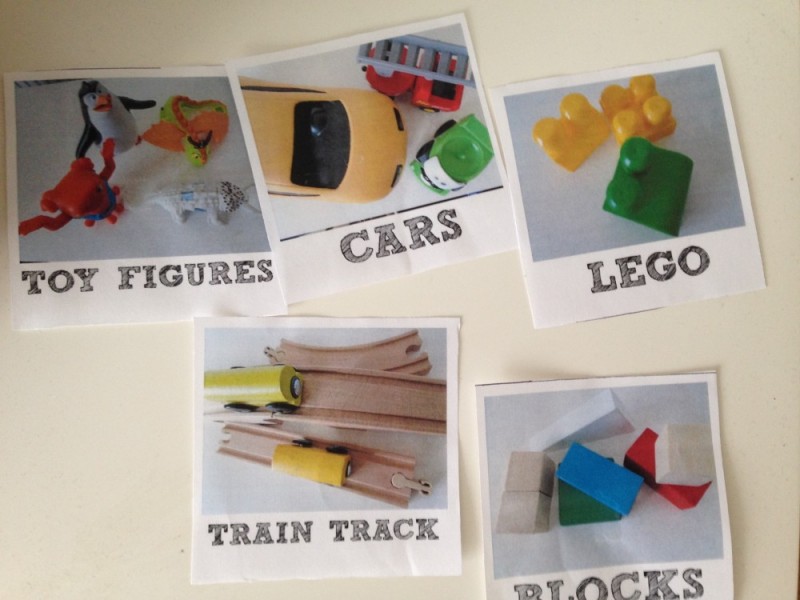
I took photos of my sons toys and printed them out. I intend to use them as picture labels to help him better organise his toys – but just haven’t worked out the best way to attach them so he doesn’t pull them off.
This is the finished product! There is something so beautiful about organised toys. I wonder if that’s my OCD talking….
YOU MIGHT ALSO LIKE:
Love this!! Really wanting to try this! Great post! 🙂
Thank you!
Brilliant idea
So cute. I need this for both my kids’ rooms.
Thank you 🙂
Love this! Such a creative use of this drawer!
Thank you!
This is a great idea and it looks fab! I currently have cardboard banana boxes under my bed – not so chic – lol
Haha! But effective im sure!
SO SO smart! My son is 20 months so not too many little toys and parts yet, but lpts of smaller cars and trucks! This would be perfect for under his crib!
Than you. Yes it would be great idea for under the crib! 🙂
I love it, it’s clever. I have use many Pax drawers in my house, they’re so practical, but it’s fantastic new horizon for them.
Thank you Daphne 🙂
That is such an amazing idea, I bet your son just loves it too as it looks so cool.
Wow great job. I can relate with your son getting rid of the pictures. Mine do all sorts. Lol.