An IKEA KALLAX hack that will turn your IKEA KALLAX/EXPEDIT storage cube from average, to cool, fun and industrial!

[Psst! Join me on Instagram and Pinterest to keep up with my latest posts and ideas. Got a question? Join the discussion in the new HOME & DIY chat forums and don’t forget to SUBSCRIBE TO THE BLOG for more awesome DIY ideas!]

So I actually published this post a year ago. Pre – DLSR camera days . Pre- I have no idea what blogging actually is days and pre- IKEA hacking days… No …. wait that’s an obvious lie. There has never been pre-IKEA hacking days .
I’ve been IKEA hacking since I was in nappies! Duh.
Alright, maybe that’s a slight exaggeration …
What I’m trying to say is, that I’m just revamping this post … just a little . I’m answering readers questions from the previous post and adding in a few more details. I also was super productive today and took some new photos of this old thing while my son was at school.
I know right..check me out. Totally ‘Adult-ing’ today…for a change!
DIY IKEA KALLAX HACK
This IKEA EXPEDIT cube now known as the KALLAX had been sitting in our guest room for quite some time before I decided to give it a complete makeover for my sons bedroom

I’m talking a whole industrial style makeover, because lets face it…this whole industrial style craze isn’t a new thing for me. Not at all.

Many readers asked if I had used metal brackets in this makeover. Answer is no…. I faked the metallic look (a similar way I had done with my 3D Wall Letters). I’ll show you how!
MATERIALS USED FOR THIS IKEA KALLAX HACK:
This post contains affiliate links for your convenience – please see full disclosure here
- .Sanding machine or 180 grit sound paper
- Foam roller x 3,
- Dome shaped screw heads
- Hammer,
- Rustoleum grey primer paint,
- Dulux orange gloss paint or similar here
- ALDI brand grey chalk paint
- 3 x timber floor boards
- Ronseal Dark Oak Interior varnish
- Paint brush
- Authentico clear wax
- Dry cloth
- Rubb and Buff Silver leaf wax
HOW TO GET THIS HACK ON!
Sand IKEA cube down with your sanding machine. You just need to roughen up the waxy type surface so the paint primer has something to grip onto. As you can see, my IKEA KALLAX cube was a little battered looking. I blame it on the contact paper I stuck to the top for my sons playroom makeover!

With a nail, make little holes around the front of the KALLAX cube. You can measure and mark with a pencil before hand if you like things to be perfecto. I literally winged it here!
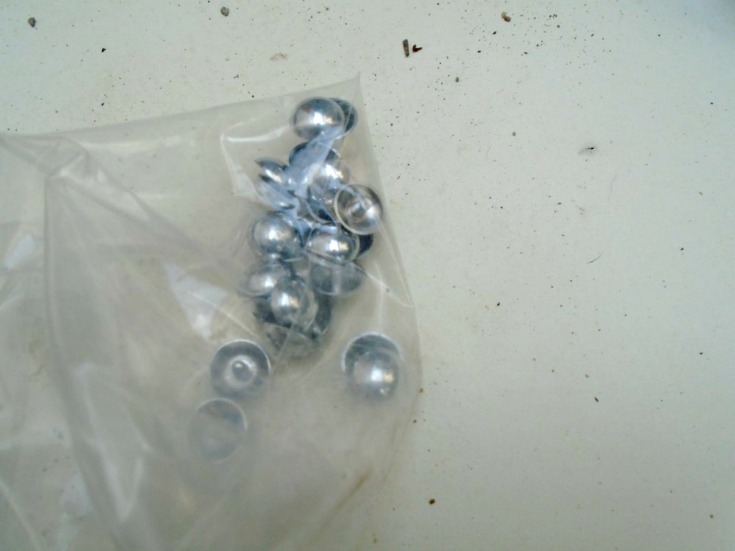
Then hammer the screw heads into those holes you made. This will give the appearance of faux rivets. You can also use notice pins (push pins) to get this effect – see what I mean by clicking here
<pstyle=”text-align: center;”>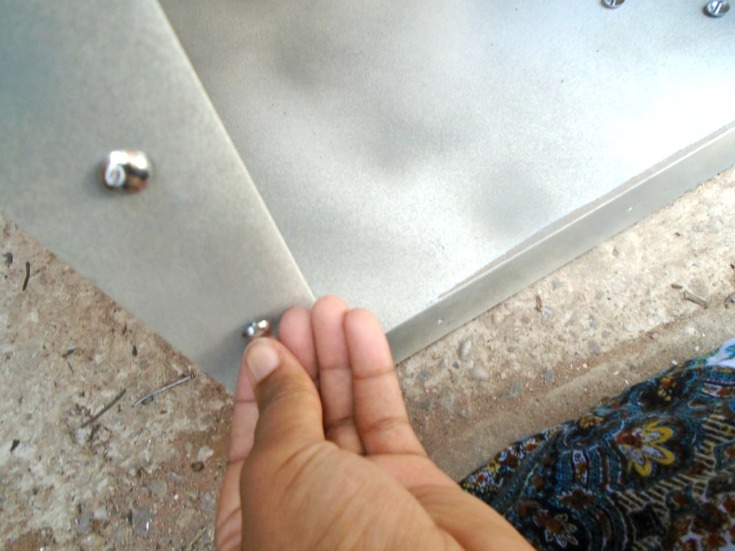
<
NEXT COMES THE PAINTING…. Spray paint the grey primer paint on in thin even coats making sure to cover the screw heads to get rid of their shiny chrome look!

Now paint on the outer layer of paint once the primer is dry.
FYI I have an awesome post on HOW TO PAINT IKEA FURNITURE if you feel like you need more detailed steps of the process

I chose to use the Aldi chalk paint (just because I wanted to see what everyone was raving about). Mixed opinions really – the price was ok, but because it was so thin, I had to do several coats…which kinda defeats the object of using chalk paint…

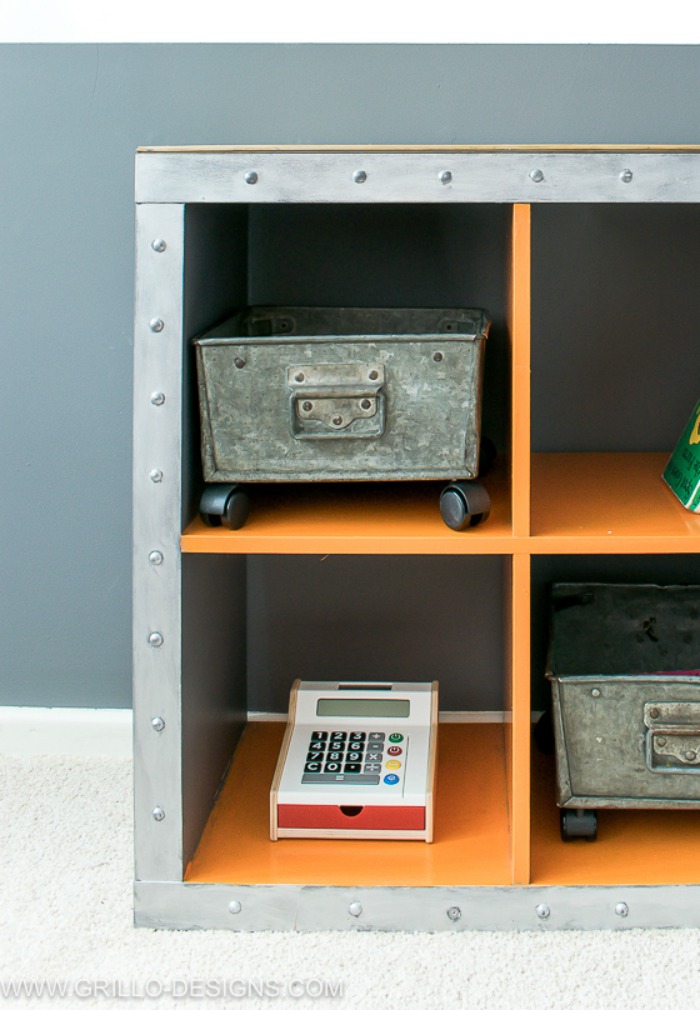
This is how the KALLAX cube looked after several coats of paint.

I painted the inside of the cube with Dulux Orange Gloss.This needs about 12 hours drying time in between coats. Why the colour orange? I had a grey and orange theme going on in my sons room – check out this similar looking storage I made with these very same colours!

Saw wooden timber floor board to the size of the top of the KALLAX and hammer in place with nails – the thickness of the wooden planks depends on your choice here.

You can then sand and stain the raw wood. I used dark oak varnish for this but you choose any stain colour you like.

Now comes the fun part! Once the paint and stain has dried, grab your silver leaf rubbing wax. Squeeze a little at time on to a cloth (or your finger) and rub it on to the outside of the KALLAX cube. This wax lifted the flat grey effect and gave the surface a whole new metallic touch!
Seriously this stuff is awesome…. you need to buy it now!

Finally, seal the whole unit with clear wax and leave to cure for a couple of days! if you’re a little uncertain about how to use wax on furniture – check out this post by Sincerly Sarad

Can I let you into a little secret? This is legit what this IKEA KALLAX hack is now being used for in my sons room. Clothes storage….

I cant even share a full shot because the sight is embarrassing. Yes I know, I’m a terrible mother . My son is four and I should be keep his clothes tidy right?
Well… yes and no… I’m trying out parts of the Montessori approach which is why I made this cube in the first place . It’s at his level and it’s easy for him to choose what he wants to wear..
However, I admit it could be more organised- so I’ll be blogging about that soon. Watch this space!


IKEA KALLAX HACK – BENCH SEAT IN LIVING ROOM

IKEA PAX HACK – UNDER BED TOY STORAGE


IKEA BILLY HACK : KIDS SHELF AND TOY BED


Home and DIY
Organizing
Cleaning
Crafting
Introduce yourself!
I keep looking at this – just fantastic. Really creative and so well done. Great job!
Such a cool hack! Love the look of this!
Love IKEA hacks! I recently did one for another bookcase and it looks so much more elegant. Love this for an edgy modern look.
Oh my gosh, how cool is that! And super easy, too! Thank you for sharing.. I will have to do this for my boy’s room!
You did a great job and it looks terrific. I’ m not all that handy…but wish I were.
That is so fun!
I am actually very impressed the way you have made it! Every time I see it I am thinking “it really does look nice”.
Thank you 🙂