Today’s contributor is Patricia from The Wood Spa. She is a member of the Home Decorating, Upcycling and DIY Facebook group. All posts submitted by Patricia for Grillo Designs can be found HERE.
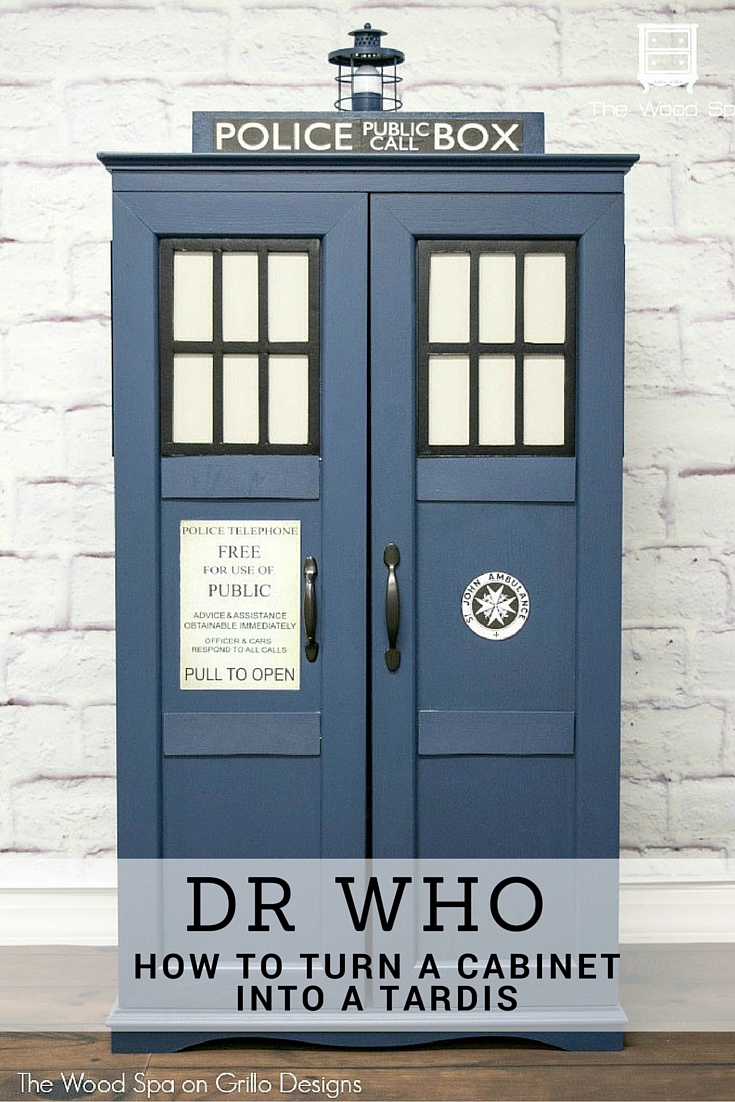
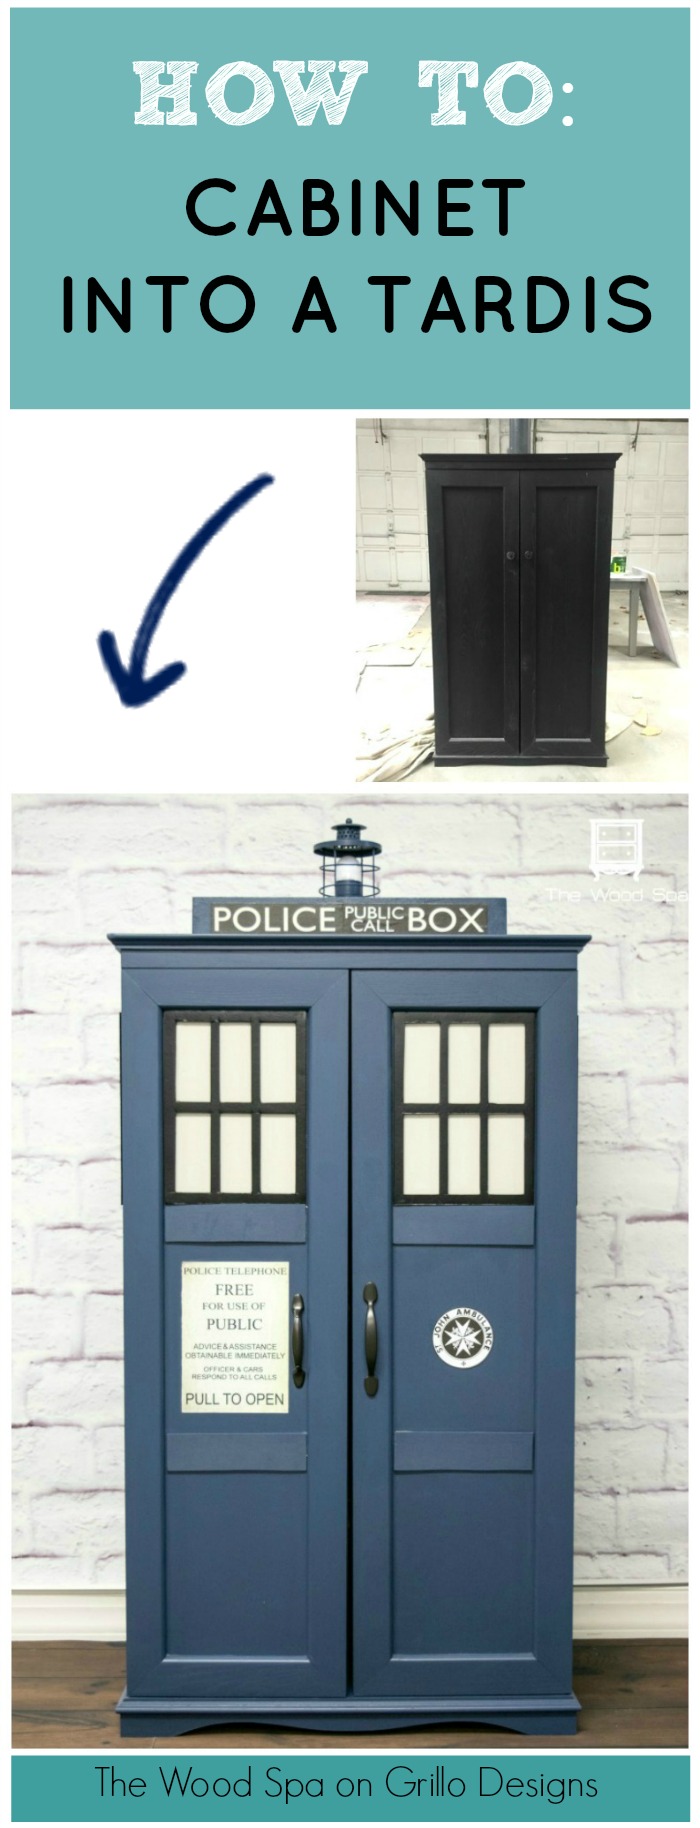
Mini-Tardis Media Cabinet Makeover
Materials used:
- Black foam board
- Printed signs (from the Internet)
- Mod Podge (for decoupage)
- Wood glue
- Wood tray (or something with similar shape)
- Small pieces of plywood (from craft store)
- Small candle holder (or something similar for top light)
- Cylinder shape pocket flashlight Gray Primer (I used Rustoleum gray primer spray),
- Blue latex paint (I used Valspar Indigo Streamer)
- Light gray latex paint (for windows)
- Bar pulls in two different sizes
- Paint sprayer OR foam rollers and paint brush
How to:
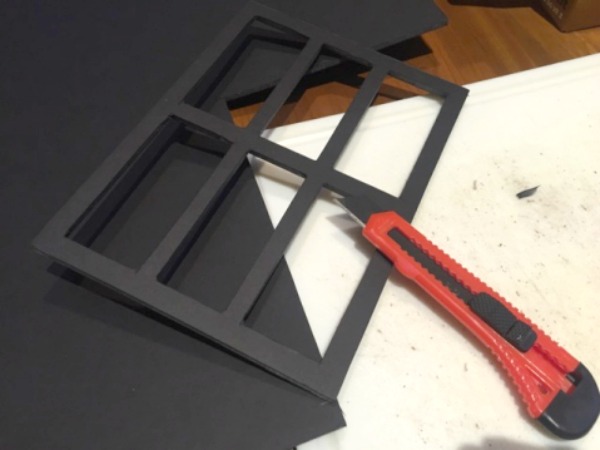
Part 1 – Window frames, Top, and Light.
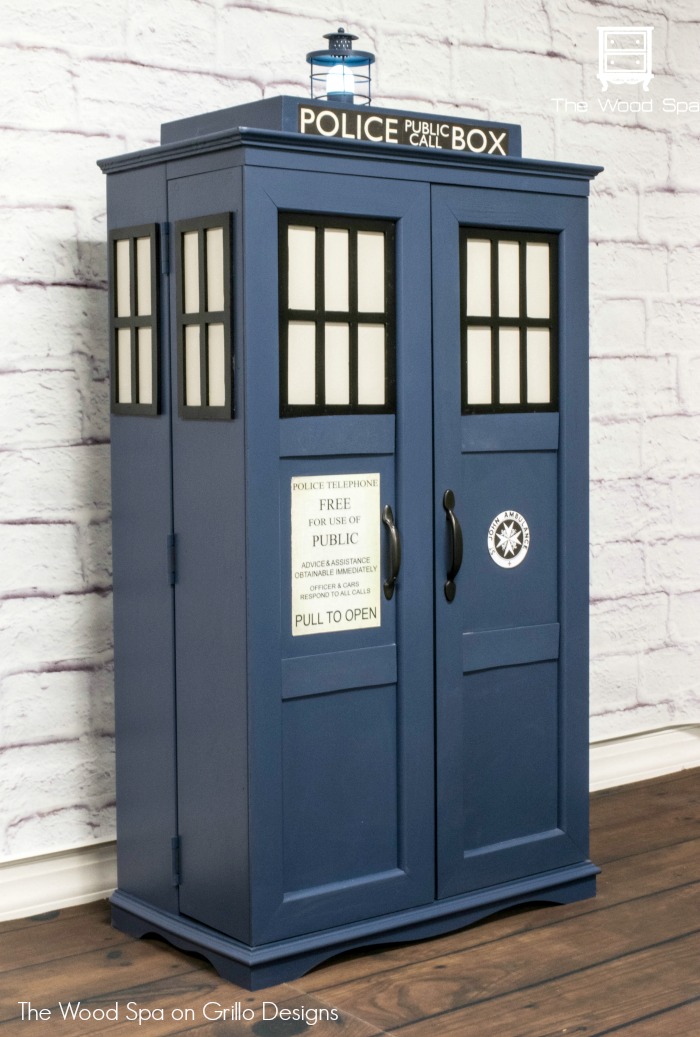
I first worked out what would be a proportional size for the windows. I divided each front door in 3 equal parts from top to bottom. The window frames went on the top section of the front door and on the sides. For this cabinet, the side windows needed to be narrower than the front ones in order to fit each of the 2 sections separated by the door hinges. I drew all window frames on the black foam board and cut them out using a snap-off knife.
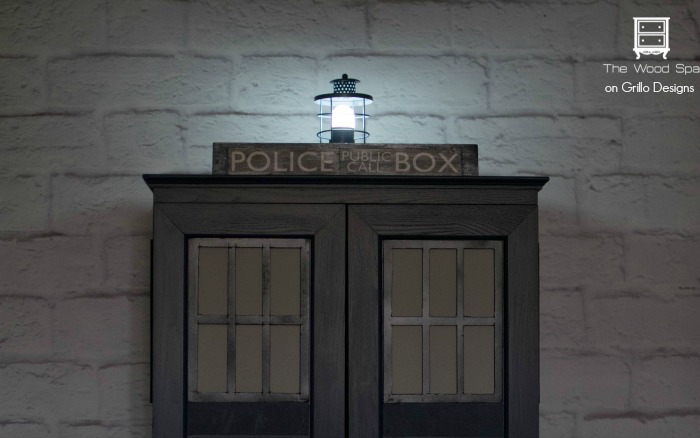
For the “box” above the cabinet, I found a rectangular wood tray at Michaels, and used the same black foam board to fill in the handles and make a smooth surface on all four sides.
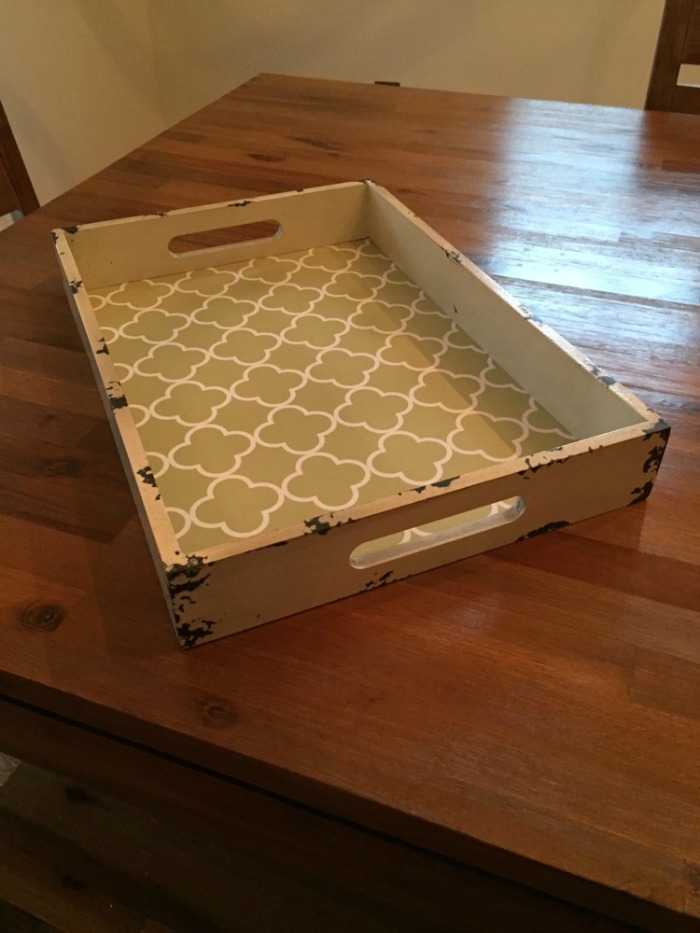
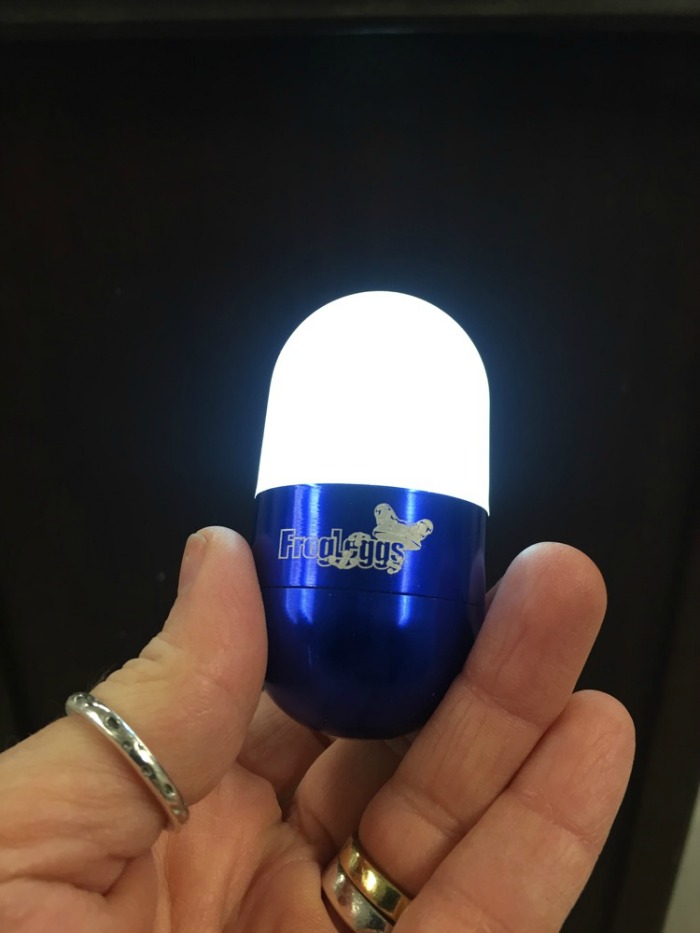
The little metal frame on the top light is a candle lantern I bought from an online store.and the light inside the candle lantern is a cheap pocket flashlight I found in a hardware store.
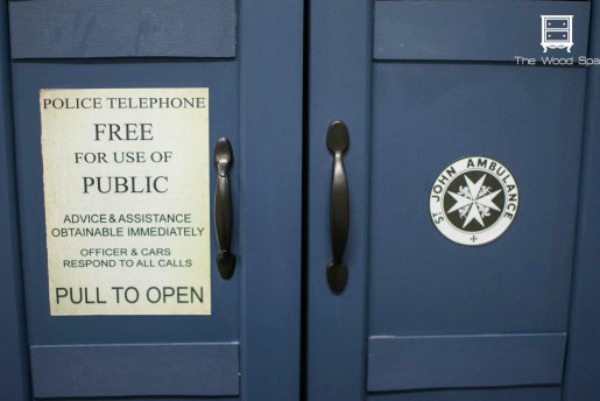
I painted all pieces in the same blue paint as the cabinet (Valspar Indigo Streamer). All signs you see on the doors and top were images printed out from the Internet in different sizes. I then used Modpodge to apply them to the cabinet AFTER the paint was dry.
On this cabinet the front doors didn’t have the same panels the original Tardis has, so I cut and painted some pieces of plywood, and glued them to the doors to make three equal sections.
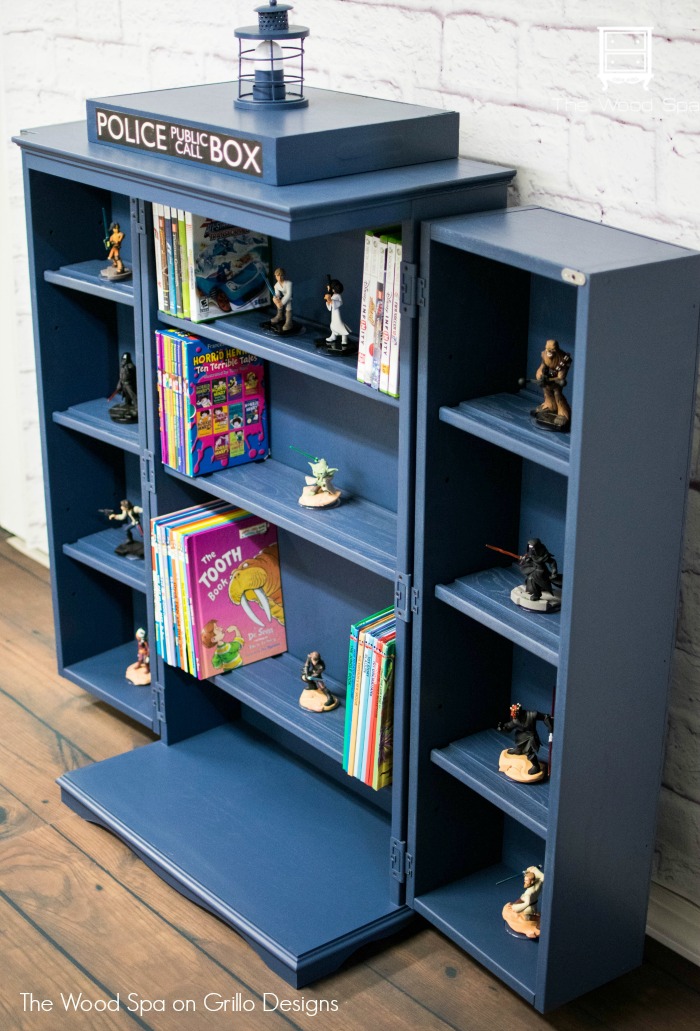
Part 2. The cabinet
I took the whole thing apart – knobs, hinges, and shelves. I filled the original knob holes with wood filler. I cleaned the cabinet with TSP diluted in water and then primed all pieces using Rustoleum gray primer spray.
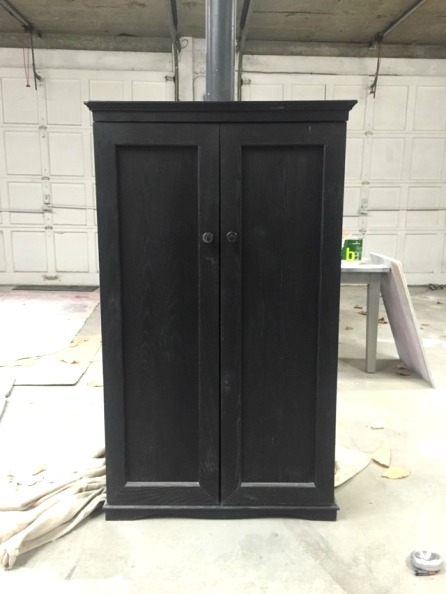
To save time, I spray painted the entire cabinet, shelves and hinges with Valspar Indigo Streamer. You could also use foam rollers and high quality brushes to do this part.
I drew and painted the window “glass” in light gray, using Frog tape to keep the light color inside the lines, and a sponge roller to obtain a smooth surface.
After all was painted and dry, I glued the window frames to the doors and sides, and the tray (upside down) to the top of the cabinet. Before putting the cabinet together, I drilled the holes for the new handles and installed them (notice they go in different places!)
Finally, the cherry on top: the light!
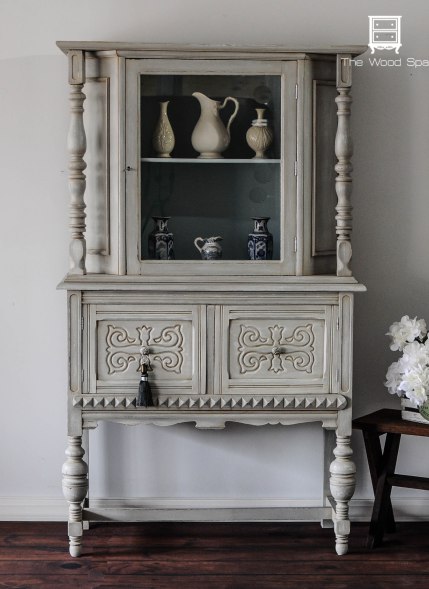
Grillo-ers show Patricia some love in the comments and be sure to go and visit her at The Wood Spa to see more of her beautiful furniture makeovers. Heres is one of her most recent projects!
About Patricia Rios Calvao
I’m a wife and a boys mom. I left the corporate world years ago and found my “salvation” in hoarding and painting old furniture. I live with my family in a very green area of Connecticut, USA, where I work from home, more precisely, from our garage. My business is called The Wood Spa.
PIN IT FOR LATER:
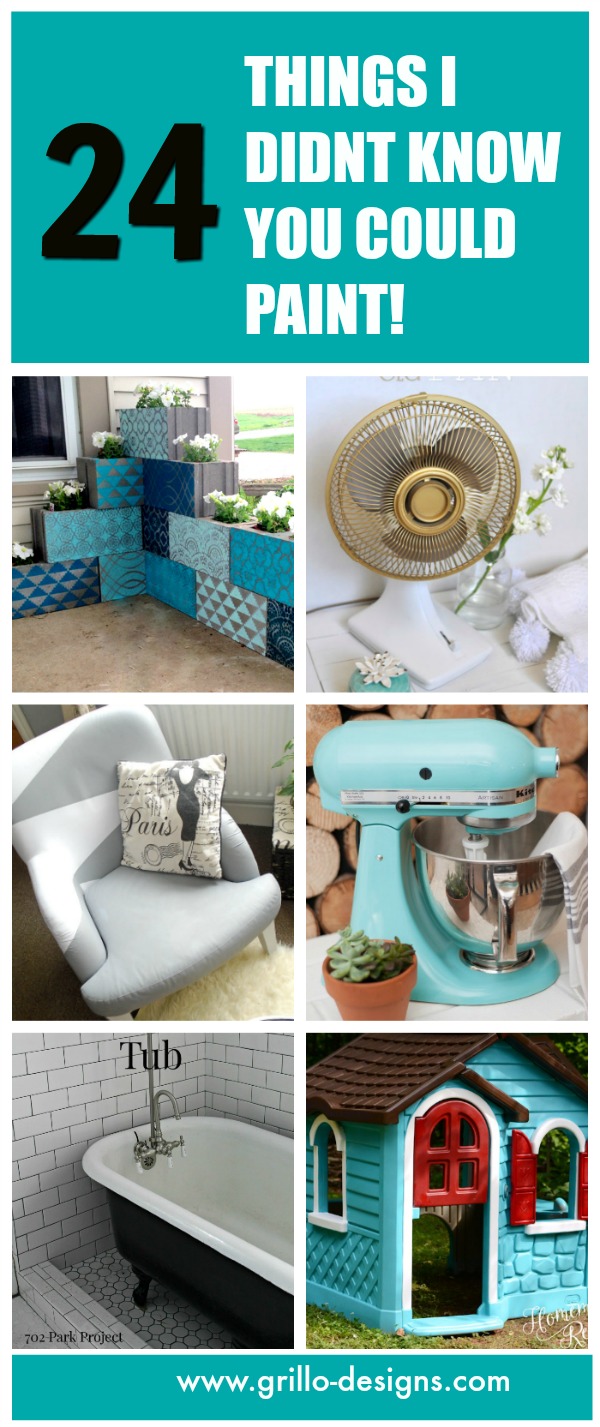
OTHER PROJECTS YOU MIGHT LIKE:

Hello yes would you ever make a tardis cabinet like this one for a customer.