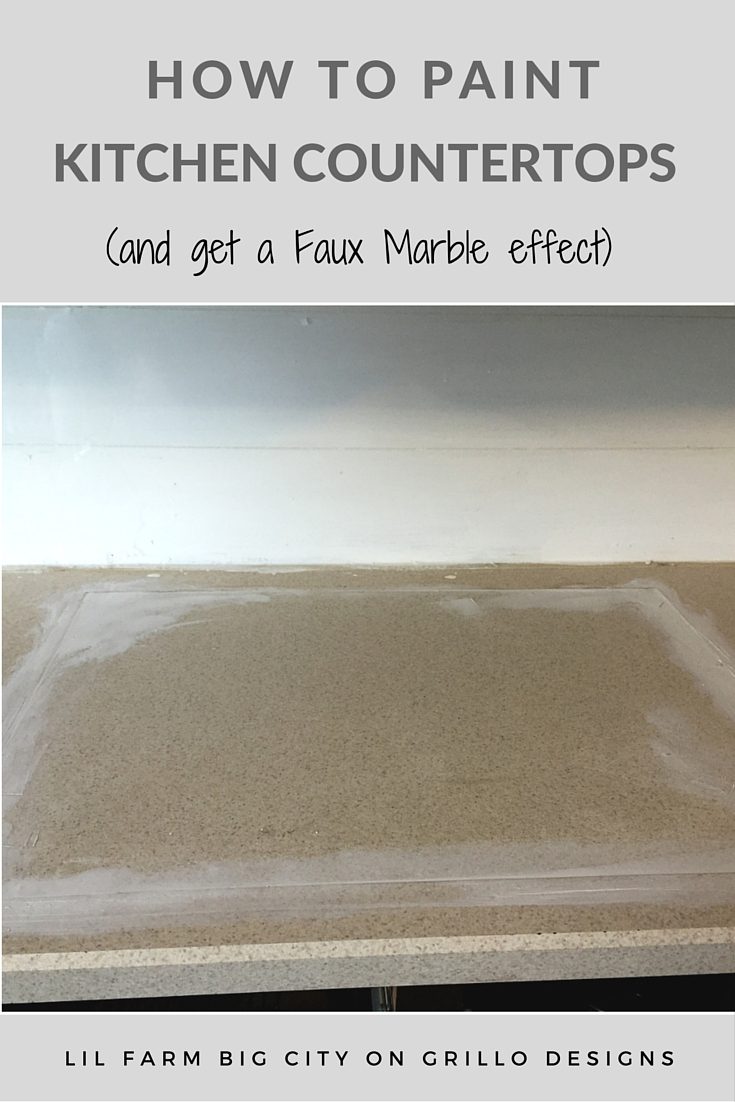
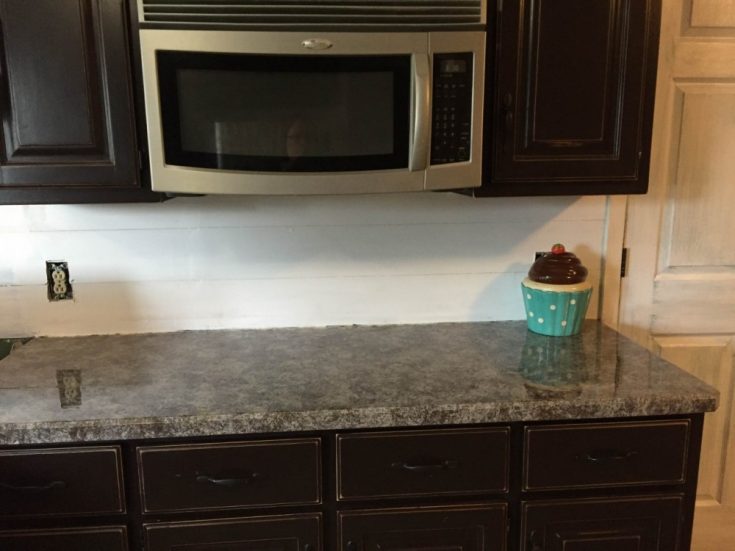
This post was submitted by Erica Pounder from Lil Farm Big City – a member of our Home and DIY Facebook group. She is sharing an on-budget yet effective way to paint kitchen countertops to achieve the faux marble effect. Keep scrolling to read her full tutorial
How to paint kitchen Countertops
Materials used:
I purchased all of the paints from Walmart. I would suggest going to a local hardware store or a store that has granite samples and picking the one you like so that you can use it to get your samples.
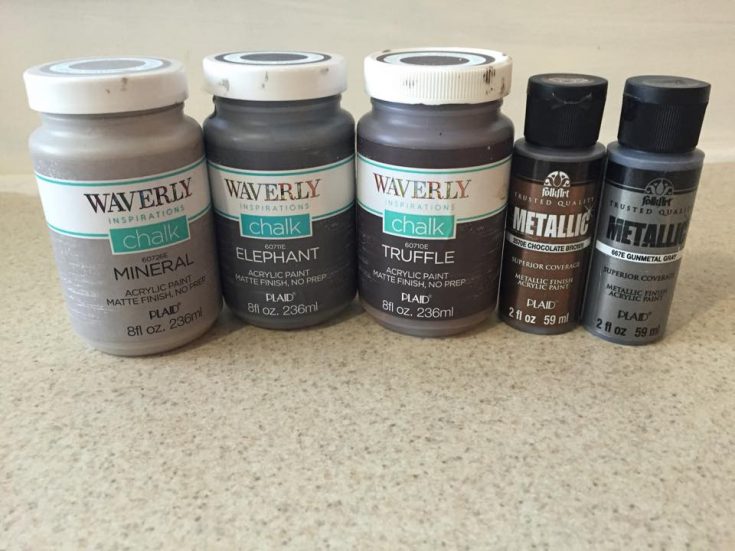
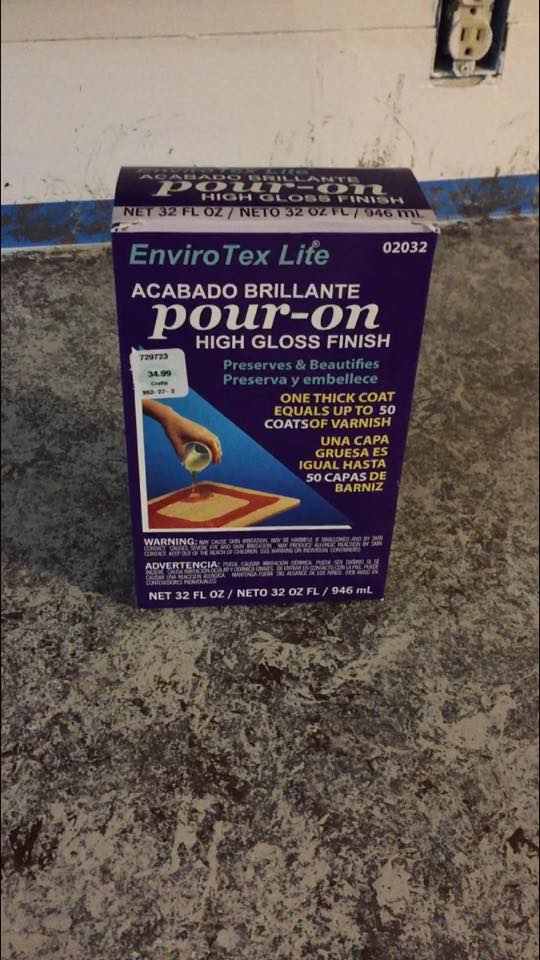
I did get the three larger paints as chalk paint but I don’t think it’s relevant, they were just the only ones that were close to the colors that I wanted. The Envirotex lite can be purchased at a craft store or online. I bought mine at Hobby Lobby using a 40% coupon. For the rest of my countertops, I will probably order it on amazon so that I can get bigger boxes.
How to:
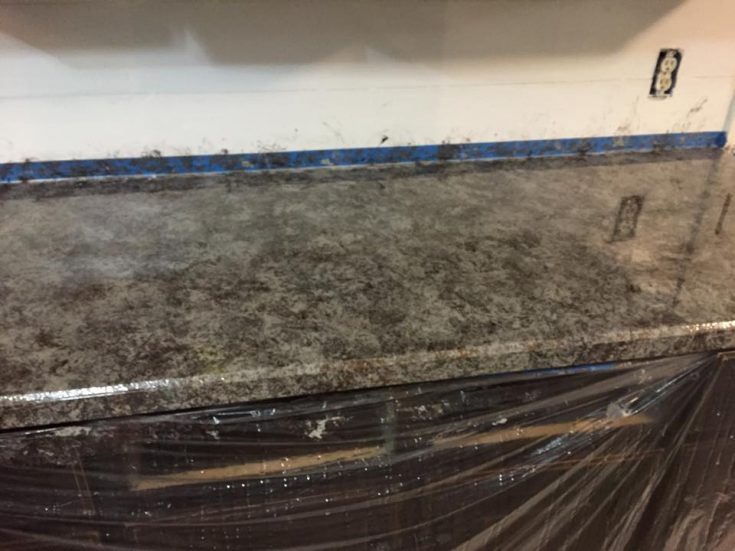
1. PREP YOUR AREA!!
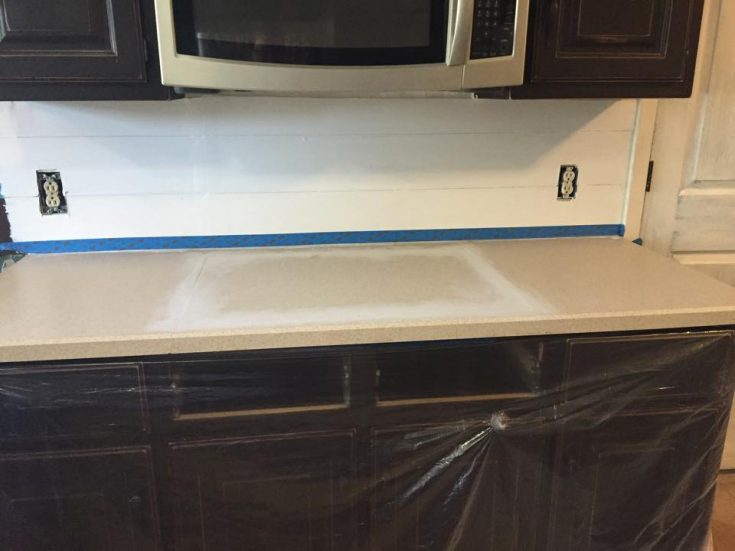
This is a MESSY project so you want to make sure you REALLY prep your areas. I put a craft paper roll on the floor and then painter’s plastic around the cabinets.
2. I looked at a ton of blogs and they all used sponges to apply their paint but I didn’t like the uniformity of it so I used a plastic bag to apply my paint and I used the same bag for each color.
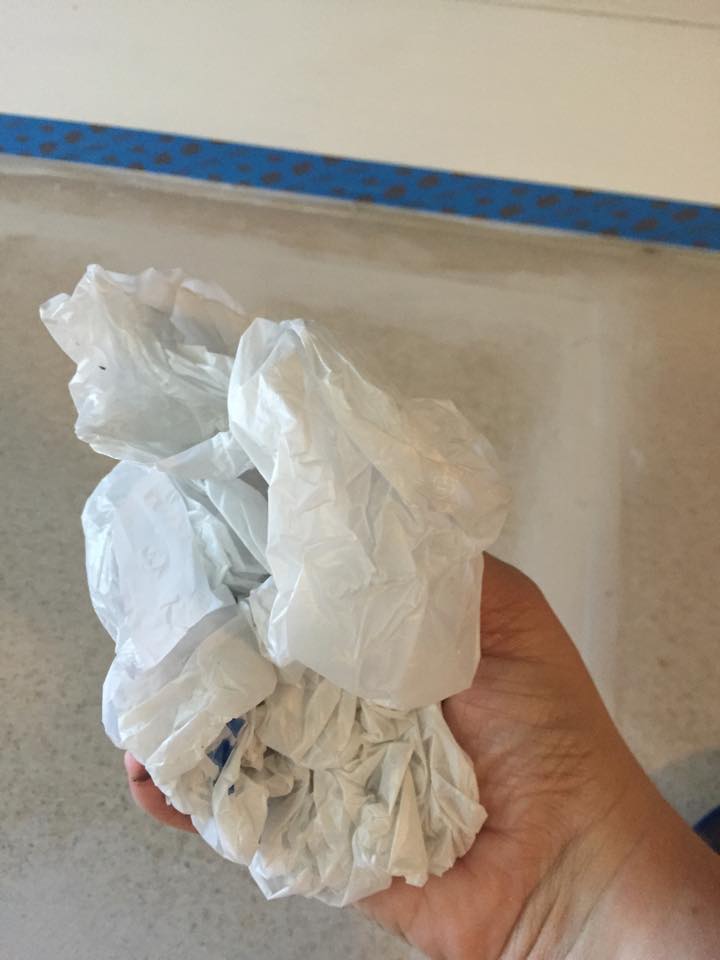
I started with the dark brown, then grey, cream, and the two metallic paints.
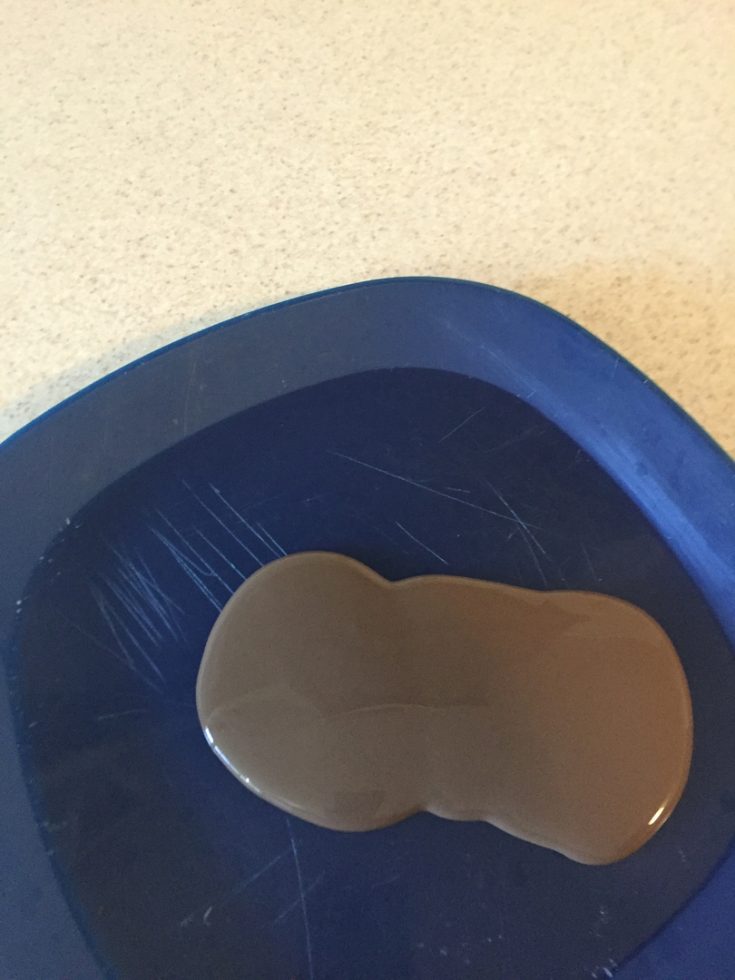
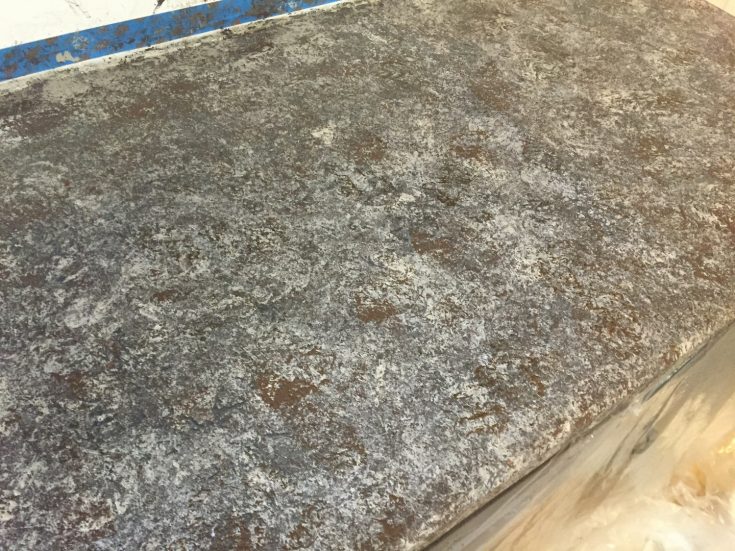
I put 5 or 6 layers down of each color. I would let each color be almost dry before starting the next so that some colors could blend together.
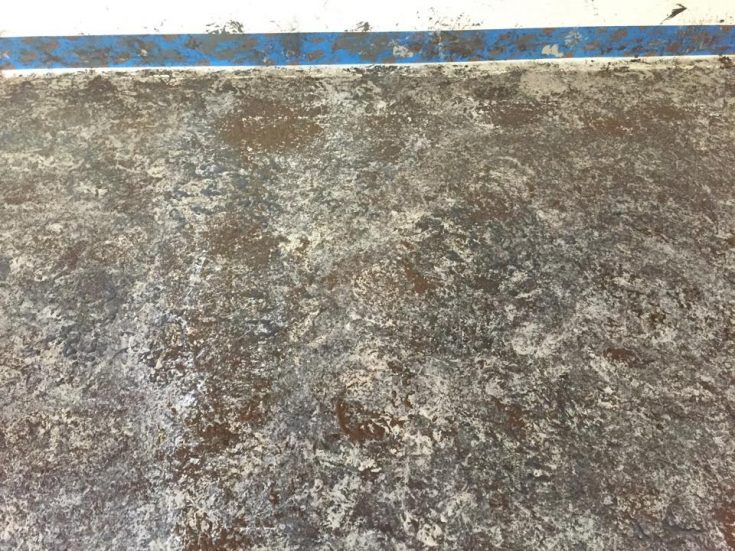
My biggest tip I would give for this step is to change the way you hold the bag every so often so that you don’t get a uniform look.
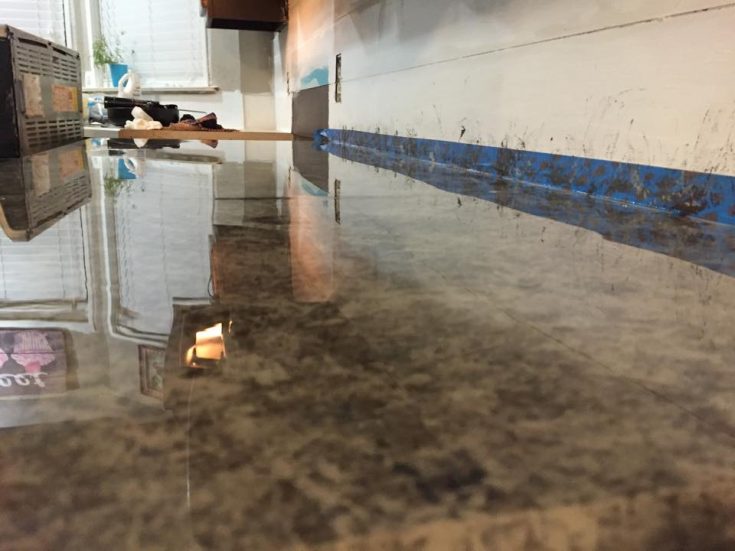
3. Apply the Envirotex layer. Follow the directions EXACTLY like they are on the box.
One thing I learned from this step is that you should always, ALWAYS plan on pouring more than needed. I skimped my first time and it wasn’t even close to being enough and it left an uneven surface.
I would also suggest pouring as close to the edge as possible so that a lot is dripping off the edges to create a smooth coat on the edge and side of your countertop.
If you pour enough you don’t have to try to smooth it out because it will self-level. I would DEFINITELY suggest over pouring so that you don’t have to try to level because this will result in needing to put several layers on when you could do it just once. If you do have uneven sections or bubbles, it says you can breathe or use a lighter on the bubbles but I found using a small blow torch worked the best. It helped smooth out the countertop and it removed all the excess mess.
4. Let it completely dry for at least 4-6 hours before you even try to touch it and I would only touch it in an easily concealed section. If it’s dry to the touch you can remove all the protective layers you put down but still do not touch it for at least 3 days so that it can completely cure. I waited 5 days before I put anything on it or washed them.
PLEASE NOTE: It’s a very time-consuming project that requires a lot of specifics especially with the Envirotex layer. I have a video that I am posting on my blog that will go into A LOT MORE detail so that you can really see all of the steps and hopefully it will answer some of your questions. Visit my blog and look for the tutorial under tips and tricks!
If you have any questions about anything, please leave me a comment below.


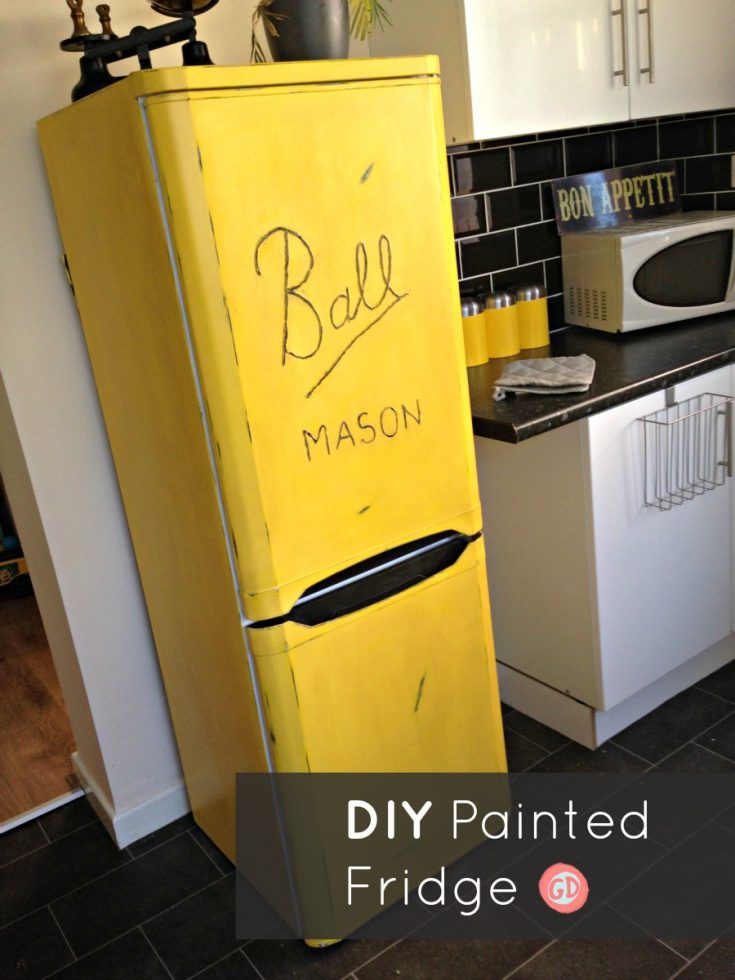
24 THINGS YOU DIDNT KNOW YOU COULD PAINT

A DIY INDOOR HERB GARDEN USING MASON JARS

OR IF YOU’RE UNSURE HOW TO USE CHALK PAINT THIS TUTORIAL WILL HELP!

Excellent job!
Wondering what was the cost of the envirotex? Seems like it would be cheaper to just use regular floor polyurethane.
Did you sand the countertop and prime it before painting?
A friend did this and let it pour over the sides of her countertops, then let it dry. What she got was like stalagmites under the edge where the envirotex dripped down. Did you have the same problem? How did you deal with the dripping under your edges? Thank you for the plastic bag idea…it does look a lot more random.
I noticed the drips as it was drying and would randomly check and wipe it away off the bottom. I did miss a few and just sawed them off and sanded it from the bottom.
Thank you sooooo much! I was thinking about painting my kitchen and bathroom counters, but had not found a design or technique I felt comfortable with and loved as much as this. Its amazing what that envirotex does for the whole look. Thanks again!
This looks like a great project. The finished project is amazing!
i would love to do this to my Formica countertops. I have a question…Did you clean your Formica with anything special to get all the build up of grease from cooking off…if you did, what did you use? Thank you
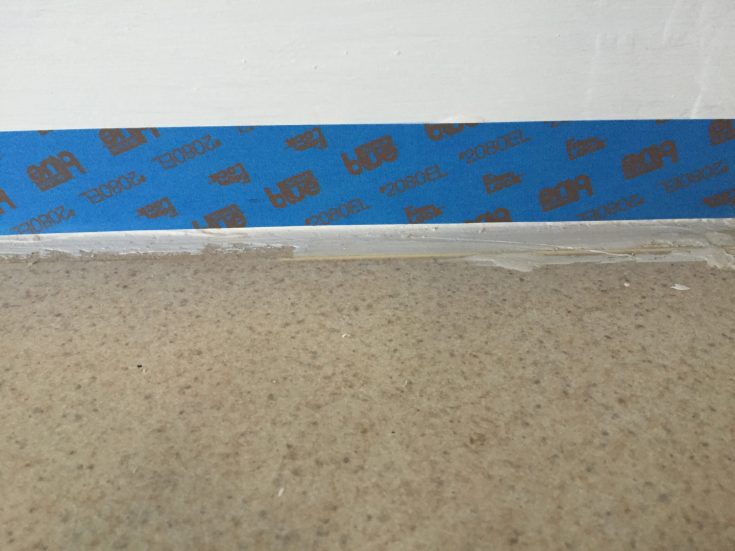
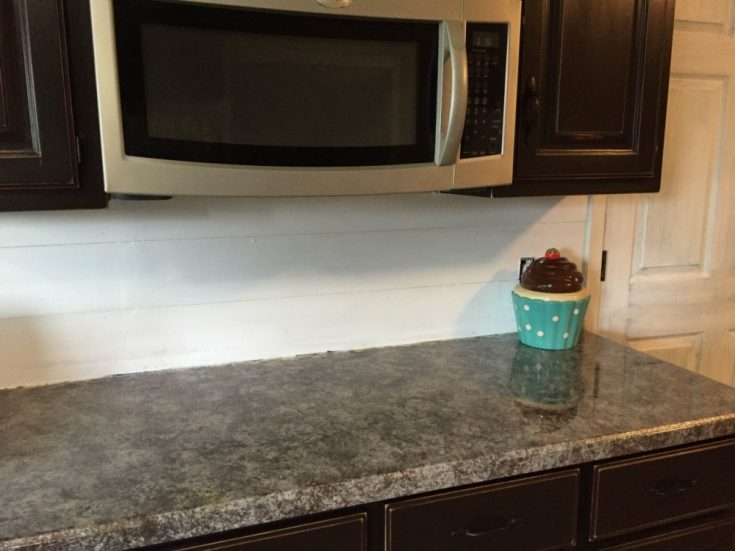
I just used soap and water like always. If you look at one of the pictures you will see where I had a drop in stove that I removed. I also removed the little backsplash that comes with the counter (not sure what its called) and there was still some residue from the glue on the countertop. I didn’t really care though because the envirotex created such a smooth and thick layer that you wouldnt be able to see anything. So Id clean it but don’t worry about any small (non food) things that may be stuck (I also had paint drops on the counter) Hope this helps! -Erica