Hi there! Join Grillo Designs on Instagram and Pinterest to keep up with our latest posts and ideas. If you’re on Facebook, why not join our Home decorating, Upcycling and DIY group too – inspiration is guaranteed!
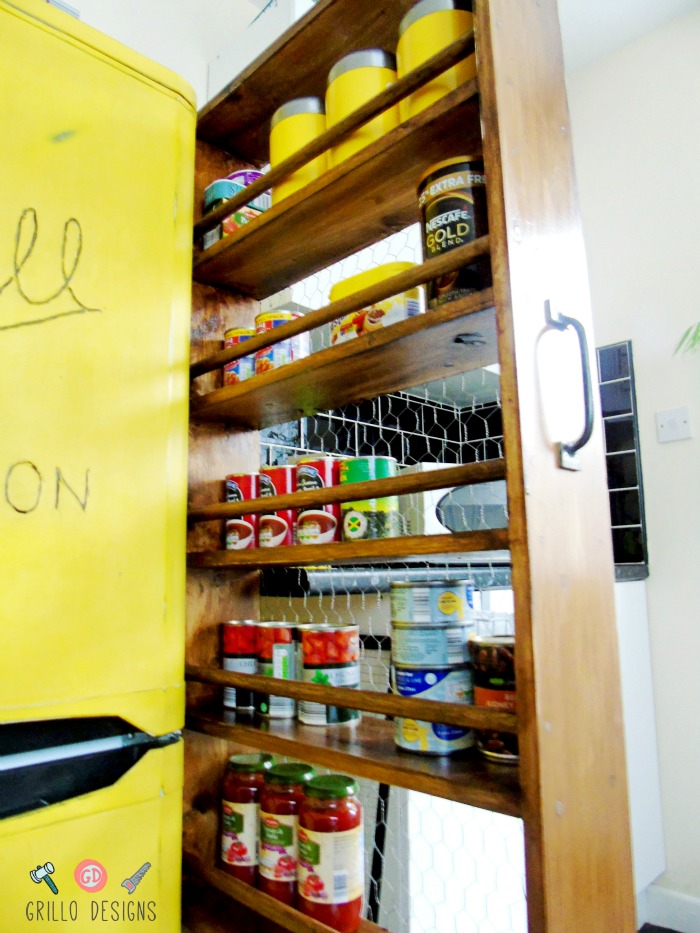
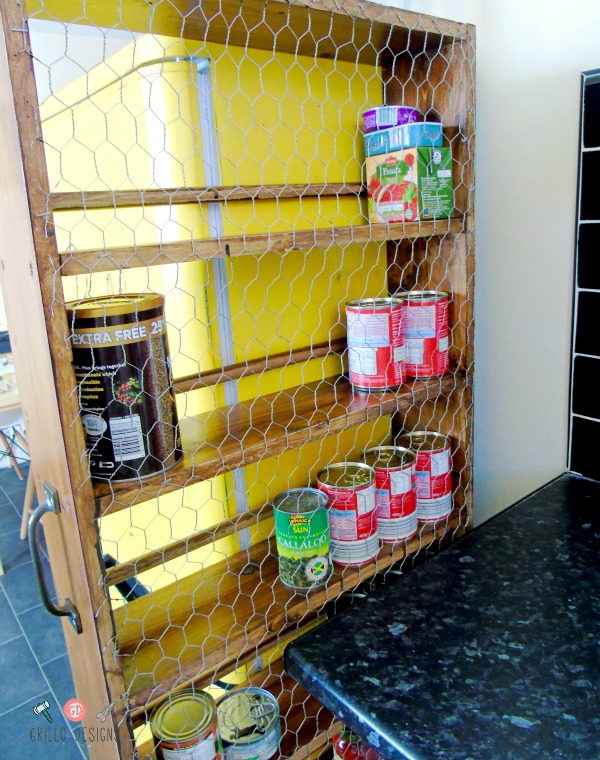
Hi guys! I’m so happy to share with you all this roll out pantry that my husband and I designed for our kitchen!

I’m seriously in love with it – and actually did an extra food shop just so I could add tinned food to the shelves! Yup that’s that kind of person I am, its all in the attention to detail!

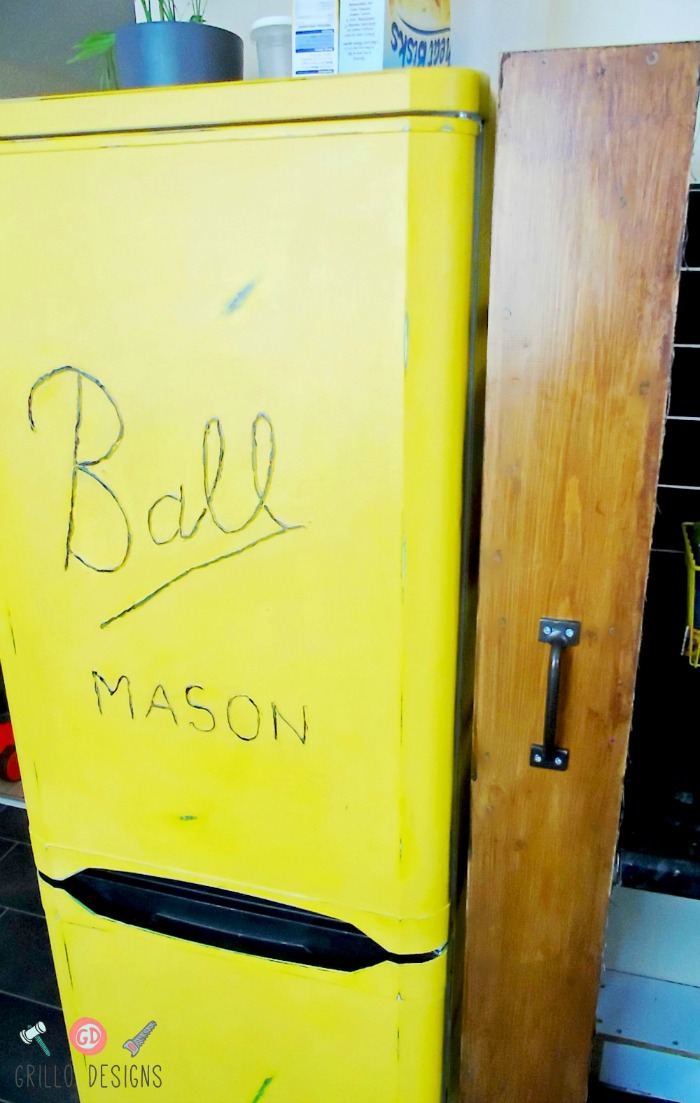
This pantry sits between the fridge (yes that crazy and outrageous Ball Mason Fridge) and kitchen counters. It was previously just an empty un-used space – too narrow and deep to fit any standard kitchen contraption. I probably could have just moved the fridge over, but then there would have been a gap on the other side too which I didn’t want either!
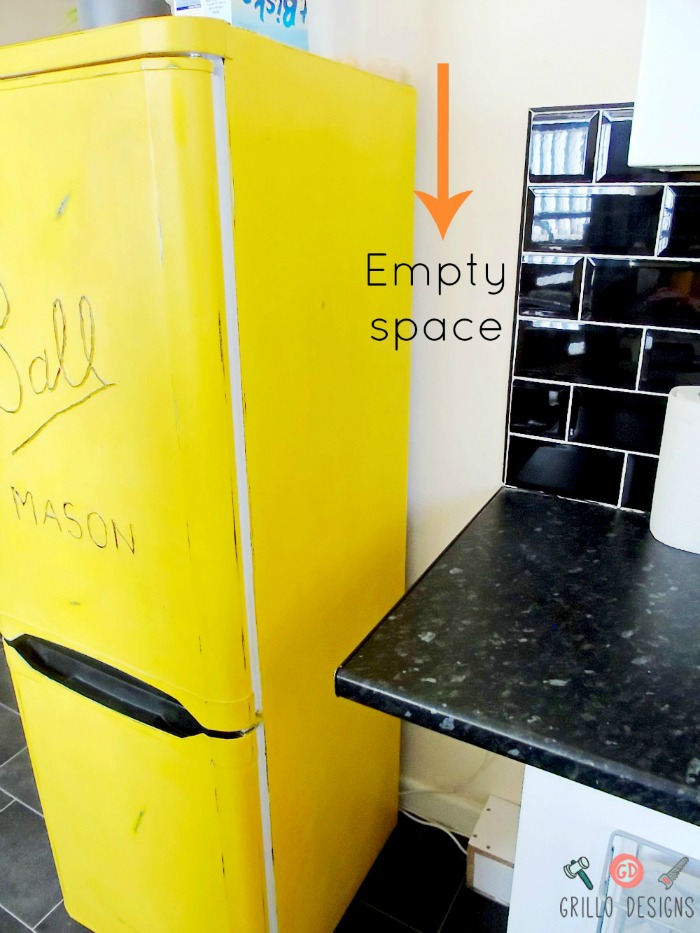
So I decided to make use of the space and make a cabinet within its small dimensions to store various kitchen canned food and other items . Cool idea huh? Unique too? Well maybe not… Classy Clutter got there before I did with a similar idea on their blog!
UK kitchens are typically quite compact and don’t always have the luxury of an extra room for a pantry (unlike some of the US homes….I need to be where you guys are!) so this is the next best thing! If you’re anything like me, you’ll know you really just can never have too much storage!
I decided on a chicken wire for the backing and a dark walnut stain to give the whole pantry a rustic/farmhouse look. These two styles are my new craze by the way! There is something so visually stimulating about dark wood against beautiful metal!

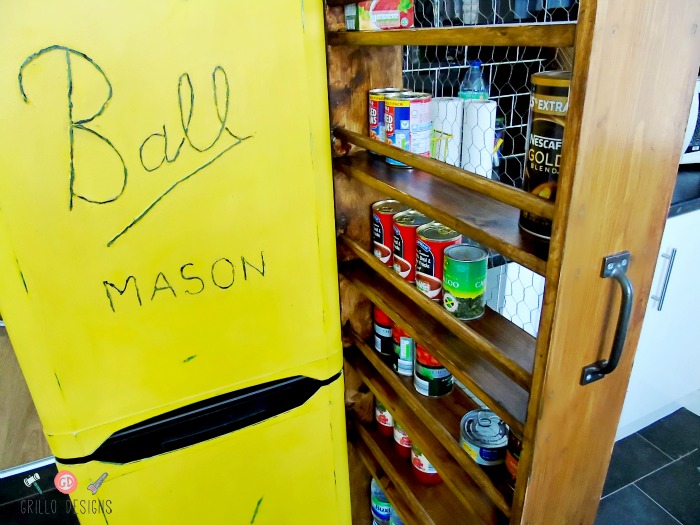
Here’s how the pantry looks when its pushed in. I think it looks great against my funky coloured fridge and at the same time blends in – hardly taking up any space what so ever!
Am I winning you over yet with this storage idea? I hope so! You’ve got to try this…like now ? As always I’ll take you through just how easy it is to make.
Materials I Used
5 x soft wood timber planks
Drill
Ronseal walnut Stain
Paint brush
Ronseal Clear varnish
Screws
5 x dowel rods (19.05 x 914mm)
Nails
4 x caster wheels
Cupboard handle
Chicken wire
Wire cutter
Staple gun
Saw
How To
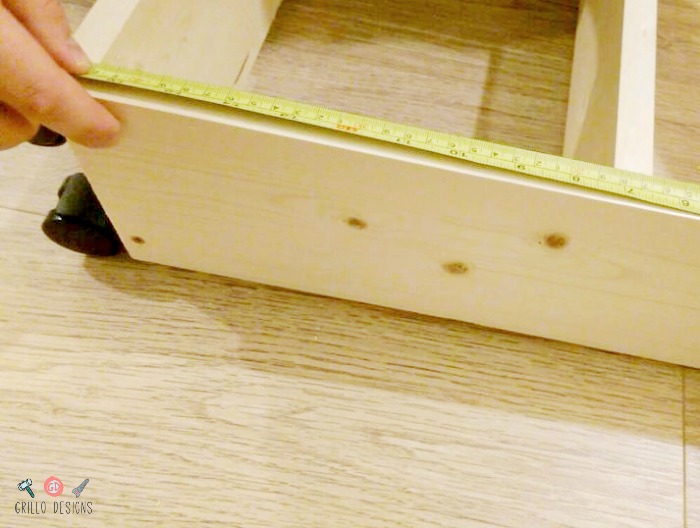
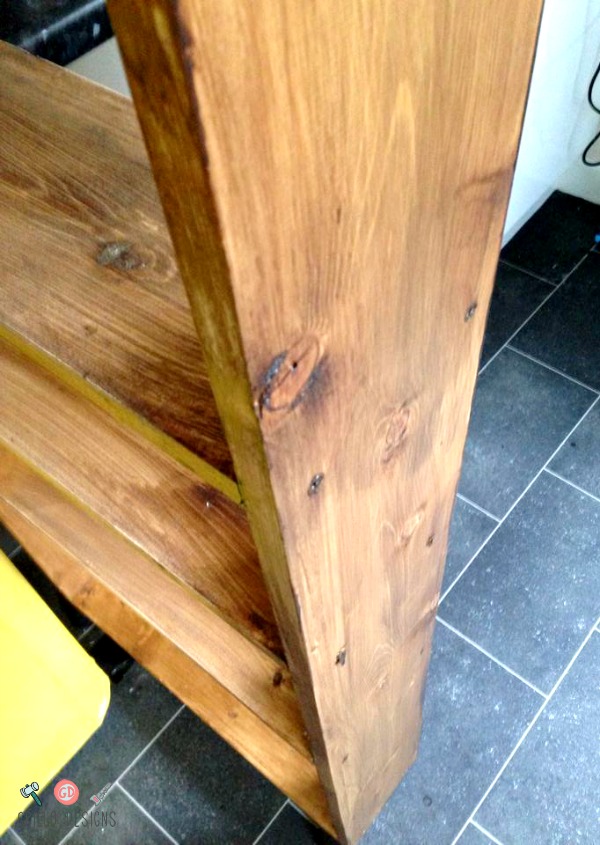
The first step was making the frame. To do this we used 3 wooden planks. The length of each plank was 150cm and width 15cm . We kept these dimensions to make the sides of the frame. For what would be the top and bottom of the frame , we sawed one of the planks into two 54cm length.
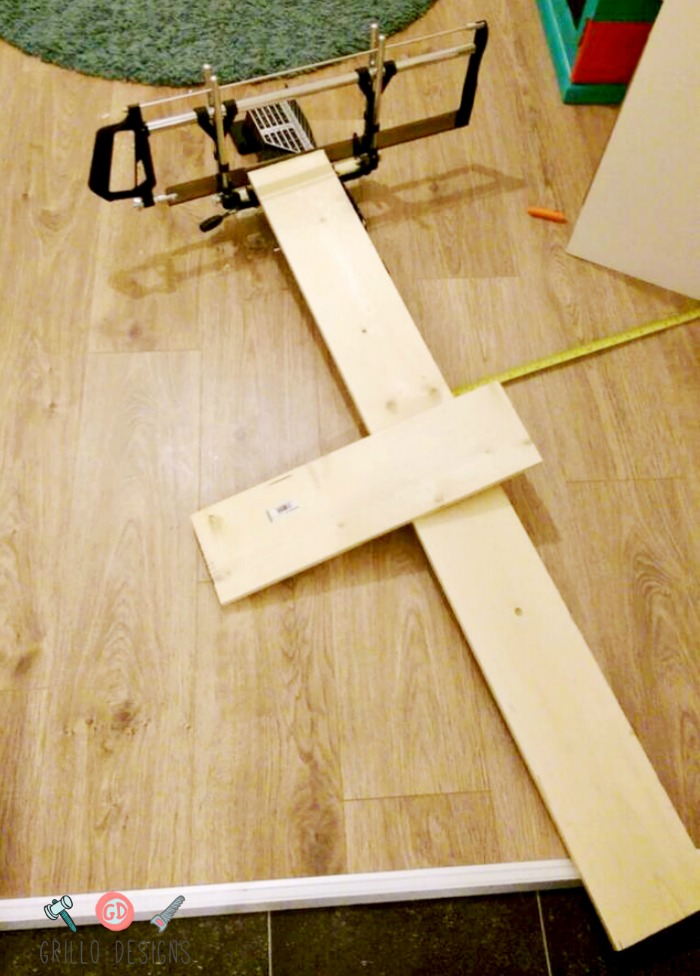
We eventually ended up with 4 pieces of wood which we then positioned into a rectangle shape (2 big pieces on the side and the top and bottom wooden planks on the inside).
I strongly advise that if you are using soft wood for this project, to make some pre-holes with the drill before screwing the screws into the wood as you may crack the wood.
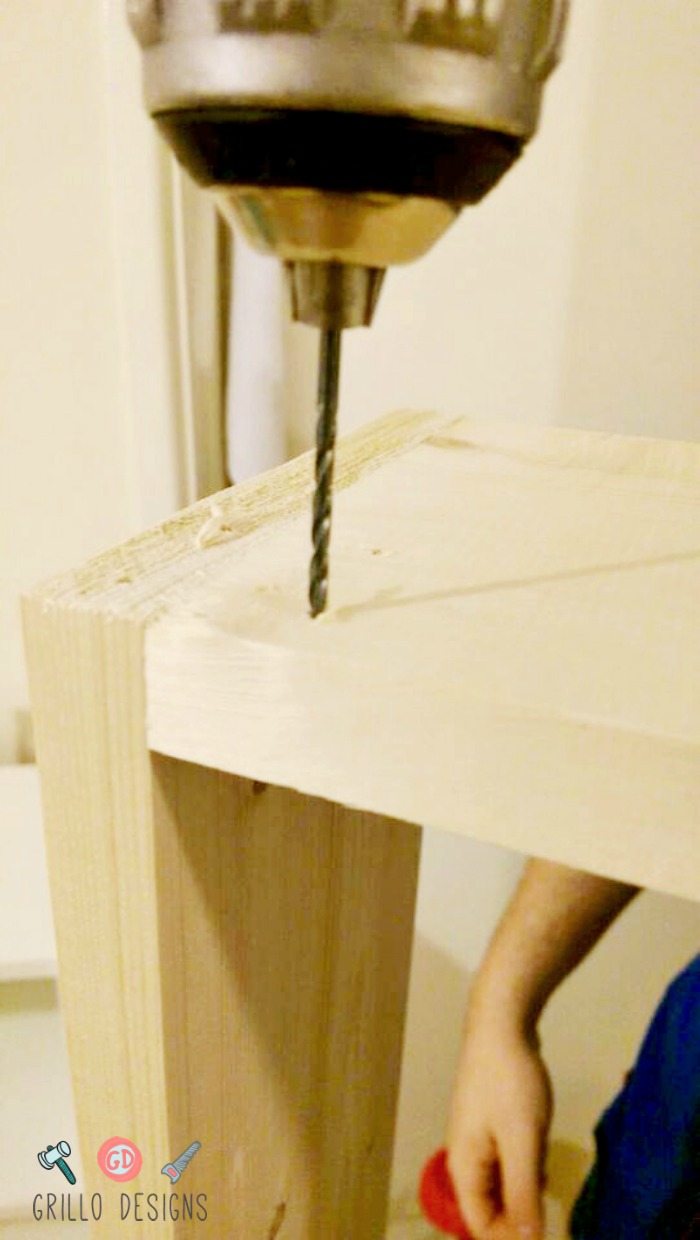
Also you may want to make a slight hollow with a bigger drill price in order for the screws to be at the same level as the wooden frame (the screw won’t stick out the wood) . We’re working with pretty basic equipment here- you can buy stuff that actually does all this for you!
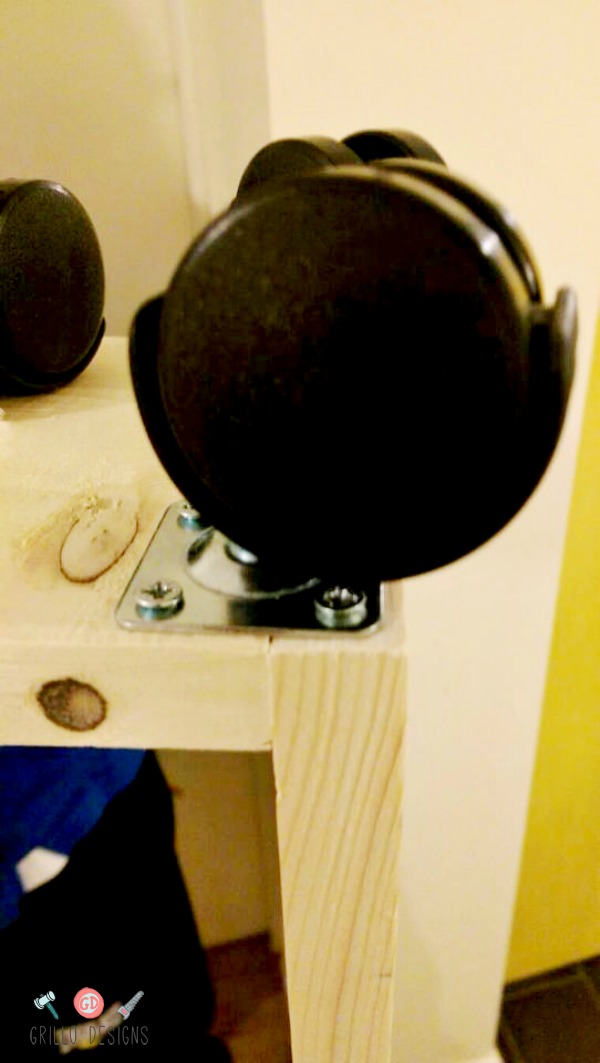
We placed the caster wheels on each side of the bottom piece of the frame and screwed them in. We used small screws here so that the screws did not push through the wood.
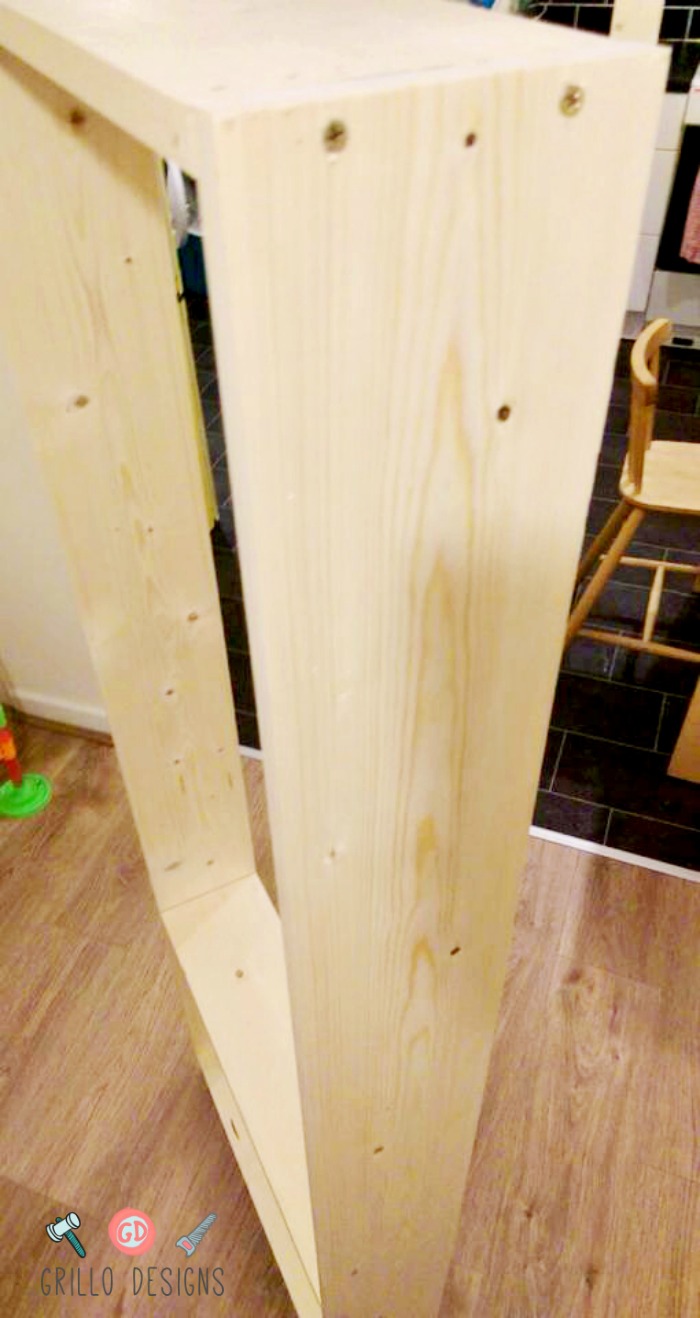
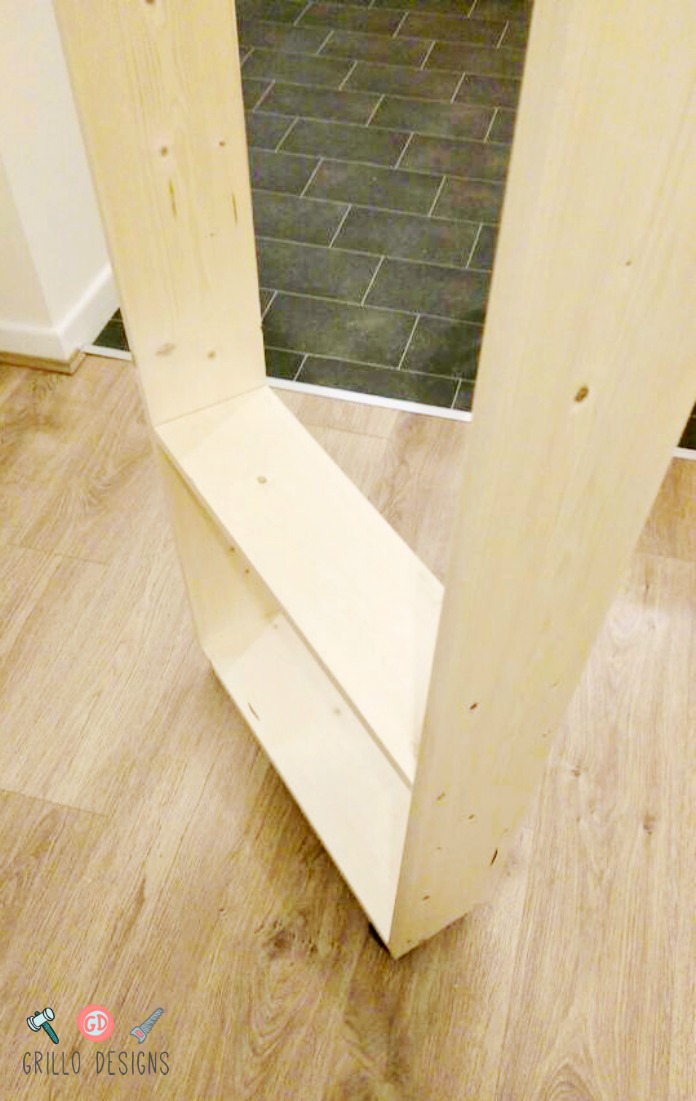
To bring the frame together we screwed each side of the rectangle with 2 screws per corner. Once the outer frame was built (we left the frame on the floor because at this stage it was still very fragile) we started getting the middles pieces ready (they would be our shelves and add further support to the frame).

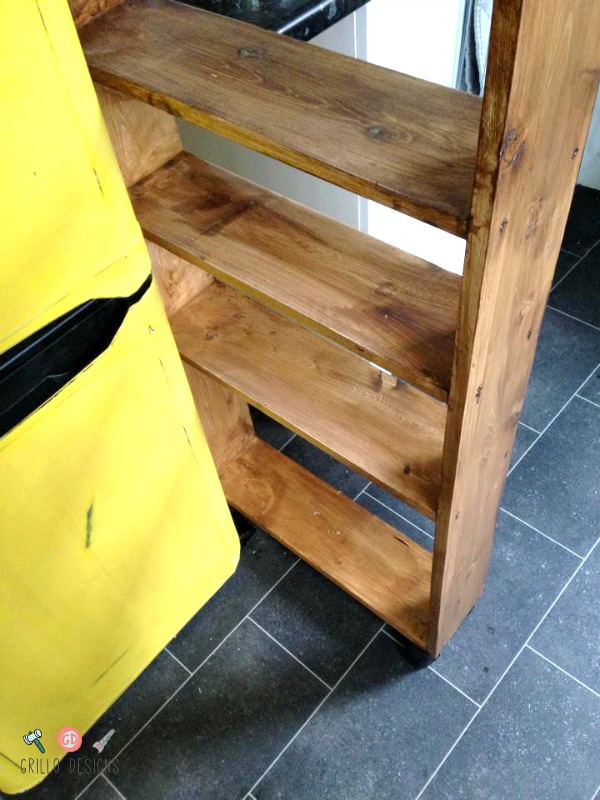
We sawed some more wooden planks with the same measurements used for the top and bottom of the frame. We positioned the planks in between the frame at the height we wanted (again ensuring we made pre holes) and secured in place with 2 screws on each side of the frame.
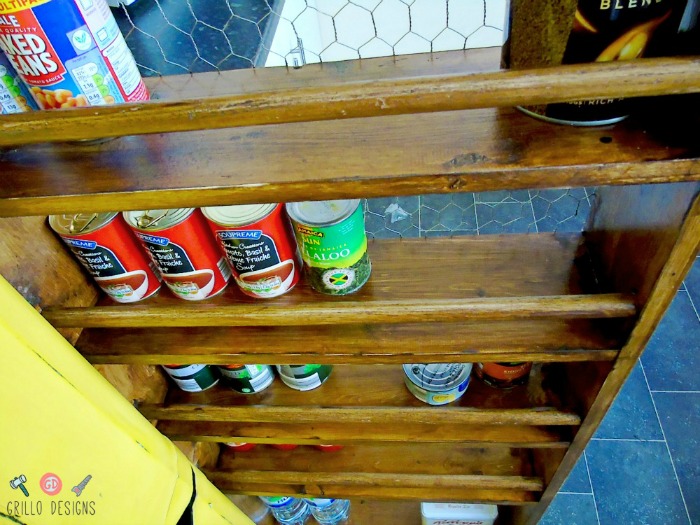
We repeated the process for the remaining pieces of wood. It is completely your choice how many shelves you want and where you want to position them, but we went with 5 shelves. The top shelves of the frame were evenly spaced and the bottom shelf was positioned slightly higher from so we could store the more larger items (i.e water bottles etc).
Once the shelves were fitted, we then proceeded to cut the dowel rods to the same measurements as the top and bottom of the inner frame. We positioned the dowels about 2 inches above its matching shelves and nailed in placed using pre-drilled holes (We actually didn’t attach the dowels until I had done my first coat of stain!). On reflection, a dowel drill or liquid nails may have been more appropriate for this step (to hide nail heads) but I had neither of these items at the time.
Next the fun part, staining (this was my job)! That was sarcasm by the way, it really wasnt that fun at all. It was a total nightmare! It was my first time working with stain and I think I made every mistake in the book using it.
I used a paint brush to apply it, (1st mistake as I ended up with some unsightly brush marks), the stain was a very thin and watery consistency so it just dripped everywhere! I later found out that using an old rag would have been much better. On a more positive note though, at least YOU now know what NOT do!
I did about 3 coats and left it to try 12 hours in between.
Sadly, there were some areas where the stain had run and created fat drip marks. I had to go over these areas with my sander to smooth it out a little. I then sealed with clear wax and left to dry for a full day!
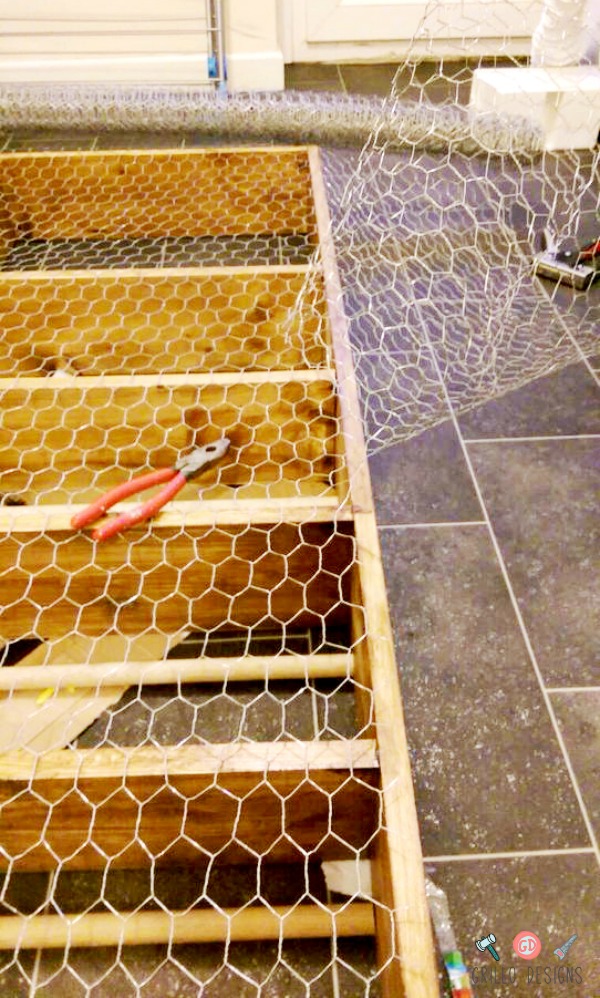
The chicken wire was attached to the back of the frame. We used a large roll of chicken wire and just cut off what we needed using a wire cutter. Everything was stapled in place to the wooden frame with my staple gun (love that thing!)
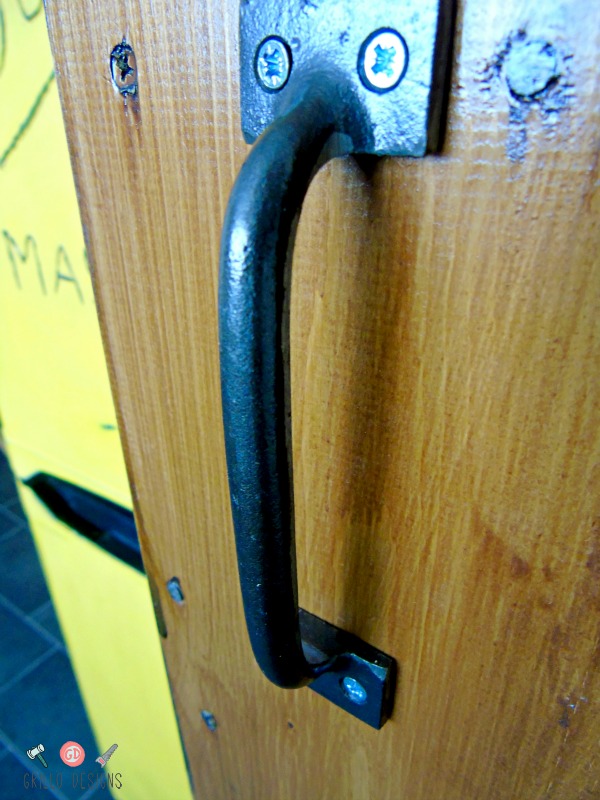
And finally the handle!
So what do you think guys? Will you be giving this a go? Do you have any cool storage ideas for the kitchen? If so, I would love to hear, feel free to leave a comment below! And see those social media share buttons at the very top of this post? Well, I would love for you to click on them and share away! It would really make my day – I’m very easily pleased!
PIN IT FOR LATER:
YOU MIGHT ALSO LIKE:


This so nice and simple this is what I need
Allô. M’y husband watts to mâle à Roller pantry lime you did. But hé watts to Knowles
allô. M’y husband Wait to Know. If something is on top où your Roller pantry to holding straight Went we pull it ?Sorry m’y computer is not workingwell. Many errors. Thank you
A
Medina, I like your unique style!
Such a great improvement for your kitchen. The pantry looks small but I like the idea, thanks
It might look small but it sure does hold a lot. Thank you though 🙂
Terrific project. The chicken wire on the back is genius.
Thank you Susie. The chicken wire is my fav part!
Fabulous job and great idea!