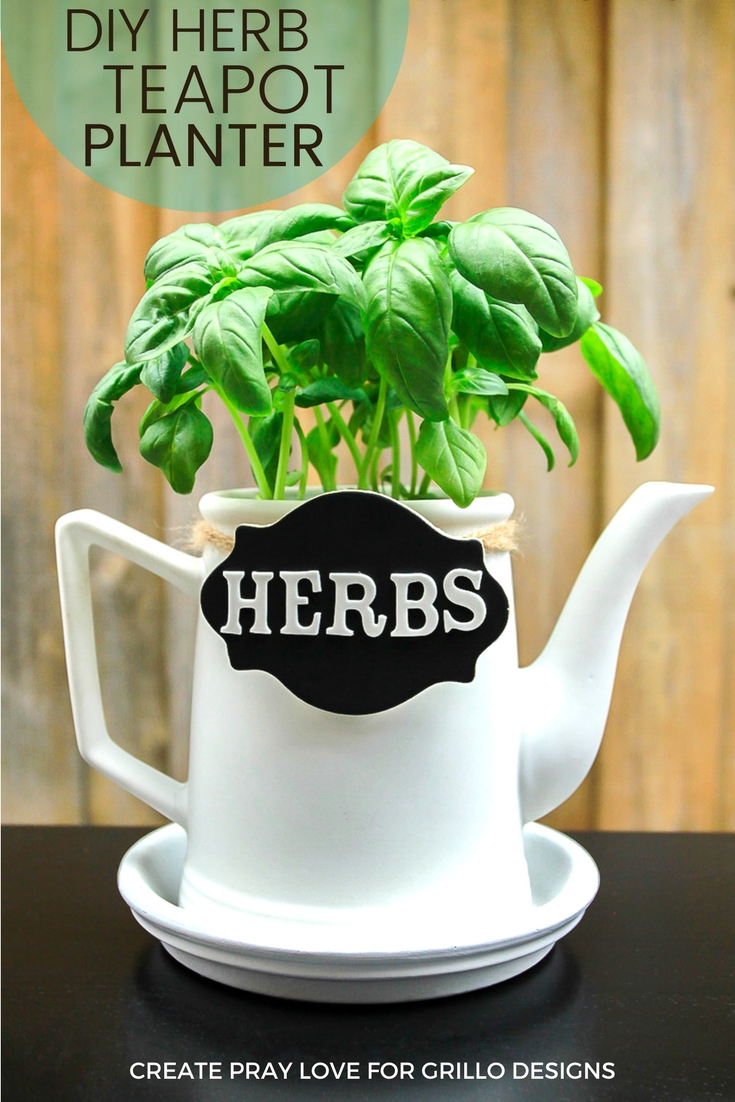
Make a repurposed teapot planter for your home in five easy steps! This tutorial includes everything you’ll need to get and steps you’ll need to follow.
……………….
Hi everyone! Jolene from Create Pray Love here. A huge thank you to Medina for letting me jump on here today and share a tutorial with you on how to make a repurposed teapot planter for your home!
This project is so simple, yet it can produce stunning results. And the best part is that it can be done in just one afternoon! We’ve had so much beautiful weather here lately in Los Angeles, so I was excited to take advantage of it and spend some time in the sun getting my DIY fix in.
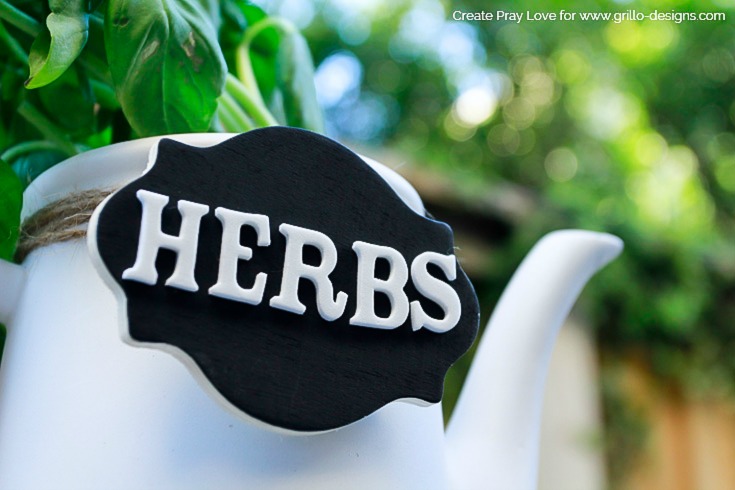
Want to make one of these for yourself? I’ve listed below everything you’ll need to get and all the steps you’ll need to follow. Enjoy!
MATERIALS NEEDED TO MAKE A TEAPOT PLANTER:
This post contains affiliates for your crafting convenience, see full disclosure here
- Teapot
- Terra cotta planter saucer
- Drill
- Masonry drill bit – set can be found here
- Spray paint (color of your choice)
- Chalkboard label – similar found here
- White foam stickers
- Hot glue gun
- Jute twine
- Potted herbs (or flowers)
- Potting mix
AND HERE ARE THE STEPS NEEDED TO MAKE A TEAPOT PLANTER (OR ANY KIND OF UNUSUAL PLANTER)
1. Drill a drainage hole in your teapot
You definitely don’t want to do this step with any old drill bit. Nope! This is where a masonry drill bit will come in handy, as it’s been specifically designed to be able to drill through ceramic, metal and brick surfaces.
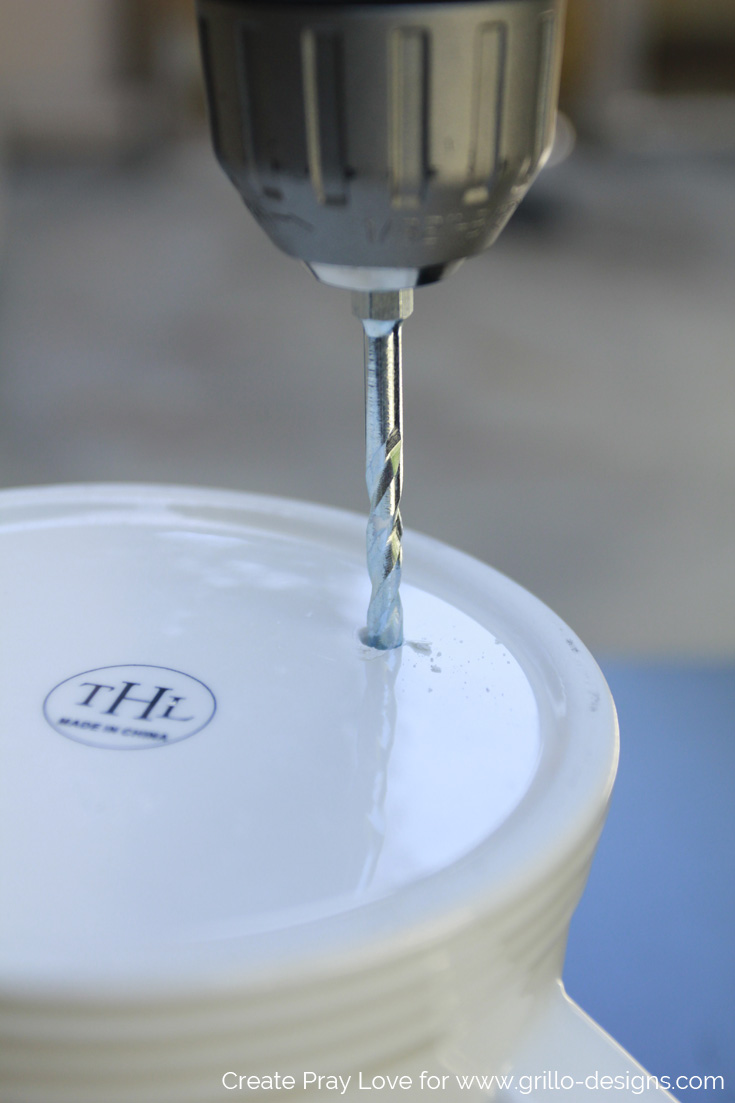
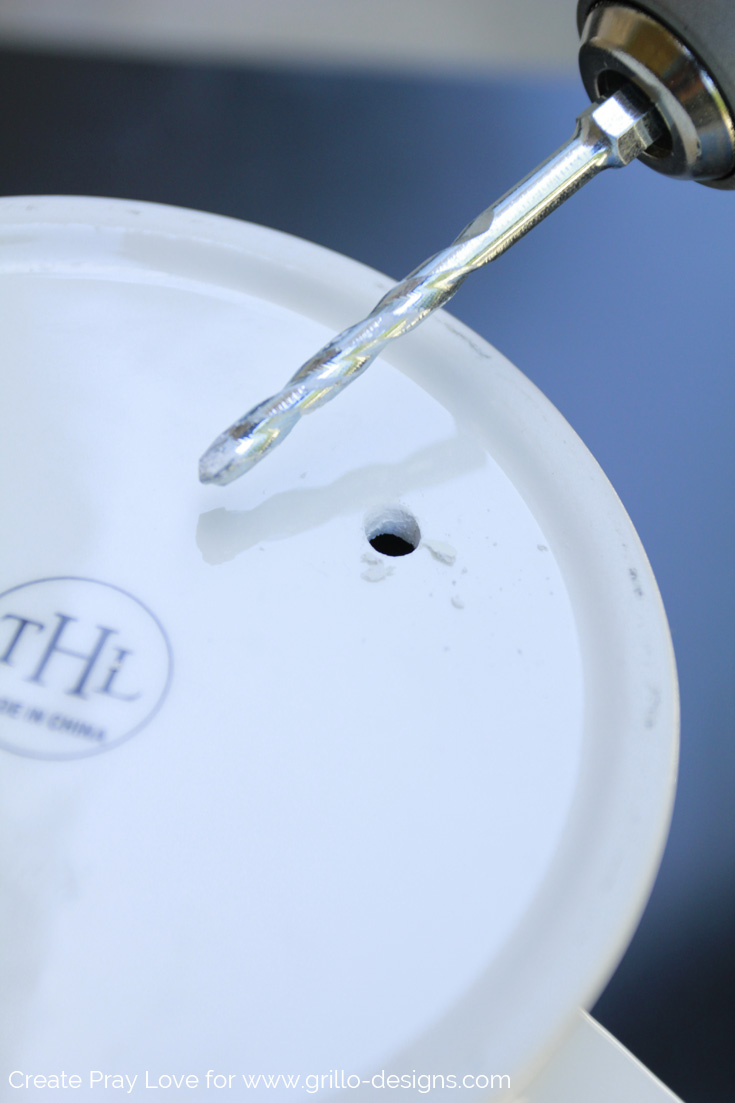
This should take you no more than ten minutes, so if it’s taking you much longer than that, the base of your teapot may be a bit too thick for this project! The first teapot I tried this project on had a base that was over 1/2″ thick, and after drilling for a long time without getting anywhere, I went out and bought myself another teapot (the one you see below). This one has about 1/4″ thick base, thus taking only me five minutes to drill through!
2. Clean your teapot
To ensure that your coat of spray paint goes on as smooth as possible, I recommend first wiping your teapot clean and removing any lingering dust or sticky residue.
Psst. My secret for getting rid of stubborn price tag stickers is using the product Goo Gone – which you can find here!
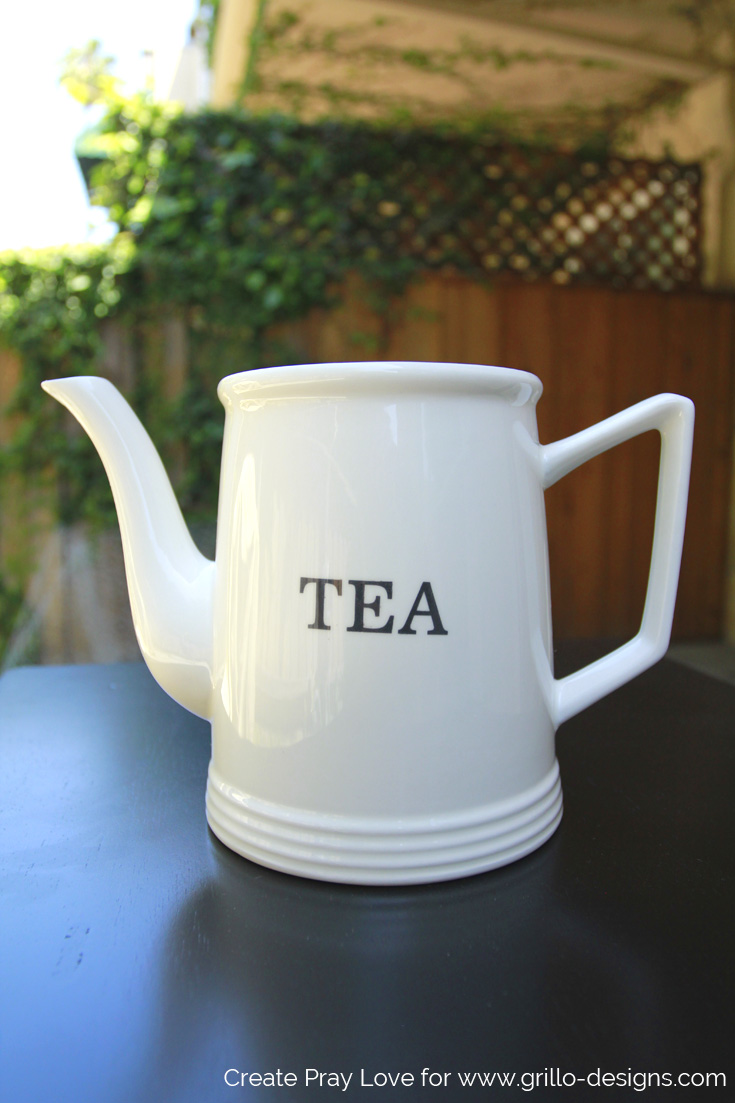
3. Paint your teapot with spray paint
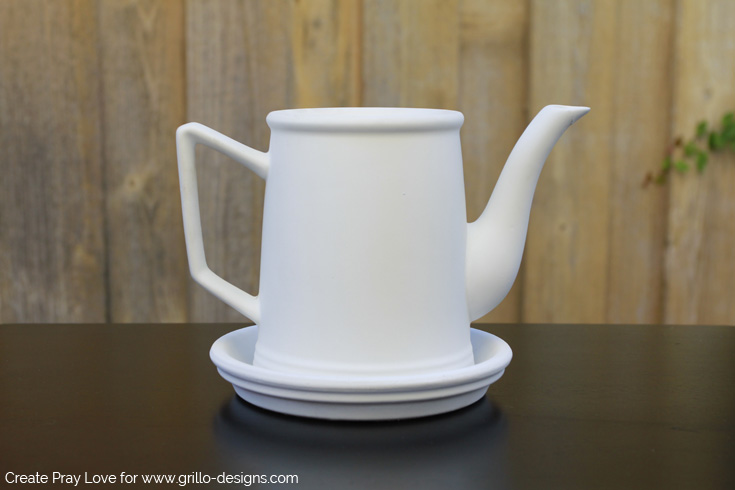
For this step, you can either paint your saucer the same color as your teapot so that they match, or you can paint it a different color to bring in some contrast!
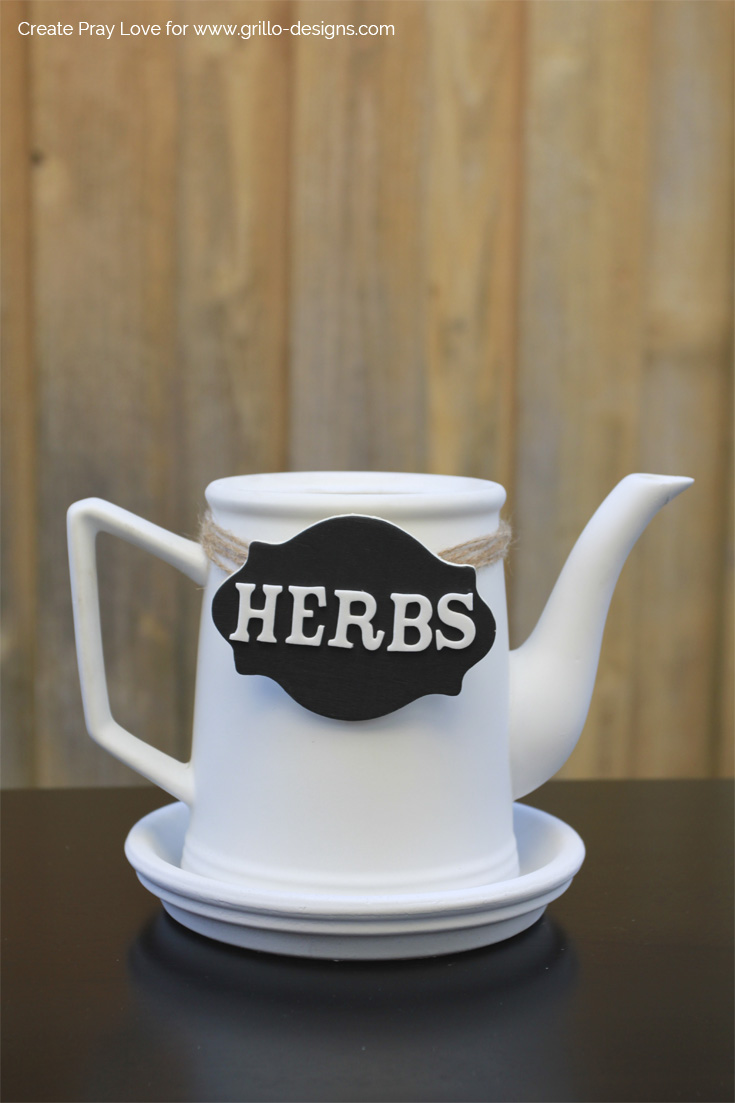
I decided to paint both my teapot and saucer a crisp, clean white. And I love how they turned out!
4. Make a sign for your teapot planter
There are many ways you can make a sign for your teapot planter.
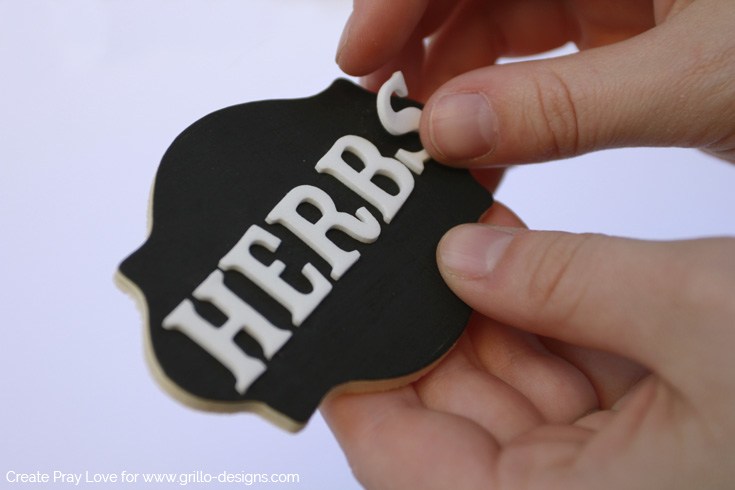
I decided that my sign needed a little depth to it. So I stuck foam stickers (as opposed to standard flat stickers) on a small chalkboard label, spelling out the word “herbs”.
And in case you don’t want to use the word “herbs” for your project, here are some great alternatives:
- Grow
- Seeds
- Flowers
- Names of herbs, i.e. Basil
- Or the name of a friend, if you want to give this as a gift!
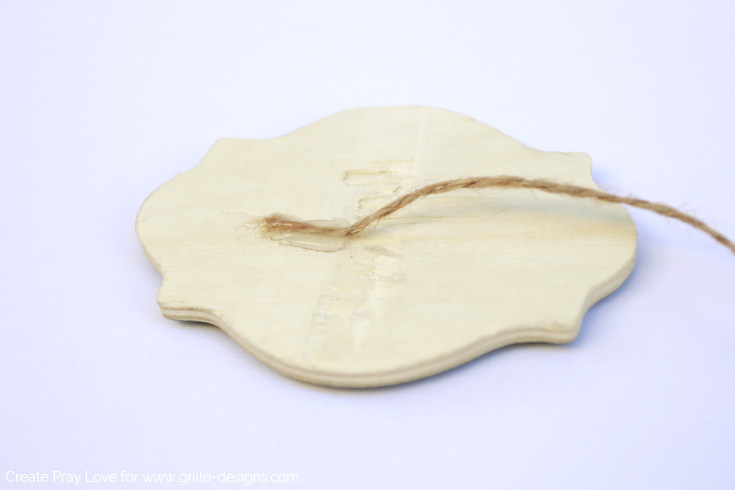
Then, because I didn’t want to glue my label directly onto the teapot planter, I hot glued one end of my jute twine to the back of the chalkboard label.
And to hold the sign in place, all I did next was wrap my twine around the teapot planter a few times, and then I tucked it in behind the label.
Now you have a super cute sign for your planter! So farmhouse style, right?
5. Plant your herb
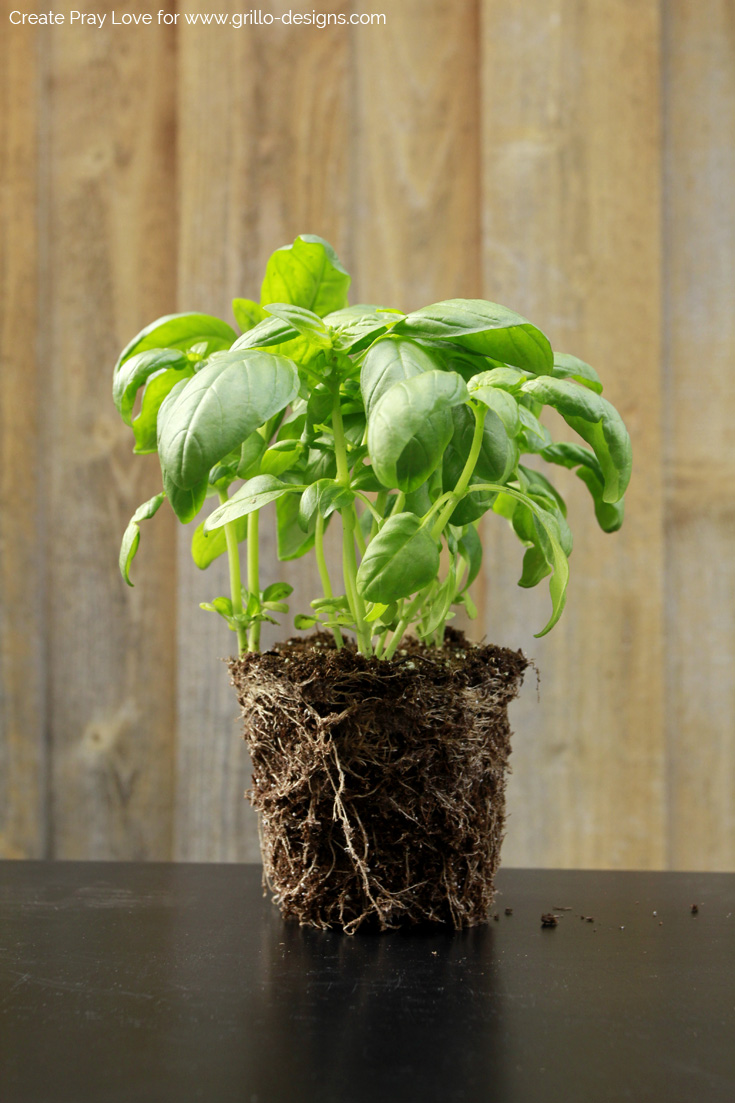
Because my husband has been asking for a basil plant that he could use for cooking, I decided to go with basil for this project!
I bought a basil plant that was already partially grown and ready to be planted. You can see below what it looked like when I took it out of the packaging.
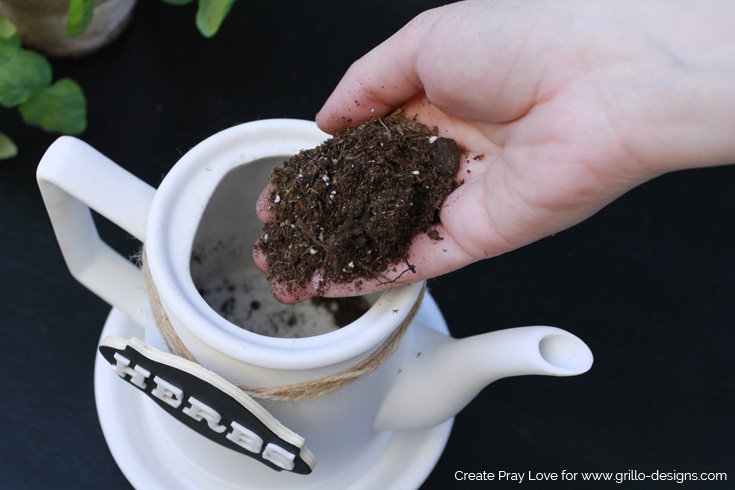
Then, I added some extra potting mix to the bottom of my teapot planter because I knew the basil wasn’t big enough to fill it up completely on its own, and would need extra nutrients from more dirt.
As a side note, for a planter like this, you’ll need potting mix as opposed to basic garden soil to allow your plant to breathe and drain properly!
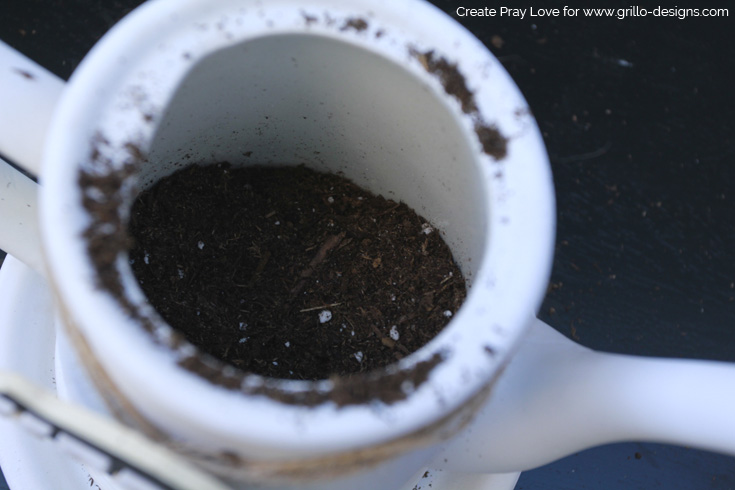
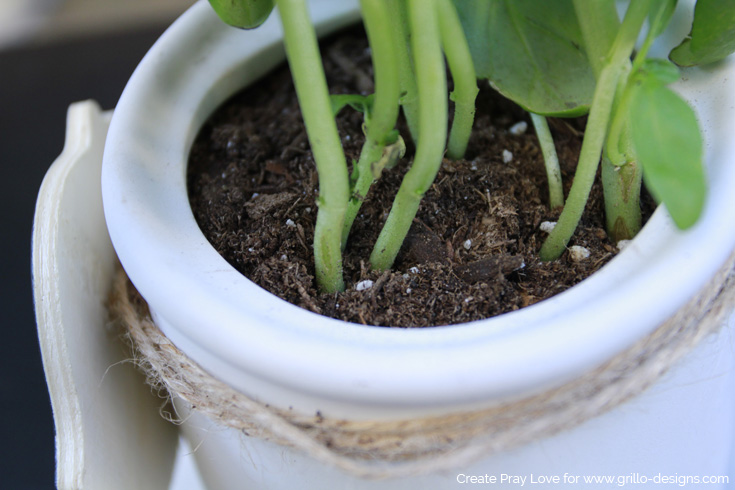
Finally, insert your herb into the teapot planter! Be sure to add more potting mix around the sides if you see that there’s some extra space there as well.
And, that’s it! I so love how this project turned out. I think the sign is my favorite part. What about you?
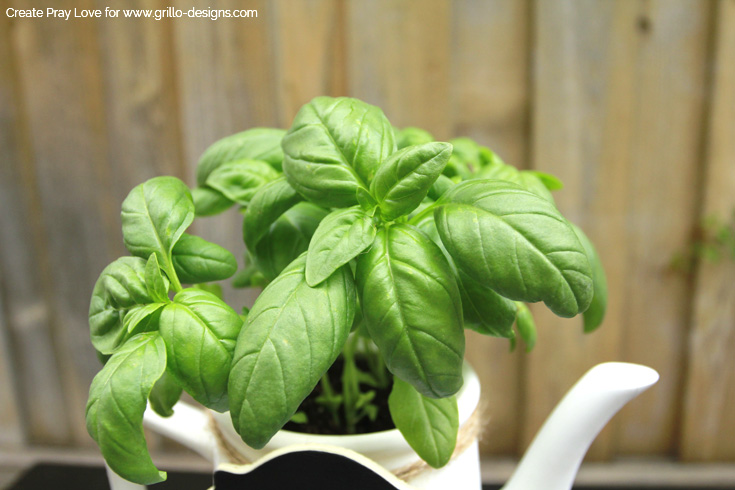
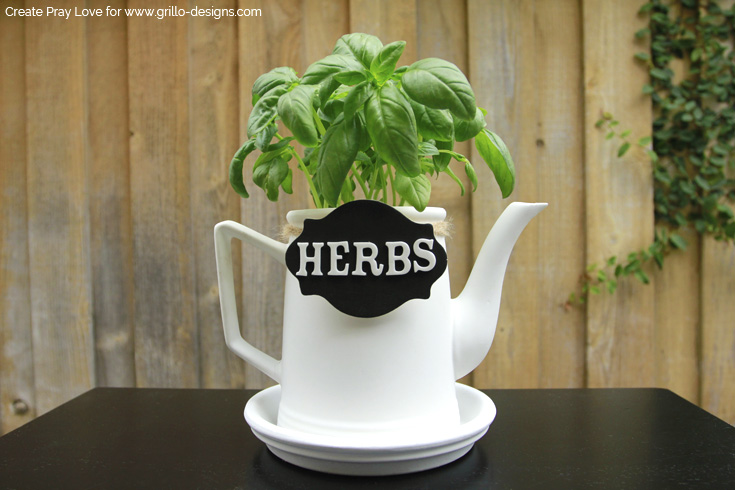
Beautiful, right? I love the pop of greenery that it’s brought to our home!
I hope you found this post inspiring! If you want to see more of my home decor projects, be sure to check them out here.
And if you end up turning making any teapot planters, I’d love to see how they turn out!
Jolene


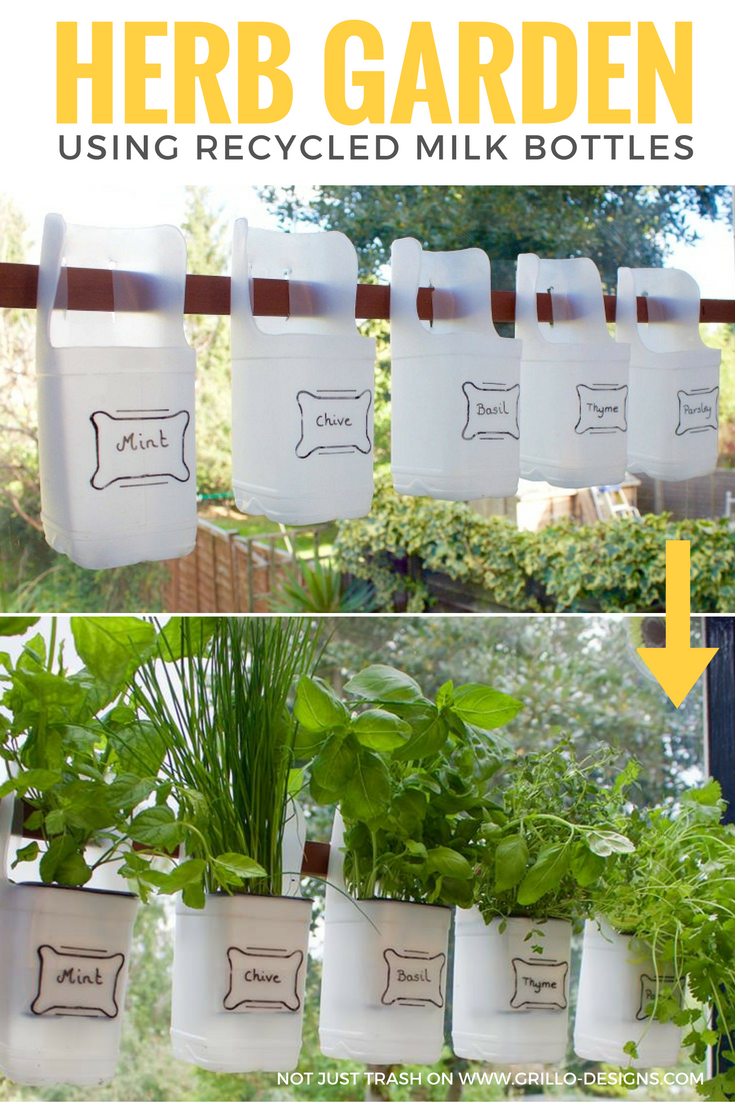
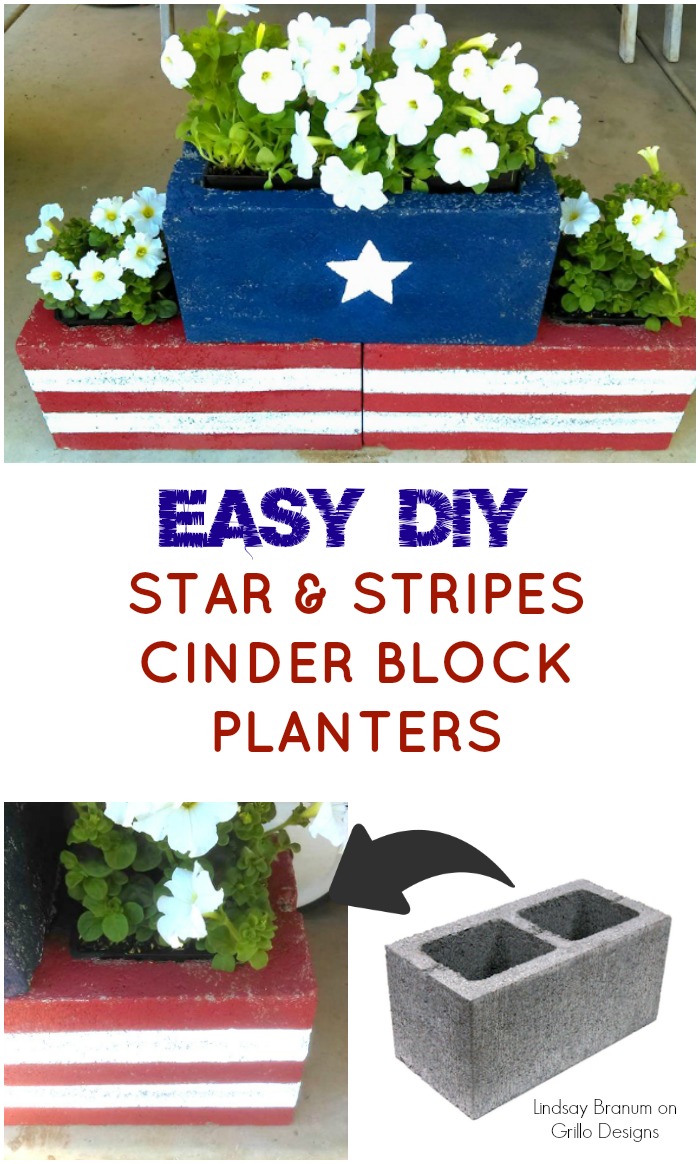
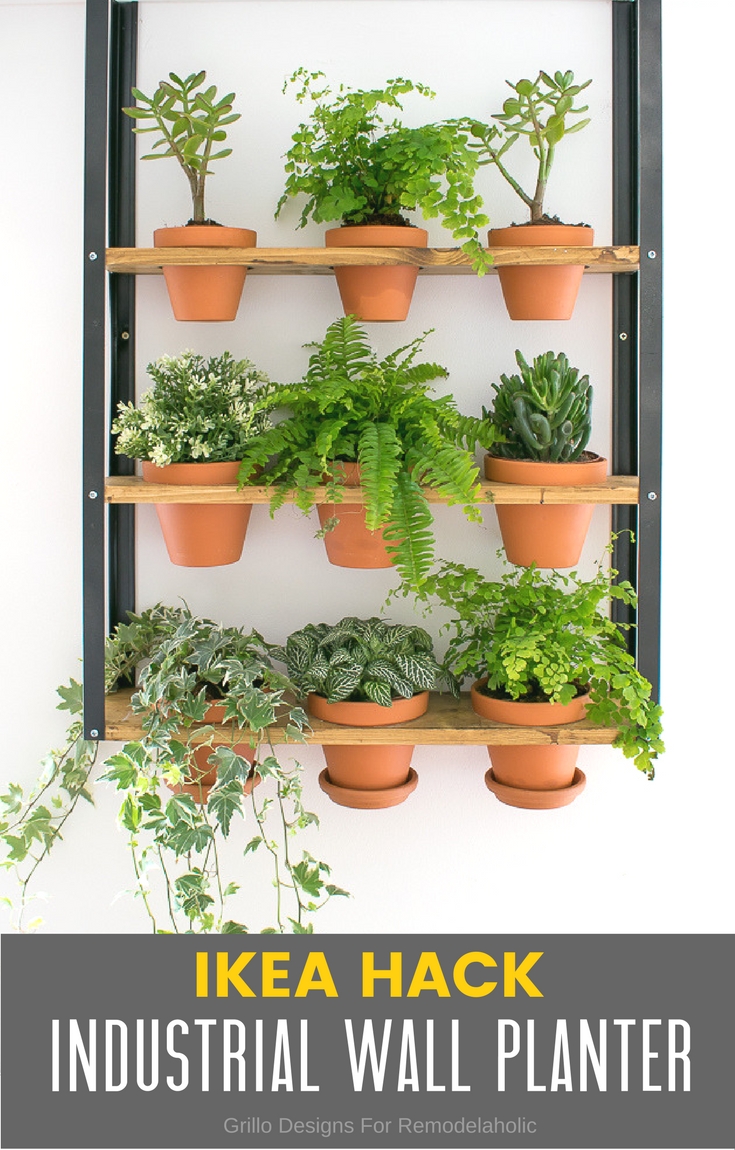
Dont forget to check out some of our other planter ideas!
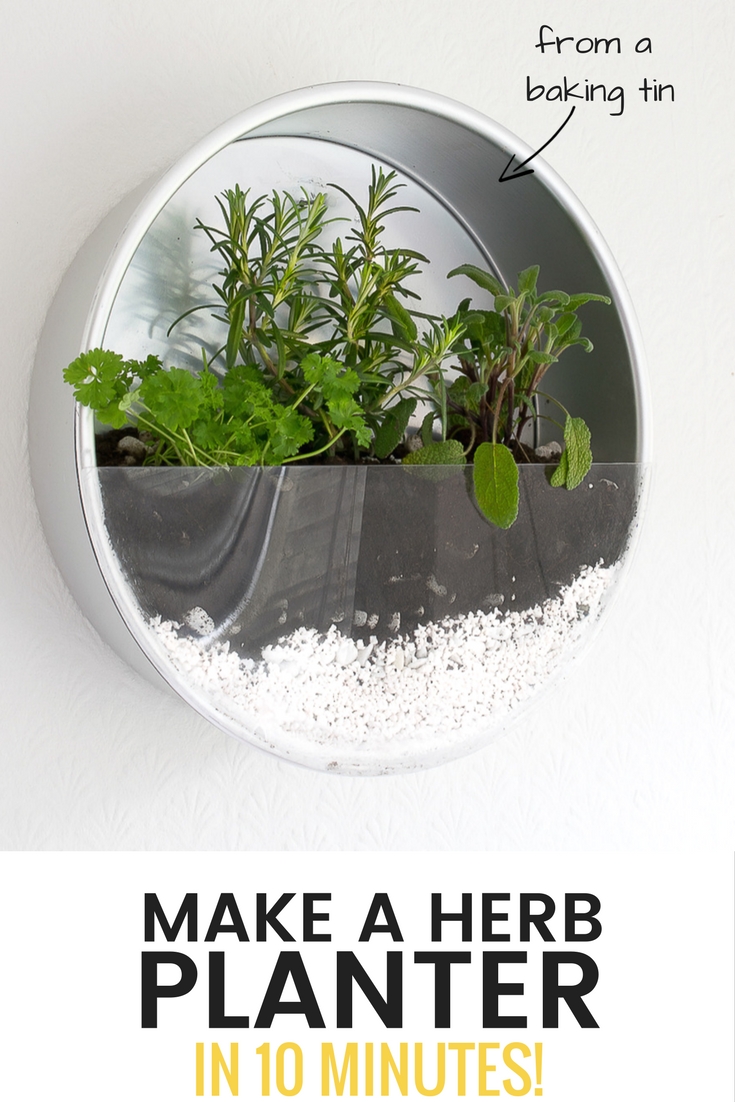
REPURPOSED BAKING TIN HERB PLANTER

Sweet! Love it!
Oh my gosh, I just love this! What a great idea. I loved learning about the drill bit you used too. I have to get one! What a beautiful teapot planter you have now!
This is so darling! I never would have thought that I could drill into the bottom of a ceramic teapot! You are so creative! Love it!
Oh my goodness, thank you so much! This was my first time drilling into one, and I couldn’t believe how easy it was! 🙂
I love the simplicity of this. This would be a great project to do with little ones.
Thank you, Ola! I think so too!
I wish I had thought of this before popping my old teapots into the local charity shop! I did inherit two fab vintage metal mop buckets that are destined to be planters though x
Ooooh yes Claire, those mop buckets sound like they would make LOVELY planters! I’d love to see how they turn out!
I’ll def share some pics when they’re finished x