Hi there! Join Grillo Designs on Instagram and Pinterest to keep up with our latest posts and ideas. If you’re on Facebook, why not join our Home decorating, Upcycling and DIY group too – inspiration is guaranteed!
My sons bedroom is cute but lacks space – like huge amounts of space! Because of this, options for furniture placement are very limited and I am forced to get creative with space saving ideas. You know..think outside of the box. Literally. I laugh out loud at that phrase because that is exactly what his room is … a box! A ‘box room’ with a window .
I hope I’m not sounding ungrateful here. Just being real with you all. Small rooms come with the territory when you live in the UK or anywhere in Europe I’m told.Well on my budget anyway!
Anyways, I am that kind of mother that believes that at least one room in a house should have a dedicated reading area. Reading is a passion of mine and thats something I hope to pass on to my son. I quote Dr Seuss here when I say…

Fact.
So yes although space might have been an issue – a reading nook in my sons bedroom was going to happen. In our previous home I had created a tyre seating reading nook in my sons playroom which he loved of course but we don’t have the luxury of a playroom this time around.
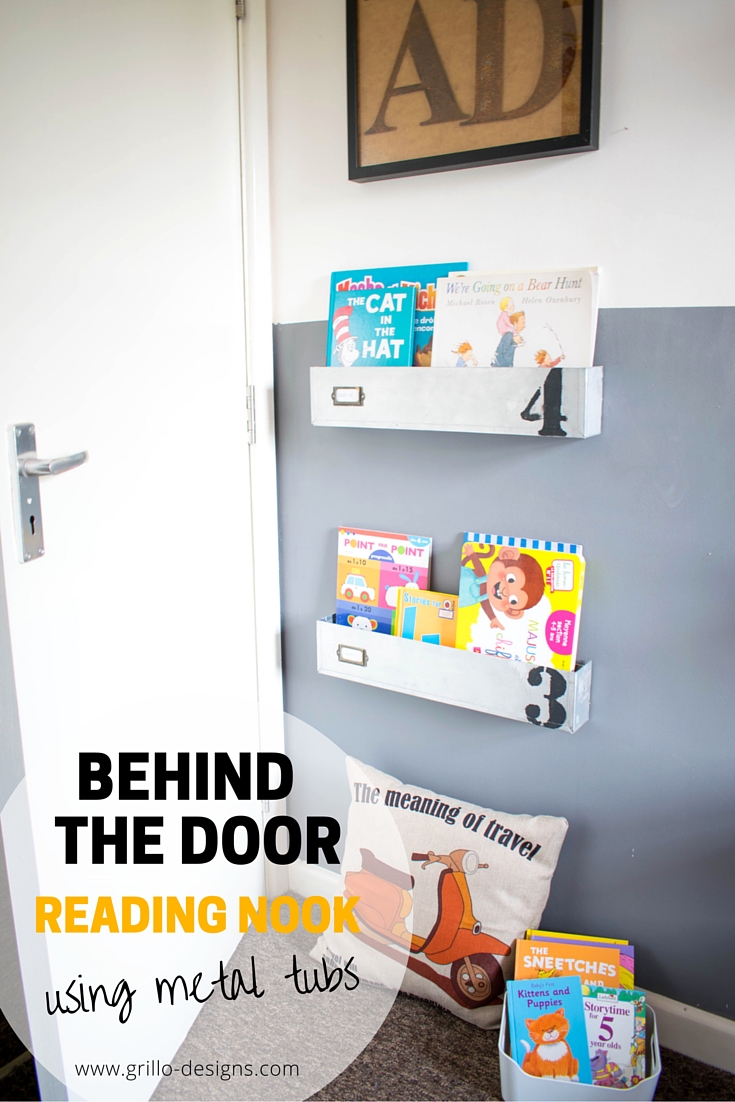
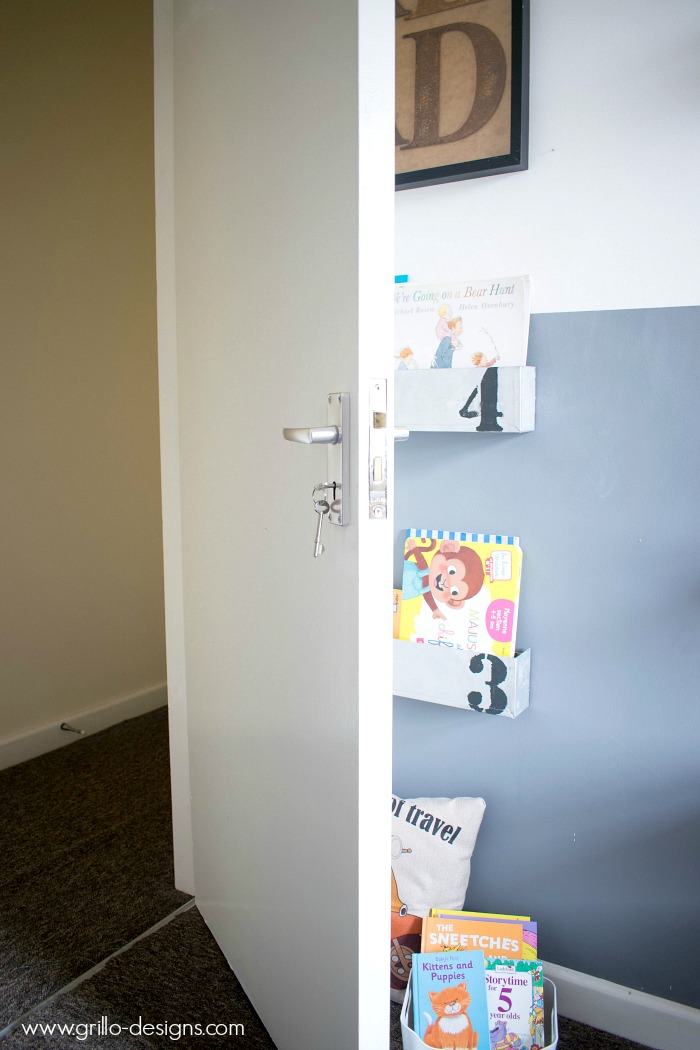
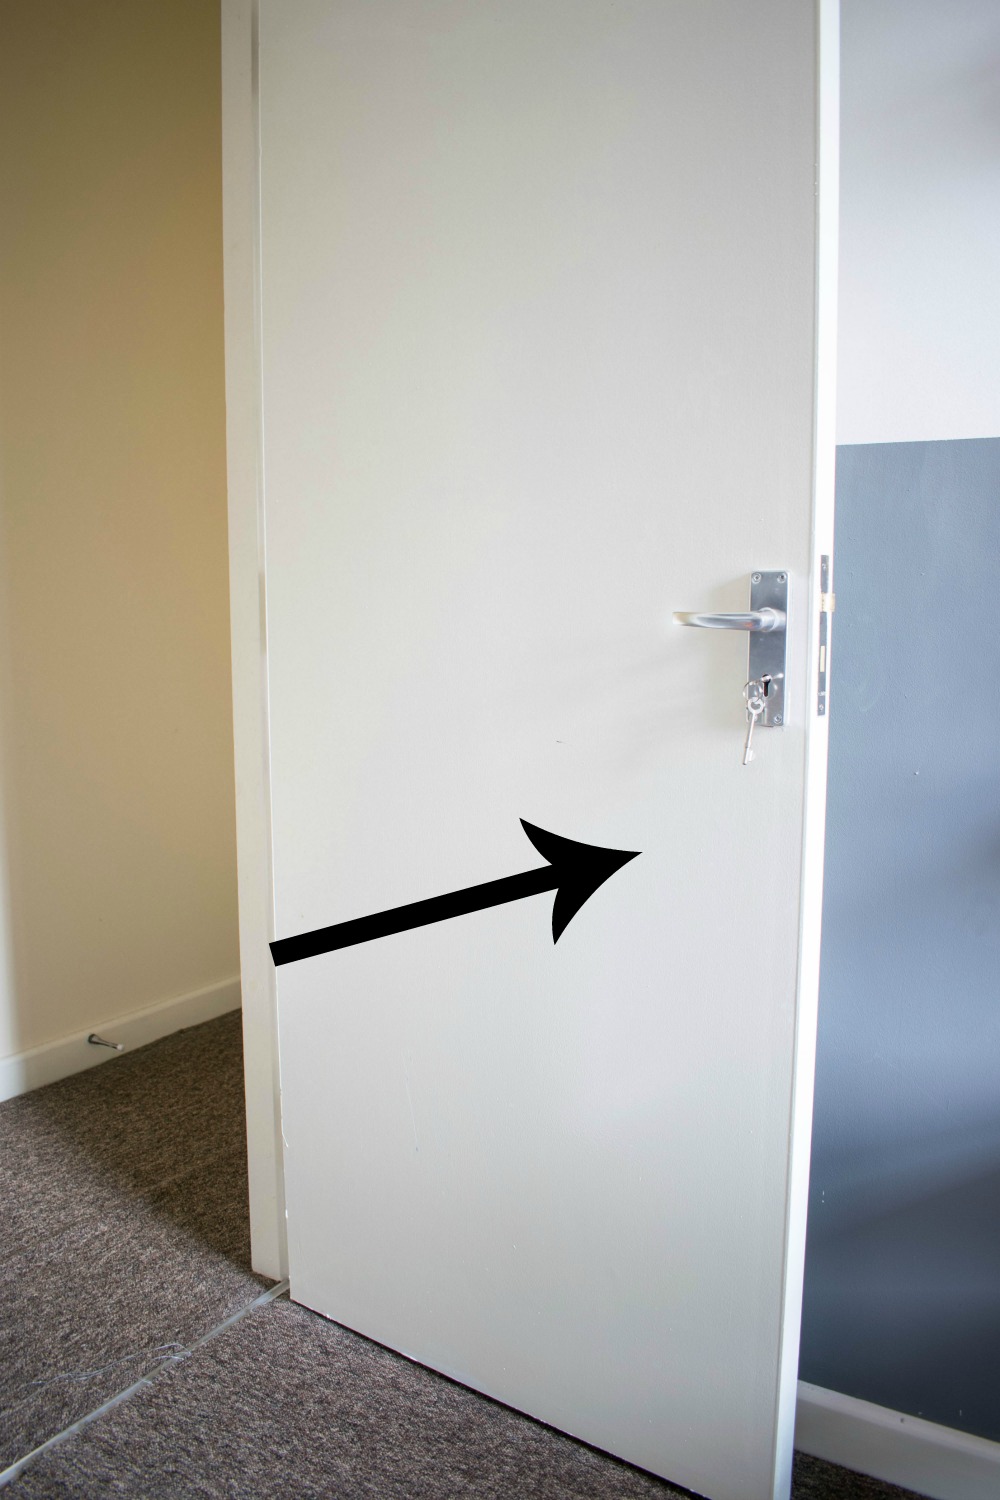
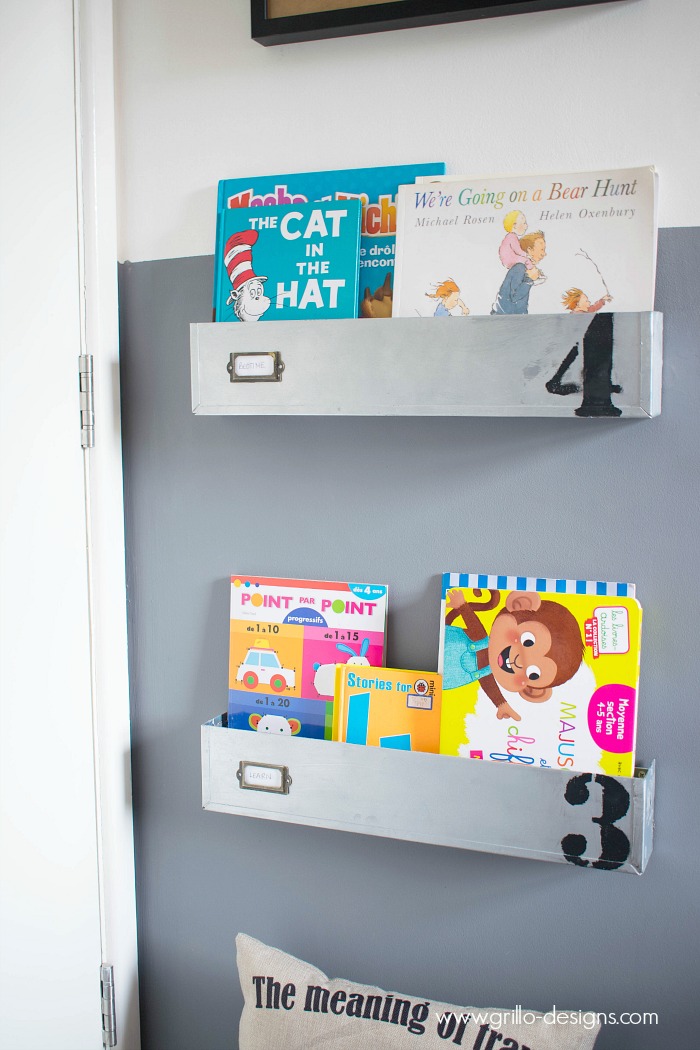
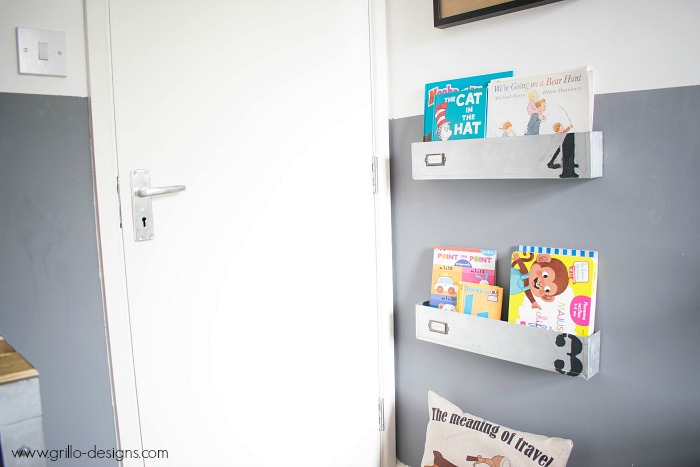
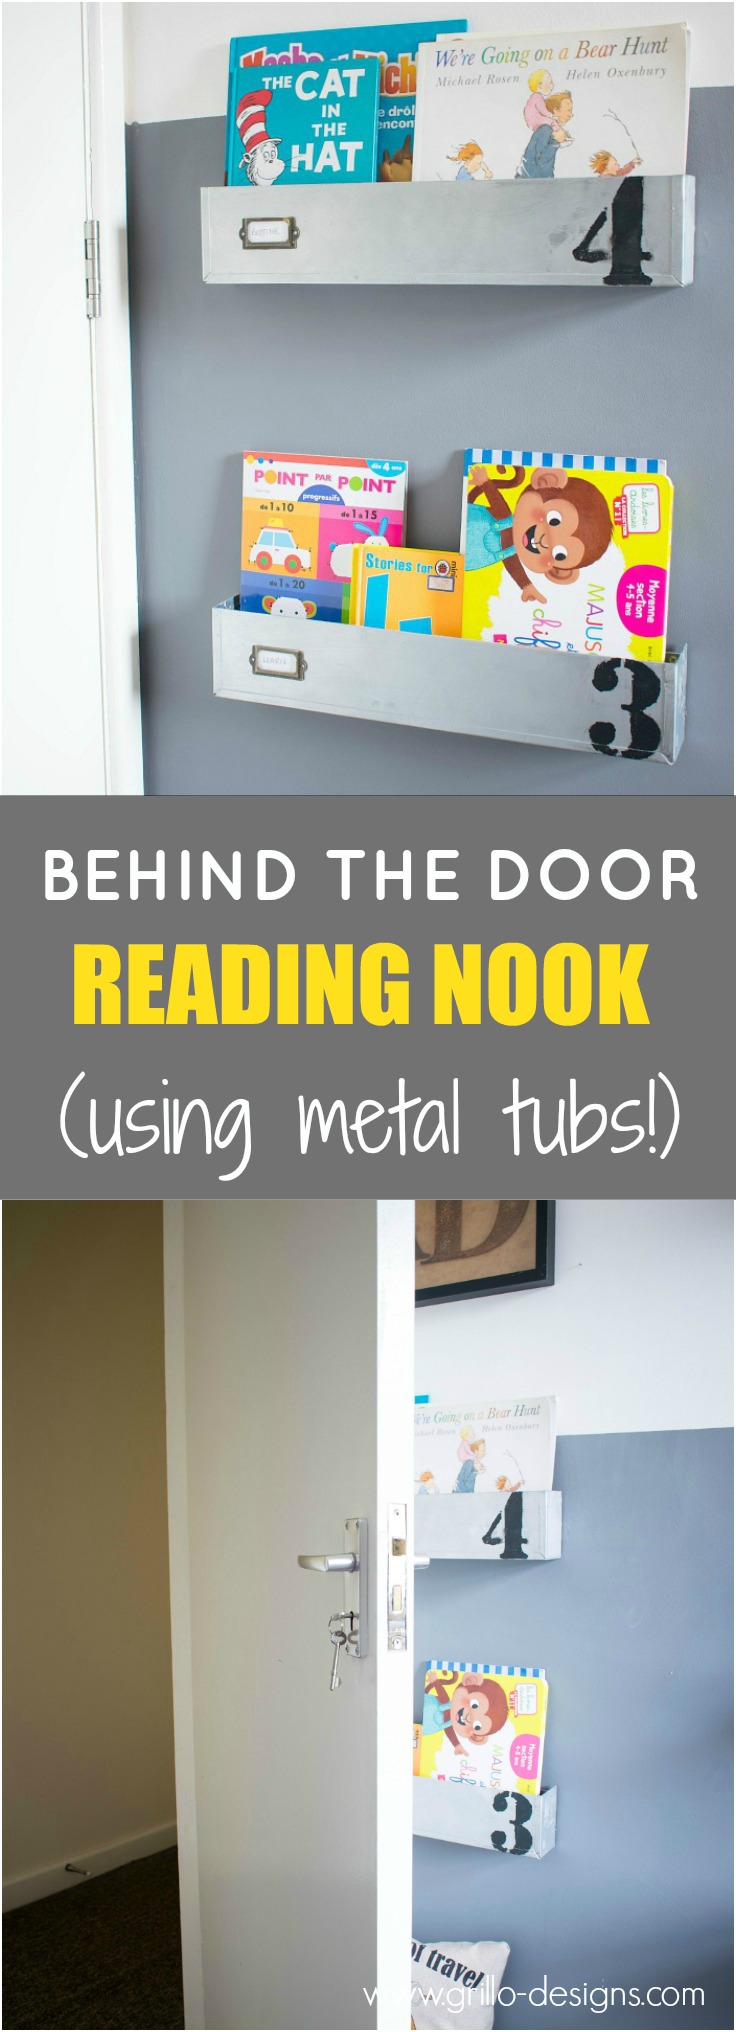
I decided to use the area behind the door – it was just dead space anyway.
However your standard shelves would have been too large to fit behind the door so I needed to make something that was narrow but still big enough to hold books.
To create the slim line shelves I sourced some large metal rectangular tubs off eBay. Why metal you ask? His bedroom makeover is following an industrial vibe so for the first time in my life I’m trying to be consistent!
I’m not going to create a whole tutorial for this post because in reality all I did here was paint, saw and hang..literally. (This post contains affiliate links for your convenience – please see full disclosure here)
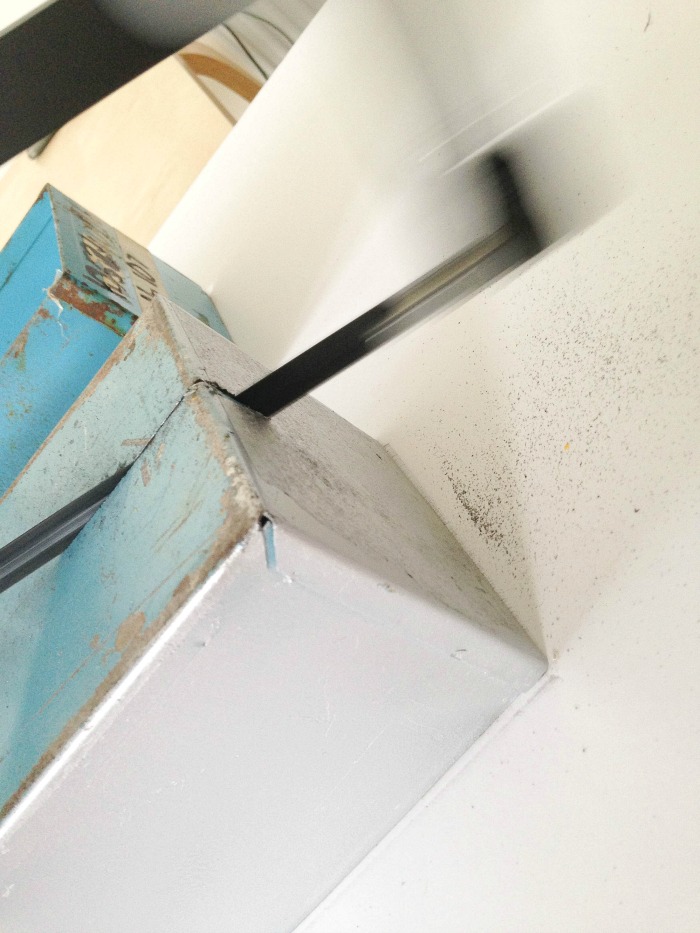
Well OK I didn’t exactly cut the tub myself … I watched my husband do it. Hard work that. We’re still in the dark ages when it comes to DIY tools so he had to saw away at the tub with his manual hack saw (specific for metal).
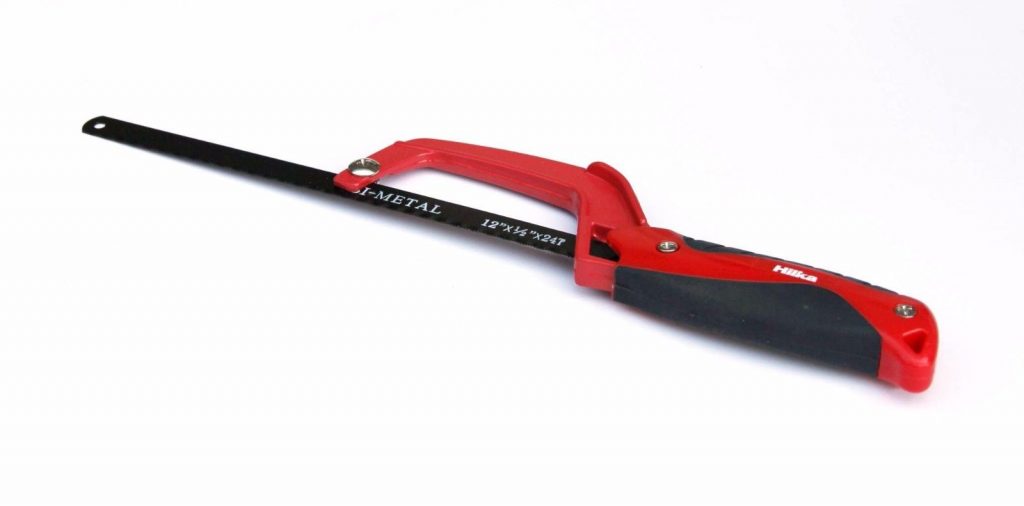
He really had to work those biceps and triceps to get me two halves of the tub. Kudos to him …he actually did it!
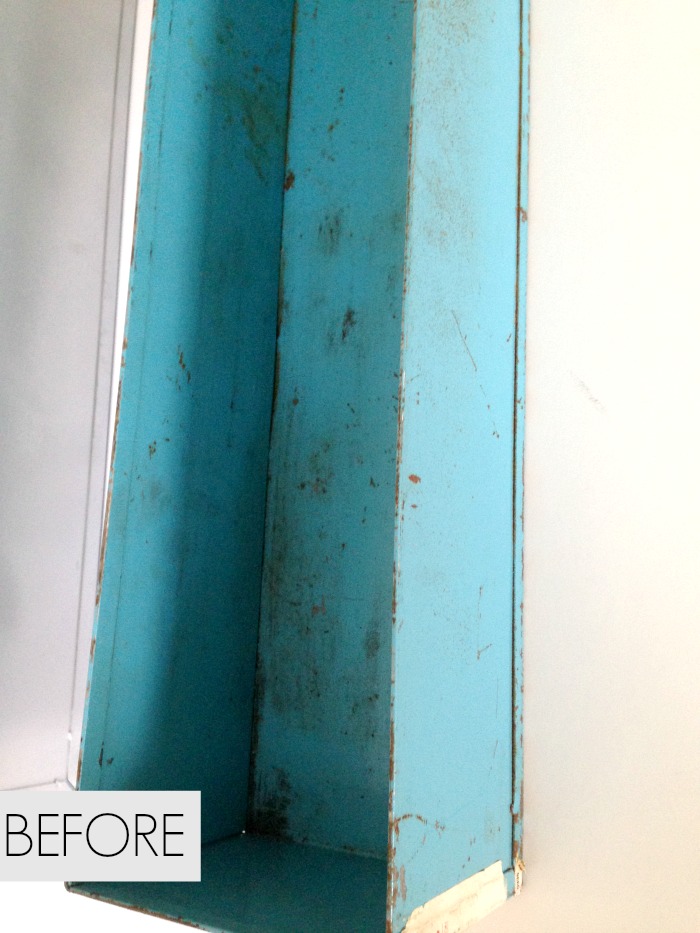
The tubs were dirty and battered (as you can see from picture below) when I first got them so of course they had a good scrub down first. I scuffed the metal surface a little with my mouse sander and spray painted with mettalic silver paint
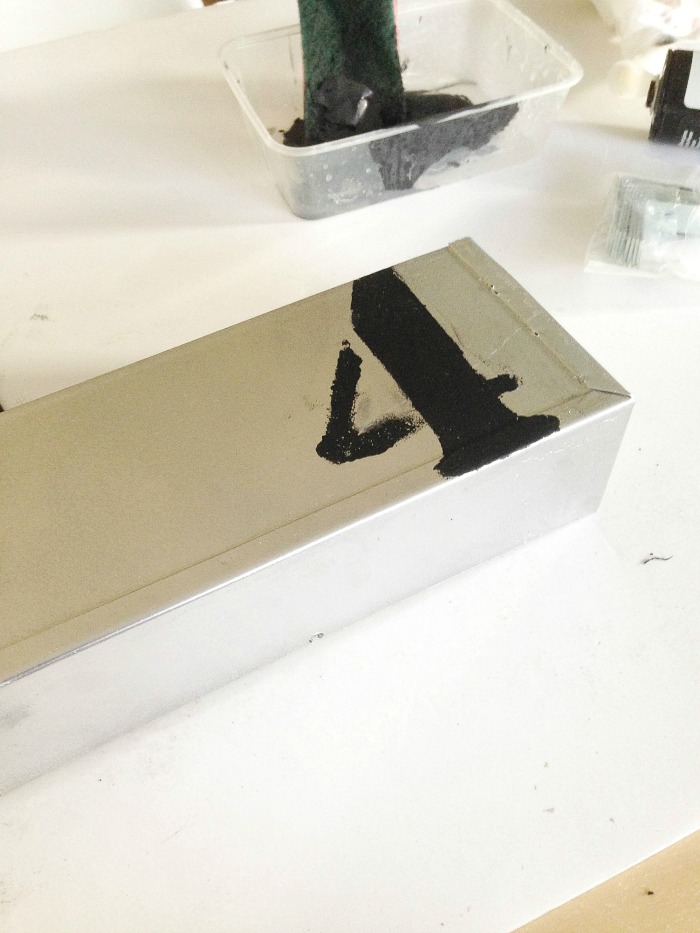
I then painted on numbers using my favourite stencils which are awesome by the way! I use then for all my projects and because they are plastic I can just keep reusing them over and over. I sealed everything with clear Rustolem varnish once dry.
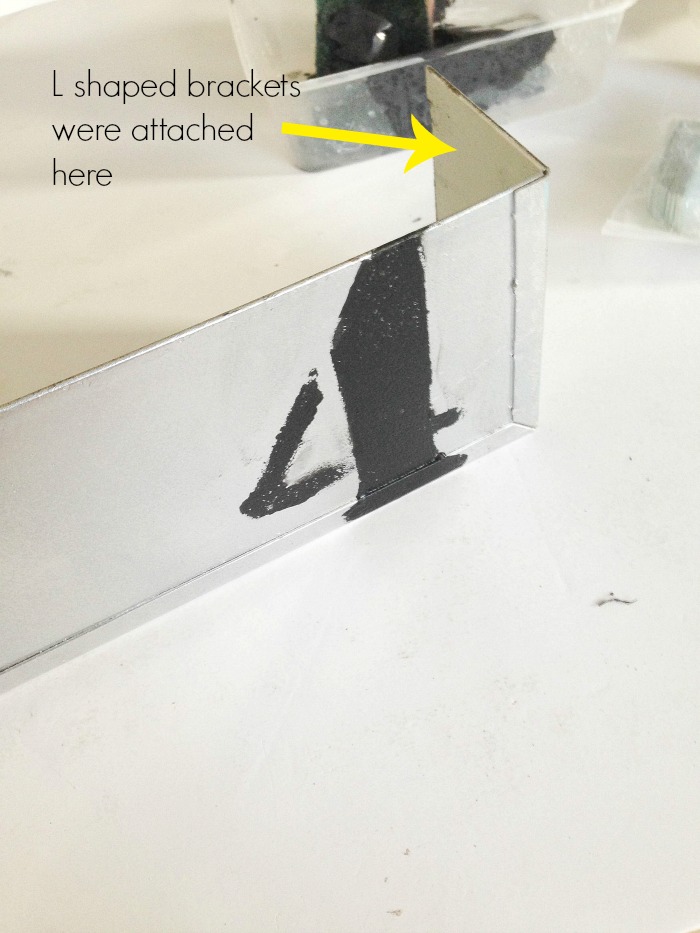
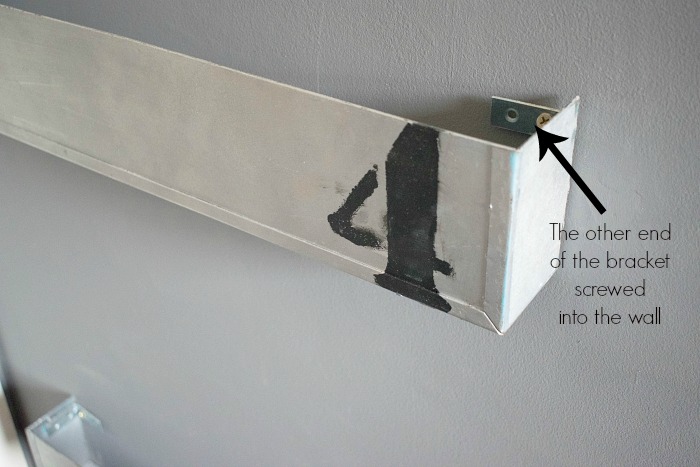
Now the slightly tricky part – how to attach them to the wall? After debating it over I decided to go with L shaped right angle brackets and liquid nails glue (love this brand! – you can see all my other projects where I used this glue here ). I coated one side of the bracket with liquid nails and placed inside the shelf. I left to dry overnight. On a side note: Liquid nails glue is pretty strong provided you leave it to dry the recommended amount of time .The tubs being metal had a good weight to them but they still held with the liquid nails.
Follow Grillo Designs’s board Grillo-designs.com on Pinterest.
The other end of the brackets was then screwed into the wall and secured with wall anchors/ wall plugs. My hubby did this part . For some reason he doesn’t trust me when it comes to making holes… haven’t got the faintest idea why….
Voila! Tell me, are you as impressed as I am?

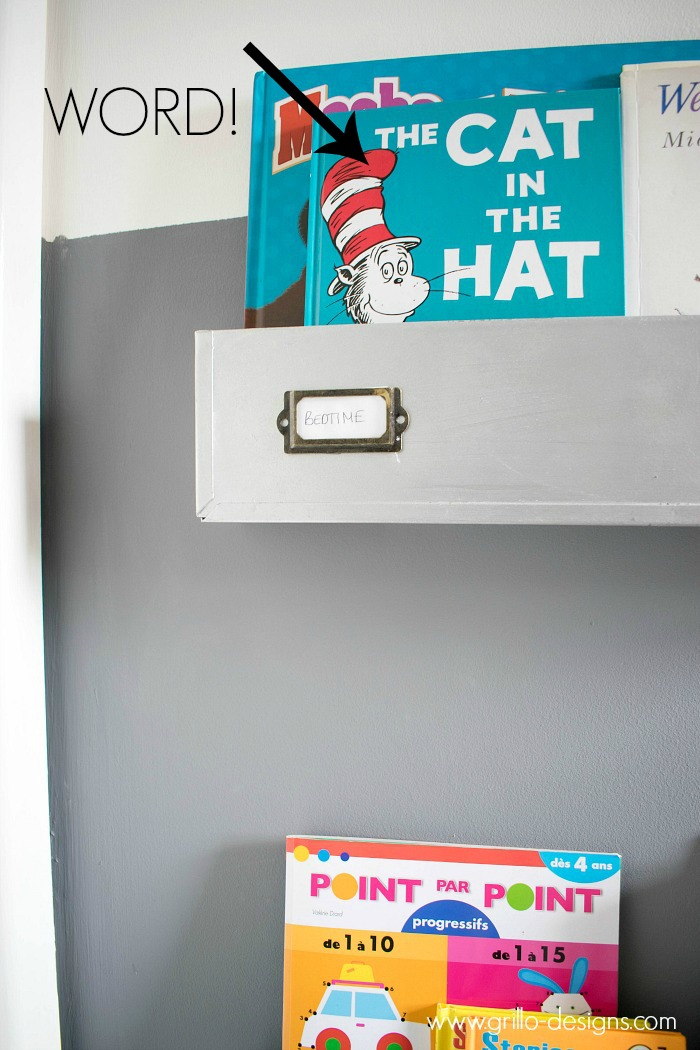
To make the READ sign I glue gunned some rusty letters into a black IKEA ribba frame. I also added some cute vintage labels to the front of each shelf.
WHERE’S IT ALL FROM?
- Metal label holders – Ebay
- Dr Seuss Hard Back Books – Ebay
- Rusty letters – Ebay
- Picture Frame – IKEA Ribba
- Cushion – Wish.com
SAVE IT TO PINTEREST FOR LATER:
Get Our Newsletter!
Join our mailing list for all the latest DIY projects and ideas!
OTHER PROJECTS IN HIS ROOM. ITS A WORK IN PROGRESS BUT WE ARE GETTING THERE!
- Industrial Shelf and Toy bed
- DIY under bed storage box
- IKEA HACK: Clothes storage
- Industrial light!
- How to make a wooden feature wall.
HAVE YOU CHECKED OUT ALL THE CRAFTY PROJECTS FROM OUR MEMBERS SECTION OF THIS BLOG? CLICK HERE
RECENT POSTS:


What a great space saver project! Love the stencilled numbers and the card reader labels.
Thank you so much for sharing your clever project over at Waste Not Wednesday!
Thank you Sam 🙂
I can hear your pain, Medina! I live in Spain and just moved (can I say still moving?) and my daughters’ room is the same, a little box. Your idea is fantastic! I think I can make something similar for some toys as we finally placed all the books in our family room.
Thanks so much for sharing with us at Sweet Inspiration, I am featuring this next Friday!!
I know what you mean about the small rooms here in Europe! I’ve lived in North America before and now am back to Europe and it feels like the whole house is a shoebox, lol! But ok, that gives us more of a challenge to be creative with space right? you managed great and having those little tubs behind the door of your sons room is a great way of using dead space and he has his favourite books handy! Love it!
Haha Im so glad I have found somebody who can relate! But yes you are so right it really does force you to be a little more creative 🙂
This is so cute! I love the card catalog holders you added. It gives the shelves a library feel.