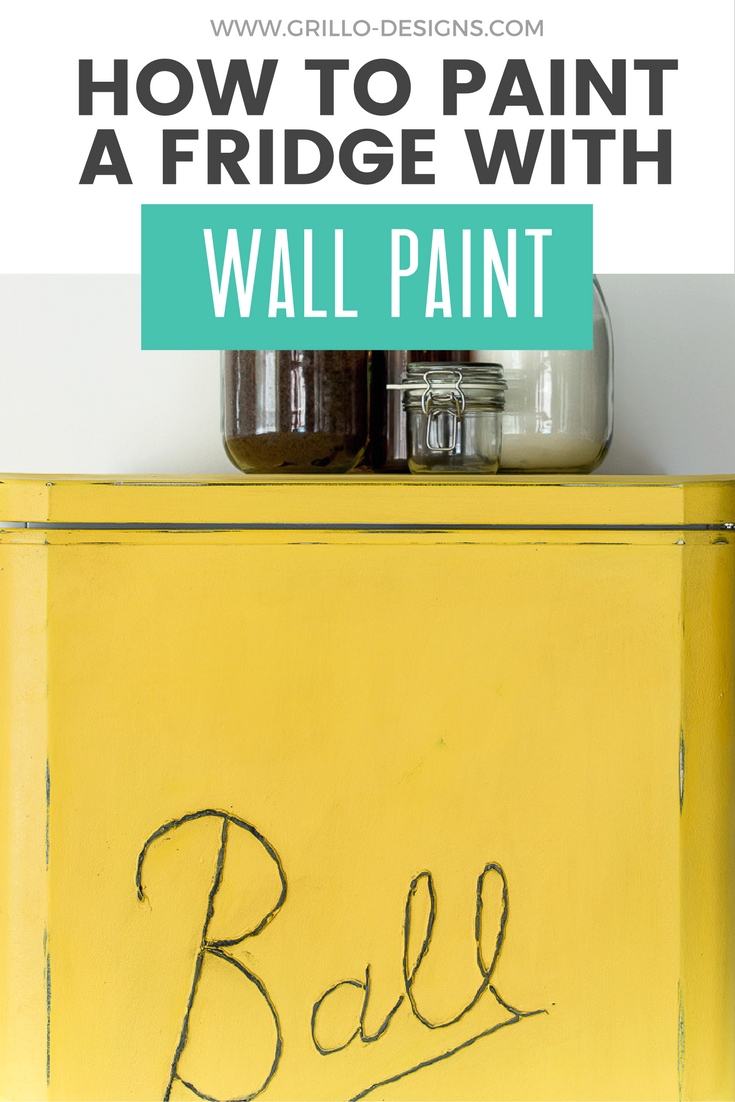
A painted fridge tutorial – using wall paint!
Painting my fridge has been on my ‘TO DO LIST’ for quite some time now! I had seen so many great fridge makeovers shared on my Facebook group as well as on Pinterest and I kept telling myself ‘I really need to do that!’. I never quite plucked up the courage to do it…well until now anyway!
Ithink you’ve got to be fairly brave to paint a fridge…. because its just so un heard of it! I did get some ‘odd’ looks when I mentioned to friends and family what I was doing, but hey that goes with the territory of being a DIY freak so I’m used to it!
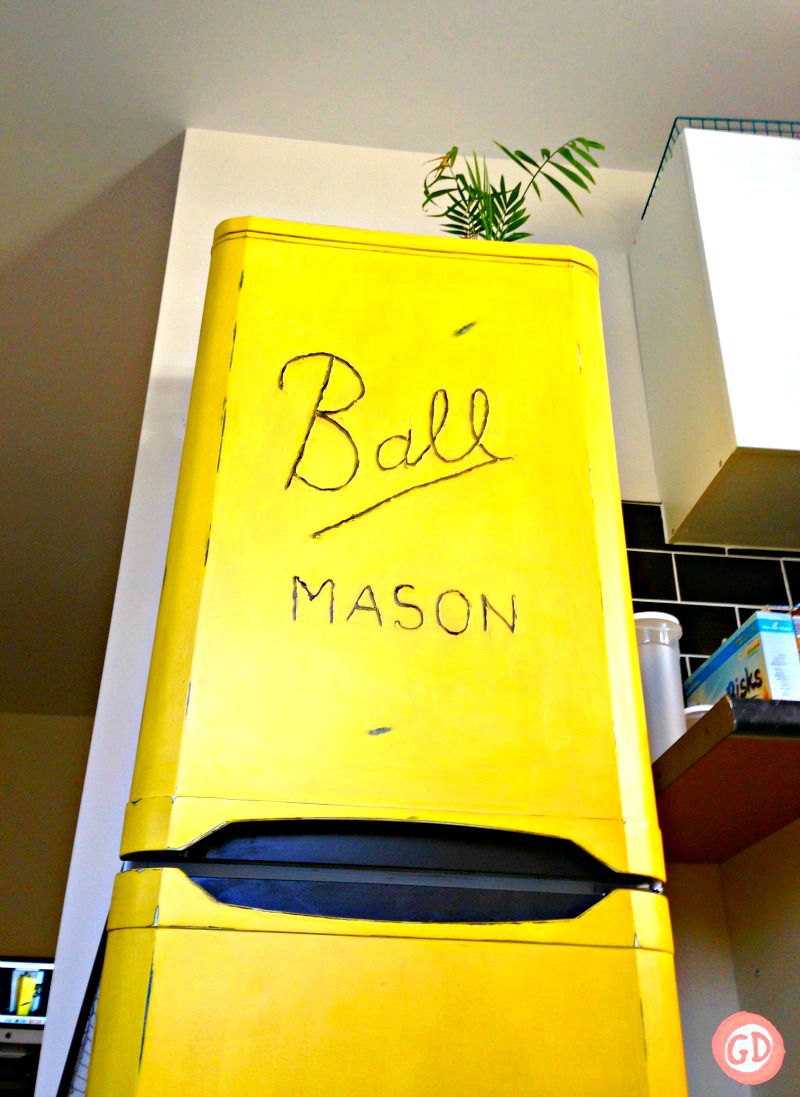
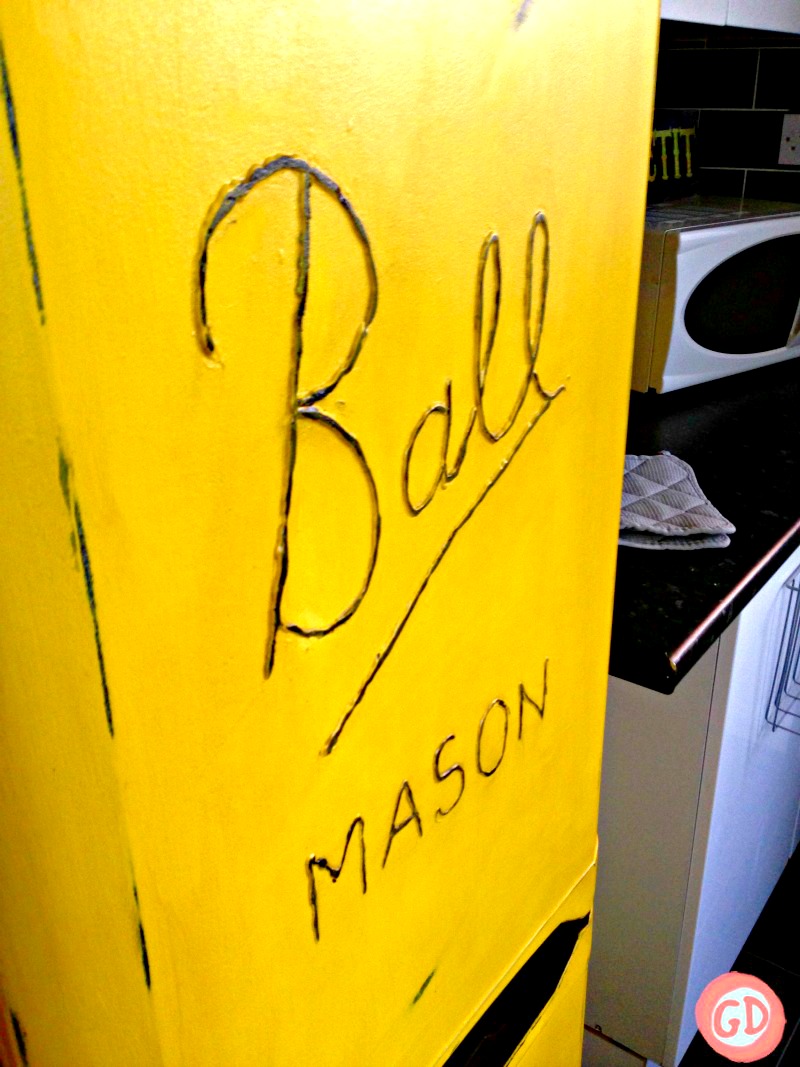
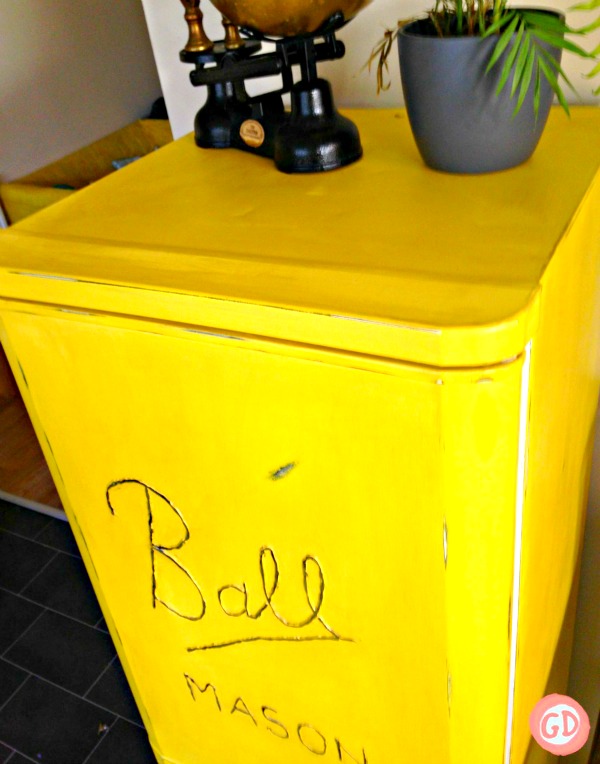
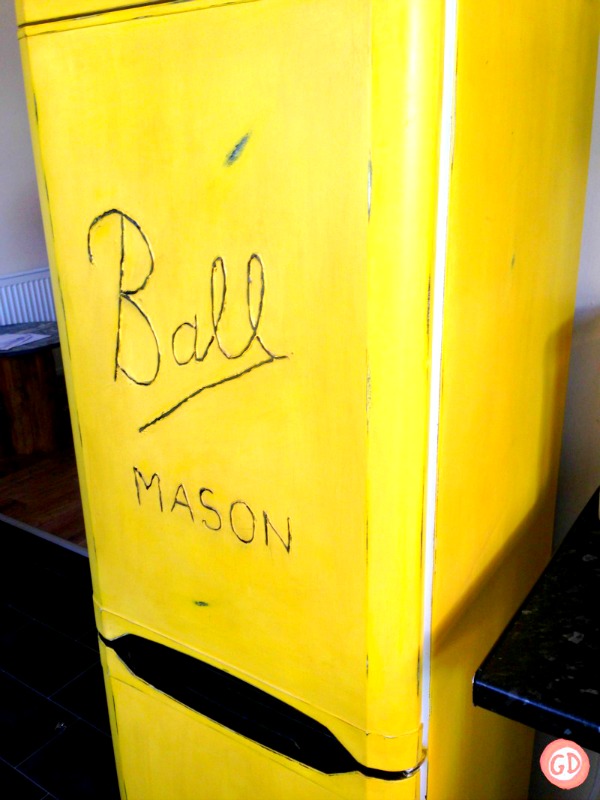
I didn’t JUST want to paint my fridge though, I wanted to bring something unique to it as well. I LOVE ball mason jars so I decided to incorporate the notorious jars logo onto the fridge door. I know… totally random! For those that haven’t seen a BALL MASON jar before check out this site Ball Mason Jar Crafts Love
It might be appropriate to add as a disclaimer here that I am in no way affiliated with ball mason jars nor have I made this fridge to sell. Its purely for personal use and pleasure!
This was my fridge before – standard, plain, white, boring….. and now it looks completely different!
The best part is it was done on a cheap budget of 26 pounds (approx 38 dollars)
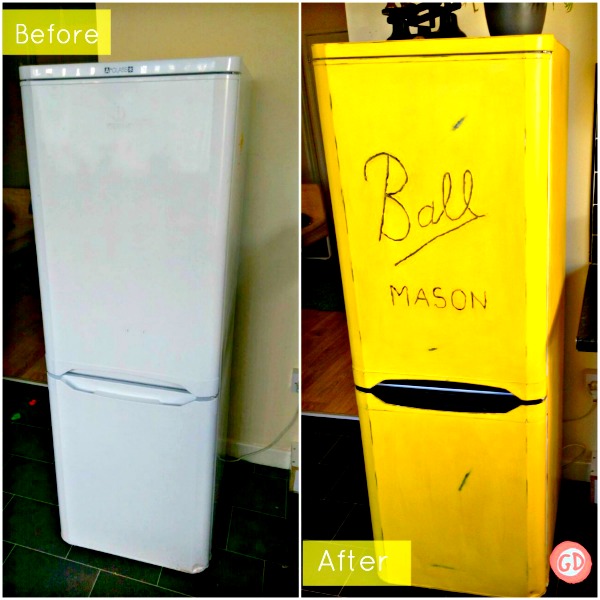
As always I’ll talk you through how I achieved this look so keep scrolling!
Materials I Used
Fridge (of course)
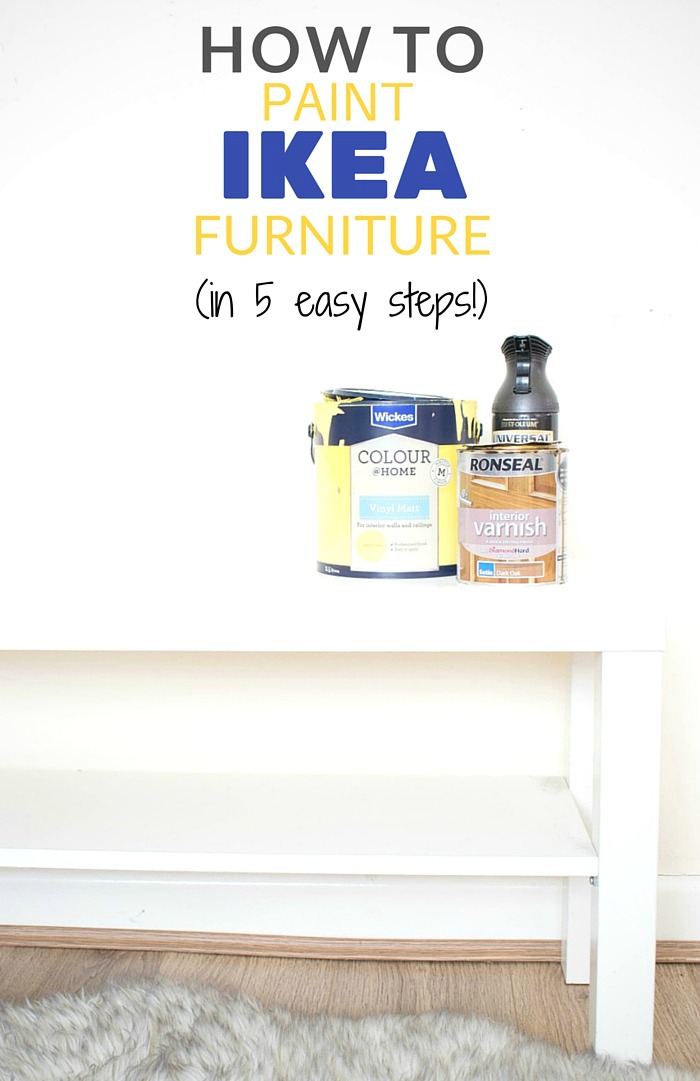
Wickes sweetcorn yellow paint
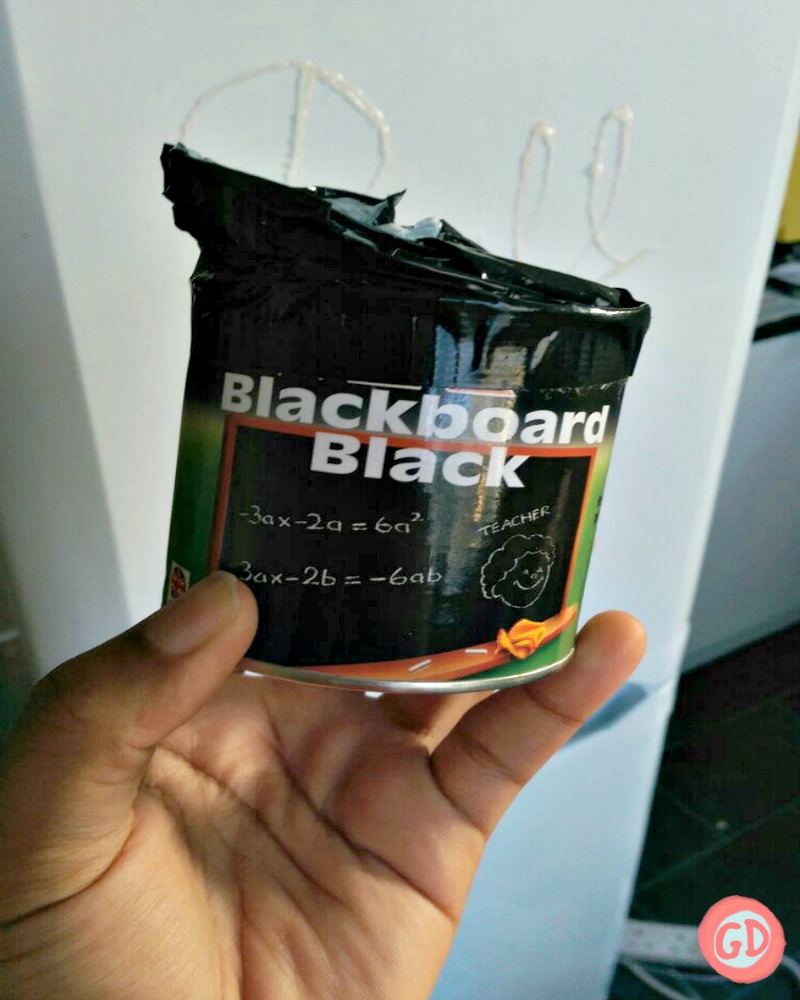
Rustins Black Board Paint
Ronseal clear vanrish (matt)
Ronseal dark oak varnish (gloss)
Foam roller
Glue gun
Paint brush
Sand paper or sanding machine
Pencil or crayon

How I Did It
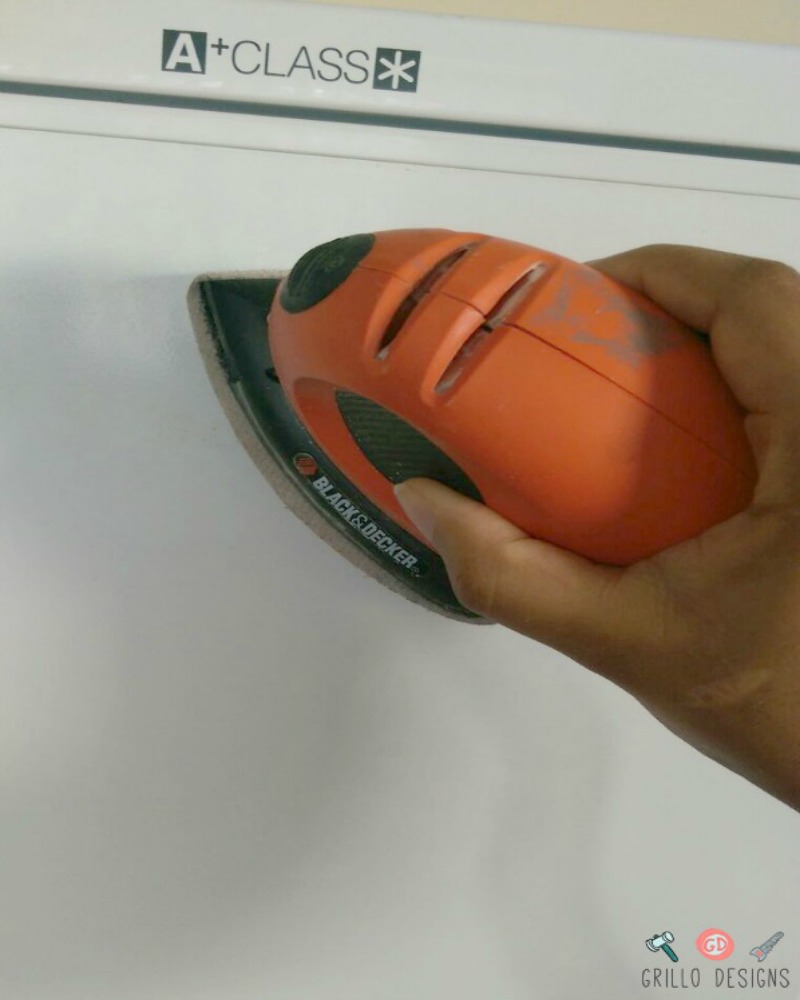
1. First I sanded down the fridge with my sanding machine.
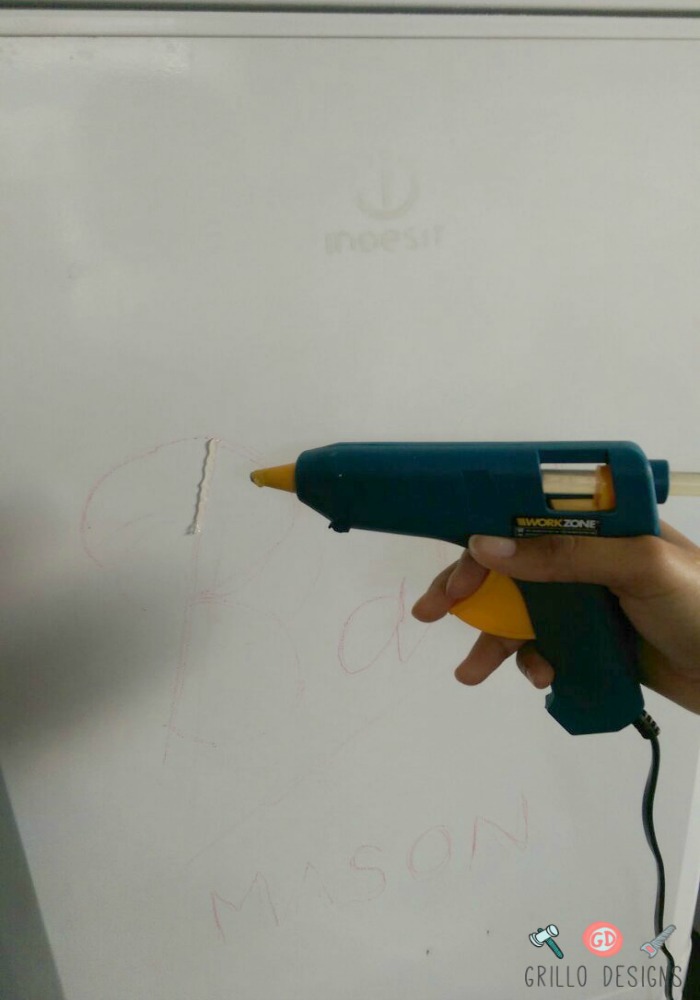
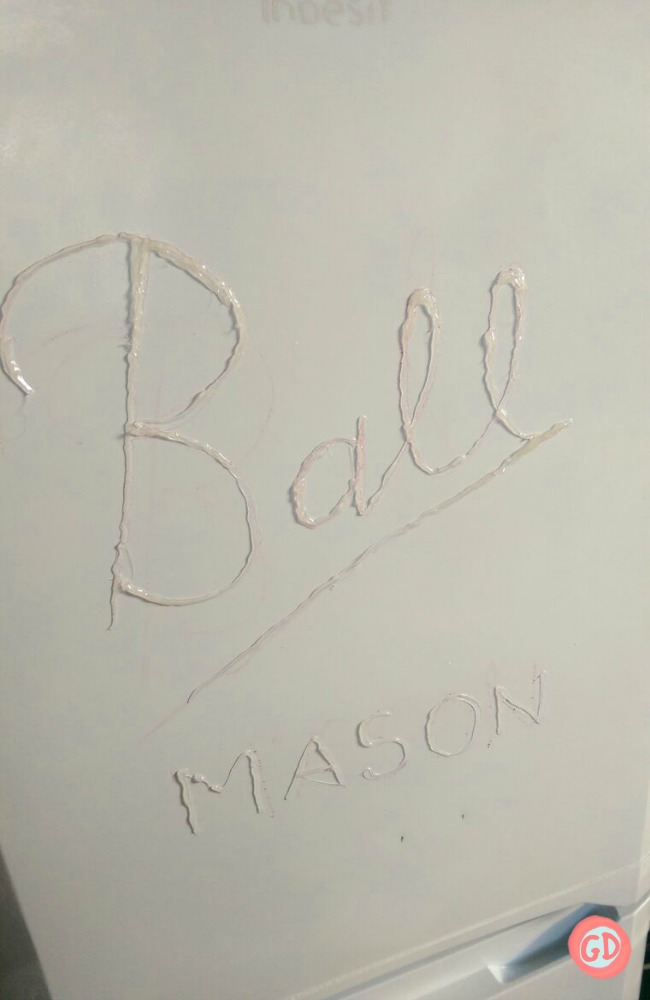
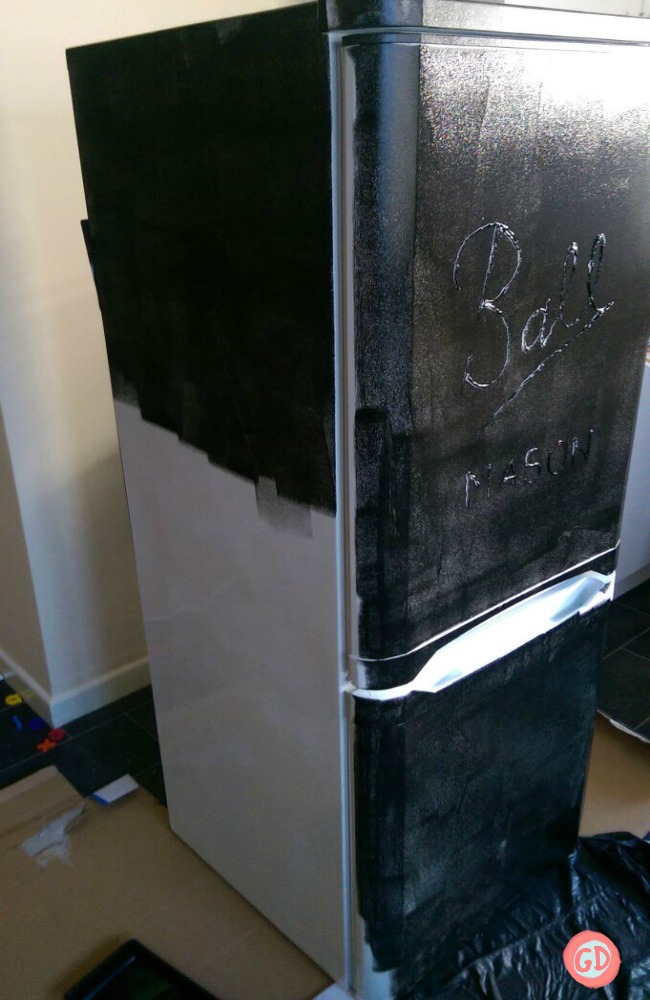
2. Using the crayon I drew out the words ‘BALL MASON’. I copied an image of the jars logo from google.
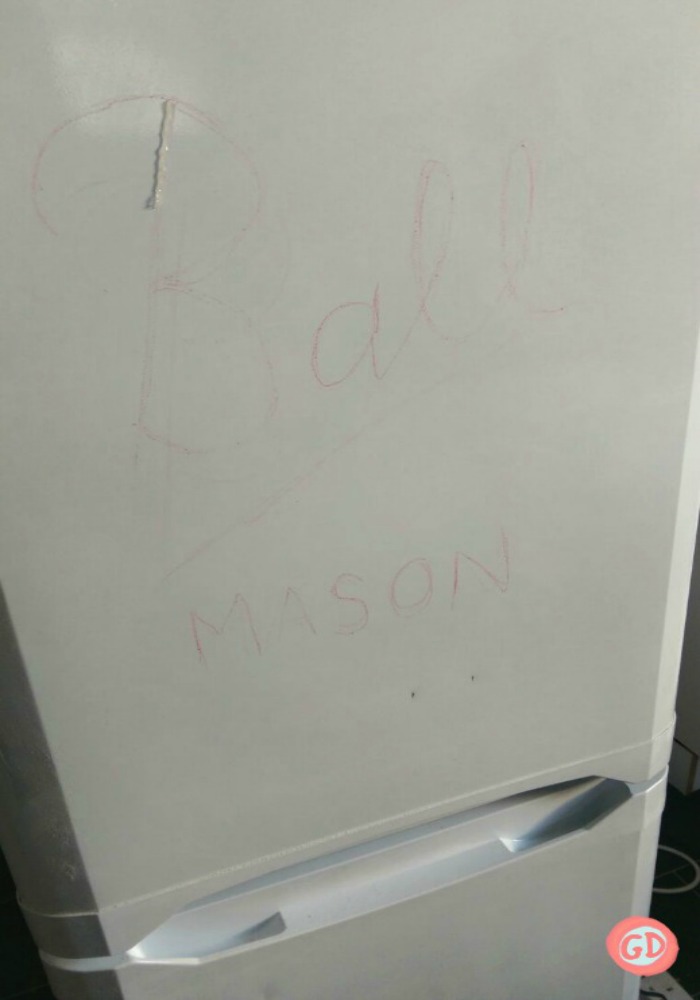
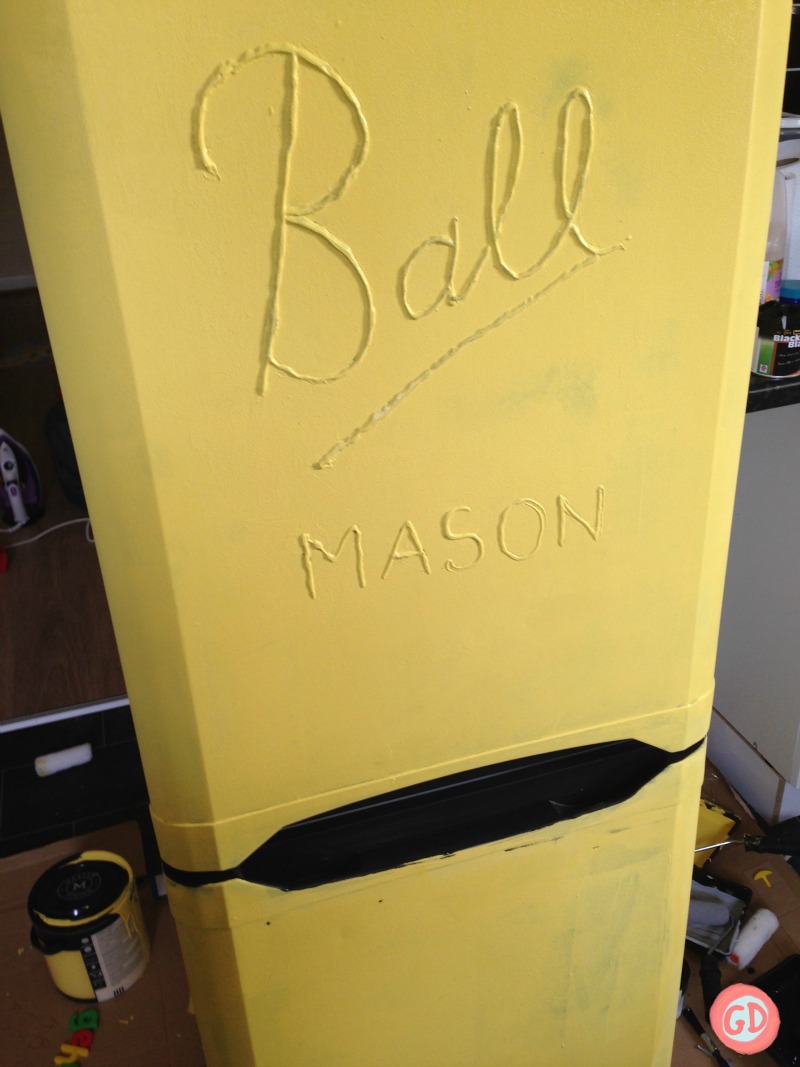
3. Using the glue gun, I traced over the words. Now this step was quite difficult to do, I had to peel it off and redo it quite a few times as I kept messing it up! Thankfully my hubby stepped in to save the day. It helps that he is a perfectionist and also has a steady hand!
4. Next, I painted the fridge with the Rustins Black Board paint using the foam roller.
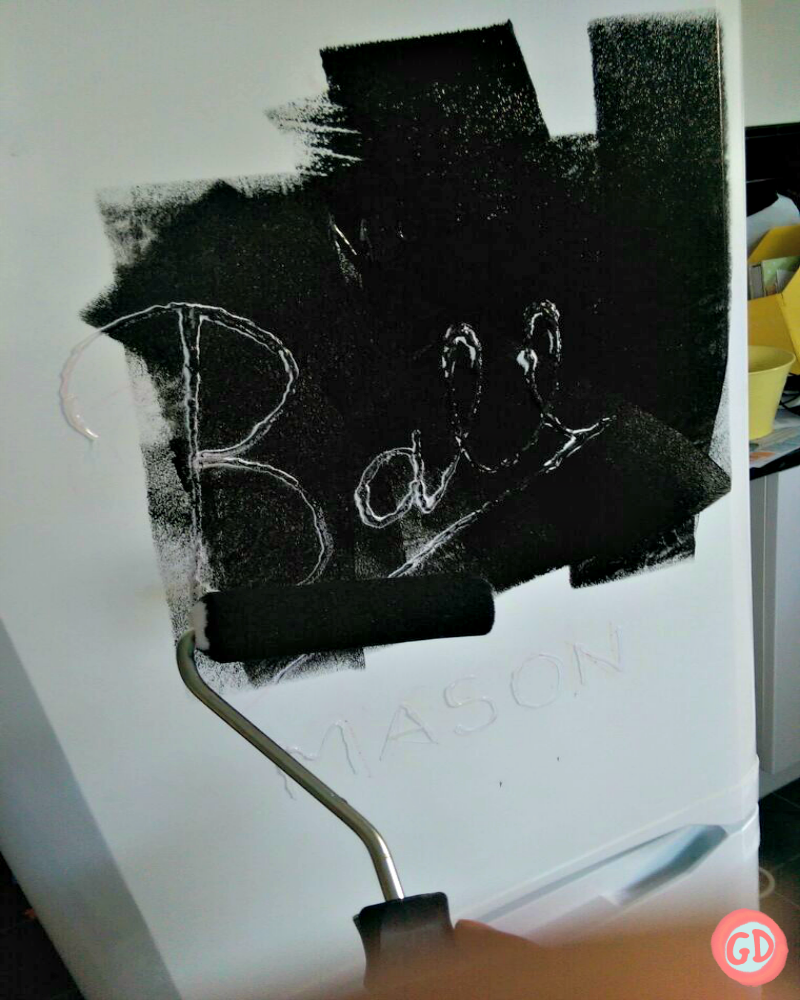
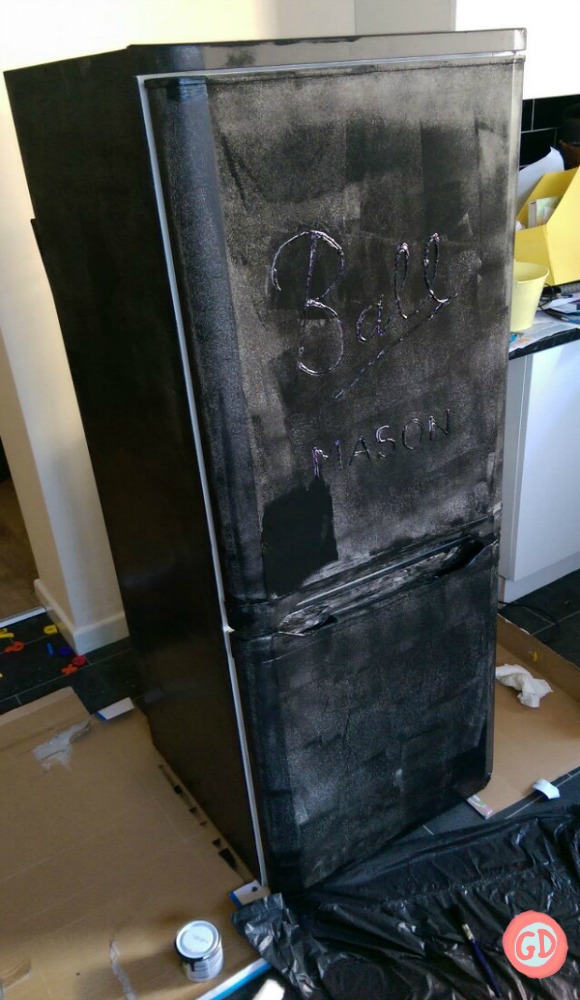
5. I left the fridge to dry overnight and this is what I woke up to.
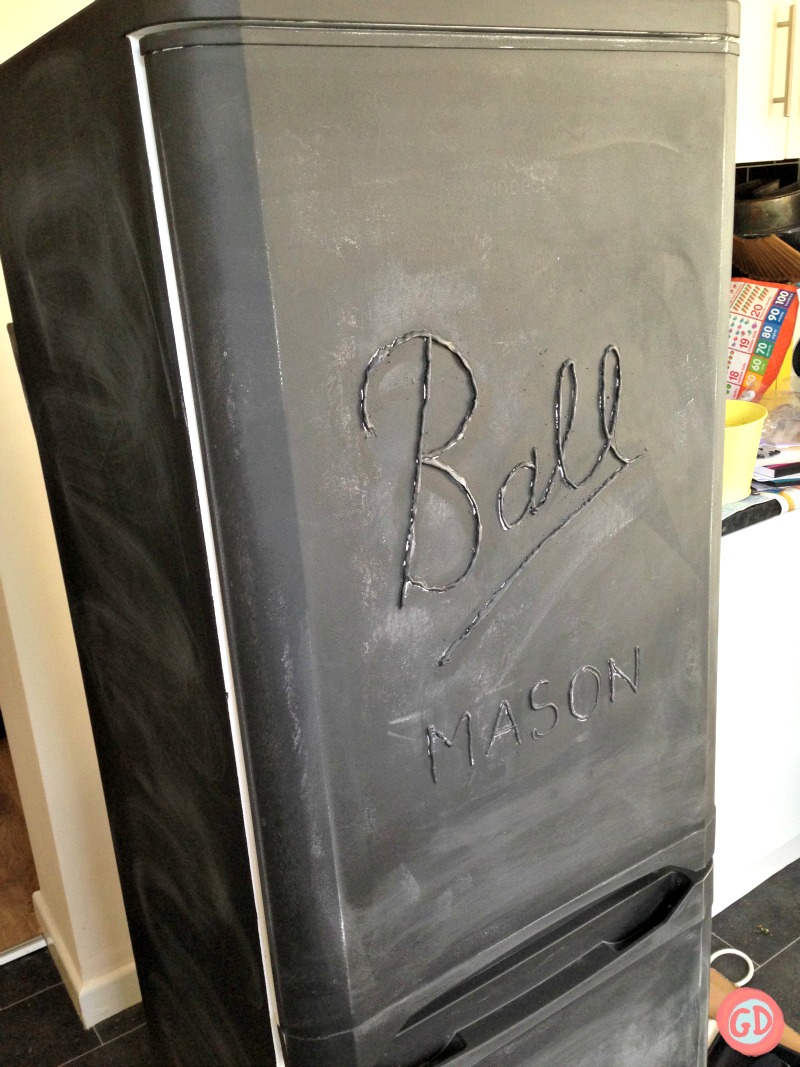
At this point I debated leaving the fridge as it was as I thought it looked great! However on deeper reflection I concluded that a black fridge probably wouldn’t have matched my already black kitchen.. so I carried on painting.
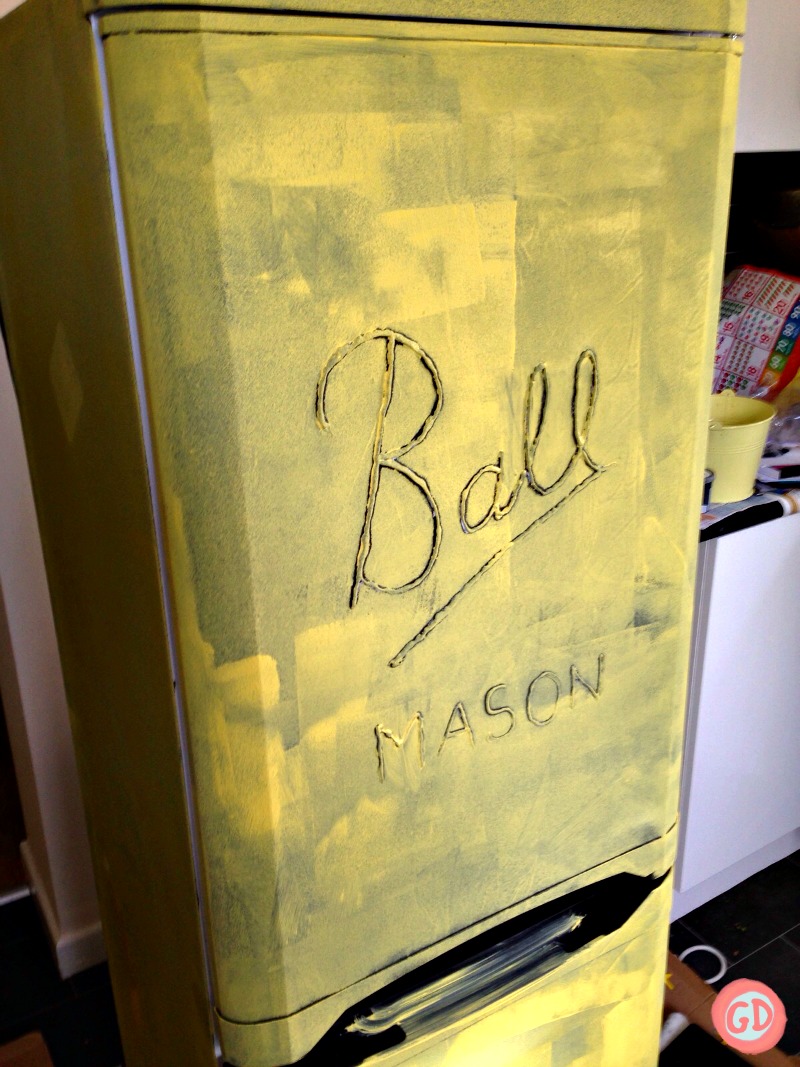
6. I did three coats of the yellow latex paint, with 3 hours drying time in between each coat.
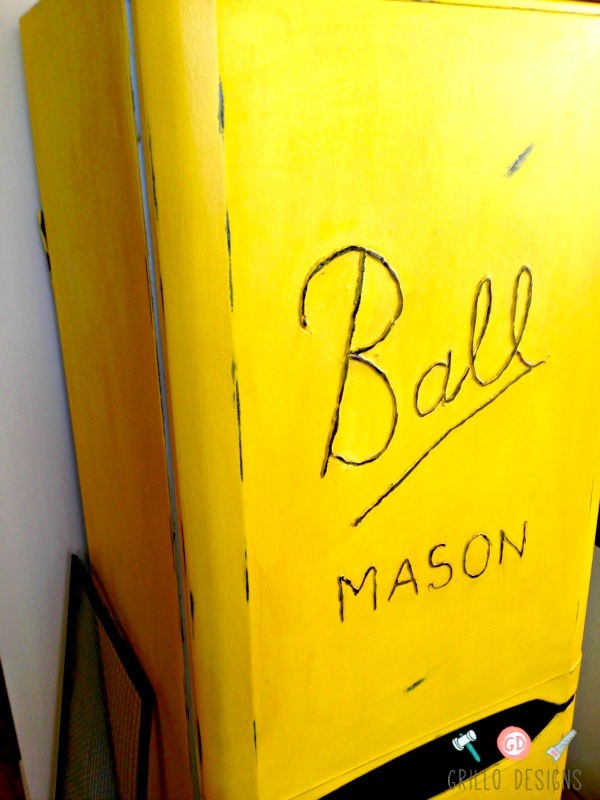
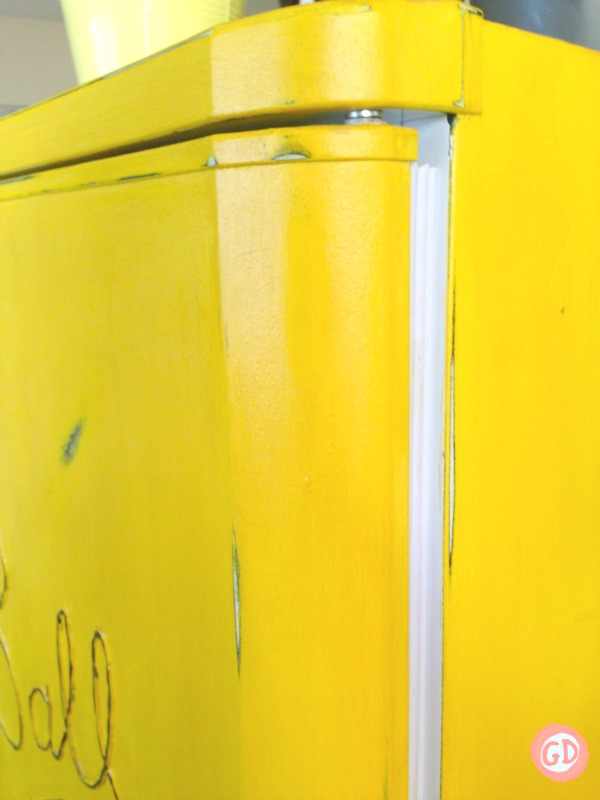
7. Once the final coat was dry, I then started to sand back to show the black undercoat paint.
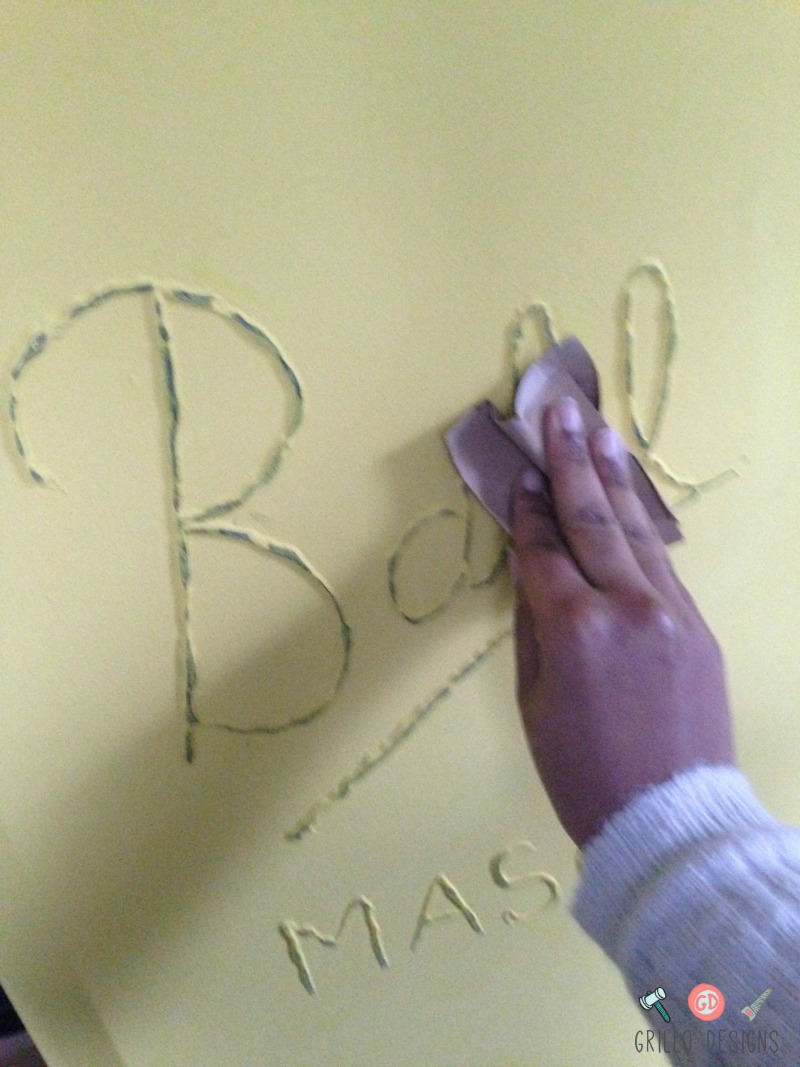
I focused the sanding to the edges of the fridge as well as the BALL MASON letters.
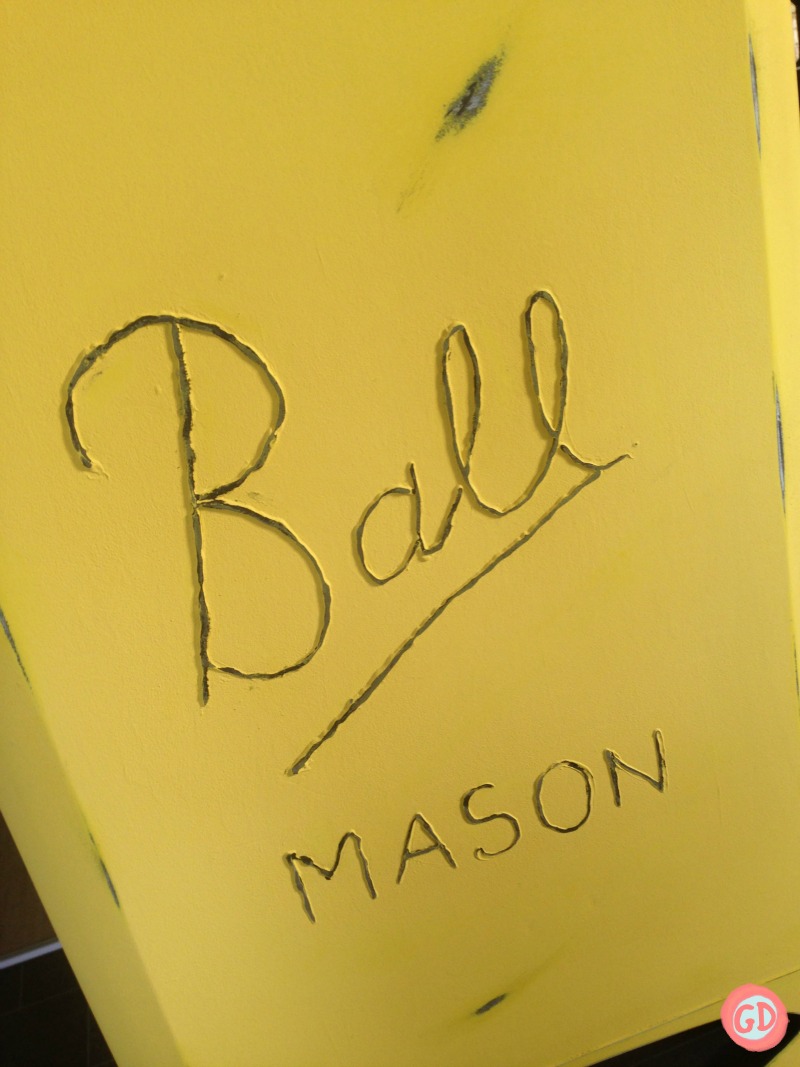
8. I decided on using varnish to seal the fridge rather than wax as I thought varnish might be more durable.
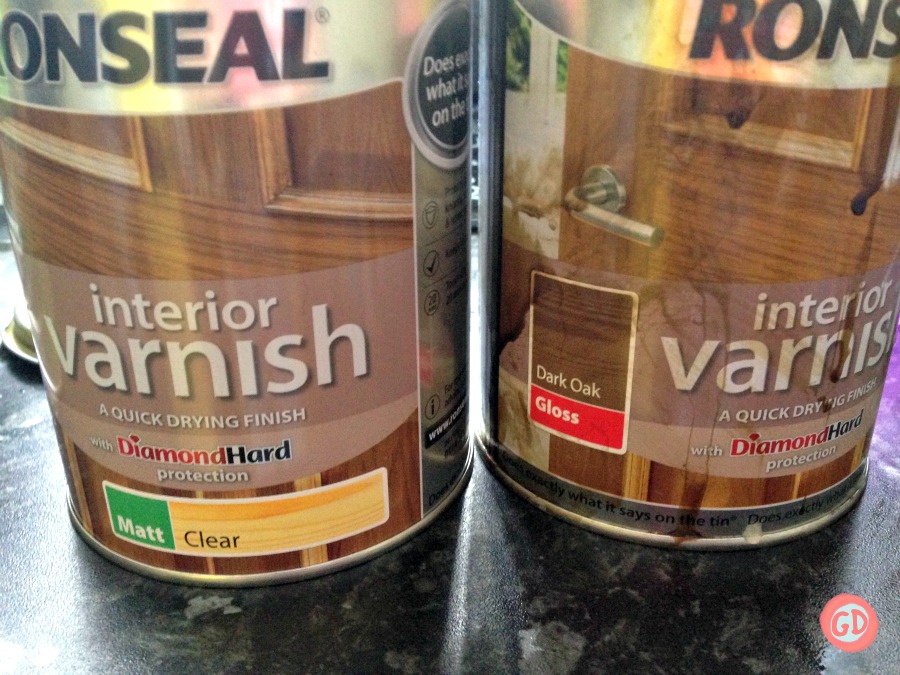
I mixed the clear varnish with the dark oak varnish in a little bowl and painted it on with the paint brush. I did this to achieve a sort of antique, aged look!
I painted on 3 coats of the varnish mixture.

And thats how I did it! I know it looks slightly out of place in my modern kitchen but that the room will soon be having a makeover of its own pretty soon!
UPDATE: I’ve also made a roll out pantry to fit in the space between my fridge and kitchen counters. Check out the Roll OUT Kitchen Pantry Post or click on the picture below!

You might also like:

If you’re looking for more Ball Mason Jar crafts ideas, Check out this ‘How to turn Mason Jars blue‘ post from Pastels and Macarons!
Love this! I’m curious…How’s it holding up?
Hi Jazz! Thank you its holding up really well more than 2 years later!
I love the way this turned out! The yellow really pops with the rest of the kitchen. Thank you for sharing at Merry Monday!
Thank you for having me!
This is insanely creative! LIKE WOW. Thanks for sharing on our All things Creative fb page.
Thank you so much 🙂