
Hi guys! Apologies for being a little MIA in terms of new projects this week (I’ve shared a few new members projects though which you can check out here) – still trying to adjust to my new web design and making it perfect for you guys!
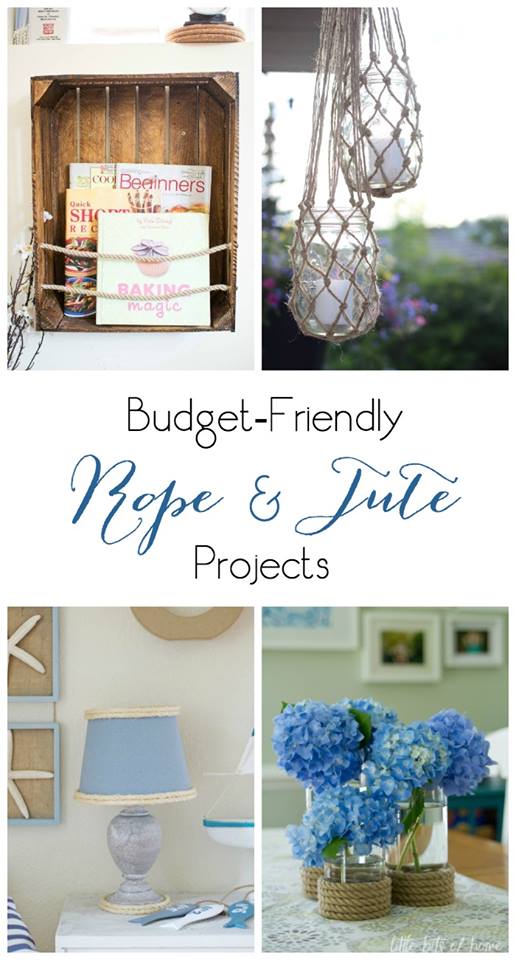
Anyways I digress, I’m so excited to announce that me and three other bloggers have gotten together to take part in a monthly Create With Me challenge. The challenge involves making something creative using material voted by our readers! This month you guys voted rope/jute string!
You can scroll down to the end of the post to to view the other bloggers creations. BUT HERES WHAT I DID!! (Yes, I did actually just scream that)
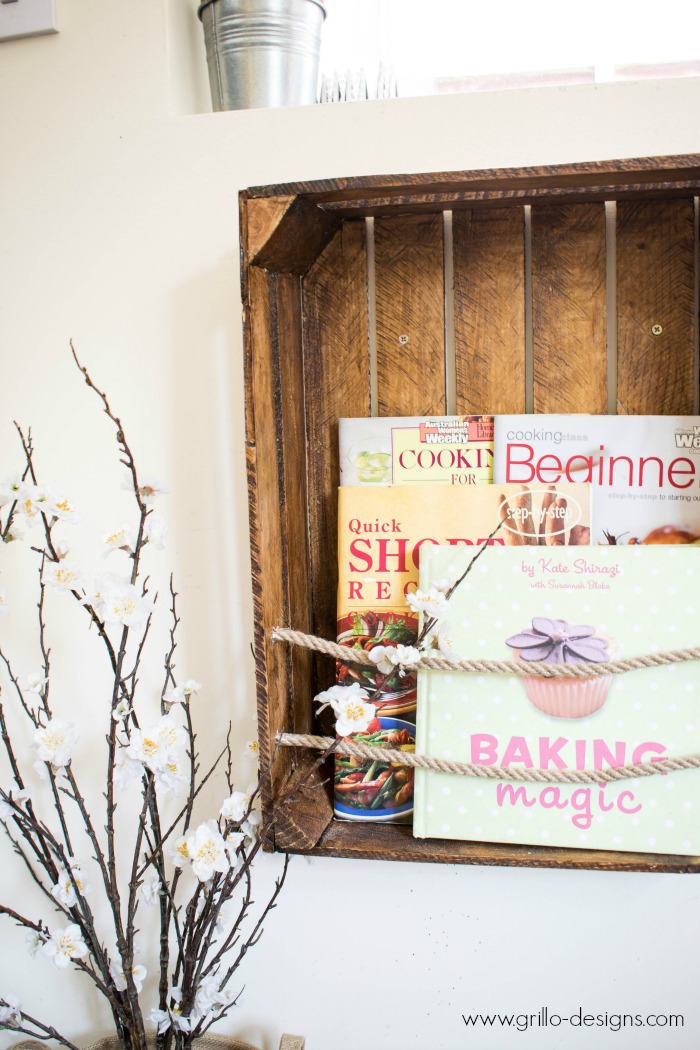
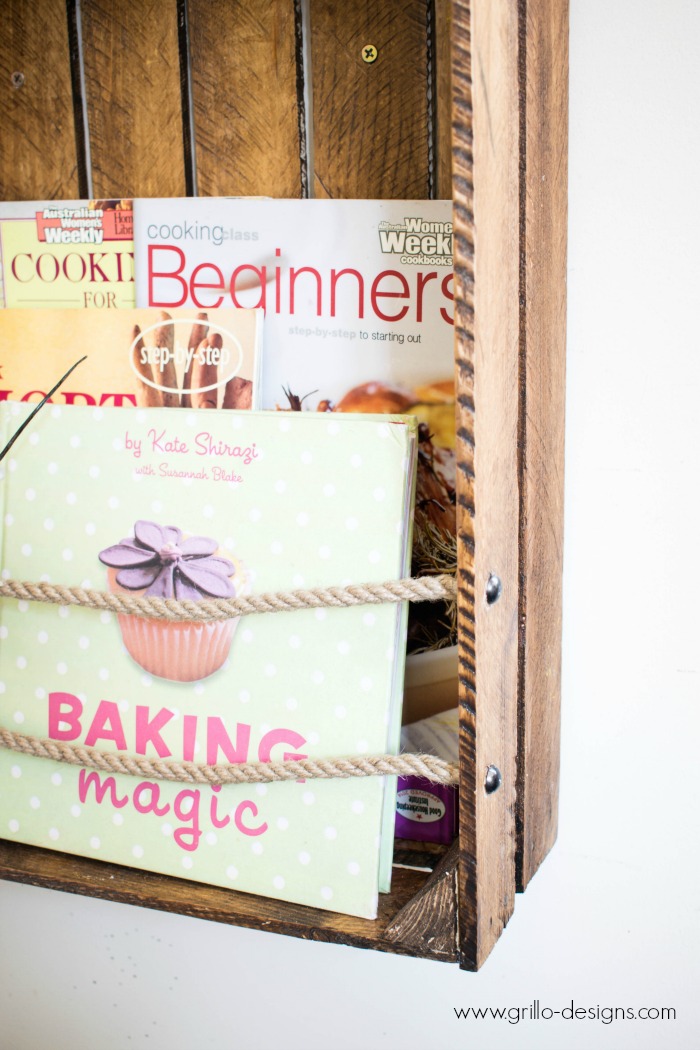
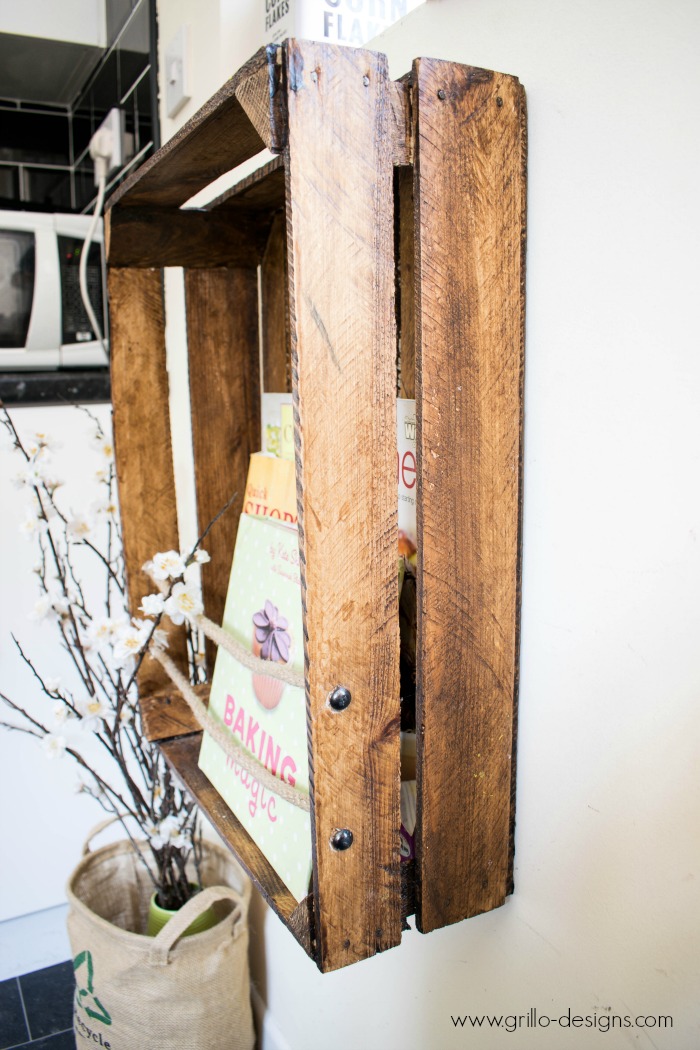
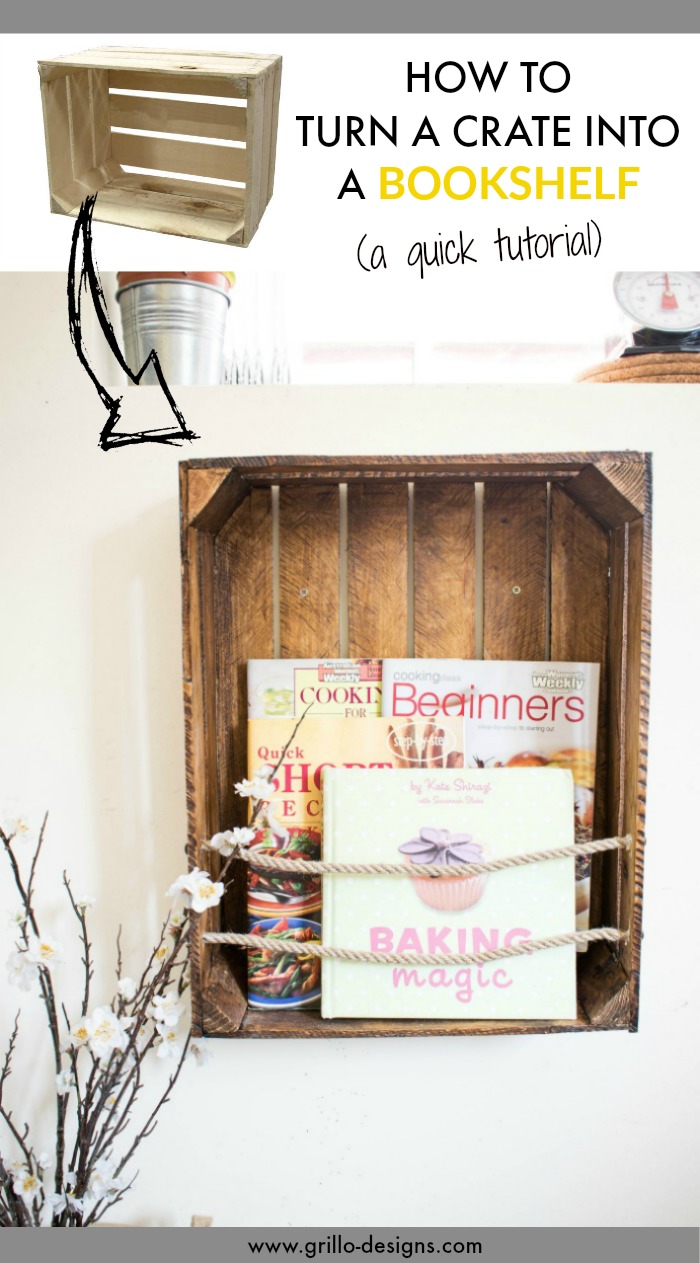
DIY Crate Bookshelf
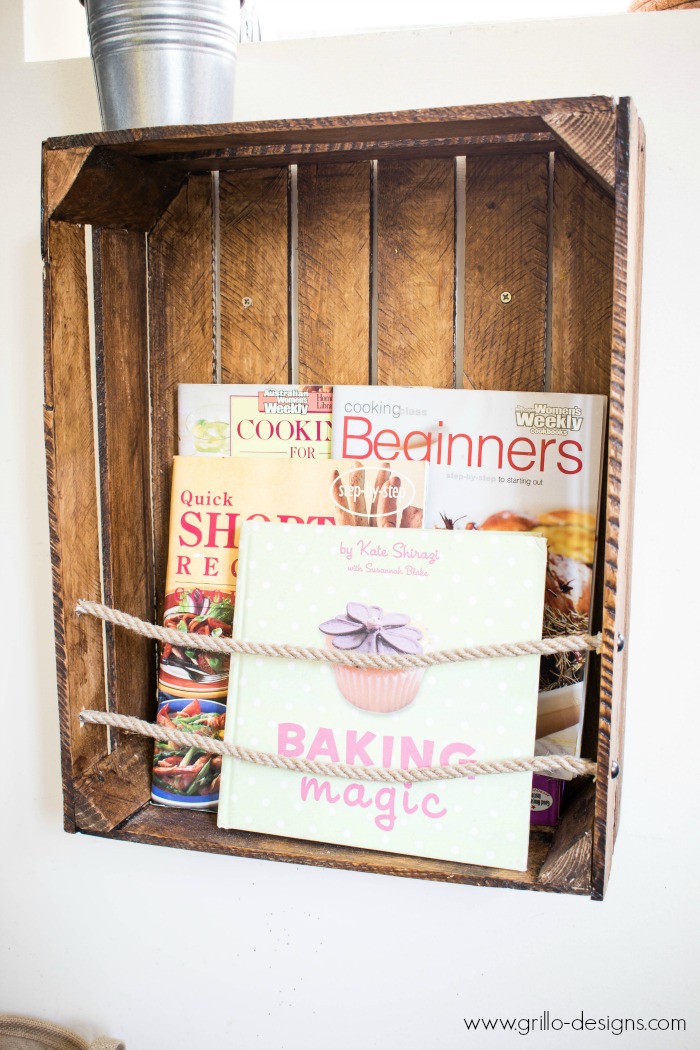
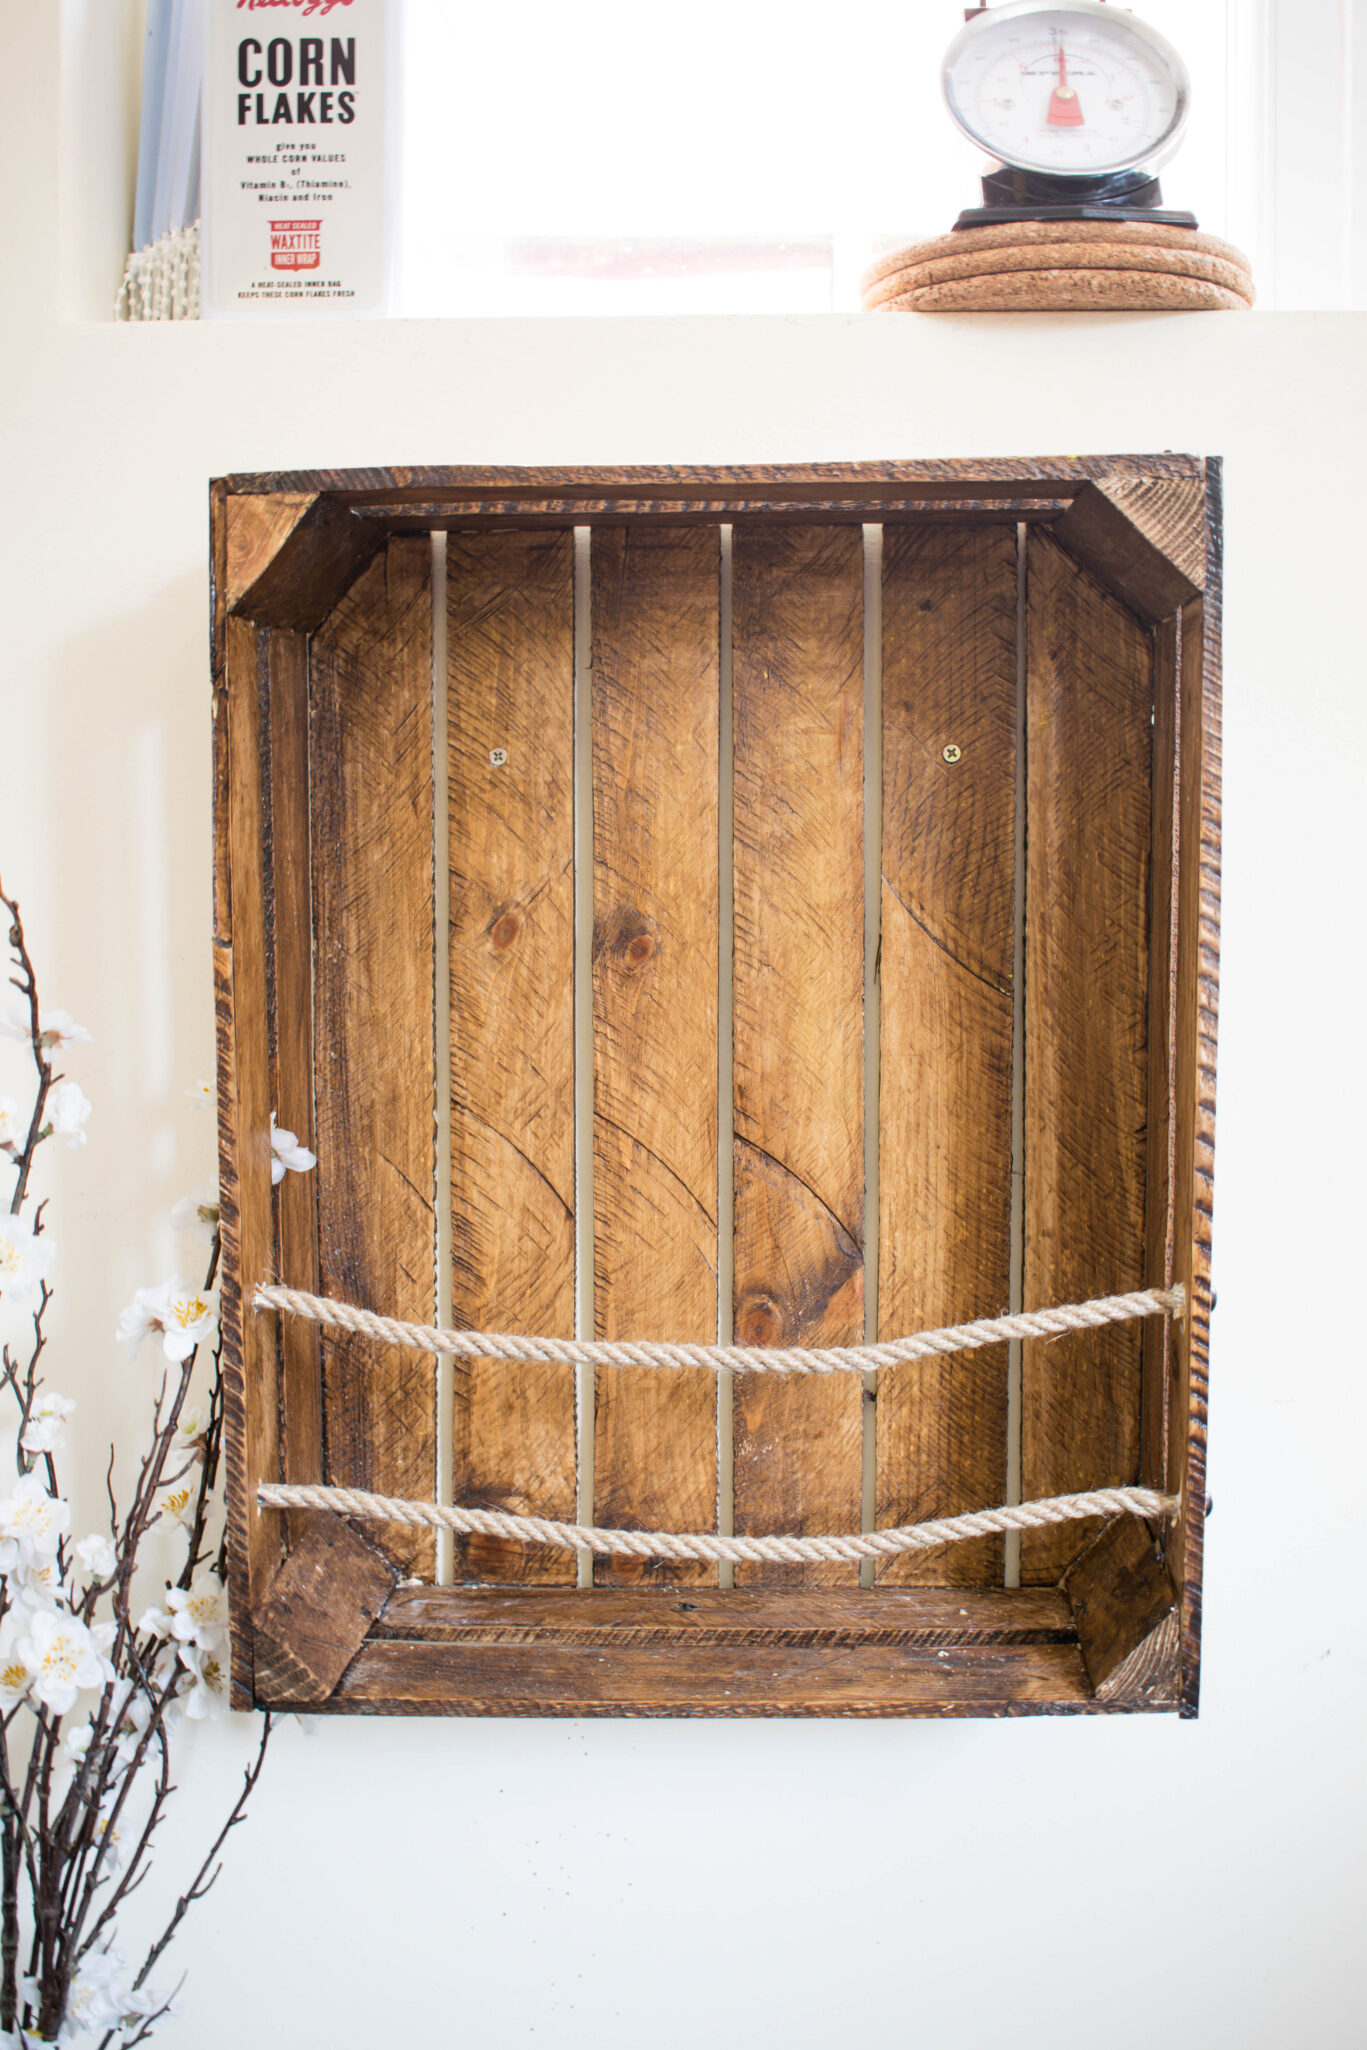
I decided I was going to make a cook book shelf out of crate and use the rope as a kind of barrier so that the books didn’t fall out. Simple and practical. Not a bad idea really…. or so I thought
When I told my husband my plans, he literally laughed in my face for a good minute (or maybe it was longer, I don’t know. I was too busy feeling indignant). ‘WHAT cook books??’ he spluttered between fits of giggles.
Funny.
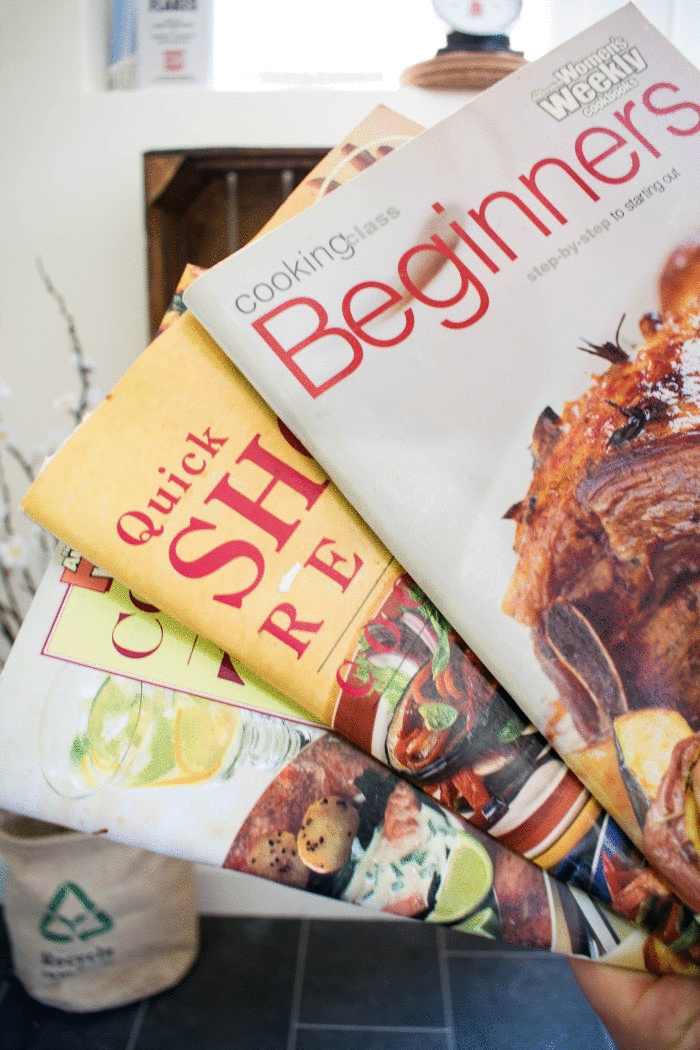
The supportiveness of this guy is unreal . Ok so yeah maybe my cooking skills were less than creative and yes maybe I hadn’t physically touched a cook book recipe in like forever , it still was no reason to laugh!
Here’s my logic and what I told him – ‘maybe if my cook books had somewhere to live other than the old box in our spare room I might just take the initiative to use them one day and cook you a fabulous meal’
He stopped laughing then . It may have been because he had heard the words fabulous and meal in the same sentence. I guess it’s true what they say…. food really is the way to a mans heart
Materials I used:
This post contains affiliate links for your convenience – please see full disclosure here)
- Wooden Crate
- Saw
- Sander
- 2 metres of 8mm rope
- Screw head caps x4
- Liquid nails adhesive
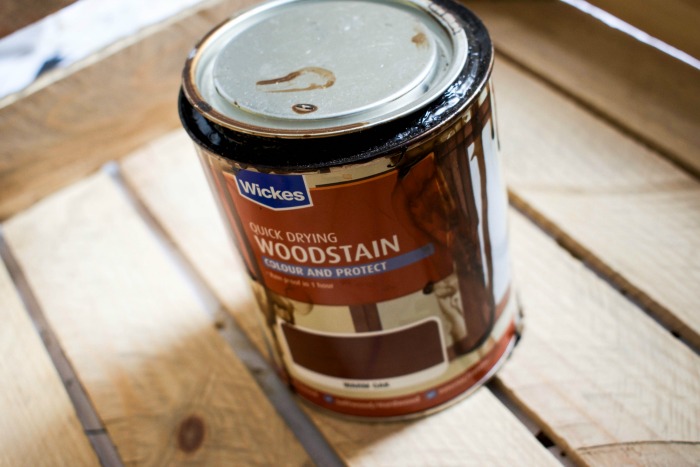
- Wickes wood stain or Mini wax walnut stain would work too (for my US readers)
- Interior Varnish


How to:
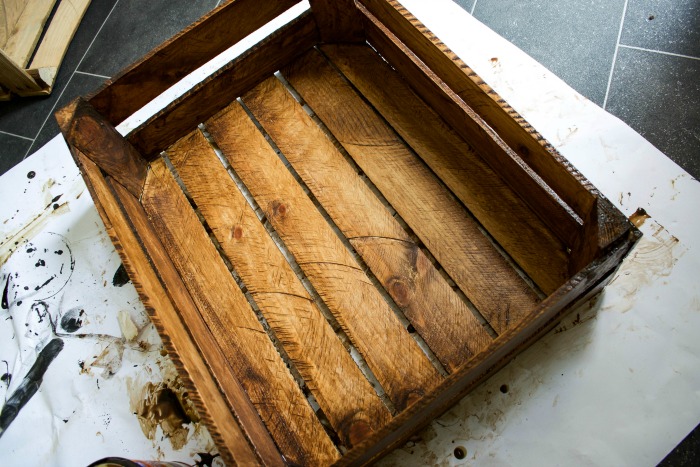
Here is the crate I used – a little dirty I know.
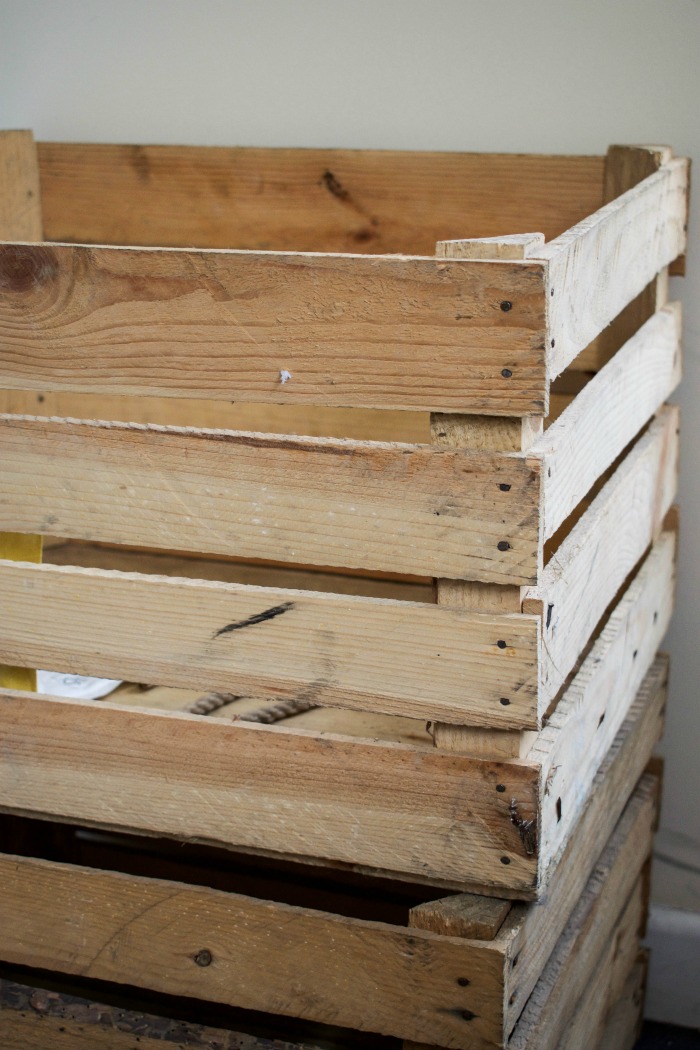
I first sawed half of the front of the crate using our very reliable manual saw (hasn’t let us down yet)
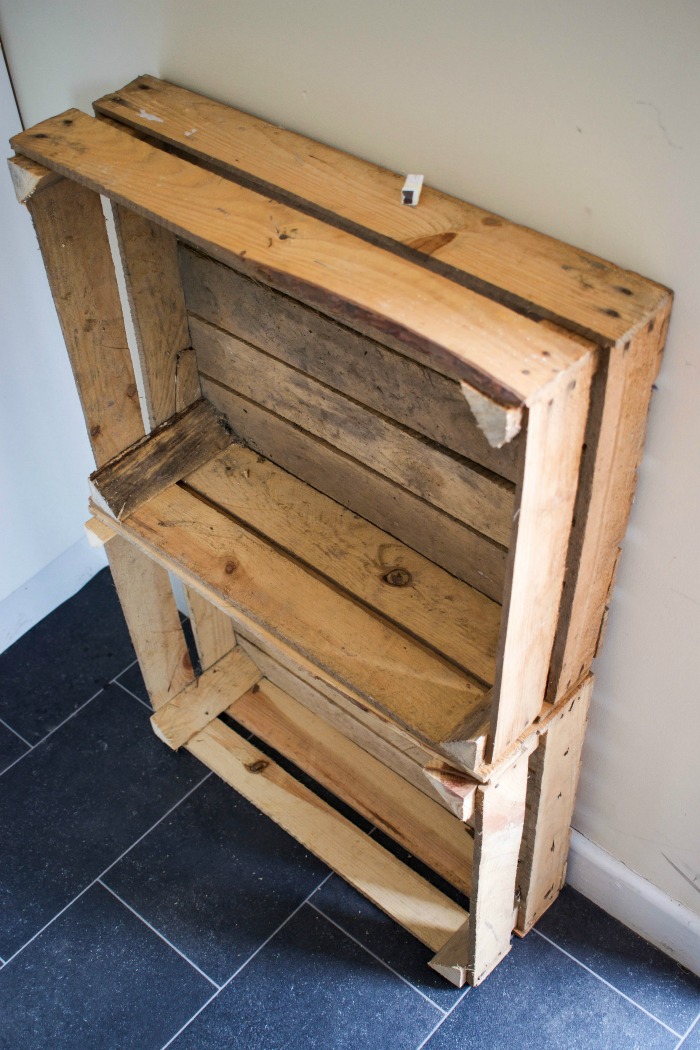
Next I sanded inside and out with my mouse sander.

I then applied the WICKES stain (but again MINIWAX is also a good option) with a cloth this time. I used a paintbrush to stain my pull out pantry that I built a couple of months back and it did not end well!
I left the stain to dry overnight…although you probably don’t need to leave it that long ..I work at snail pace when my son is around. The struggles of a DIY blogger mum I tell you!
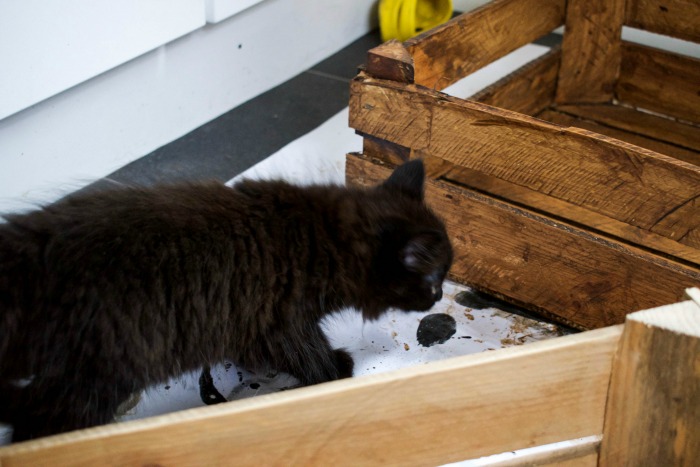
(Yeah my kitten likes to get involved)
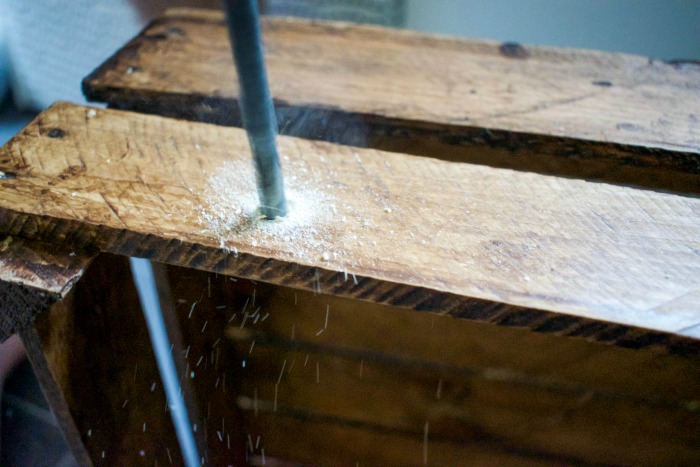
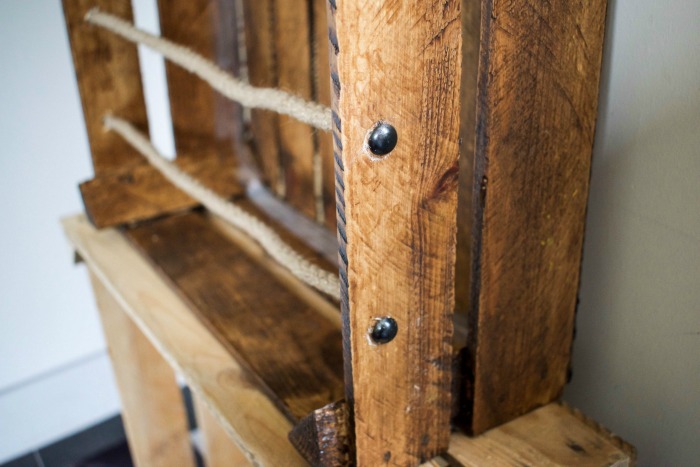
Next I drilled in 2 holes to the each side of the crate (big enough to fit 8mm rope)
The rope was then threaded through and stuck in place with liquid nail glue (this is my favorite glue for all my woodworking projects – its super strong!. I used it to attach wheels to my DIY sons underbed toy box and door hinges to his mini drop down murphy bed for his teddy. ) Leave glue to dry overnight

I spray painted 4 dome shaped screw heads black and covered over the rough edges of the rope (the same way I had used them to create an industrial shelf for my sons bedroom makeover) Finally I sealed with clear varnish to give it a coat of protection.
The shelf was then placed on the wall with screws and wall plugs (anchors)

So now that you’ve seen how I’ve conquered this rope challenge, I want to see your jute/rope projects! Share them with me and the other hosts on Facebook or Instagram and use the #createwithmeprojects hashtag! We’ll pick our favorites and feature them across our social media accounts!
CLICK HERE TO VOTE FOR NEXT MONTHS CHALLENGE! EDIT: You voted terra cot flower pots! Check back here next month to see what I make!
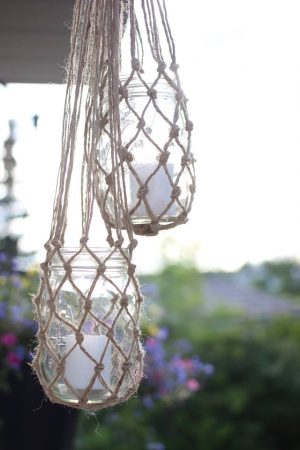
AND HERES WHAT THE OTHER BLOGGER DID! Aren’t these projects amazing?? Click on the images to take you directly to each of their blog posts
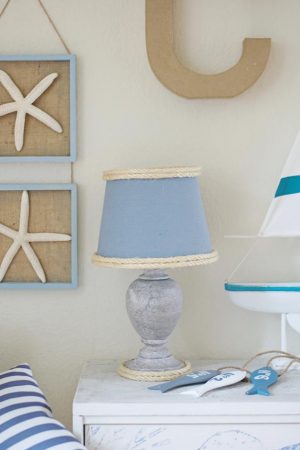
PASTELS AND MACARONS: Coastal lamp
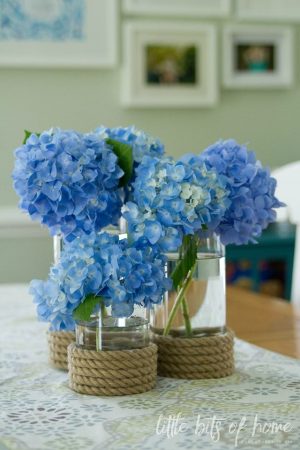
LITTLE BITS OF HOME: Coastal Rope Vases
I don’t think I could love a crate more… adding rope it is! LOVE this look!
I’ve featured you this weekend on DIY Salvaged Junk Projects. Thanks for linking up! 🙂
p.s. I had to try 6 times for your mathematical quiz to take….
Hehe sorry about that!
Thank you Donna!
Love this! I have an old wine crate in the garage without a purpose. This gives me a good idea. With kids, I feel like you always need a place to store books and magazines! Visiting from Remodelaholic. Sharing.
This is a fun project. I could see something similar used in a bath, too. Thanks for sharing with us at Creatively Crafty #ccbg Hope to see you again soon!
Love it Medina! It looks fabulous 🙂 Thanks so much for sharing and thanks for linking up too 🙂 #HomeEtc — Caro x
Okay, all I want to know is- did you cook a fabulous meal for your hubby? Just wondering, haha! I also love my mouse sander!
OK so I enjoyed a laugh too! I love to hear that an AWESOME DIY is not so much into cooking :). Makes me realize I am normal because I am not a DYI gal but I have lots of stuff to do it. My husband would laugh at me too if I told him I was going to sew new lounge cushions…I have the patterns and probably the fabric!
Your magazine/book rack is fabulous! It is so NOW Farm style inspired and looks simple but when I saw the drill I got chills! I am a bit afraid of tools.
Thanks for joining our party and so glad to get to know you!
Your rope and jute projects resulted in a great look! Thanks for sharing your post with us at Creatively Crafty Link Party #CCBG http://tryit-likeit.com/link-party-it
What a cute project! I love the look of the crate with the rope. Pinned.
Haha. Love your husband reaction. We all have cook books that need a home! I love displaying cook books and this is an awesome way to display them! Awesome DIY!
Haha, your cookbook story made me laugh! Love your crate bookshelf! Super cute!!