Hi there! Join Grillo Designs on Instagram and Pinterest to keep up with our latest posts and ideas. If you’re on Facebook, why not join our Home decorating, Upcycling and DIY group too – inspiration is guaranteed!
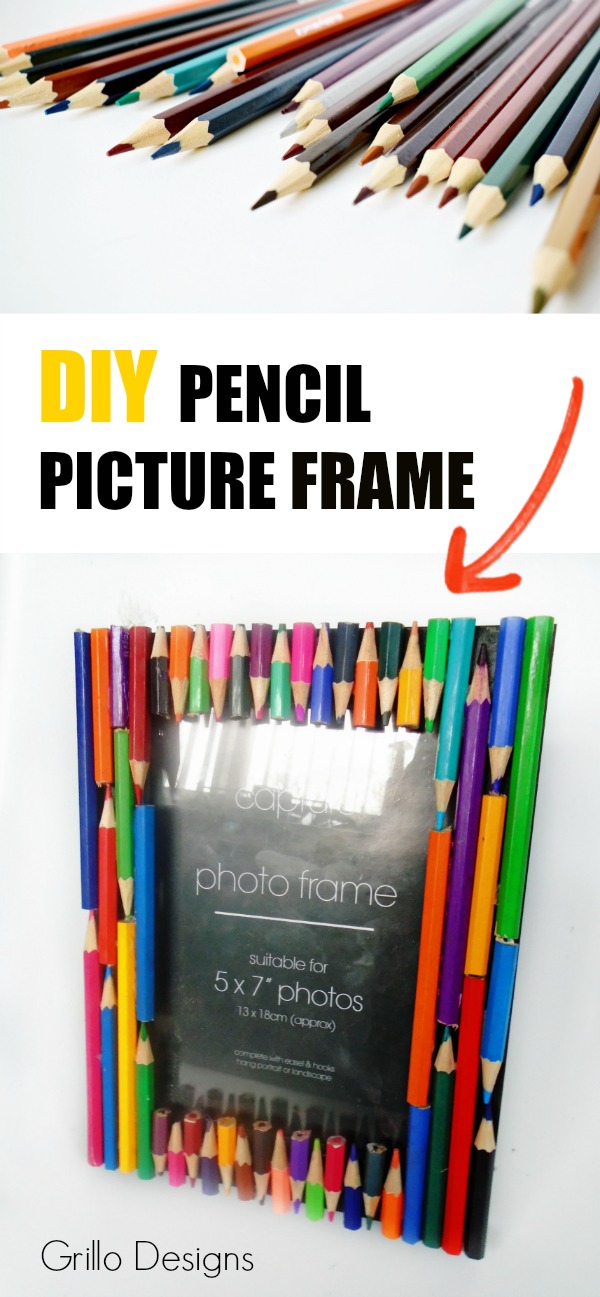
Today I’m doing something totally different! I’m sharing a crafty project with you rather than my usual home DIY posts. Its a picture frame that I decorated with pencils as a gift for my sons nursery school who was sadly leaving to go on Maternity leave 🙁
Making crafty items like this is slightly unknown territory for me. Yes I know that actually sounds ridiculous seeing as my blogs tag line includes ‘crafts’ but its the truth. I am probably the least confident crafty person you’ll ever meet! I’m great with room makeovers and the larger home improvement projects, but it’s the littler projects that get me all confused and outside my comfort zone.
When it came down to decorating the frame, I thought I’d be a highly engaging mum for a change and get my son involved with it all. Pencils and glue, what could go wrong right?
Well a lot as it happens… I ended up doing all the hard graft as my sons attention span is 10 minutes at a push and there’s only a certain amount of time I could say ‘it’s hot wait for mummy first’ (referring to glue gun here) that he could tolerate hearing before he had a huge meltdown. Can’t say I blame him really – sometimes the sounds of my own voice grates on my nerves too. I feel like since becoming a mum all I ever do is say the same things over and over….
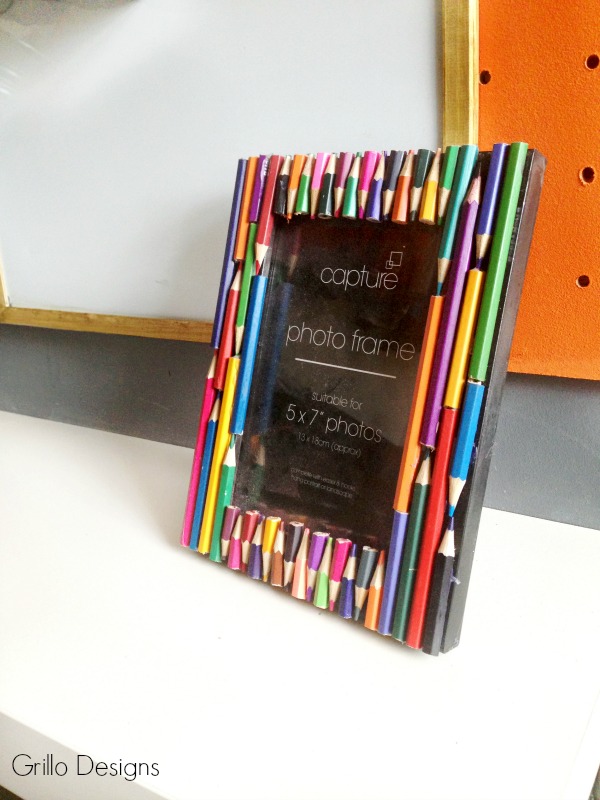
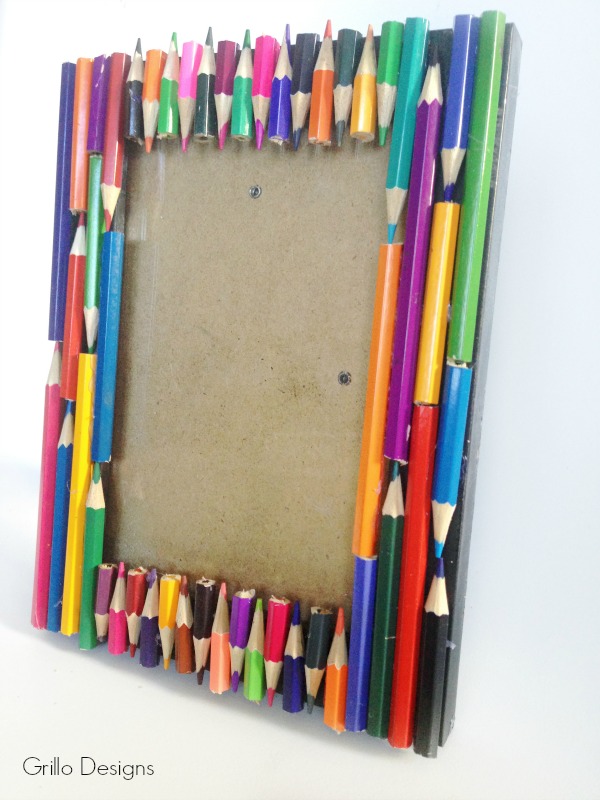
We got there in the end though and here it, my (sorry OUR) masterpiece!
Hmm OK, well maybe not a complete masterpiece (I can spot about 100 things wrong with it), but I’m actually quite proud of it nonetheless. Like ROCKY running through the streets, cue the theme song, and pumping my fists kind of proud.
Seriously, if I can do this, and I am the least crafty person ever (sorry had to reiterate that point again just in case you skimmed over the first few paragraphs which is OK we all do it ) then you can too! And Mothers Day in the UK is coming up – so I’m thinking this could be a pretty cool gift for that occasion too!
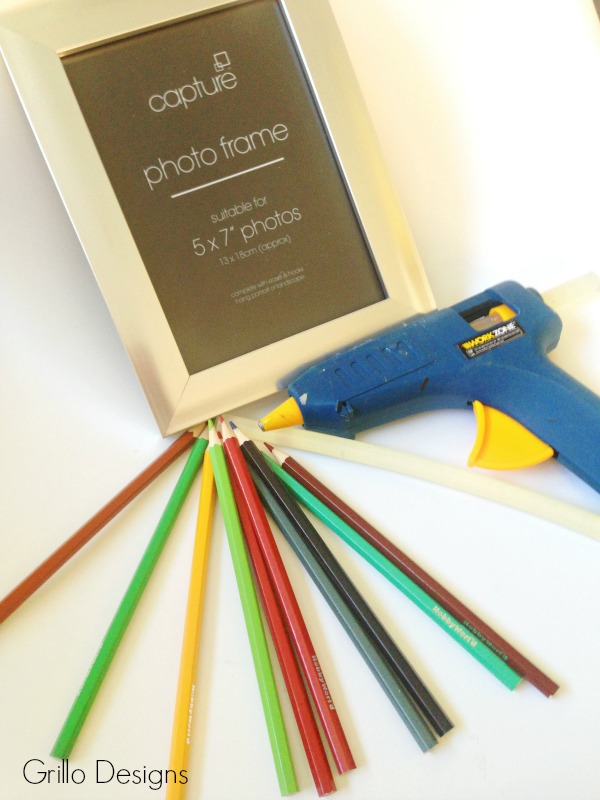
Materials I Used
Picture frame
Sandpaper
Glue gun
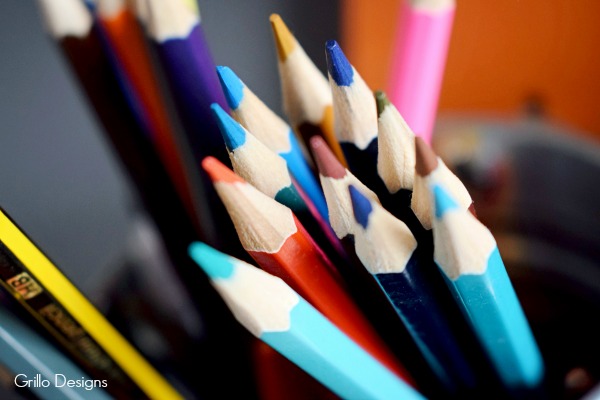
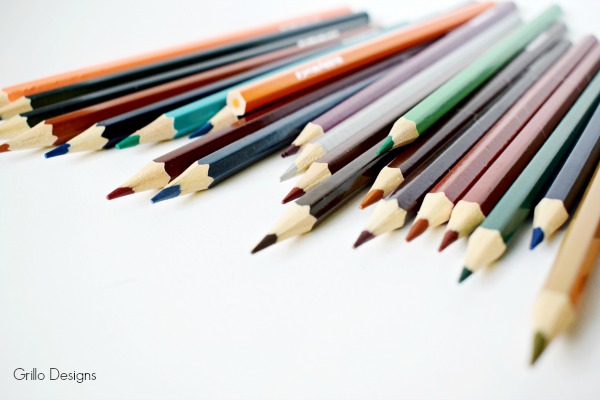
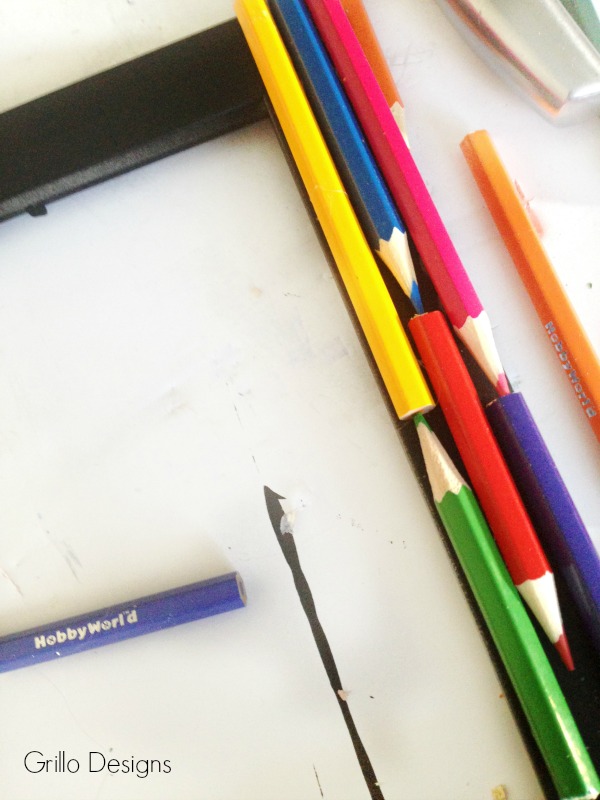
Pencils – lots and lots
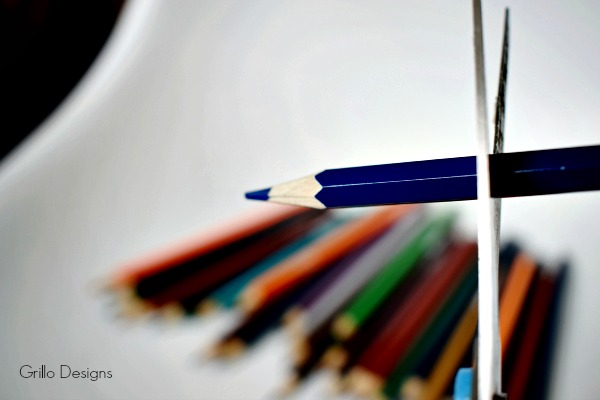
Scissors
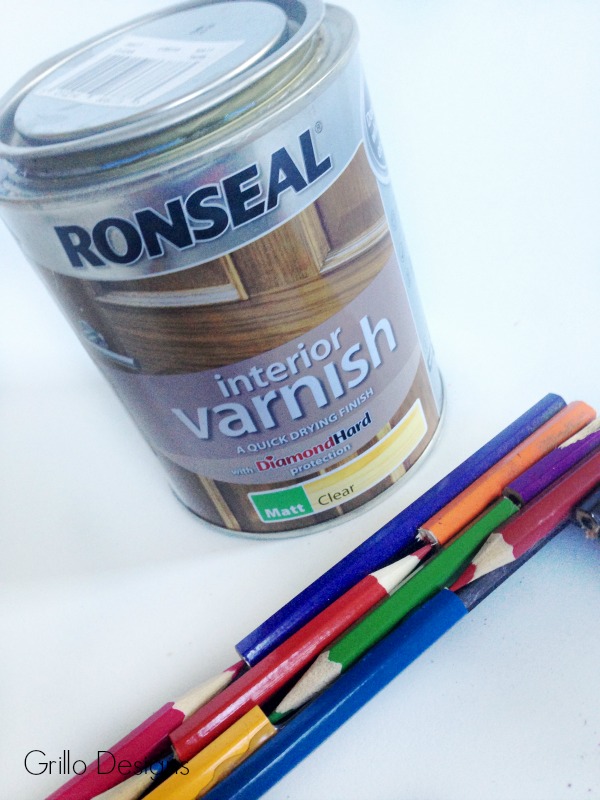
Clear varnish
Spray Paint
How To
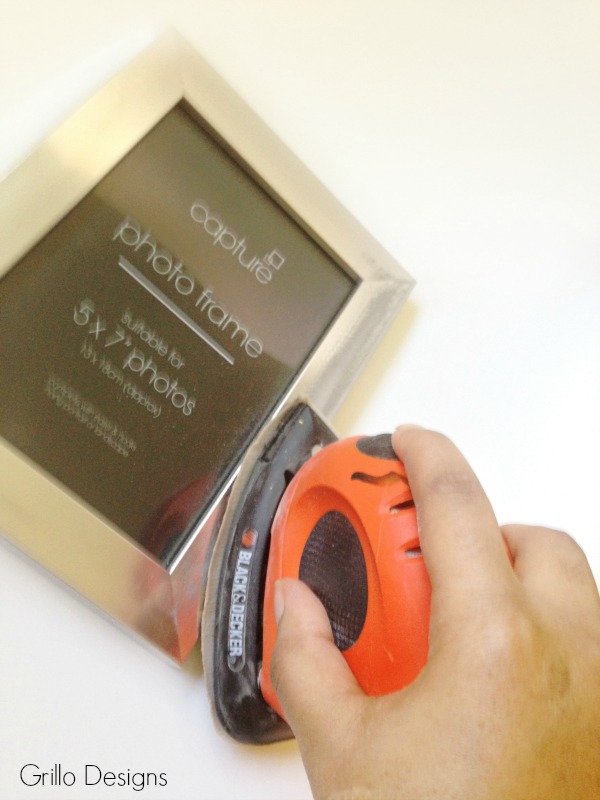
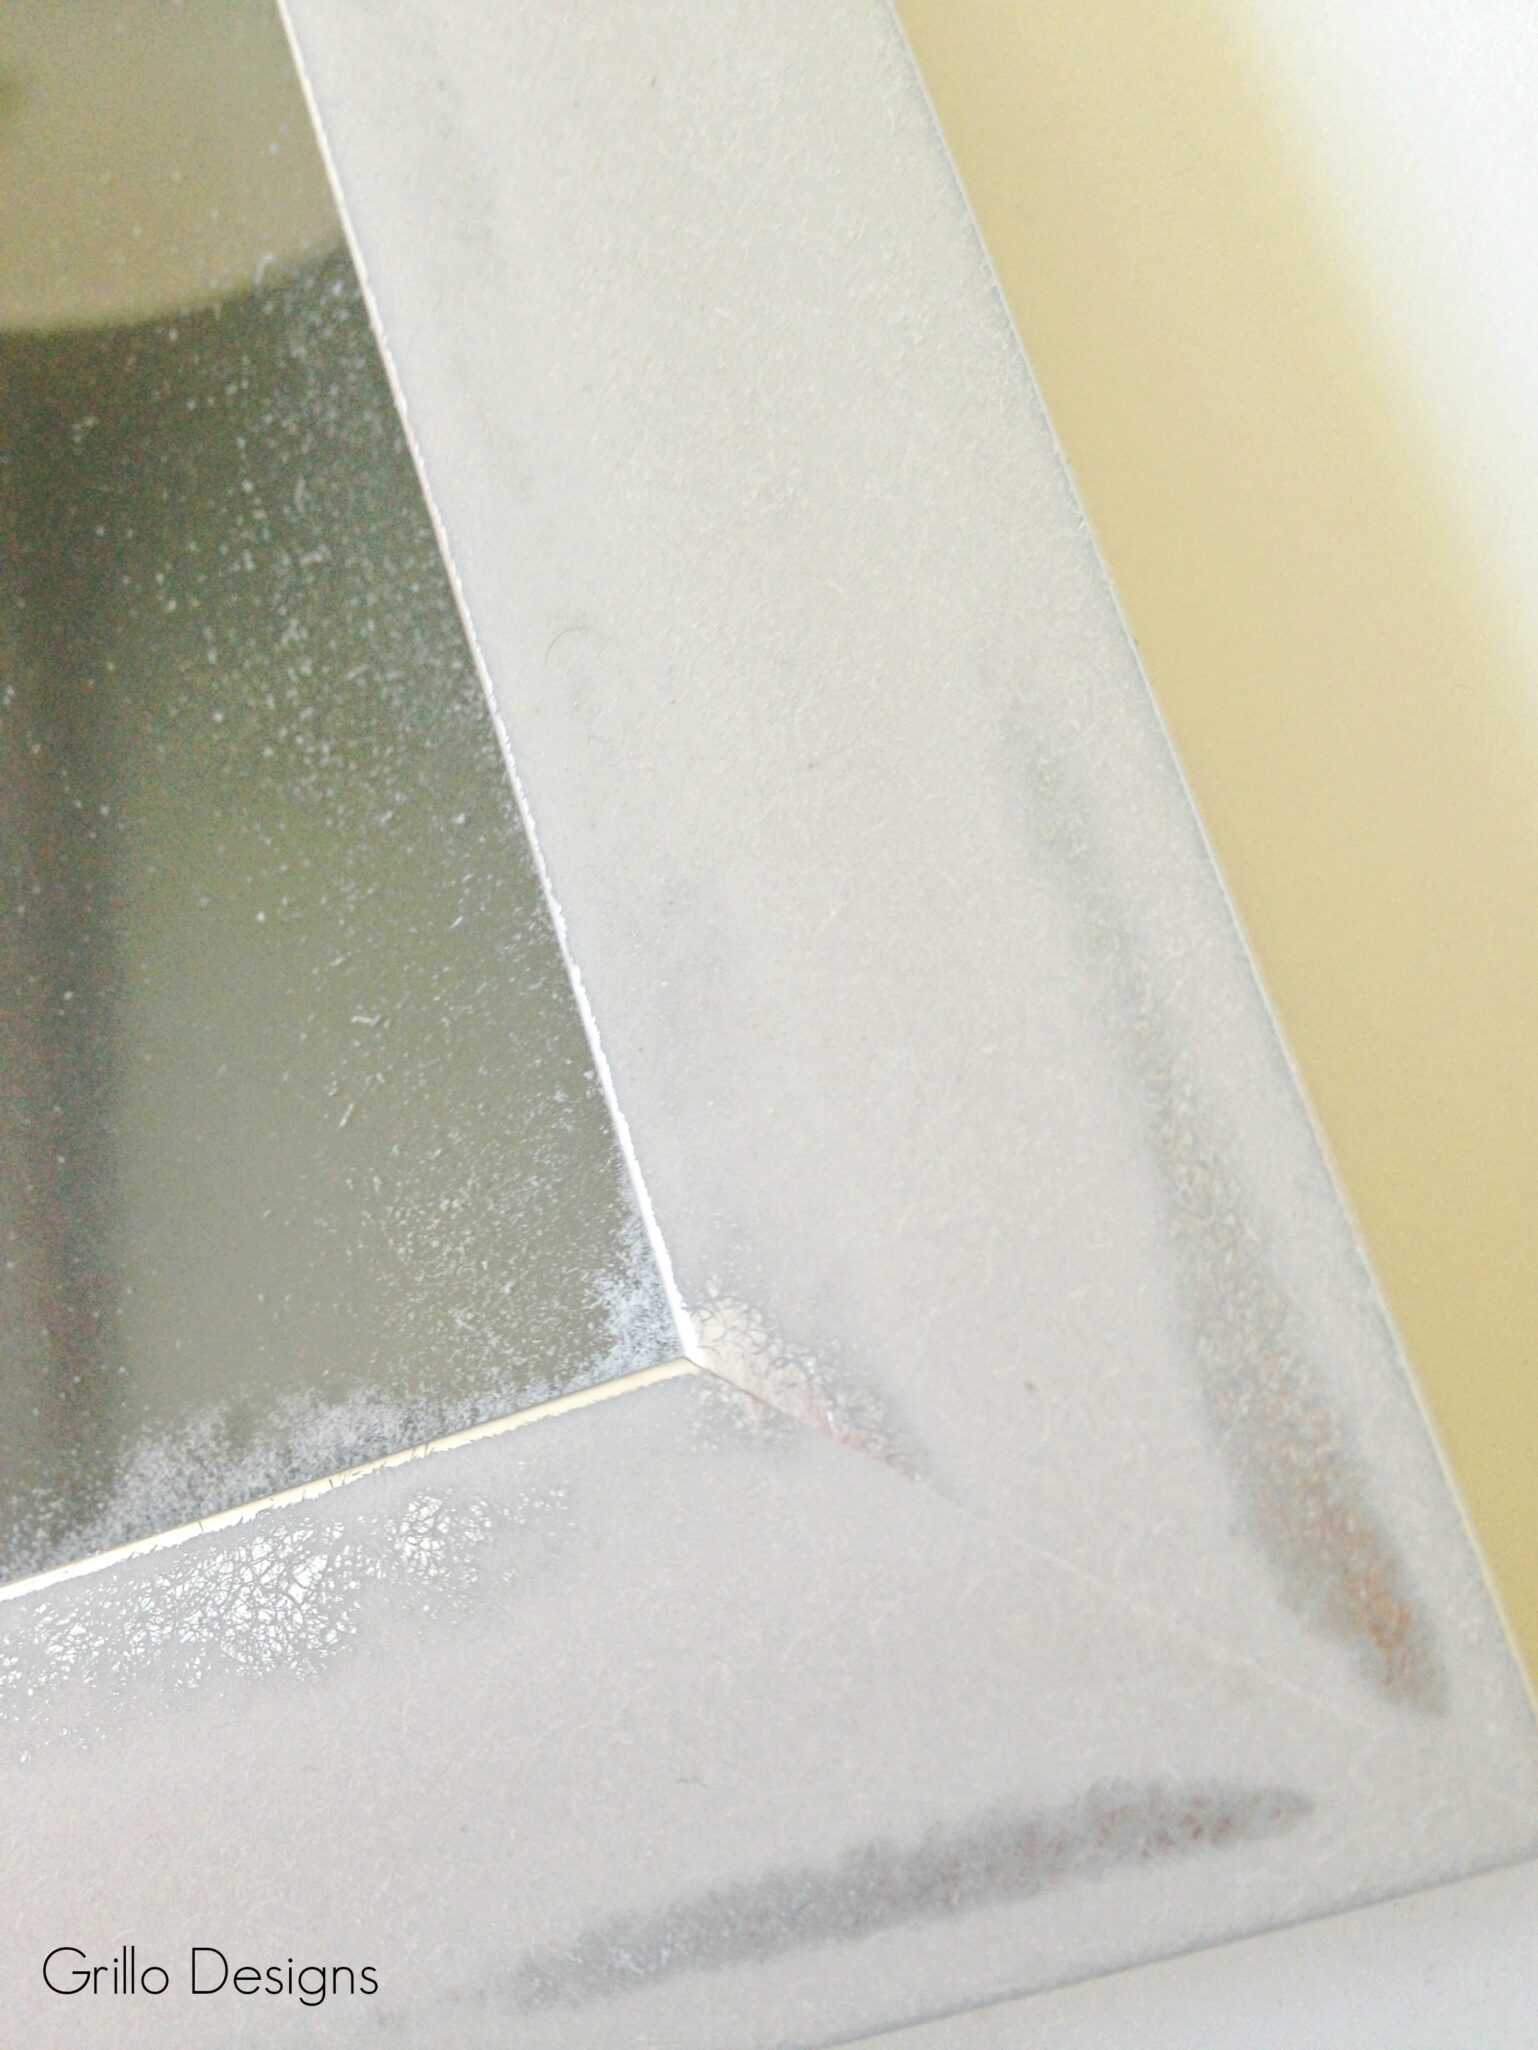
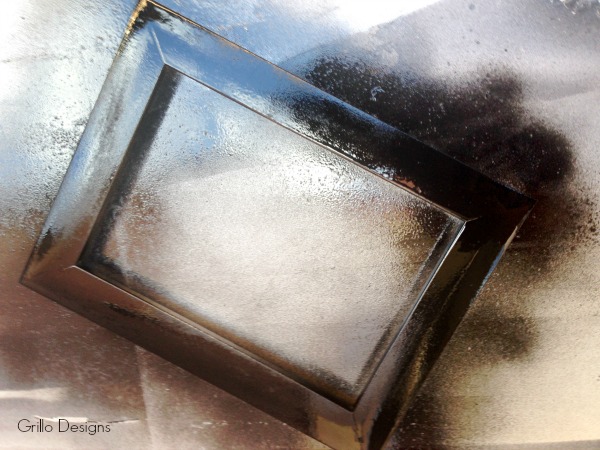
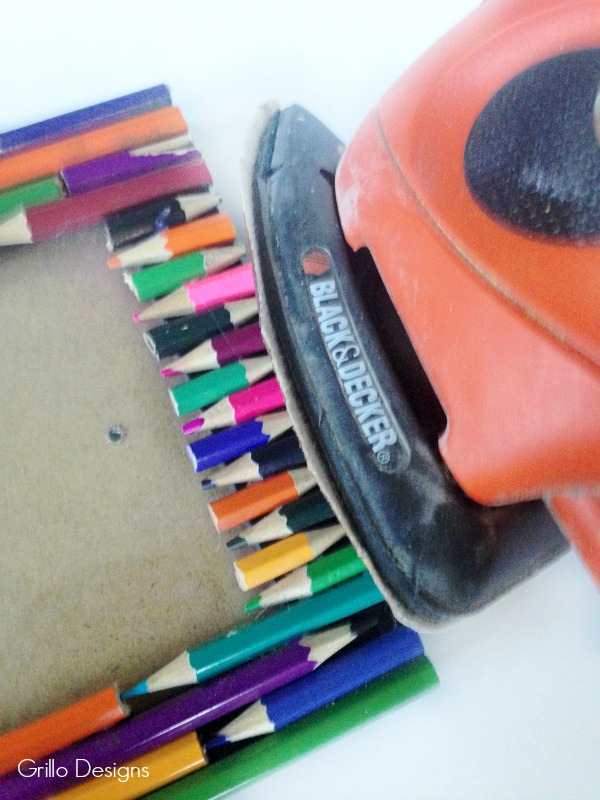
1. I Sanded the picture frame – mine was really shiny so I needed to dull it down a bit to help the glue and paint stick (ok sorry lie… I just wanted to another excuse to use the sanding machine I just love that thing).
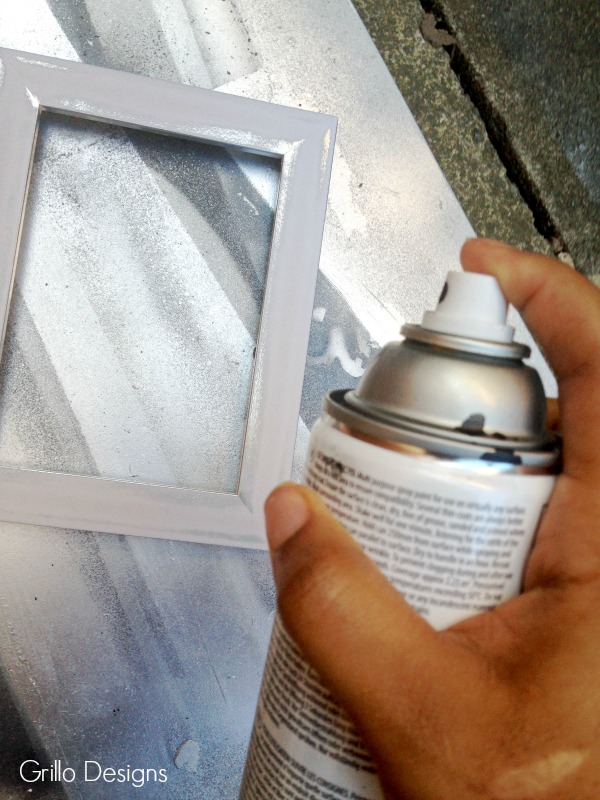
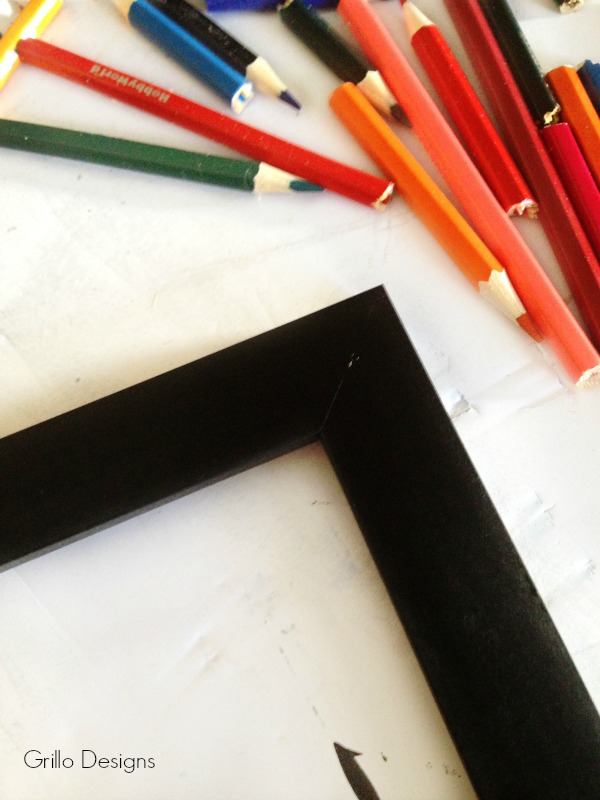
2. I decided to spray paint the frame black because I felt that color would hide the gaps between the pencils better. OR you could just skip this step and buy a black frame (duh Medina , I swear I make things difficult for myself sometimes! )
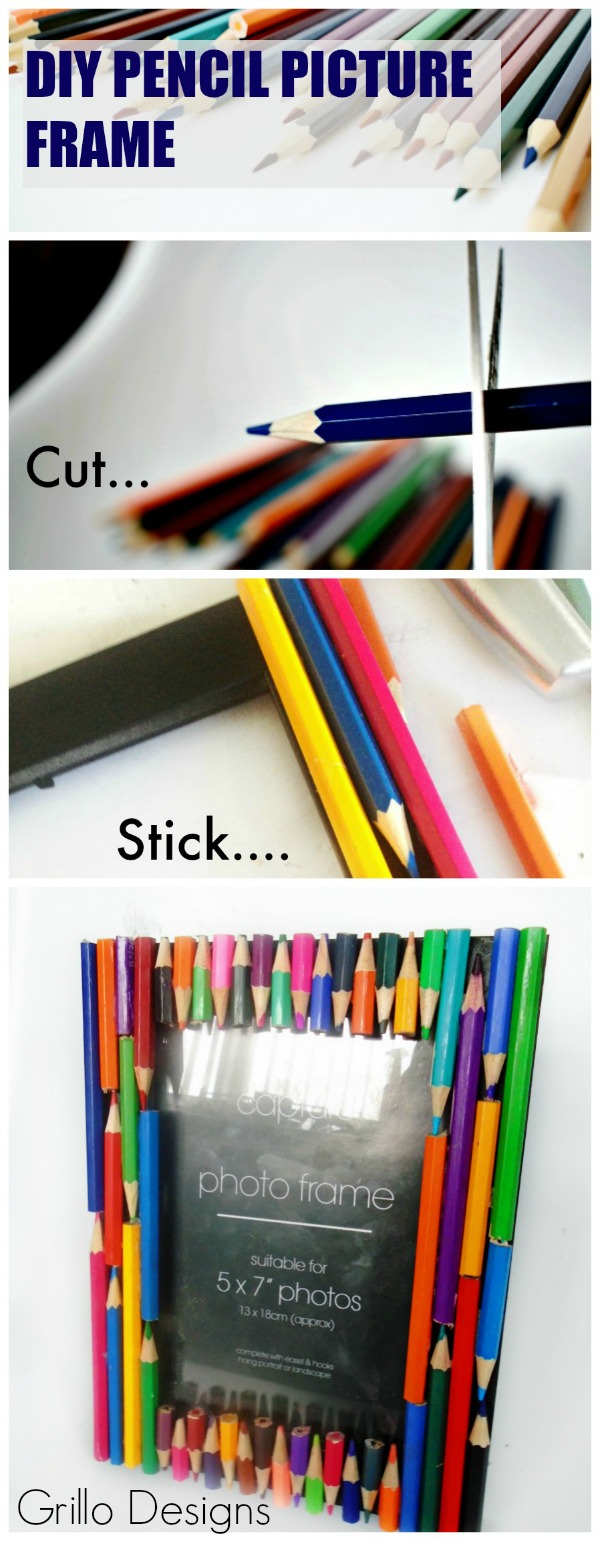
3. Whilst the paint is drying, cut up your pencils . I cut then up at different lengths using the scissors.
4. I stuck the pencils to the frame using the glue gun. I started with the two longer sides of the frame first.
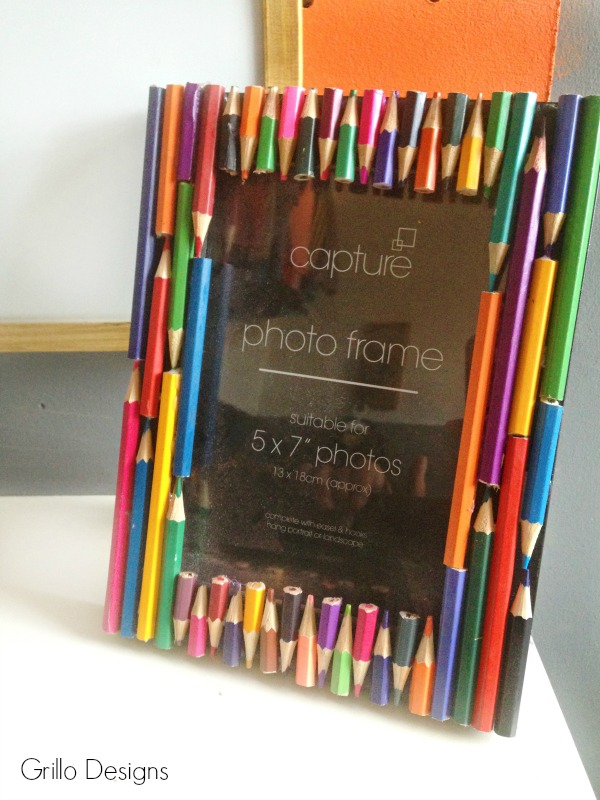
I was quite random with how I laid them all out – I ended up with 4 rows of pencils on each of the longer sides of the frame.
5. Next I moved on to the shorter sides. I use the very endings of the pencils for this part alternating ends as seen in picture below.
6. I then sanded the picture frame edges to get rid of the jaggedly edges from some of the pencil ends.
7. I applied clear varnish and left to dry overnight.
Voila!
And what did I do with all the remains of the different sized pencils I cut up but never actually used you might ask? I just sharpened them so my son could use them for their purpose intended – drawing! Its all about recycling in this household!
I would love to see some of the more craftier things you’ve done recently so share away below! Dont forget to save this for later, you might have more success with doing this with you toddler than I did haha!
PIN IT FOR LATER:
To see more Grillo Designs DIY projects, click here. To see projects from our group members, click here.
This is a very cool DIY! I need to think about how to incorporate colour pencils in my craft DIY tutorials 🙂
I just LOVE this project Medina. It’s such a fun idea for a special gift from a child to a special adult in their life. Would also be perfect in a kids playroom or bedroom with a little drawing they made inside or a special photo. Great tutorial.
Thanks Maria!