This tutorial on how to make a burlap horse head wreath was submitted by Michelle Noble who is a member of our Home Decorating, Upcycling and DIY Facebook group. All posts by Michelle can be found HERE
Hi everyone! Its Michelle again from A Noble Touch.
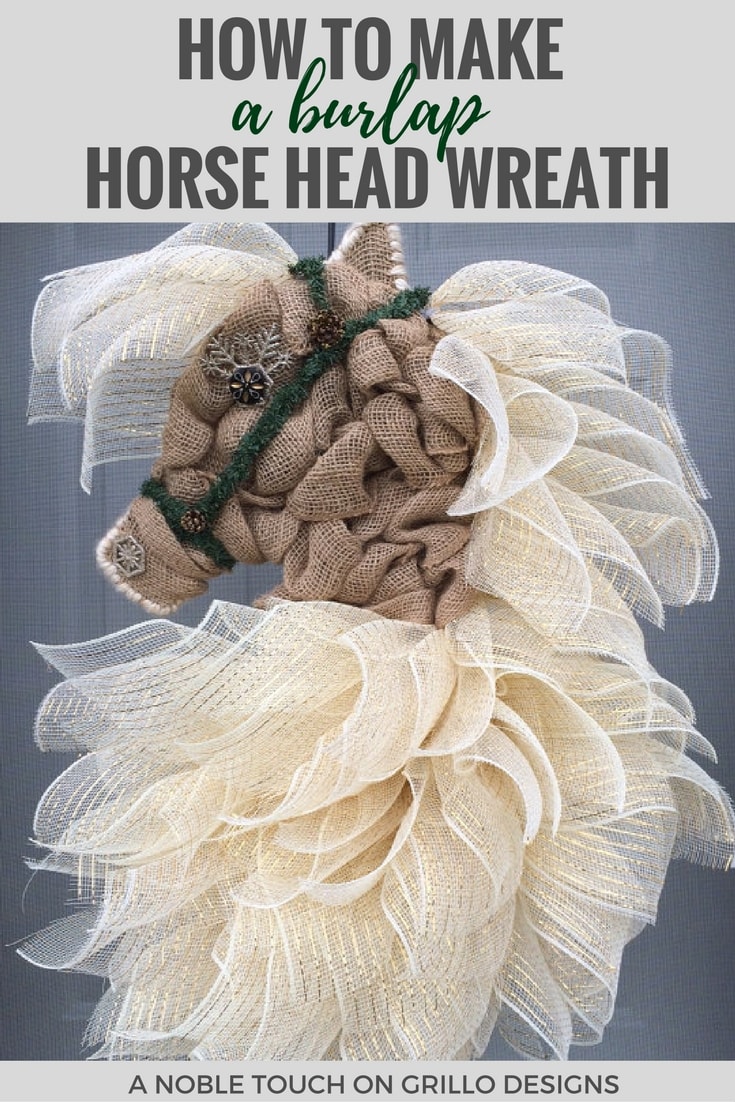
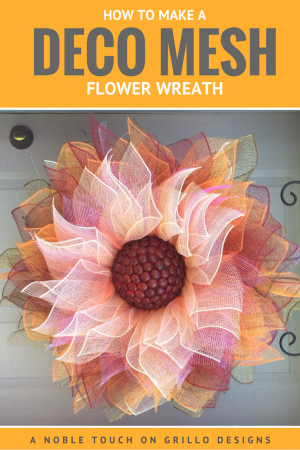
A few months back I shared instructions on how to make a deco mesh flower wreath which you all seemed to love! Today I will be showing you how to make the perfect horse head wreath for your door this season using burlap (with a video tutorial for the more visual learners at the end of the post). All wreaths demonstrated by myself on this blog can be bought from my Etsy store A Noble Touch.
Enjoy!
Materials used:
This post contains affiliate links for your crafting convenience, see full disclosure here
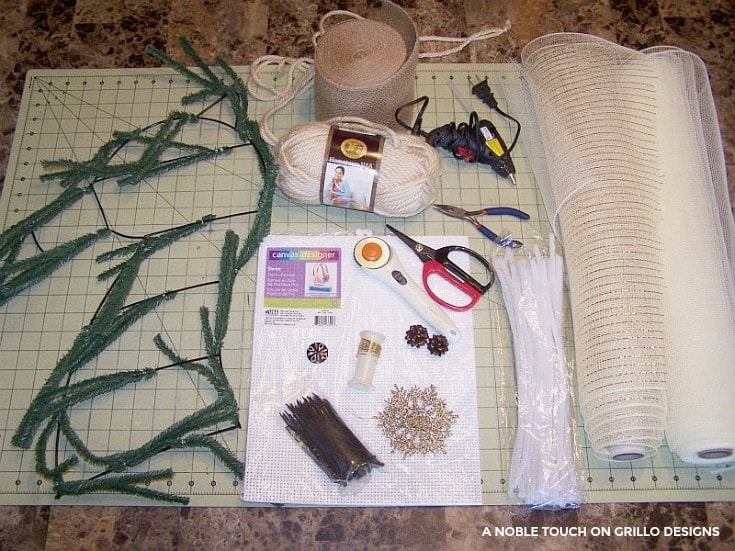
- Horse Head Wreath Frame
- Canvas Plastic Mesh
- 5″ Roll of Burlap
- Zipties
- 2 Pine cones
- 2 Snowflake Ornaments
- Button
- Wire cutters
- Pipe ningners (Cut in half)
- 2 21″Rolls of Deco Mesh (Cream & Cream w/Gold Foil)
- Needle and Yarn (to match color of mesh)
- Rotary Cutter, Mat, Wire Cutters, Scissors, Glue Gun
Burlap horse head wreath instructions:
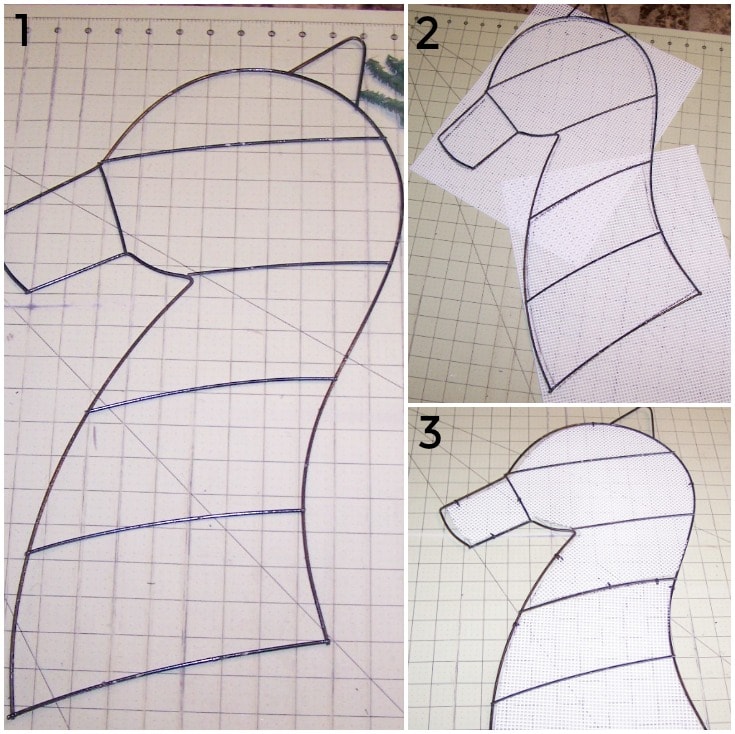
Step 1: Use wire cutters to remove all the garland ties from the frame. Save the garland as that is what is used for the halter.
Step 2: Place the frame on the canvas grids and trace on the inside of the frame all the way around, excluding the ear. Cut out and attach the canvas grid to the frame with zip ties.
Step 3: Take the burlap and attach to the two top sections of the grid with zip ties. Bunching it and then moving to the next spot, starting on the side opposite of the nose and working your way towards the nose.
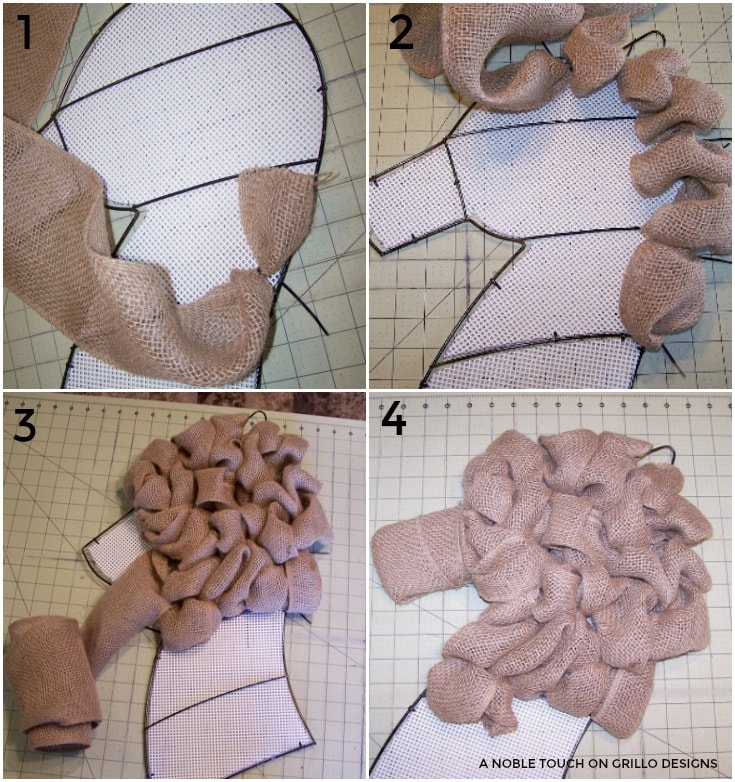
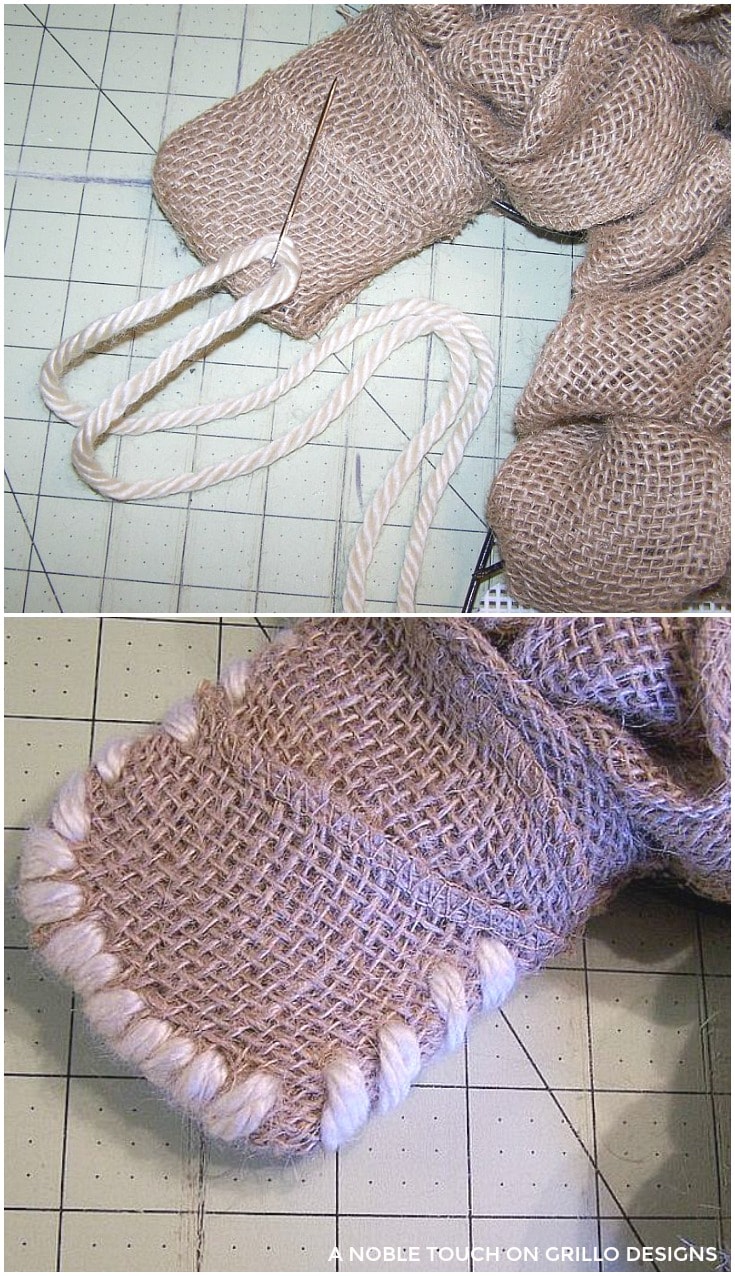
Wrap the burlap around the nose and sew the nose with the yarn.
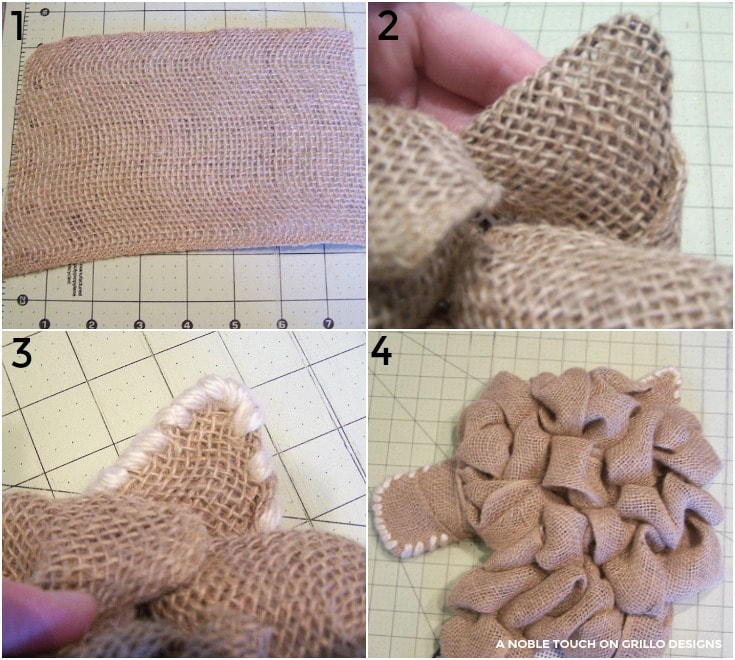
Cut a small piece of burlap 6-8″ in length for the ear. Wrap around the ear and then sew around the ear as well.
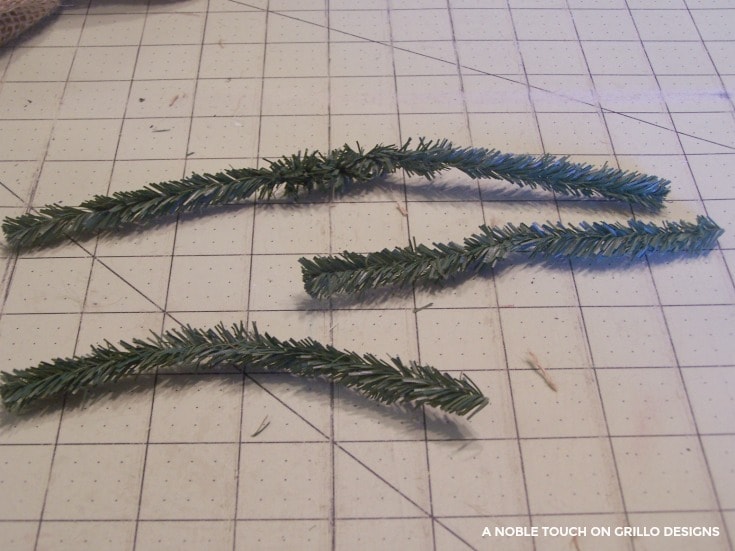
Step 4: Take the garland ties that were cut off the frame and combine two pieces together by twisting them, then combine two more together and then twist the two strips together.
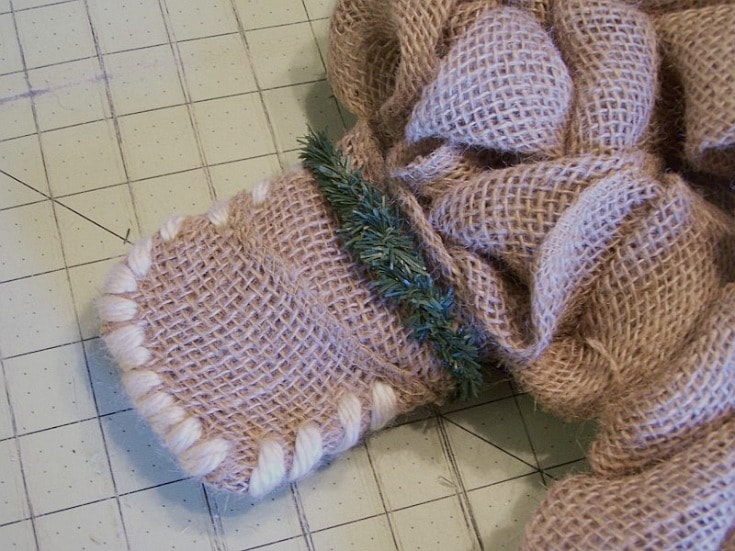
Place this around the band of the nose.
Then combine four pieces of the garland together, and another four pieces together, so you have two long pieces of garland, twist together and then attach to the nose band and hook behind the ear.
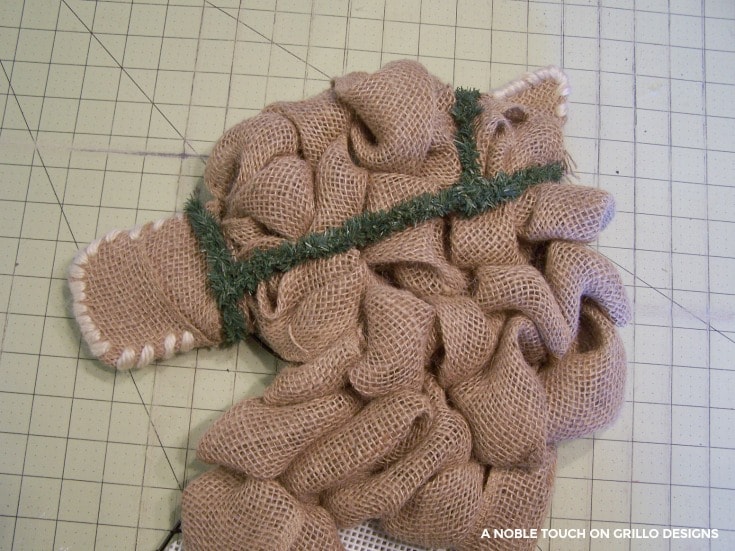
Using four more pieces of garland, twist two together twice.. then twist those together and hook it to the longer piece of the halter and hook in front of the ear.
Step 5: Using the snowflake ornaments, cut the flakes off, leaving the center circle on one.
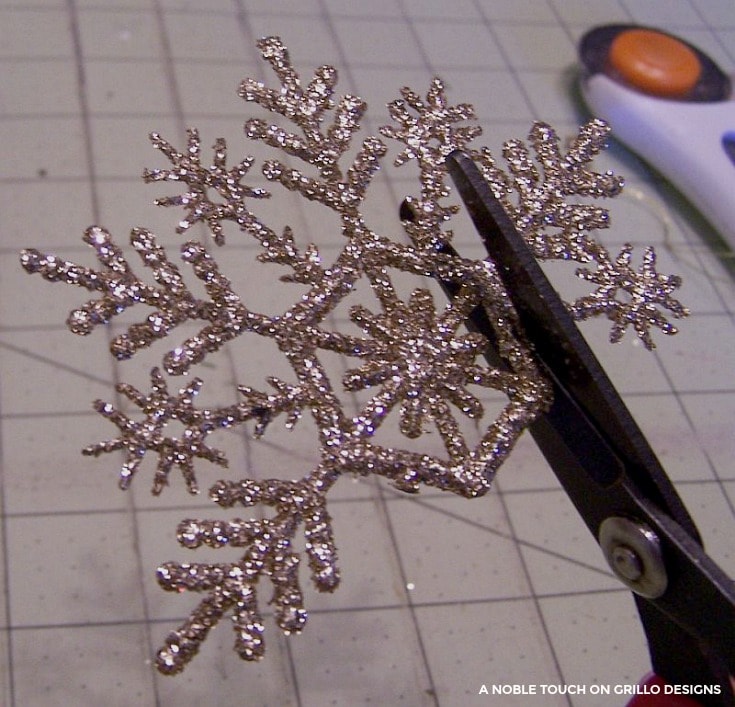
This will be used for the nose. Hot glue the piece to the top portion of the nose.
Taking the other snowflake, cut off the flakes, leaving five of them. This will be used for the eye. Take the wire and run through the button attaching it to the snowflake. Then insert into the burlap where the eye would go. Attach the wire to the back by hooking it through one of the zip ties from the burlap.
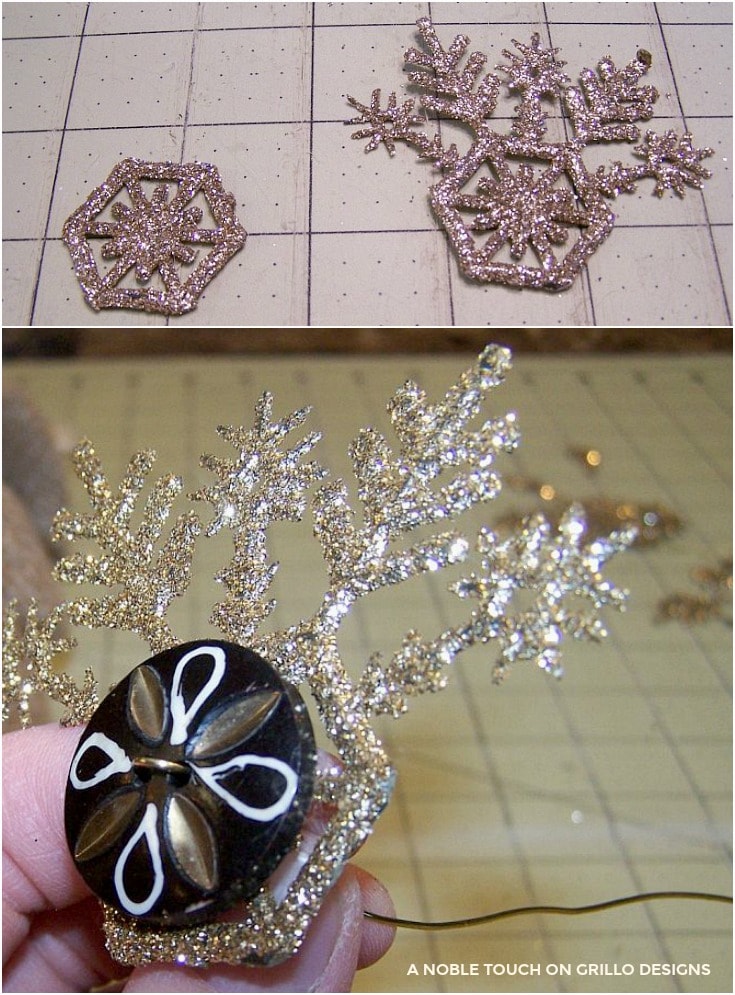
Take the two pine cones and glue them to the top of the halter where the garland attaches from the ear to the main halter, as well as where it attaches to the nose band.
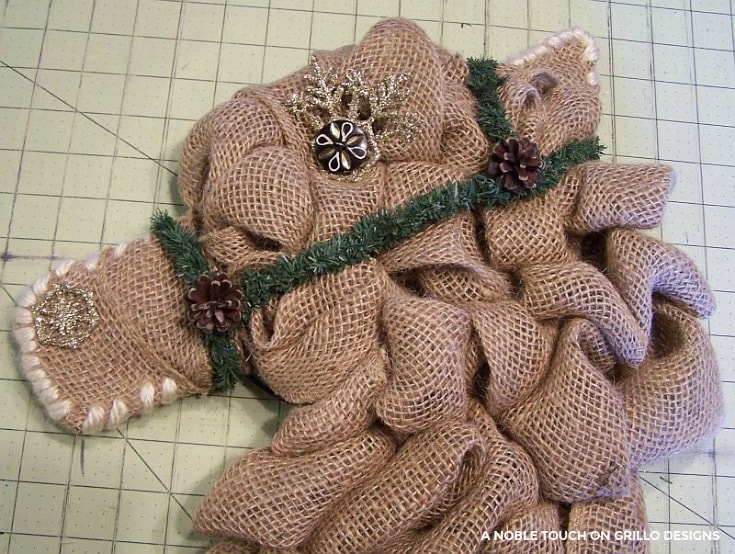
Step 6: Cutting the Mesh
Cut the 21″ mesh at 10″ and then cut again at 10.5″ You will need about 50 pieces of mesh total.
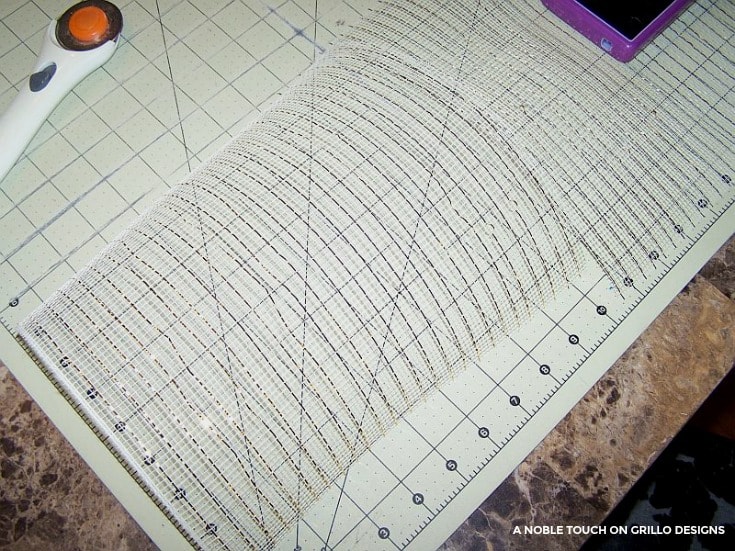
(If you are using 10″ rolls, just cut every 10″)

Fold in the mesh on both corners, pinch, and then twist so it folds over itself, attach to the frame in front of the ear for the forelock.
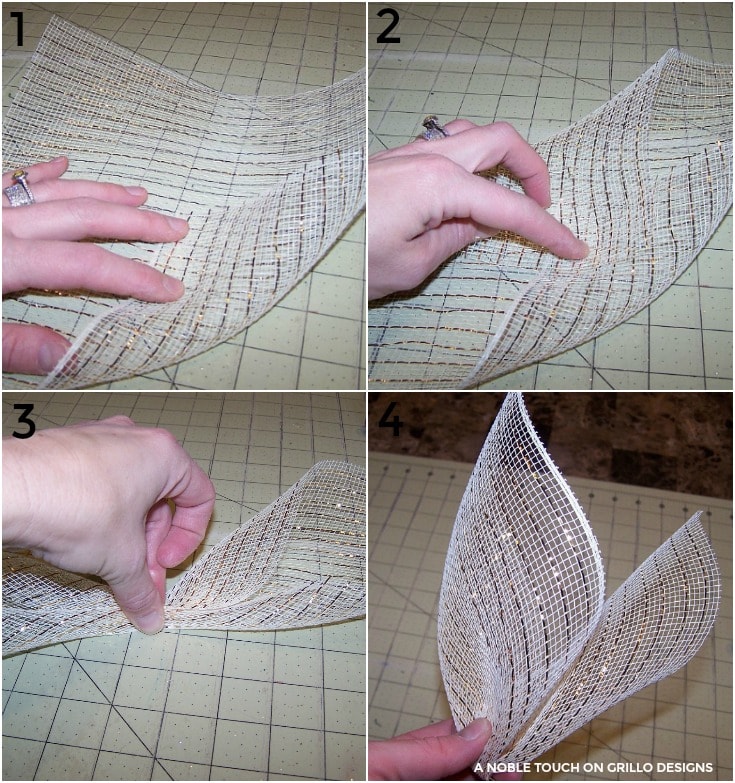
(Use three pieces of mesh for this, you can alternate your plain cream mesh with your cream and gold foil mesh).
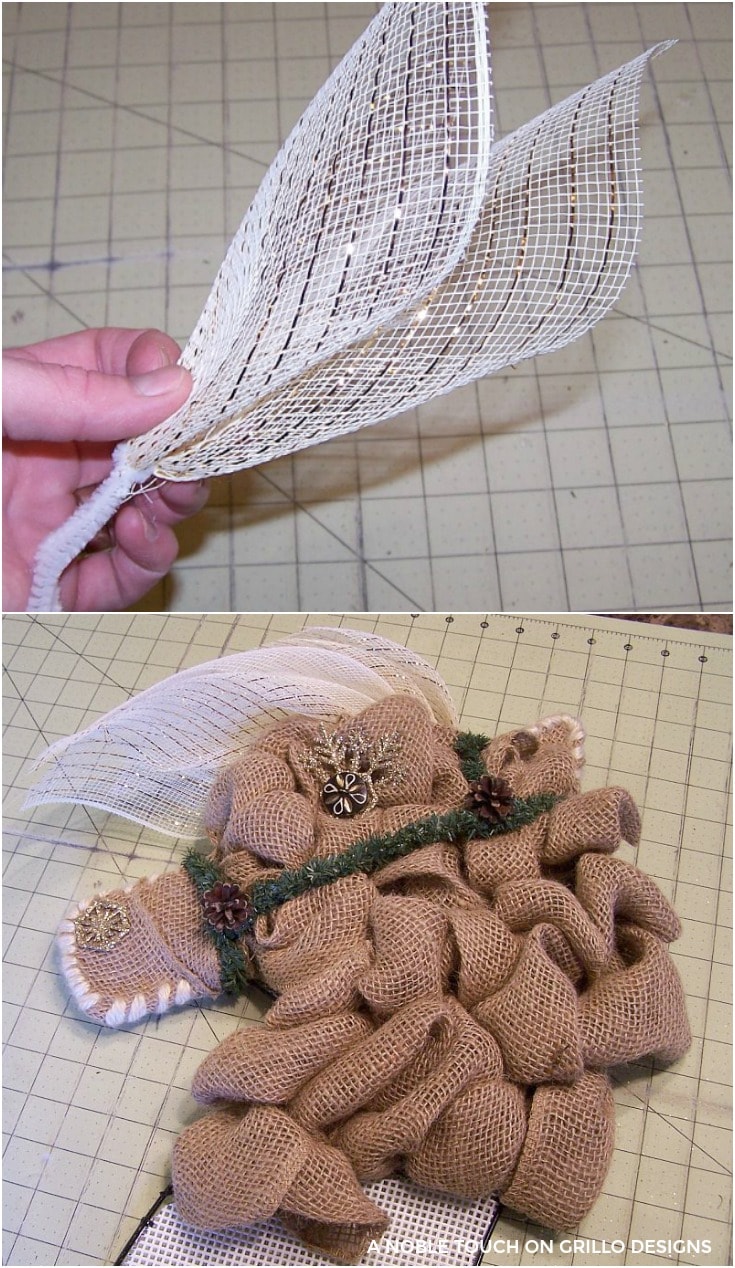
Do the same fold for the rest of the mane, attach down the back(mane portion) of the frame.
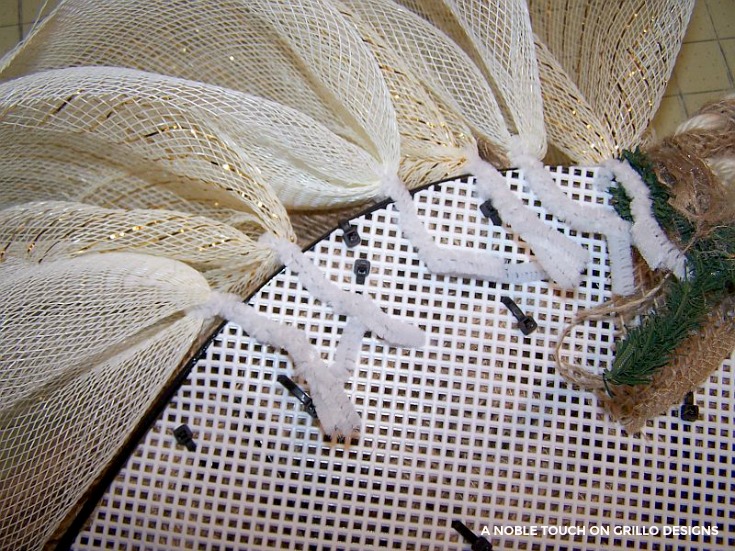
When the back of the mane is completed, insert the next row of mesh so that they turn towards the nose and keep doing that all the way out to the front of the frame, on the lower two sections of the wreath frame, alternating the colors of mesh as you go.
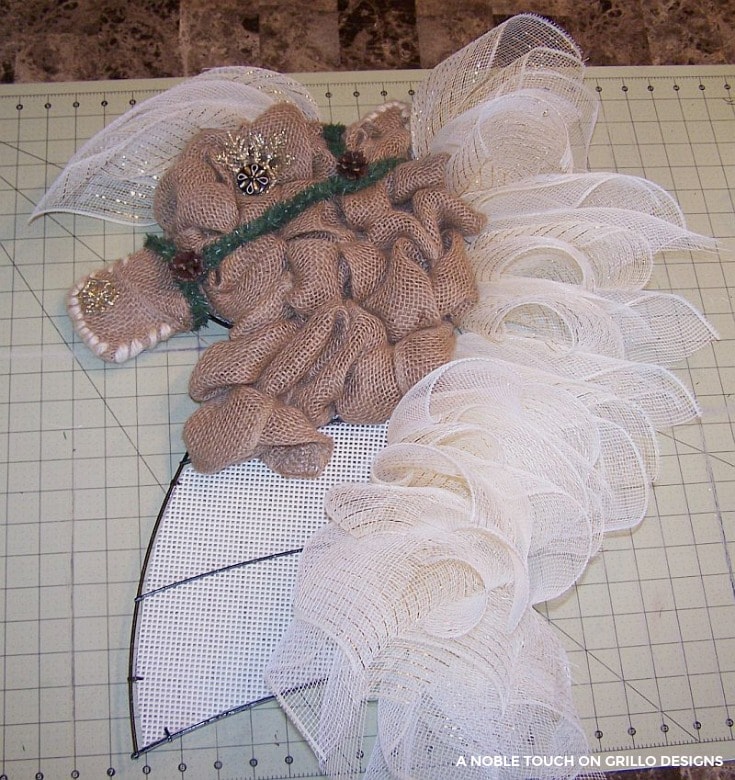
This will give a sweeping mane look to your horse head wreath.
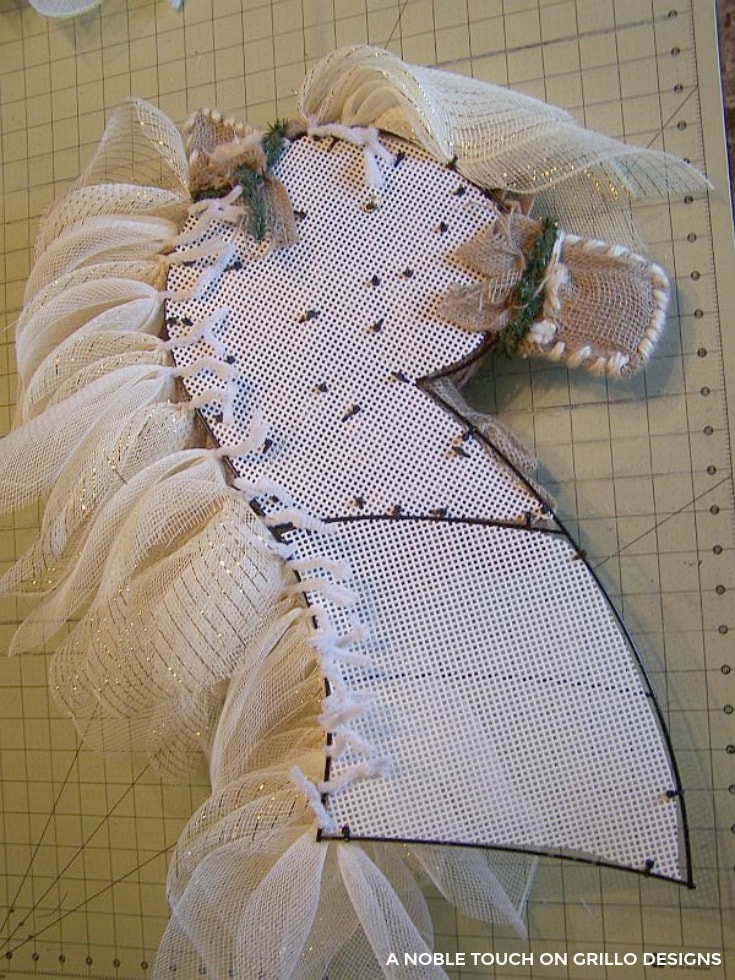
You can create a hanger on the back by taking a full pipe cleaner and connecting it from the back of the ear to where the forelock is. You can also cover the back with a covering if you want.
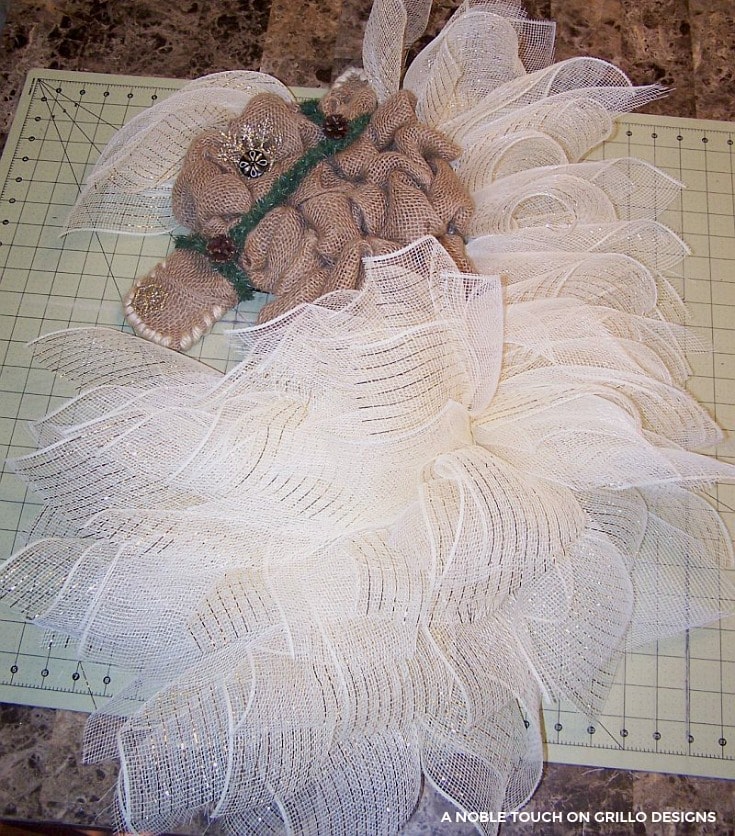
And there you have it… a gorgeous horse head wreath!
WATCH MY VIDEO TUTORIAL HERE
You can also find me on Facebook here.
By Michelle Noble (A Noble Touch)
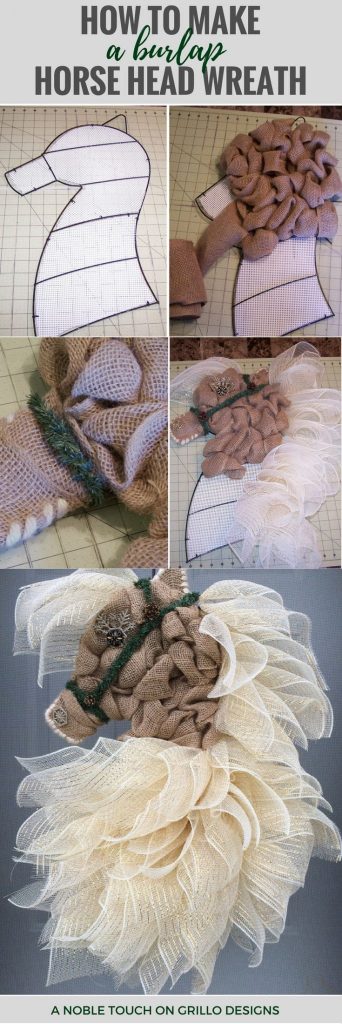
IF YOU LIKED THIS POST, YOU MIGHT ALSO LIKE SOME OF OUR OTHER DIY WREATH TUTORIALS:
DECO MESH FLOWER WREATH TUTORIAL



Sooo cute, thank you for sharing this pattern an video
My daughter loves horses, she just purchased her
1st home. She will love this on her front door.
Thank you , for taking your time and sharing
Have a Blessed Day
I’m trying to make one. Wish you would have shown more of the burlap part.
Love your Horse head wreath is there a way you could send me the patteran on how to make it?
Awww I do love horses!
There you go again creating something so fabulous. Thanks, and happy holidays!
Thank you!! Hope you had a wonderful holiday season!
If you change the colours, could you make it a seahorse? What changes would one need to make?
You can change it to whatever colors you want.. I have done several different colors and I’m sure you could do a seahorse with one.